Share the Love!
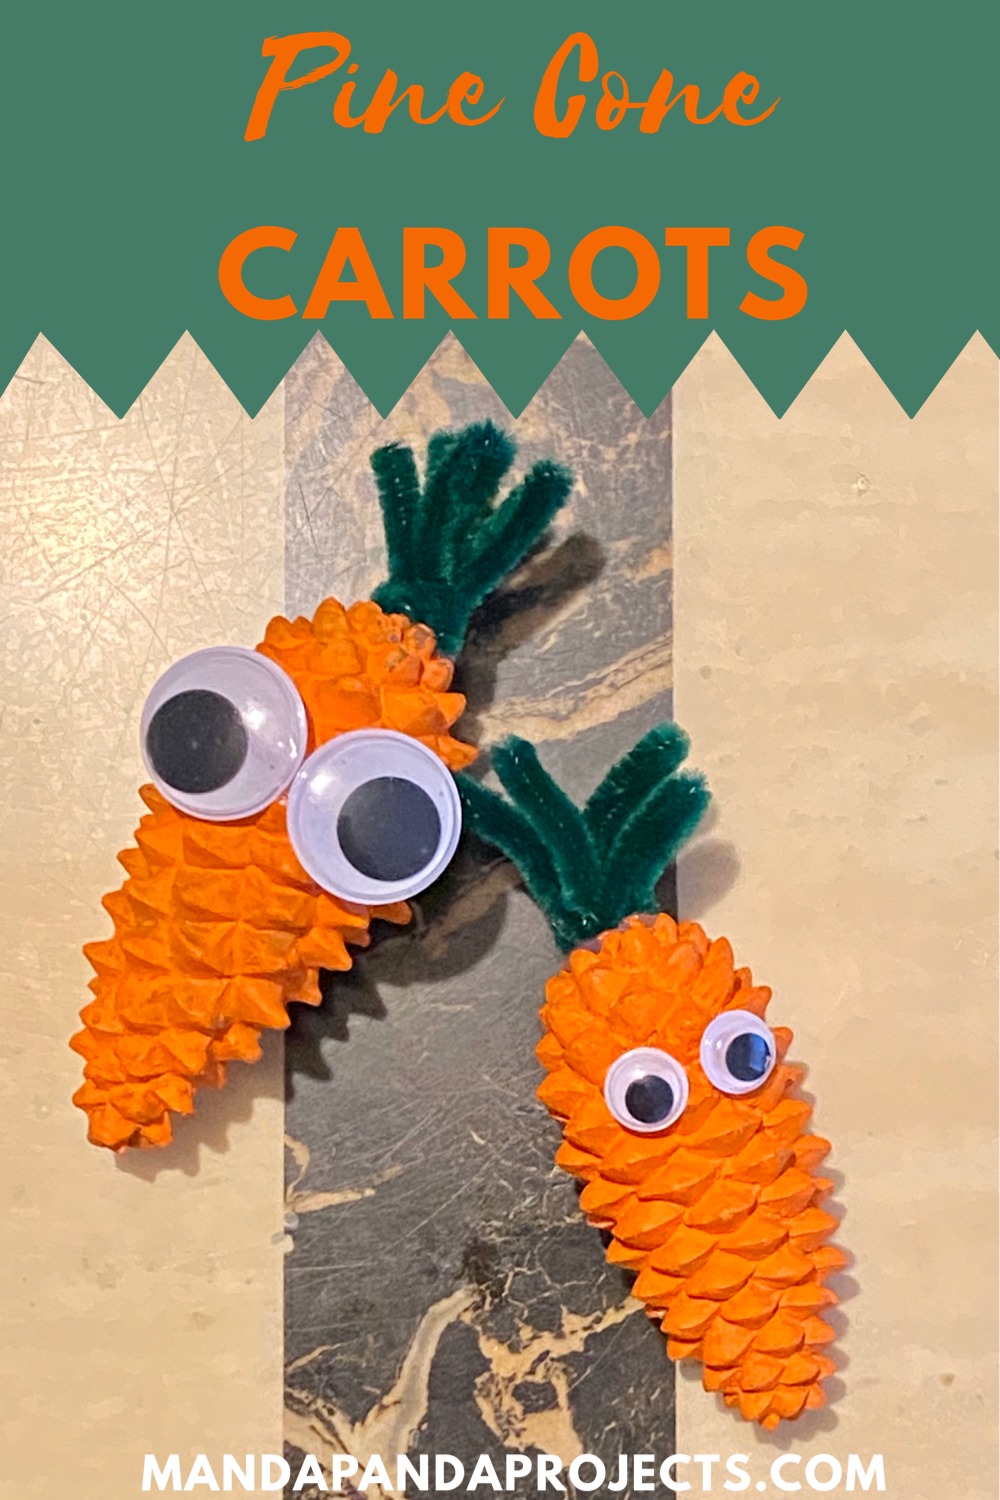
Turn a pine cone into a cute little carrot with just 3 basic supplies you probably have at home. This is a super quick and easy nature craft that can add some flare to a DIY Spring project, or the kids can do at home just for fun!
Now we were lucky enough to have collected a bajillion pine cones from nearby parks over the recent months. But if you haven’t been so fortunate, you can totally buy them at any craft store, Etsy or on good ‘ol Amazon. Granted, I know it kinda defeats the whole ‘nature craft’ thing, but hey sometimes ya gotta do whatcha’ gotta do.
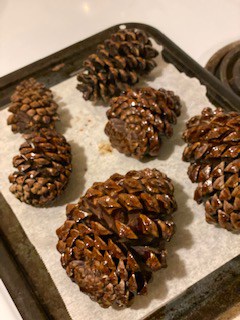
Now if you do choose to go the Au Naturale route, and use Pine Cones from the great outdoors, please please please make sure to clean and prepare them first. That is unless of course you don’t mind hosting a sleepover for a family of Daddy Long Legs.
I craft the heck out of some pine cones, so I made this post with the steps I use to bake the bugs out and as an added bonus, get beautifully bloomed cones. Definitely check that out if your using ones you collected on your own!
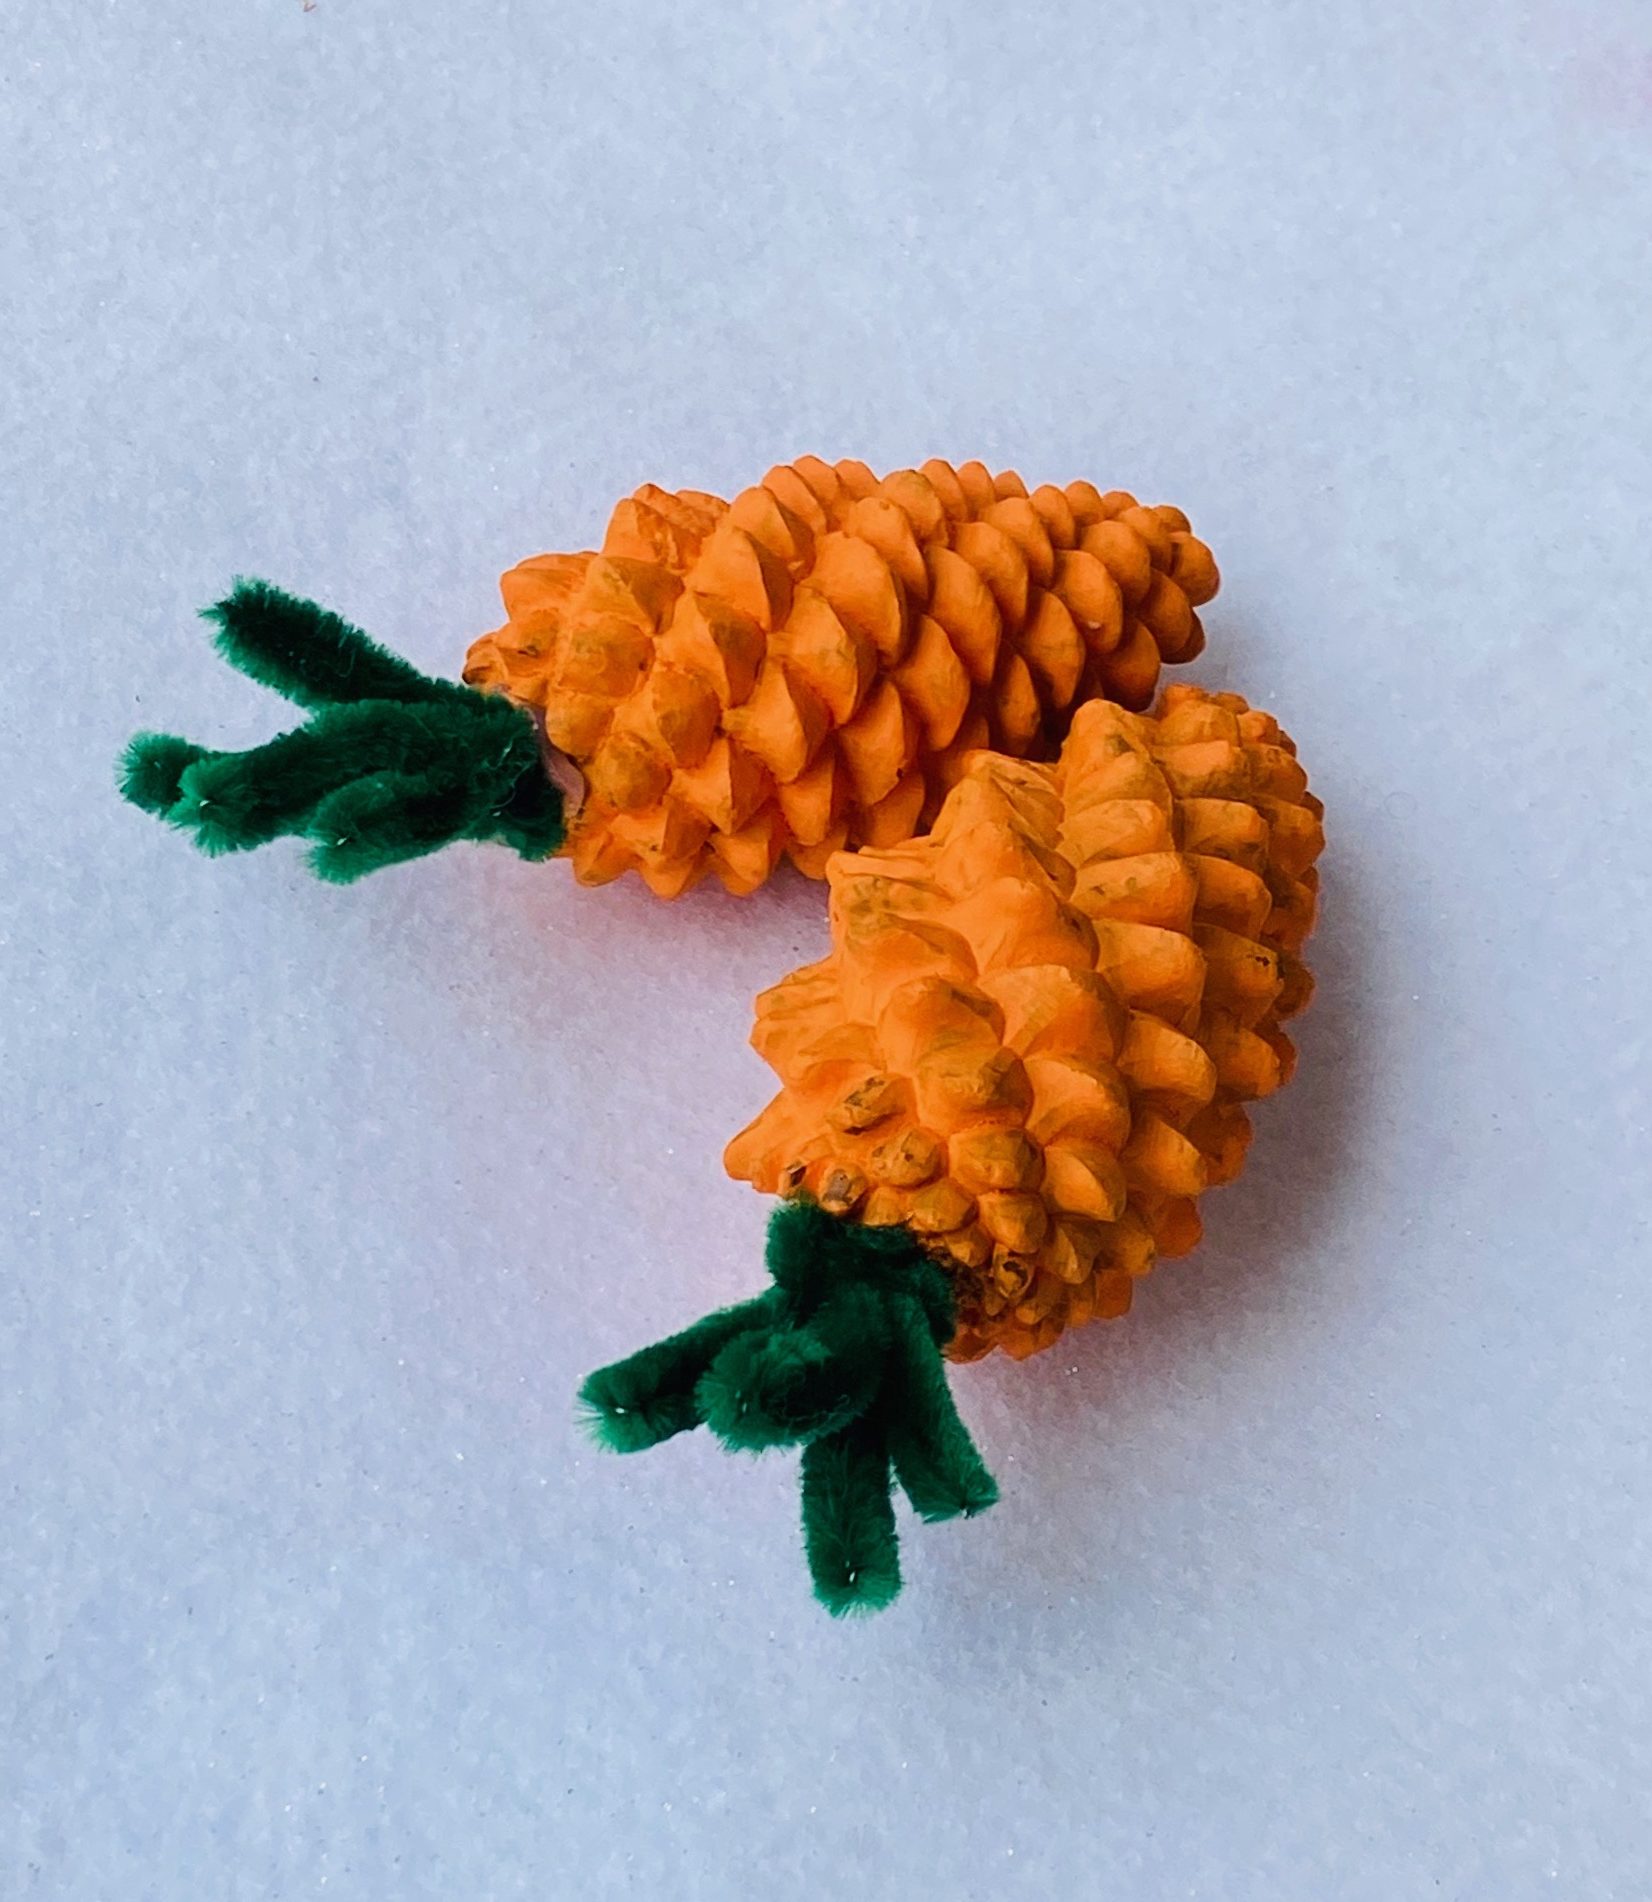
For this particular project, we used pine cones that appear to have dropped from the ‘ol pine tree a little too soon. They were not quite open and even baking them didn’t open them up. I thought they more closely resembled a true carrot shape, but you could totally use any pine cone you have. I just happen to have waaaaaayyyyy too many to choose from ( I really need to stop collecting them until I can use some!).
We also added the googly eyes to give them a silly look. It was The Boys idea and they loved it! We originally made these to go along with our Pine Cone Bunny Gnome, so we threw the eyes on the extras we made. I even upped the cuteness factor one more notch and threw a green ribbon in one of their “hair”.
If you are making these to be part of another project, perhaps a spring wreath? Simply leave the eyes (and ribbon) off. 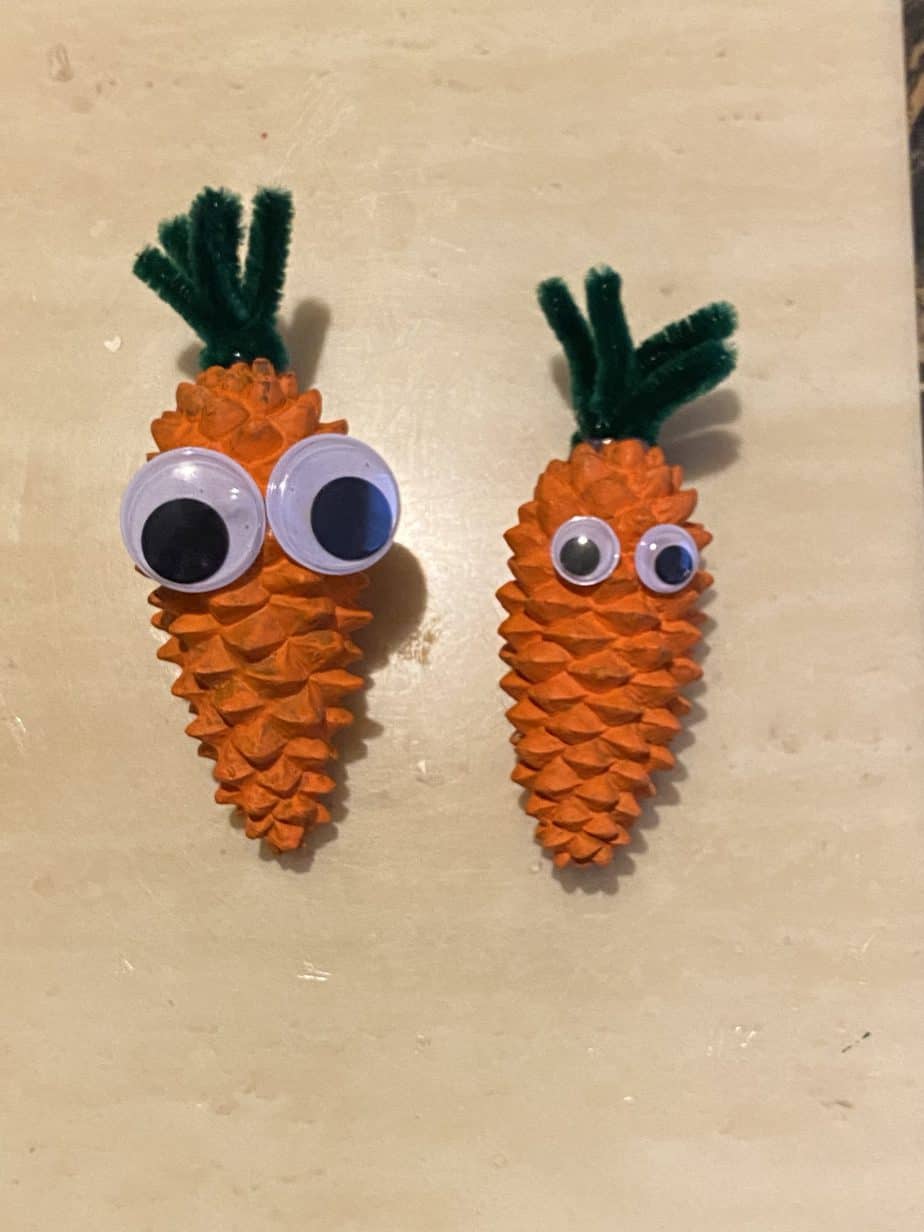
This post may contain affiliate links for your convenience (which means if you make a purchase after clicking a link I will earn a small commission but it won’t cost you a cent more!)
Supplies Needed to Make a Pine Cone Carrot
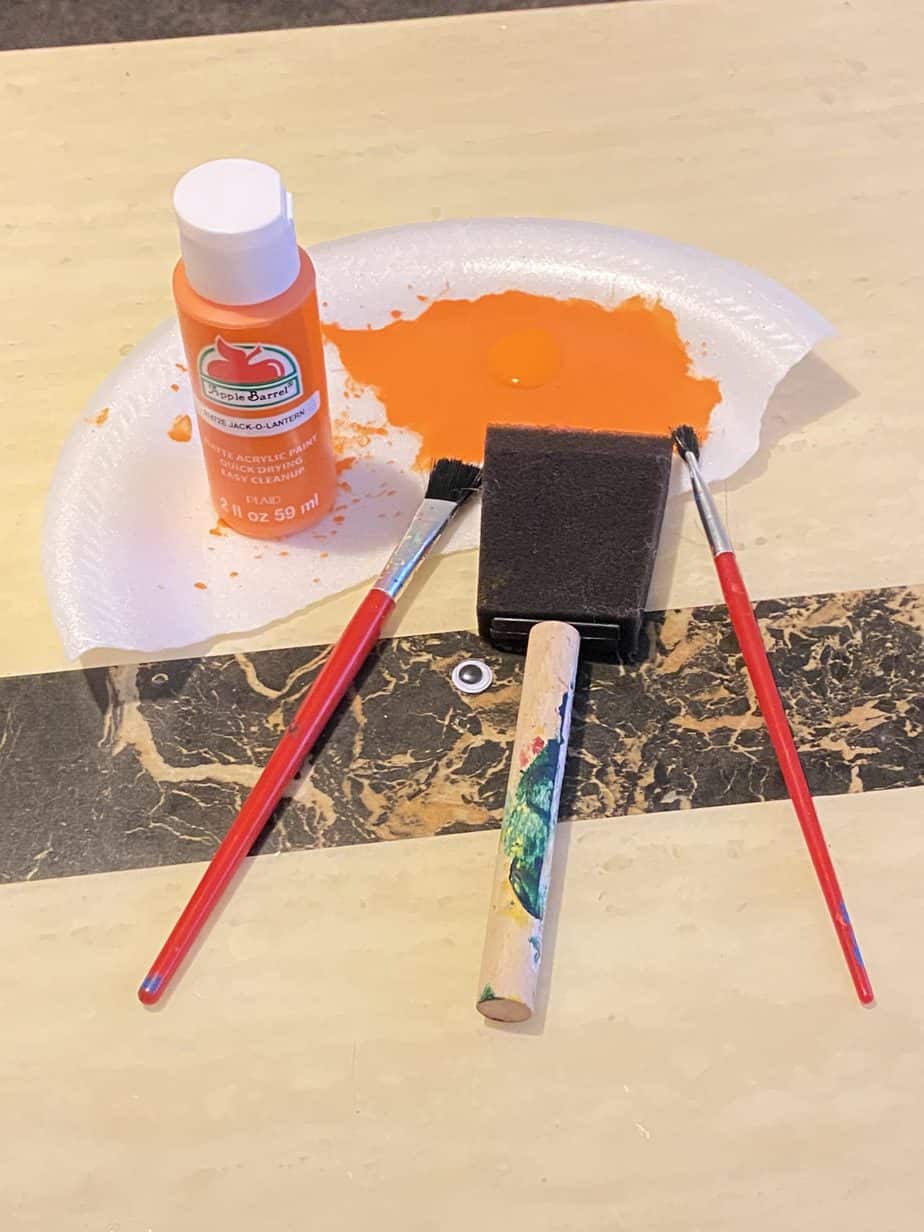
- Pine Cone (cleaned and prepared or store bought)
- Googly eyes (optional)
- Glue (we recommend this glue gun but if you don’t have one you can use this guide to choose which is best for you)
- Orange paint-We used Apple Barrel Pumpkin Orange
How to Make a Pine Cone Carrot
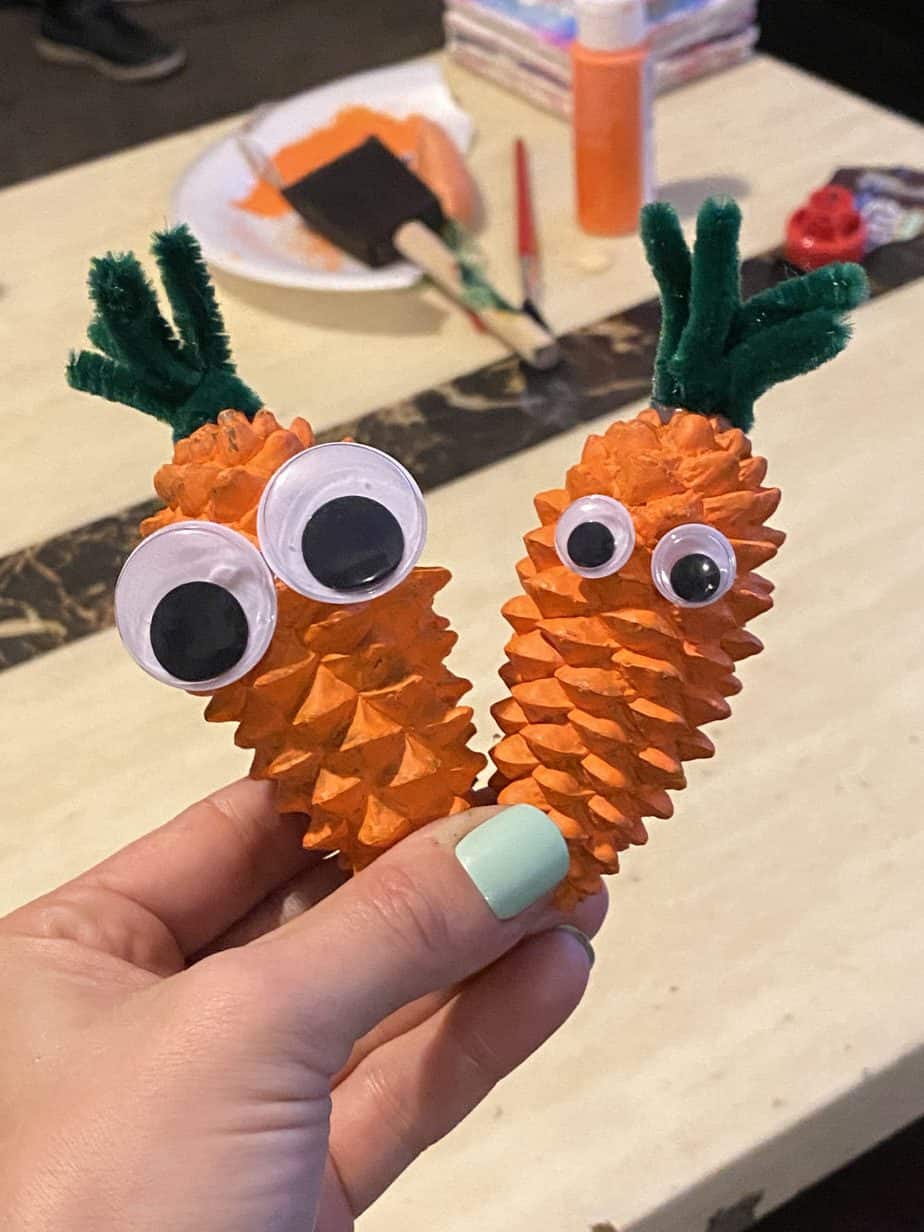 Follow these 3 easy steps for a cute spring craft!
Clean and Prepare your Pine Cone
First things first, if you collected your own rather than bought them, clean and prepare your pine cone for this craft. Click on the above picture to see how best to do that if you’re not sure.
Paint your Pine Cone Orange
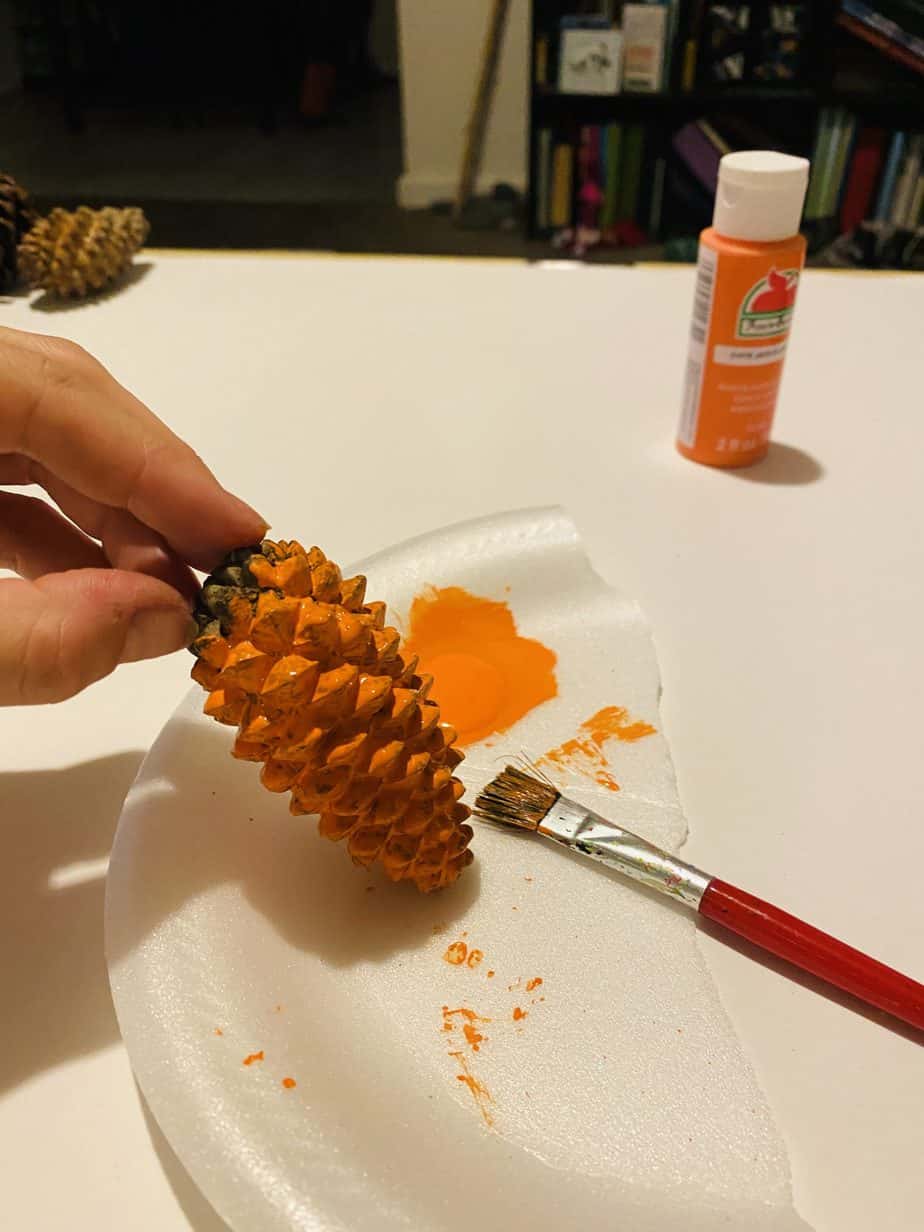
You can use a regular large paint brush, or a foam paint brush to apply two coats of paint for the most vibrant orange.
Glue the Green Pipe Cleaner to the Top
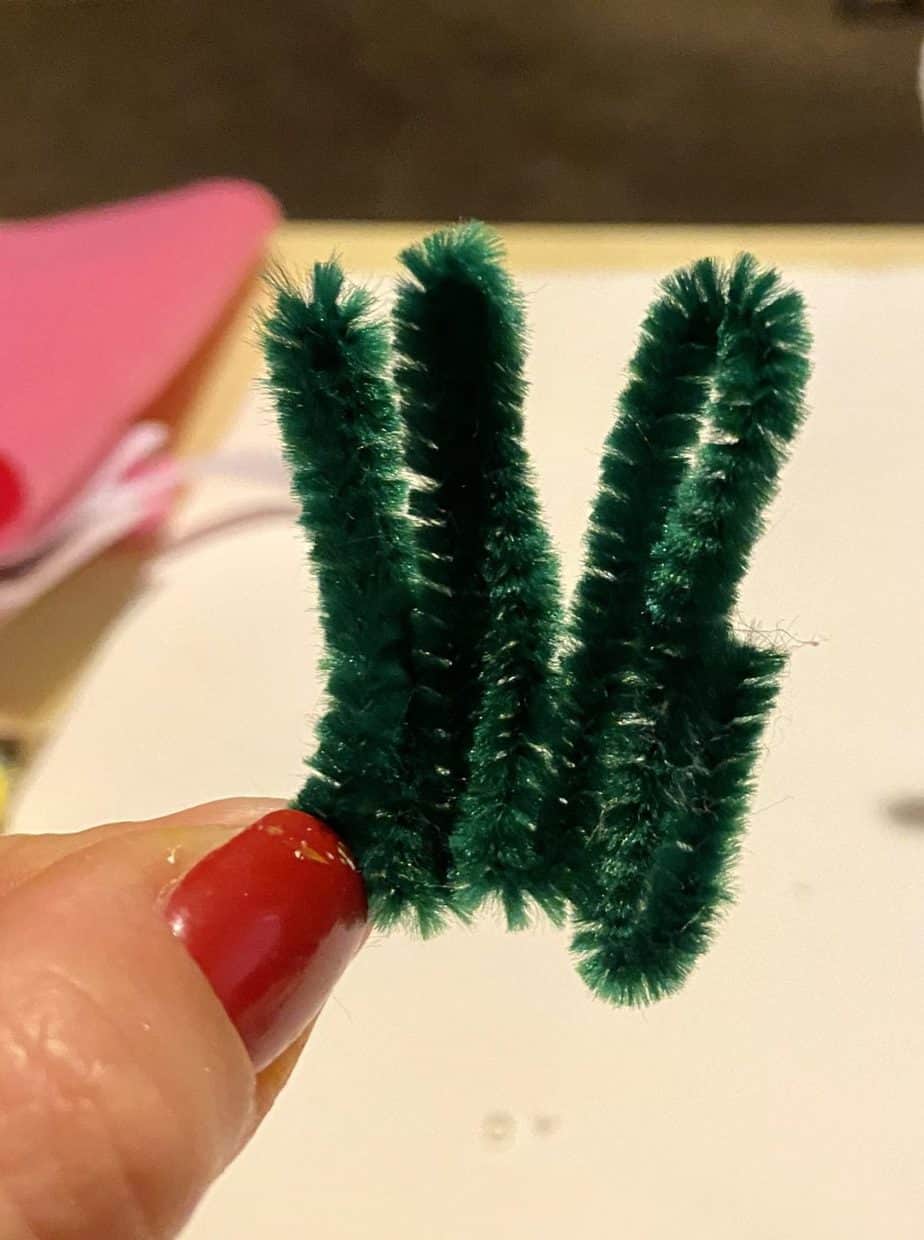
Once the paint has dried completely, you can glue on the pipe cleaner stem. Fold the green pipe cleaner into a zig zag shape and use your glue of choice to secure to the top of the pine cone. Once the glue has dried, you can bend the stems to give it a more natural look.
Glue on the Googly Eyes
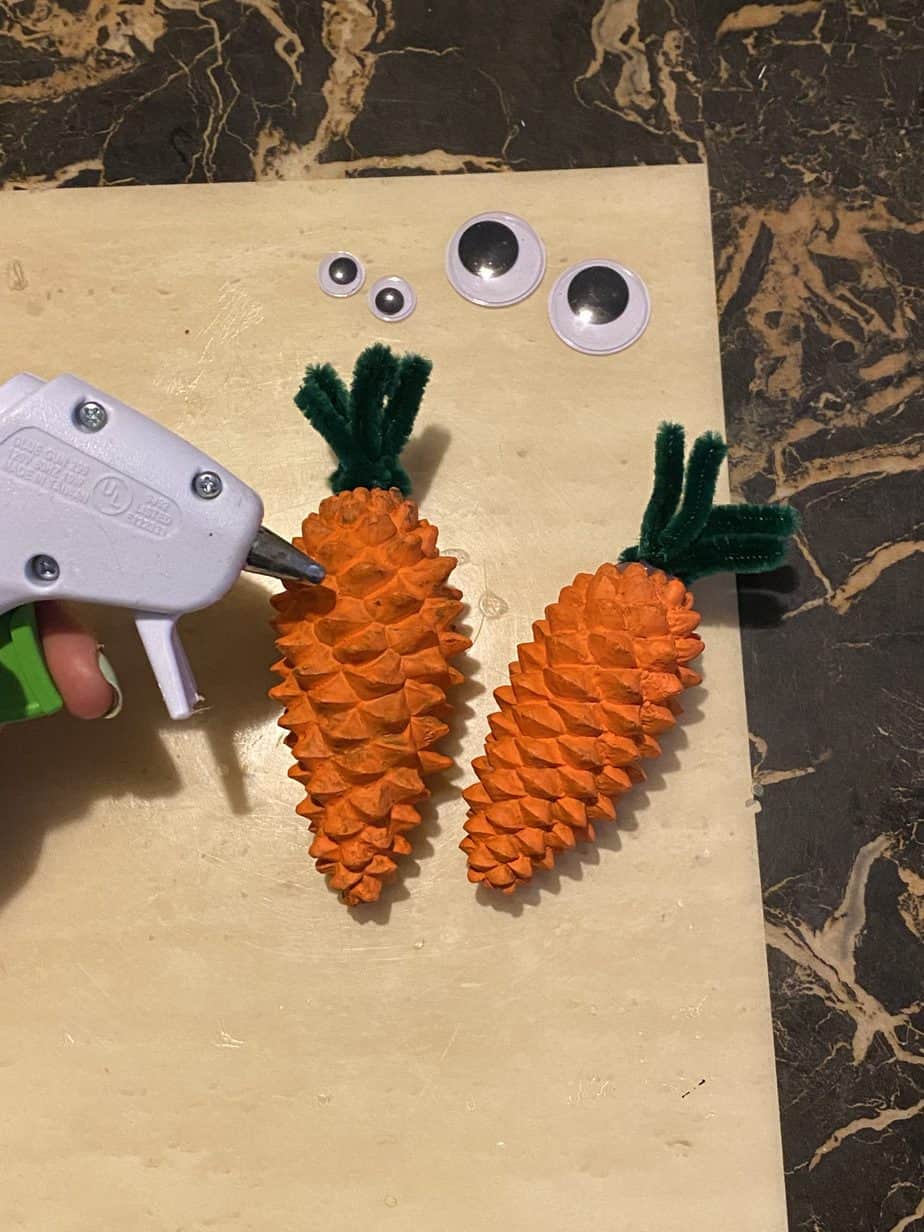
You can skip this step if you are using the carrots as part of another craft such as a spring wreath.
But if you do add the eyes I’d recommend using a glue gun to secure them. Since the surface of the pine cone is so rough, I found that the bond that hot glue gives works best to hold the eyes on tight.
That’s all! You’ve made yourself a cutesy little pine cone carrot person.
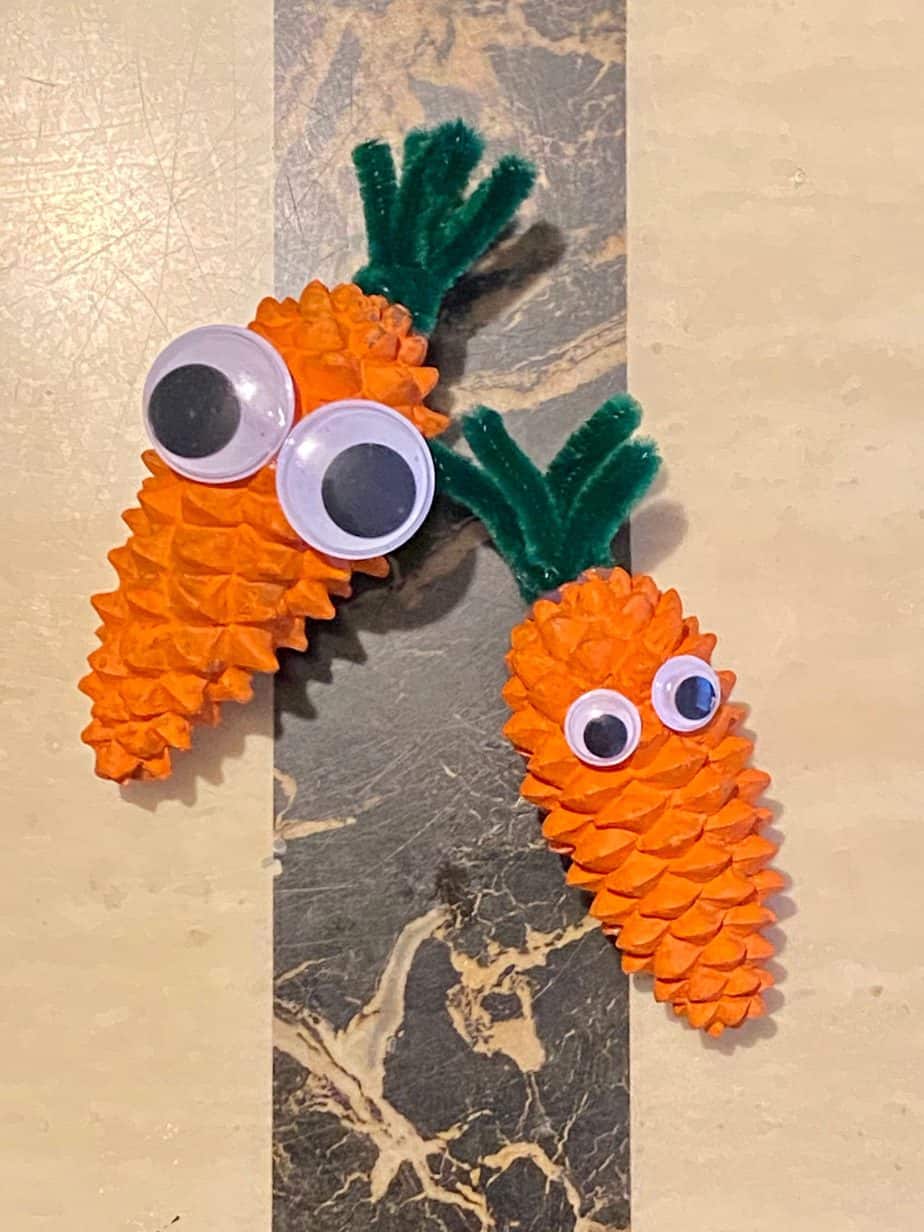
These alone are a super cute kids spring craft or can be made as part of another craft project. We originally made them to go along with our Pine Cone Bunny Gnome, but I also thought about painting a bunch to glue around a wreath.
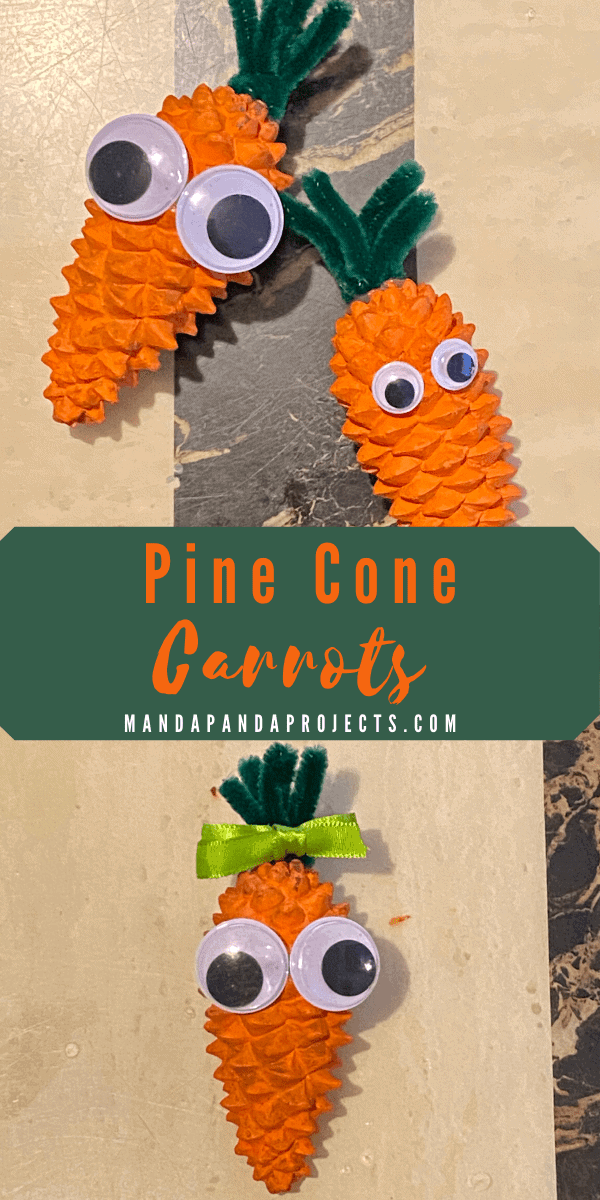
If you’ve got a bunch of pine cones just waiting to be crafted into something cute, make sure to Pin this idea for later!
Until Next Time…
Stay Crafty San Diego!


