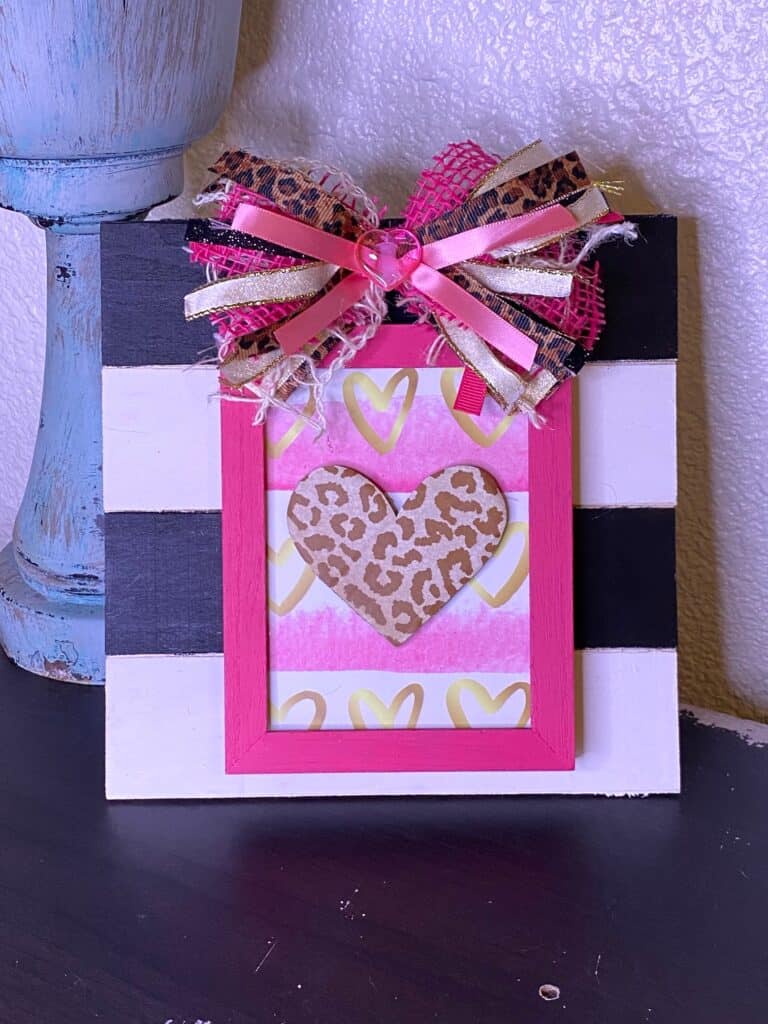
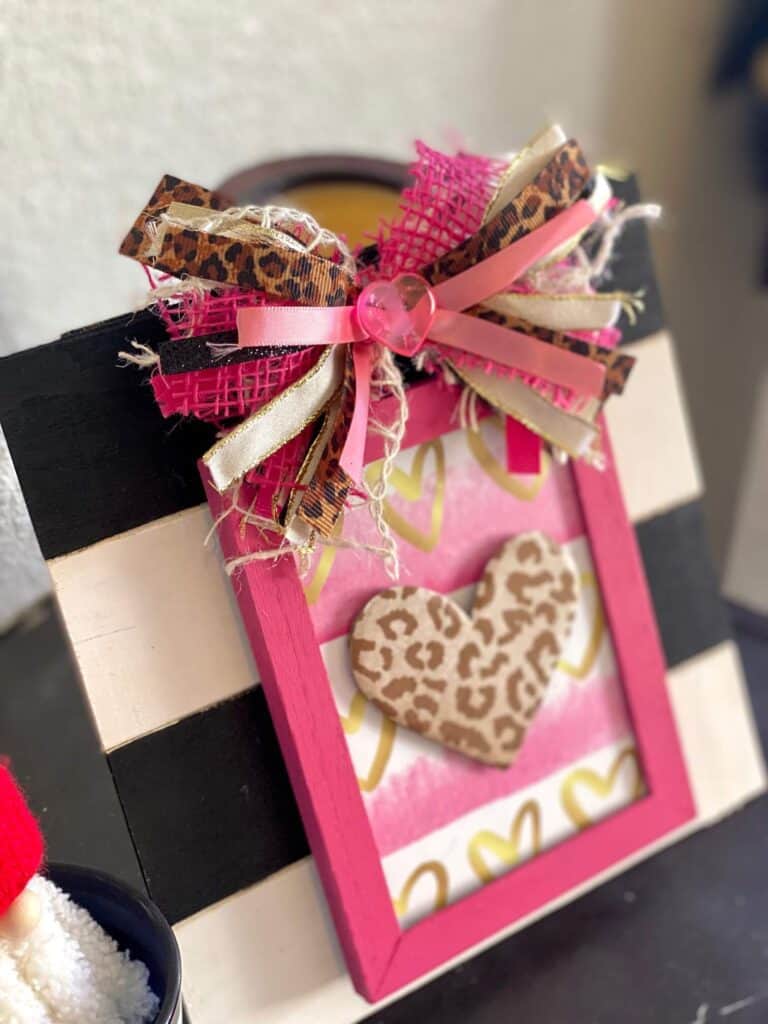
Pink, gold, and Leopard with a black and white striped background is a match made in Crafty Heaven! Make this easy layered heart frame to add to your decor for Valentine’s and you’ll surely feel like Love is in the Air!

I absofreakinglutely cannot believe that its 2022. I blinked and the Holidays were over, I’m sure you can relate! Well that only means one thing in a crafters world….time for Valentine’s Day crafts!
This year I am completely drawn to a new color combo for my Valentine’s crafts and decor. And that new color combo is what you see here, Pink, Gold, and Leopard paired with black and white stripes. And that my friend is how this Layered Heart Frame was born.
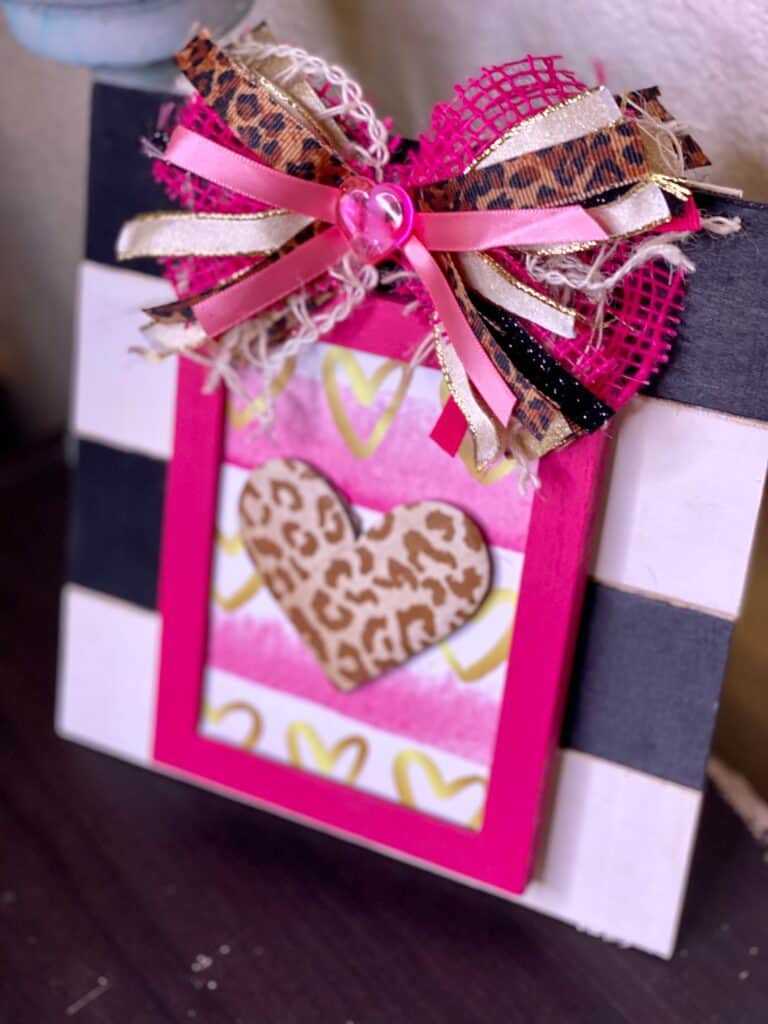
I’m not sure if you’re ready to start seeing Valentine’s theme decor just yet, but ready or not here they come! I used this same Dollar Tree gift bag last year to make this Pink and Gold Heart Sign, and this Layered Heart Frame is going to look fabulous right along side of it.
This post may contain affiliate links for your convenience (which means if you make a purchase after clicking a link I will earn a small commission but it won’t cost you a cent more!)
Supplies Needed to make a Pink and Leopard Layered Heart Frame
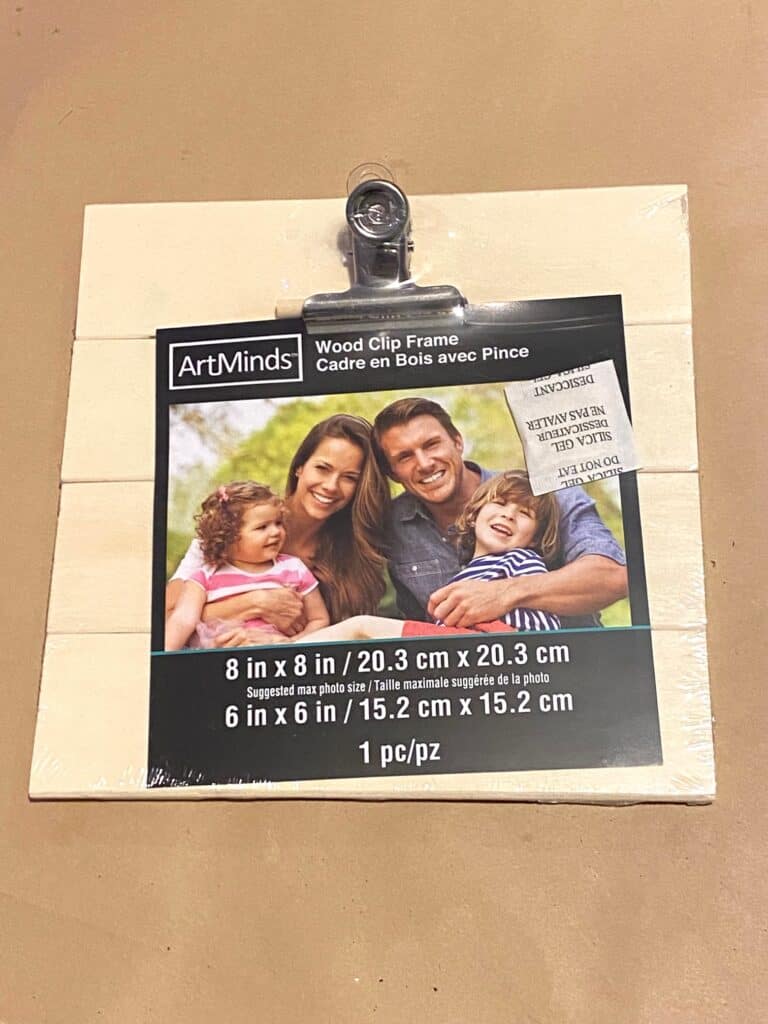
- Wood Clip Frame (I got mine at Michaels for .99)
- Small Galvanized metal frame
- Pink and Gold heart gift bag (You could use any gift bag or scrapbook paper)
- Cardboard heart cutout or a wood heart
- Leopard scrapbook paper
- Variety ribbon for messy bow
- Pink heart button embellishment
- Black paint
- White paint
- Bright Magenta paint
- Mod Podge
How to Make a Layered Heart Frame for Valentine’s Day Decor
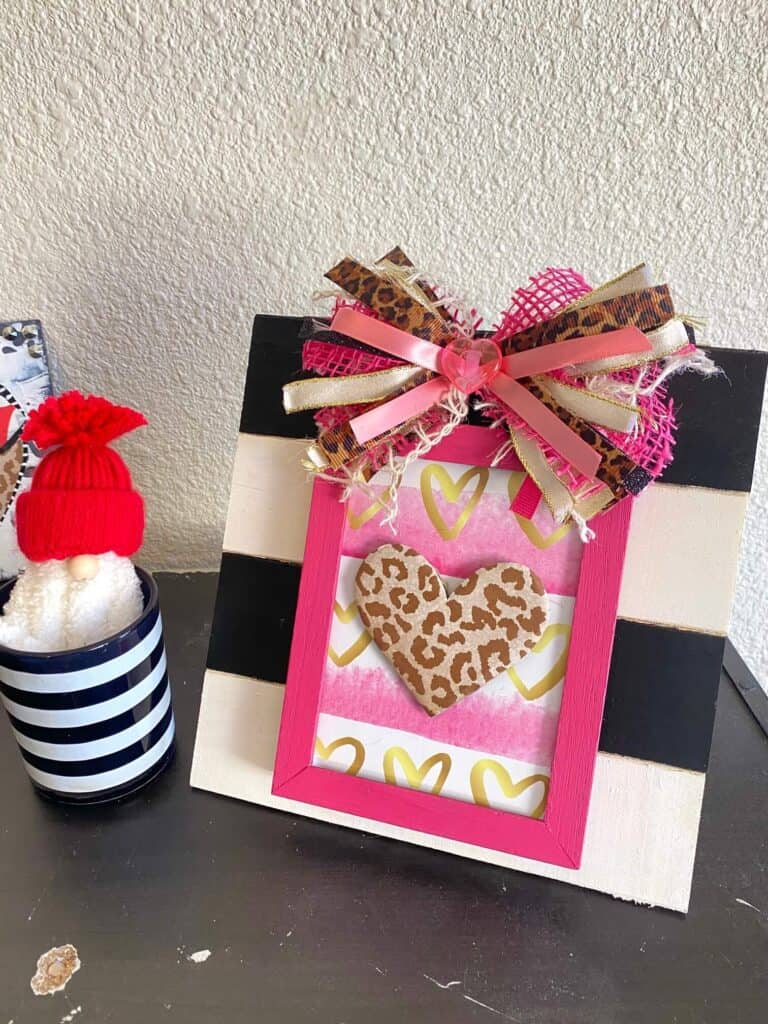
I made this gorgeous Pink and Leopard Layered Heart Frame on video, so you can WATCH the step by step tutorial on YouTube HERE.
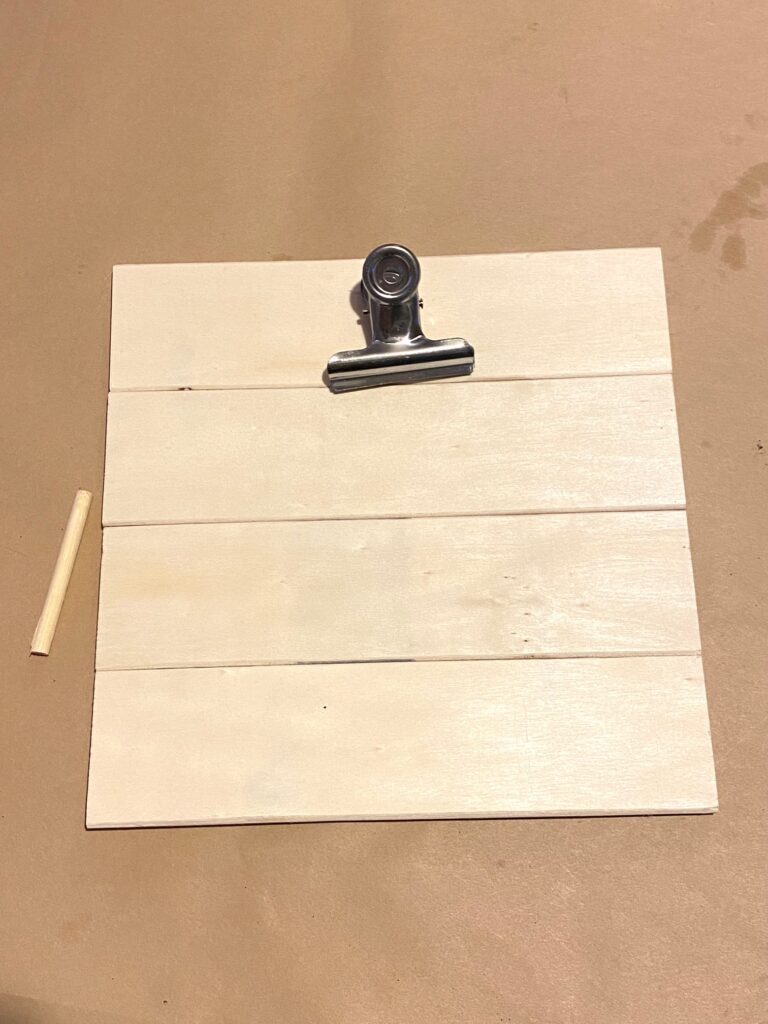
The first thing I did to make this adorable layered frame was paint the wood clip frame with black and white stripes. This was super easy because it is a slatted piece, so you just have to paint every other one white/black. That little clip on the top just rips right off super easy. Don’t worry if it breaks, we won’t need it later so you can just throw it out.
Once that’s done, it’s time to paint the mini Dollar Tree galvanized metal frame all pink. To do this, you have to first take apart the frame. Just pop the back off like you would a regular picture frame.
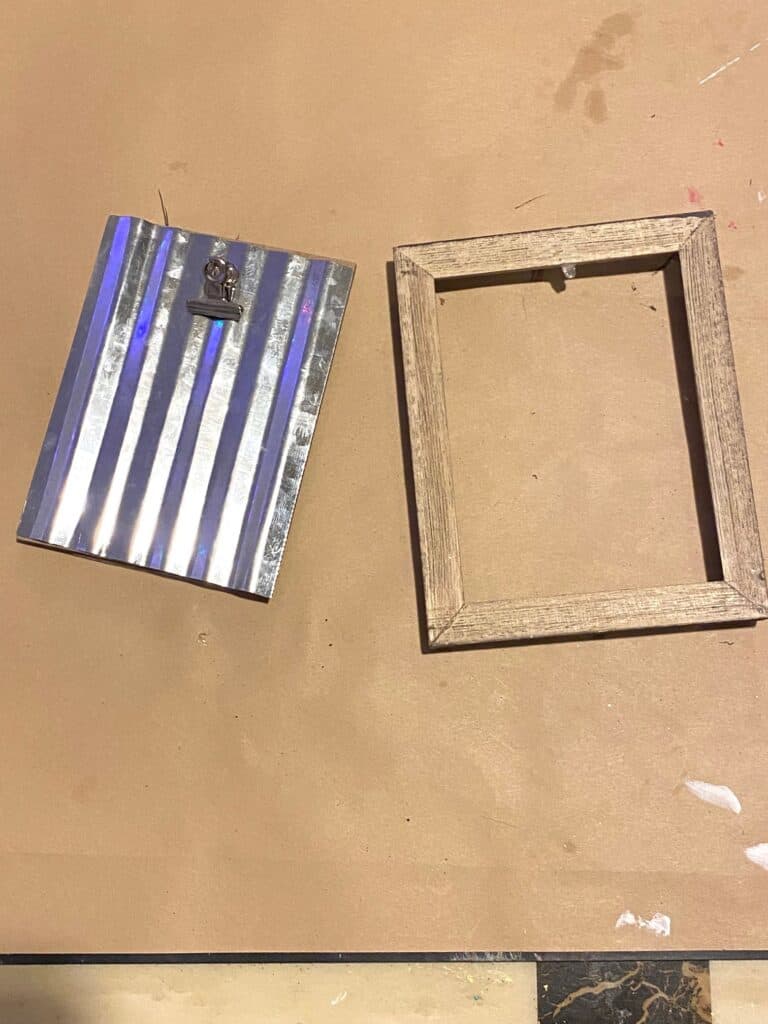
Once you have that apart, you have to take the galvanized metal piece off of the backing. Just grab a mini little screwdriver, and the clip screws right off easy peasy! Save that metal piece for a future project!
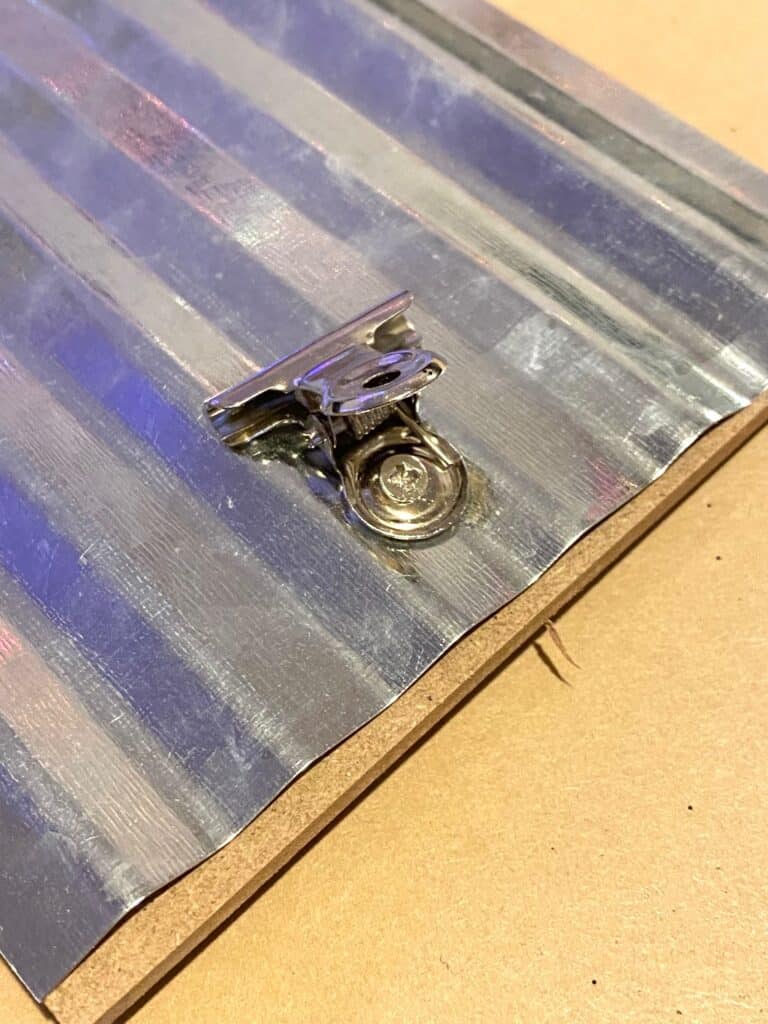
Now you can paint the frame no problem. I used Bright Magenta by Apple Barrell, and I gave it 2 coats.
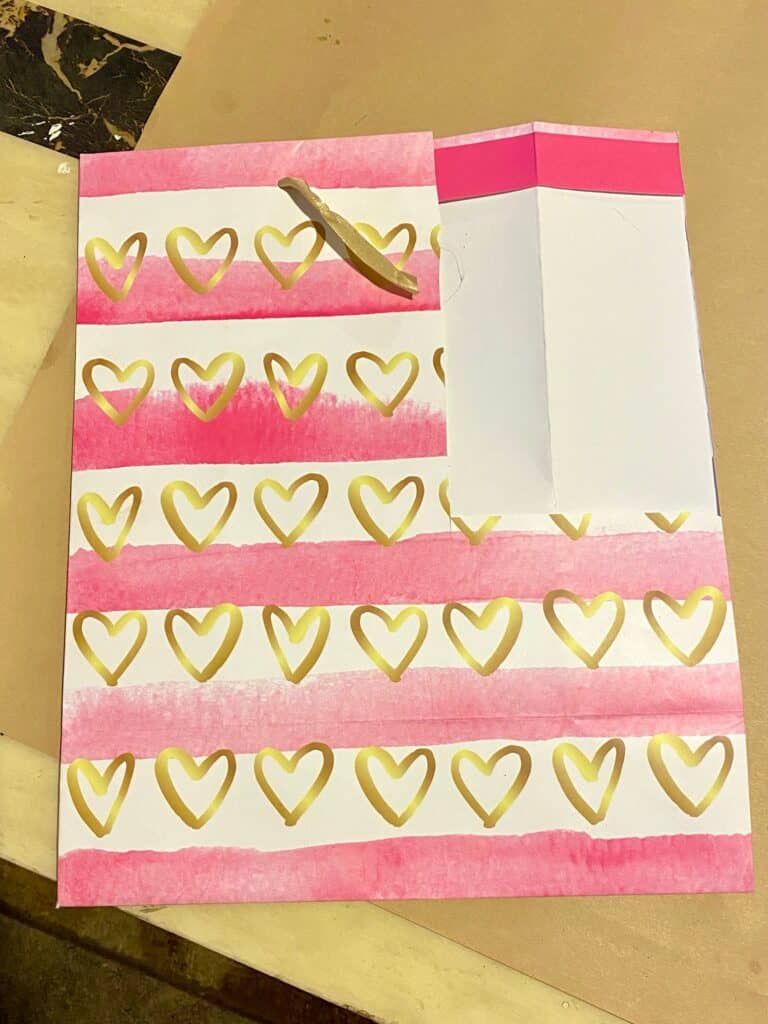
Next, I used the backing to trace on the back of the Dollar Tree gift bag and then cut that out to fit the frame perfectly. Once that’s all cut out, go ahead and Mod Podge that baby right to the backing of the frame so it doesn’t go anywhere!
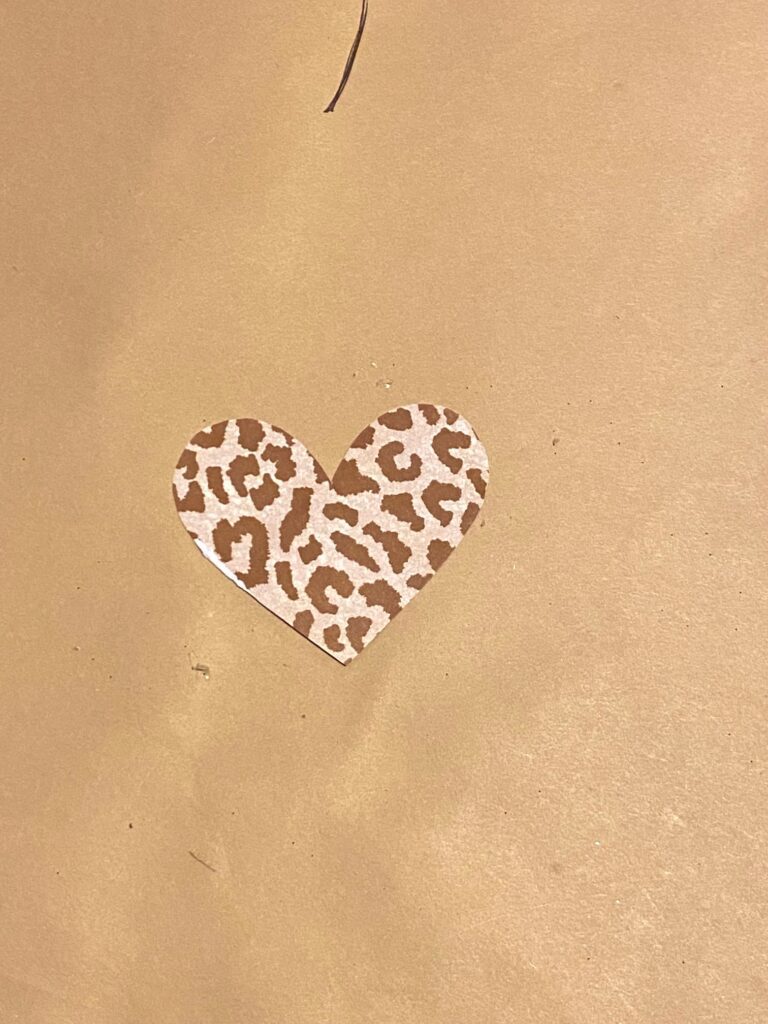
Time to make our Leopard Print heart. You could use a wooden heart if you have one the right size, but I didn’t so I just used a piece of cardboard and traced a heart that was the size I wanted.
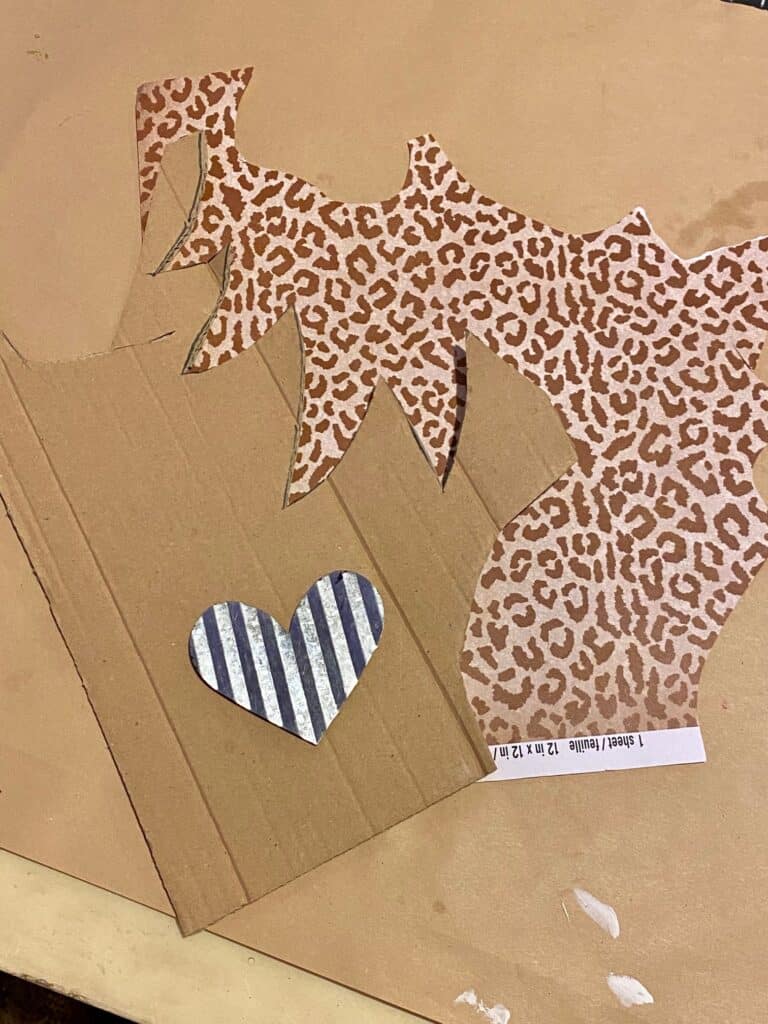
Once you’ve got your cardboard heart, just trace the same heart onto leopard scrapbook paper, cut it out, and Mod Podge it to the cardboard. Now you’ve for a Leopard Heart cutout!
Go ahead and glue your leopard heart to the center of your gift bag in the mini frame. Then glue the entire thing to the black and white painted background. It’s coming together, all that’s left is the bow. (I didn’t get an in between pic)
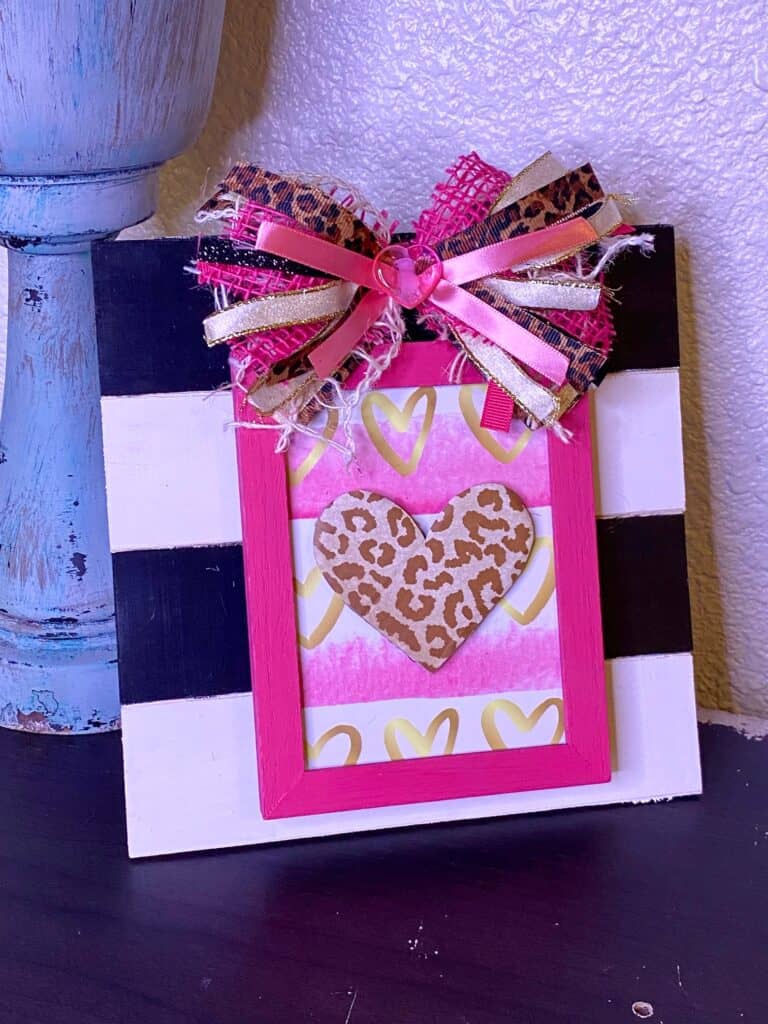
For my Manda Panda Messy Bow, I grab a bunch of variety of coordinating colors, patterns, and textures of ribbon that I want to use. Then depending on how big my project is and how big I want my bow to be (I like big bows and I cannot lie), I cut my ribbons into strips. This project is pretty small, so I cut them about 5-6 inches long.
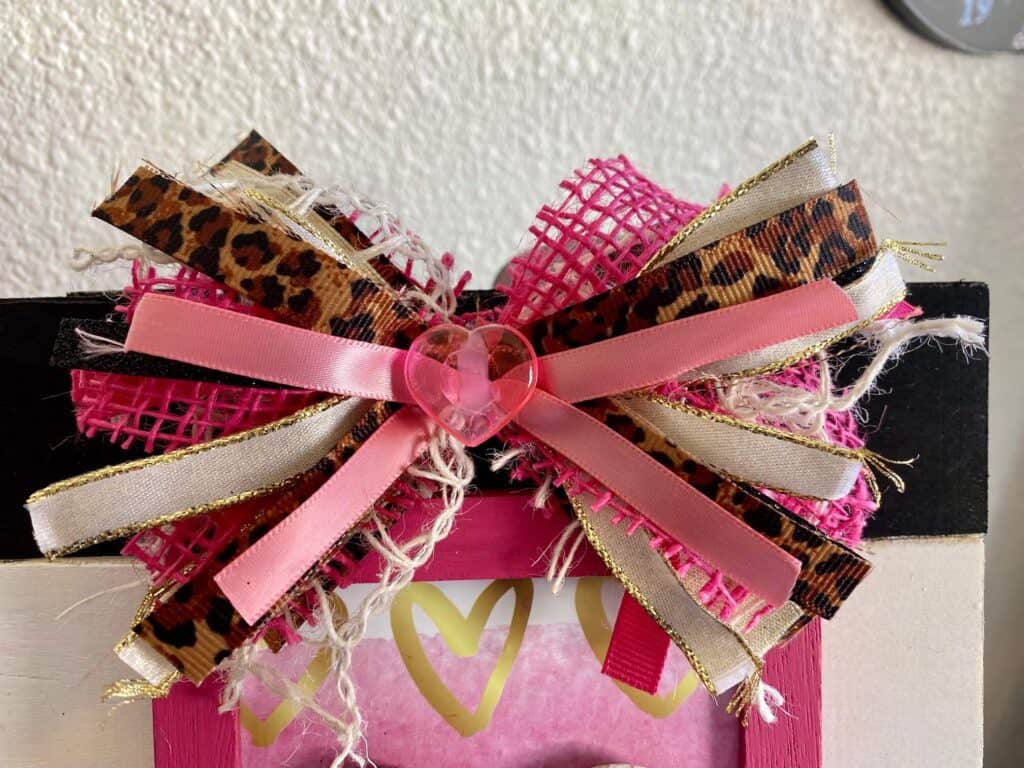
After you cut a bunch of strips, just layer them on top of each other in an X formation, in no particular order just layer layer layer! Use a zip tie around the center, an tighten it as much as possible. You can tie twine or string, but I find that a zip tie works MUCH better. Trim up any wonky pieces and voila! You’ve got your bow, just go ahead and glue it to the top of the frame!
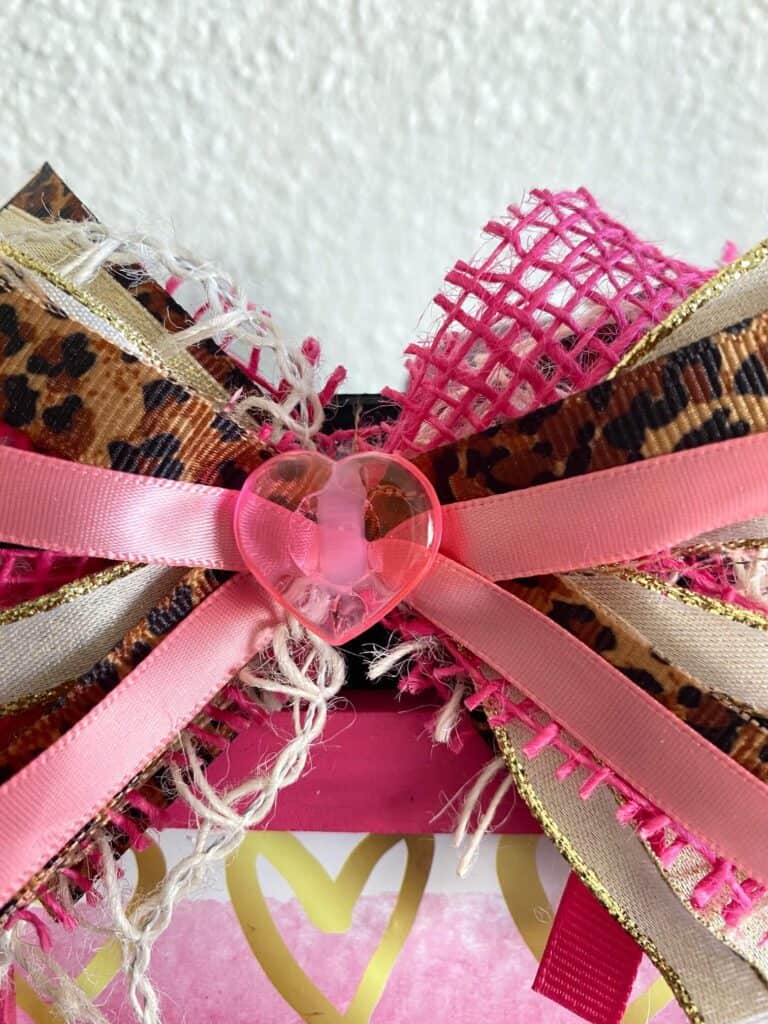
I added a little pink heart embellishment to the center of the bow to finish it off and I think it looks absolutely fantabulous! Those colors are truly a match made in crafty heaven!
Are you going to make this Pink and Leopard Layered Heart Frame for Valentine’s this year? If you do, I’d love to see it! Pop on over to our free Craftspiration Facebook group, and join in on the fun by posting a pic of your completed DIY’s and crafts. I just love to see all your creative and crafty creations!
If you’ve got a million projects on your crafting ‘to-do’ list like I do, than you need my FREE Craft Project Planner so you can plan to make *all the things*! When you sign up for the craft planner, I’ll also send you lot’s of fun, easy, and budget friendly ideas for you to fill it up with!

Free printable Craft Project Planner
Get organized, get inspired, and get crafting, with our free Craft Project Planner!
Until Next Time…
Stay Crafty San Diego!

Love this Pink and Leopard Layered Heart Frame for Valentine’s Day? Make sure to PIN it for later!


