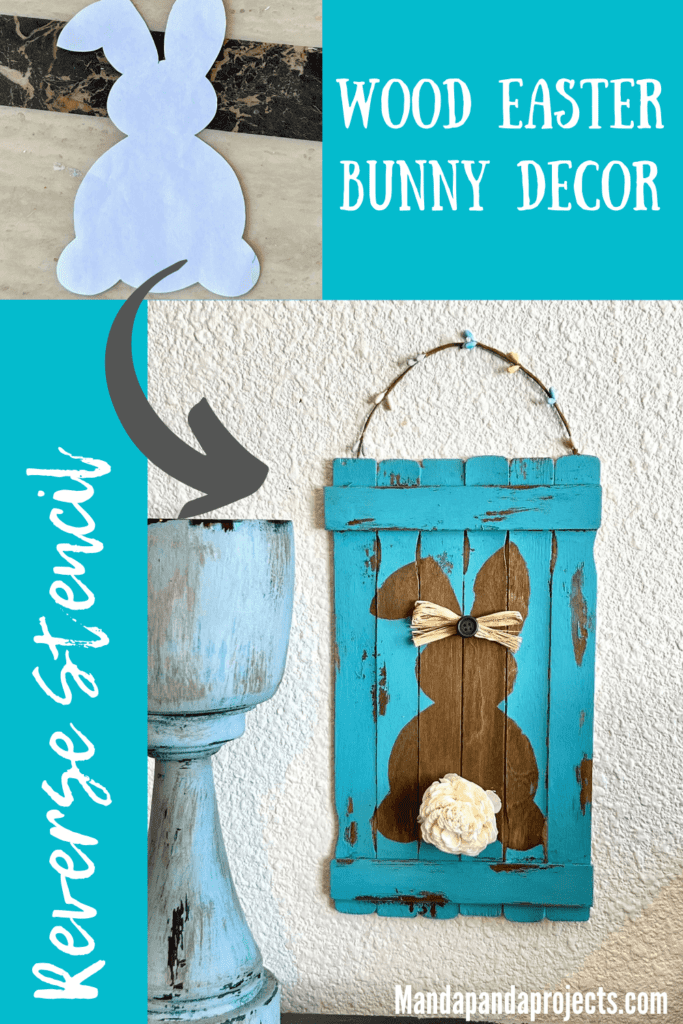
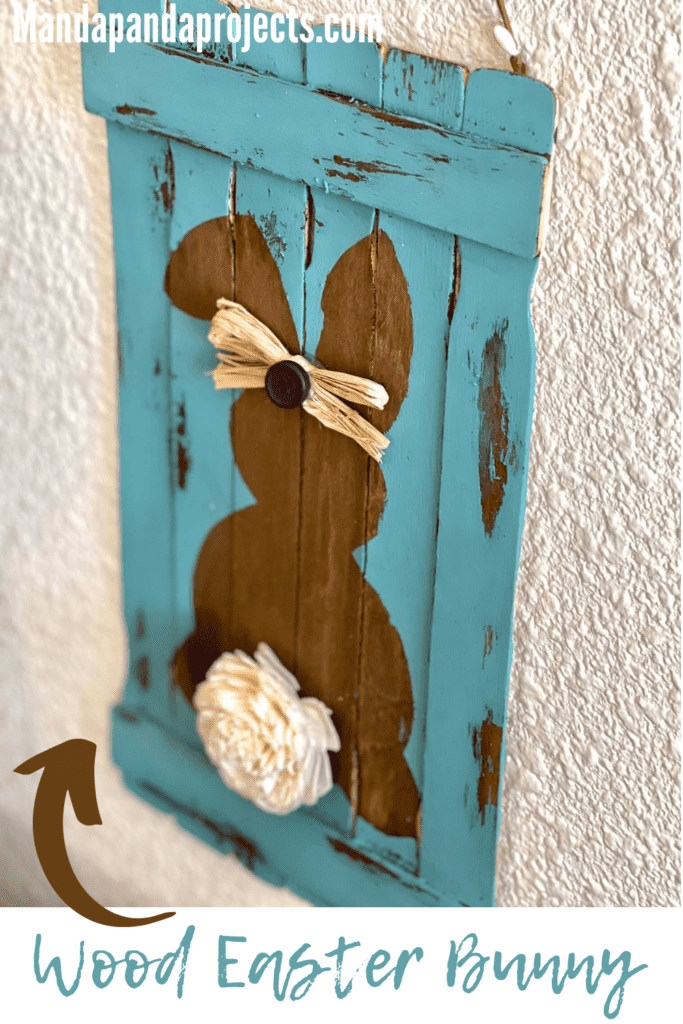
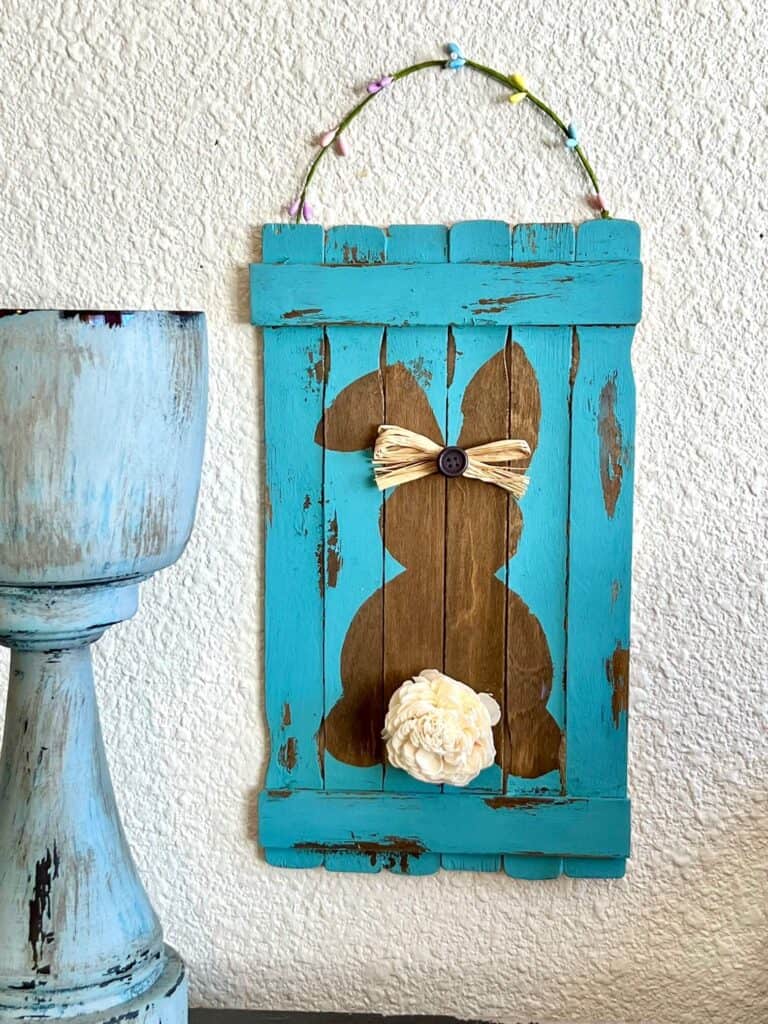
Nothing says “Hoppy Easter” like this Reverse Stenciled Easter Bunny Decor! Don’t worry if you don’t have any Spring or Easter supplies just yet, this wood stained bunny can be made with things that you probably already have in your craft stash. Let’s HOP to it!
I have been feeling a little left out that everyone else’s Dollar Tree is fully stocked for Spring and Easter, but mine is still rocking Valentine’s from aisle to aisle! I am seeing all these spring and Easter hauls and I’m not gonna lie, I’m a little jelly.
At first I was having a pity party saying “I can’t find anything to craft” because I didn’t have any Easter and Spring supplies, but then I snapped myself out of it and said “alright! It’s time to get creative!” and this Reverse Stenciled Easter Bunny was born!
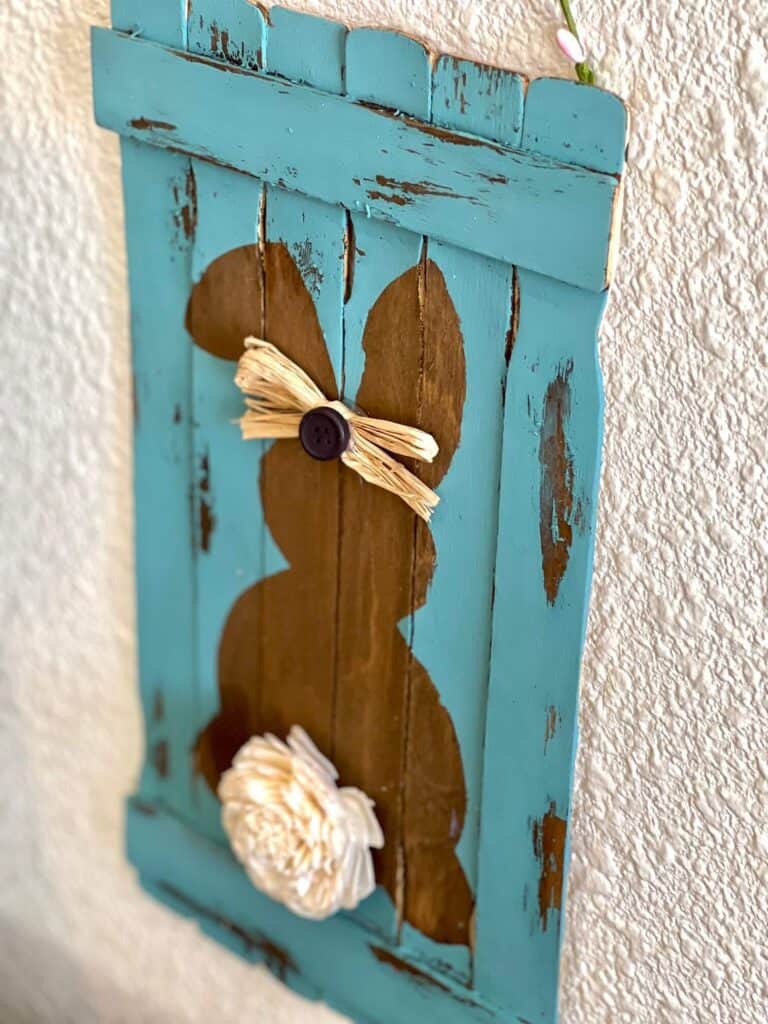
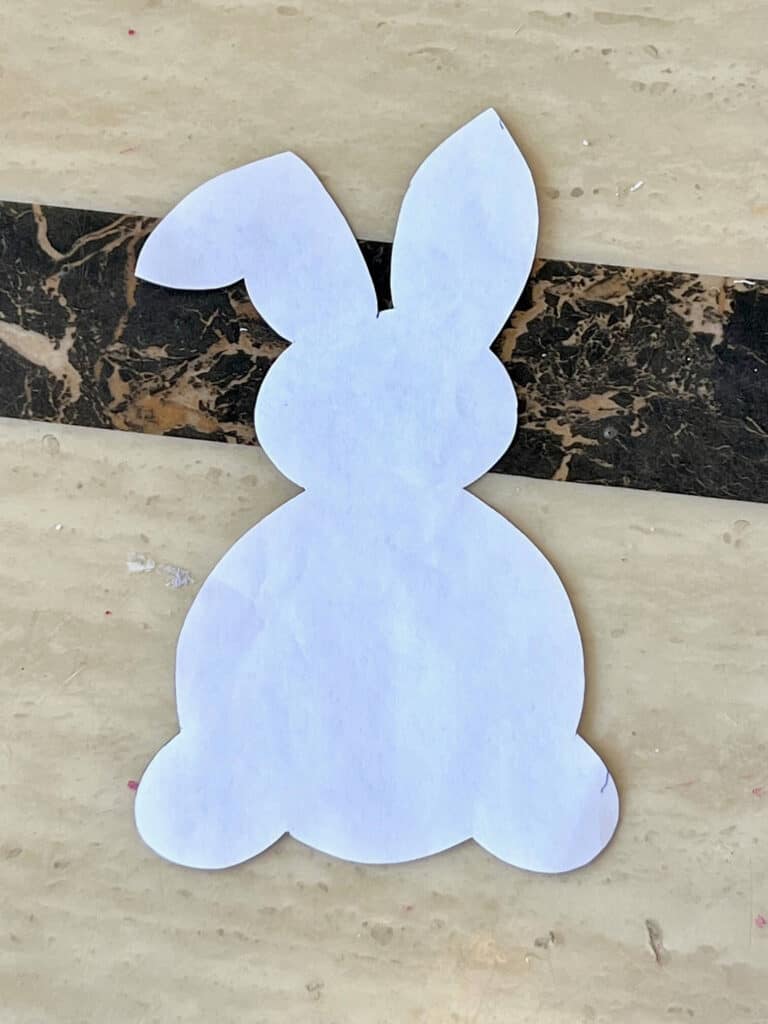
I had to make something Easter-y, without any thing was was technically meant for Easter so I had the idea to do some what of a “reverse stencil” using a free Bunny template that I printed right off of good ‘ole Google. No tail? No problem! Use a wood flower or even some hand dandy cotton balls! Think outside of the box and see what you can come up with.
Last year I used cardboard, a paint stick, and a small grapevine wreath to make an adorable HOP Sign when I didn’t have any Easter supplies. So when there’s a Will there’s a Way!
This post may contain affiliate links for your convenience (which means if you make a purchase after clicking a link I will earn a small commission but it won’t cost you a cent more!)
Supplies Needed to make a Reverse Stenciled Easter Bunny
- 1 gallon (12″) paint sticks – You’ll need 8
- Antique Wax
- Teal Paint – I used Waverly Chalk Paint in “Agave”
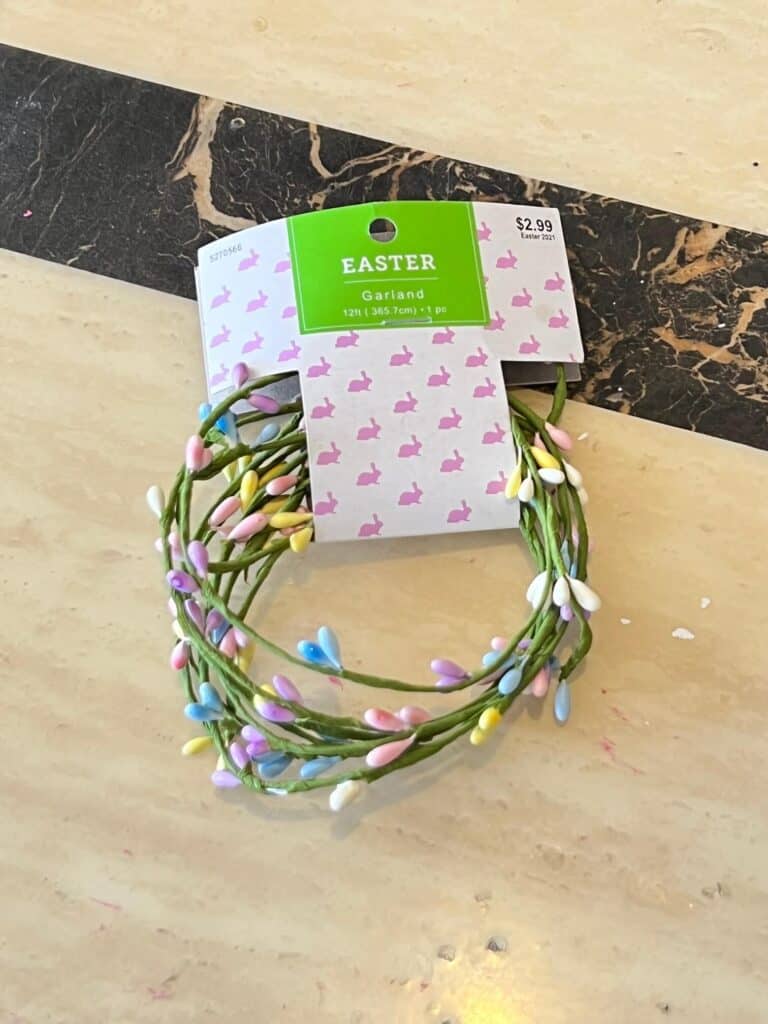
- Easter Pip Berry Garland
- Sola Wood Flower (for the tail) or some sort of bunny tail
- Raffia bow with button
- Bunny Outline template (you can google “free bunny template” and print and cut)
- Cardstock
- Vaseline (to do the paint “chippy”)
- Hot glue gun
How to Make a Reverse Stained Bunny on Paint Sticks
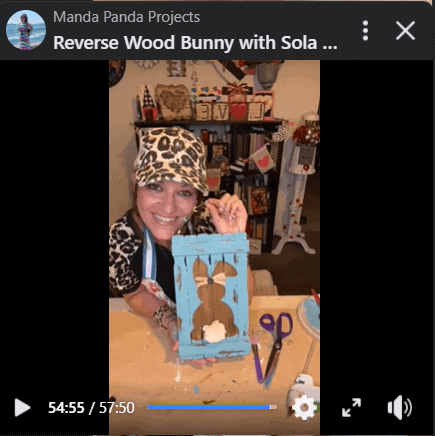
I made this adorable Easter Bunny Reverse Stencil decor on video, so you can WATCH the step by step tutorial HERE.
First, I Googled “Free Easter Bunny Template” and printed this image and cut it out to use as my “stencil”. I traced it onto cardstock to that it was a bit sturdier to work with.
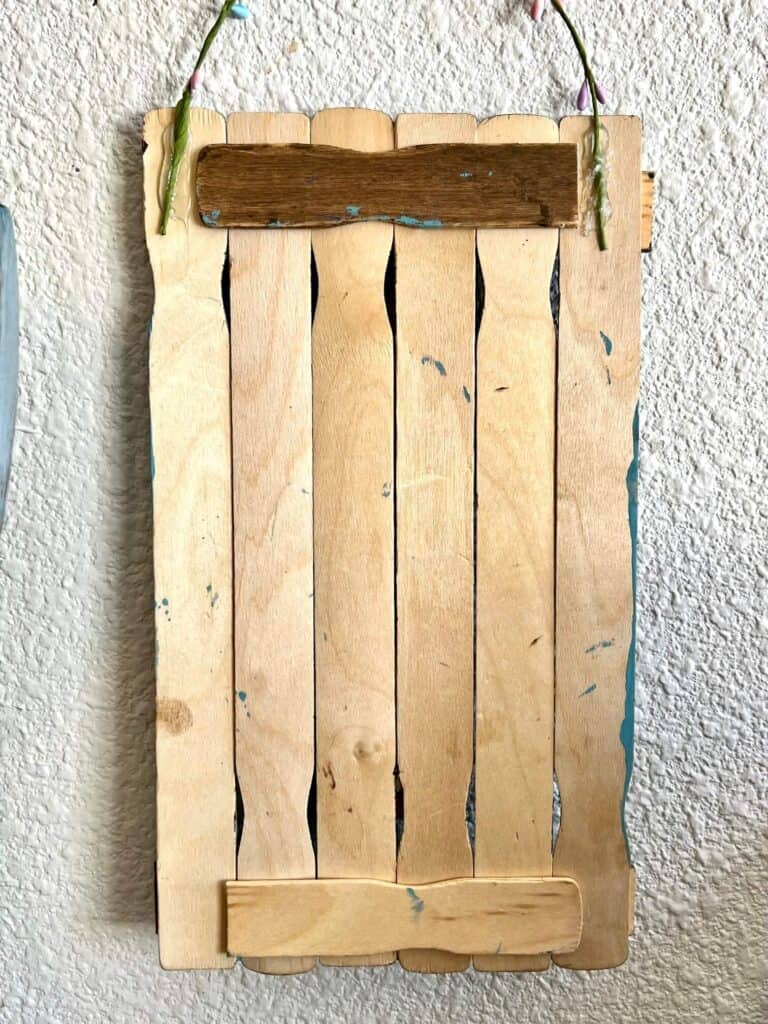
Next, line 6 paint sticks up, alternating the ends with the handles. Cut the handle ends off of the other 2 paint sticks, and glue the long part across the top and bottom of the front of your craft. Then glue the shorter handle parts across the top and bottom of back of the craft like you see below.
Next, stain the entire thing with Antique Wax.
Before painting, you’ll want to add some Vaseline in random parts so that those places will “chip” later on when you scrape the paint. To see exactly how I do this “chippy method” make sure to check out the Facebook Live replay
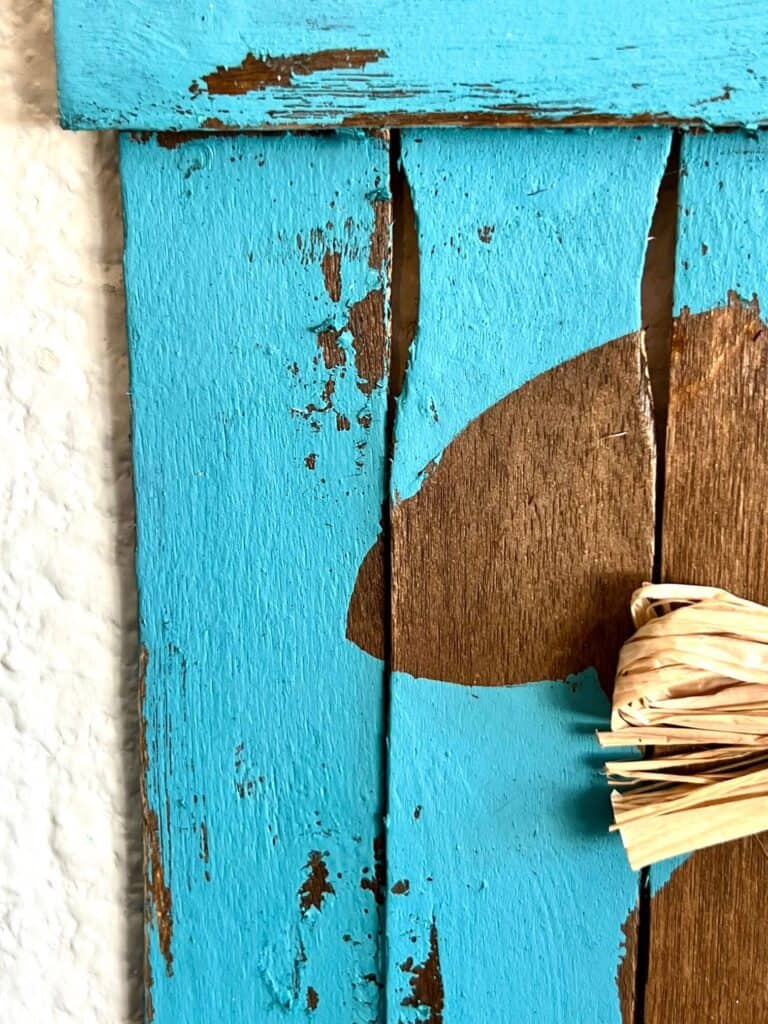
Then, place your cardstock bunny template on the center of your paint sticks and paint the entire thing with whatever color paint you like (white would look beautiful too), so that the bunny outline remains unpainted.
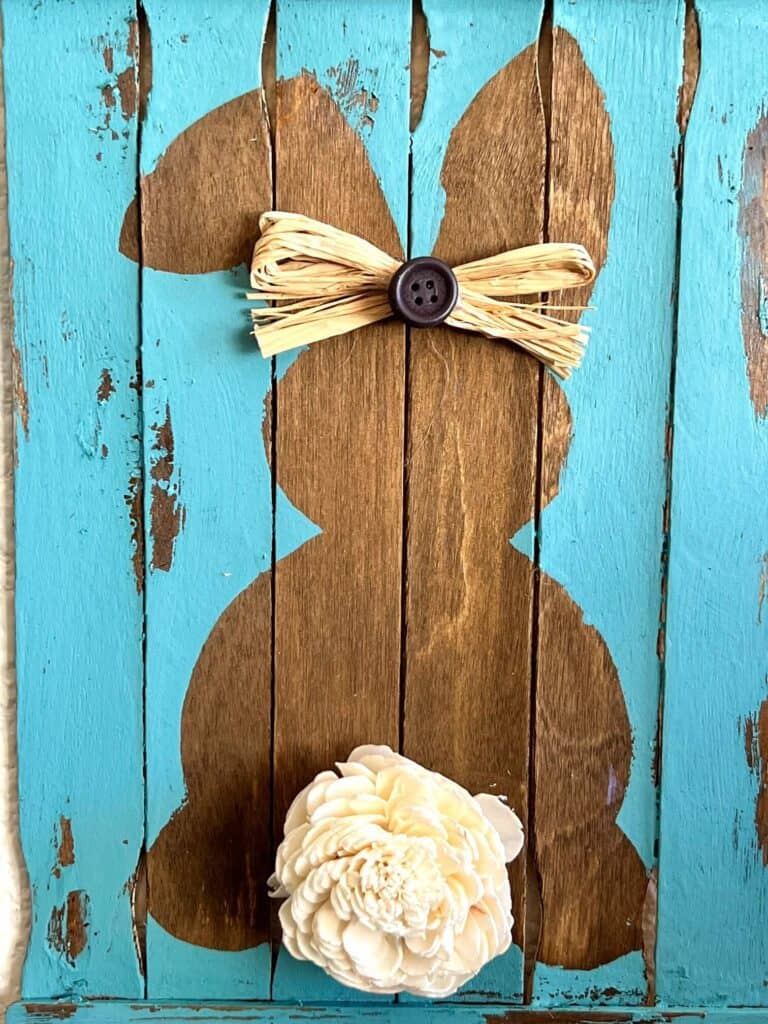
Use a paint scraper and drag it lightly over the surface where the Vaseline was, so that the paint begins to come off and chip in those spots. You can chip it as much or as little as you like.
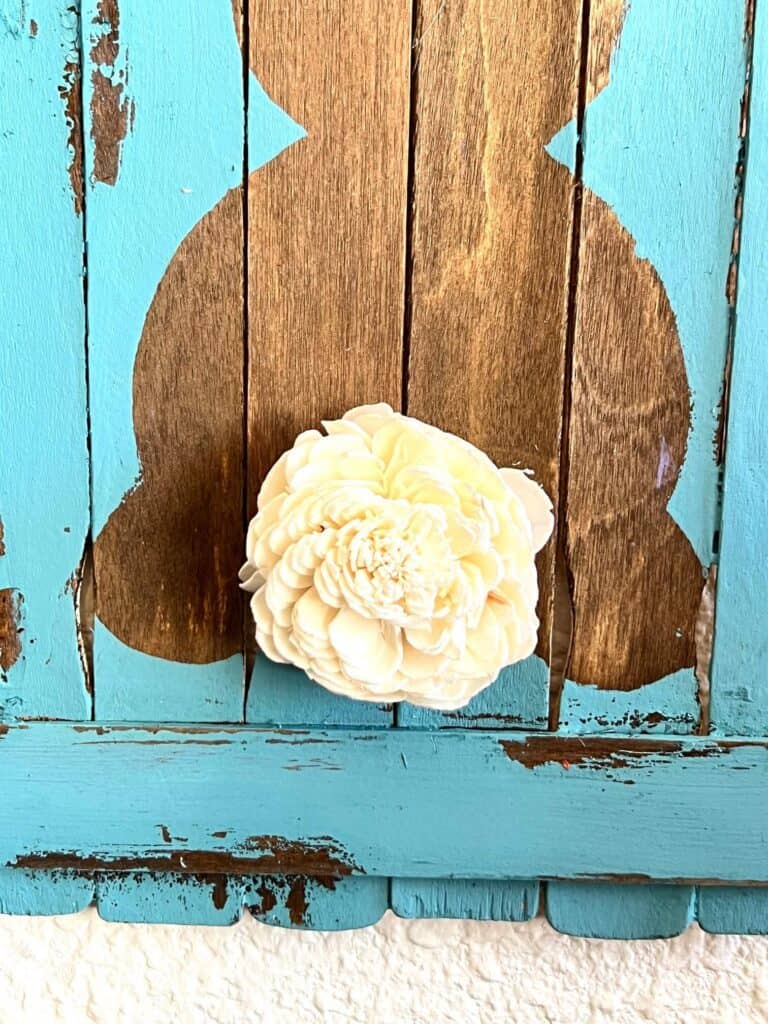
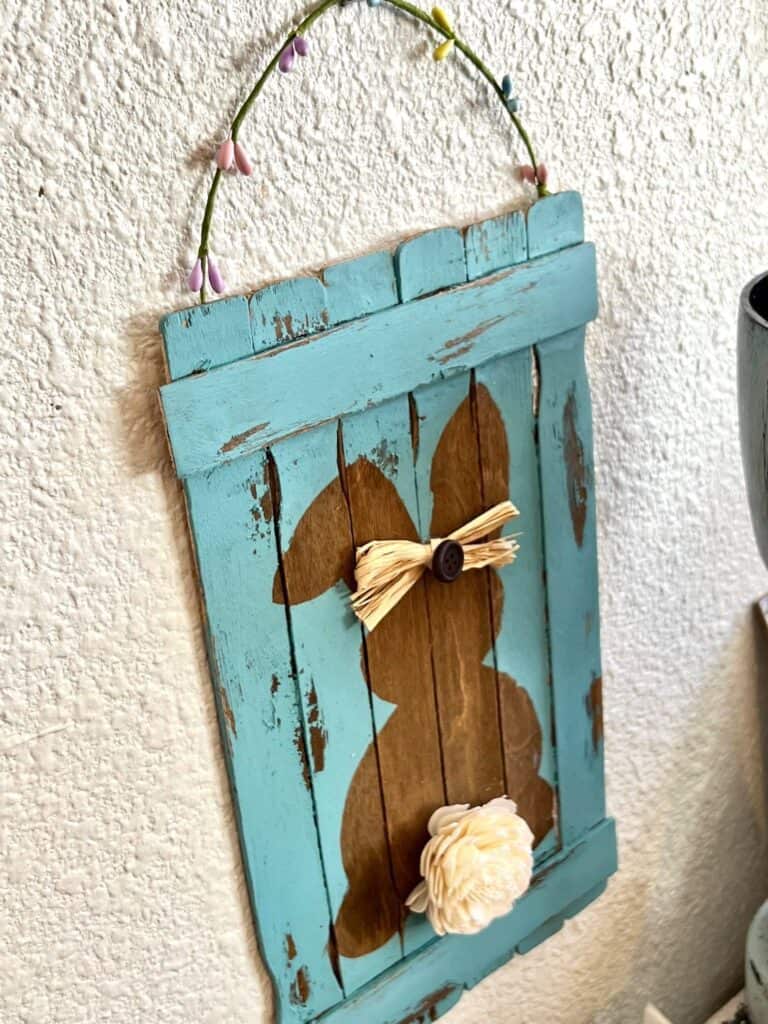
Glue a Sola Wood Flower as a tail.
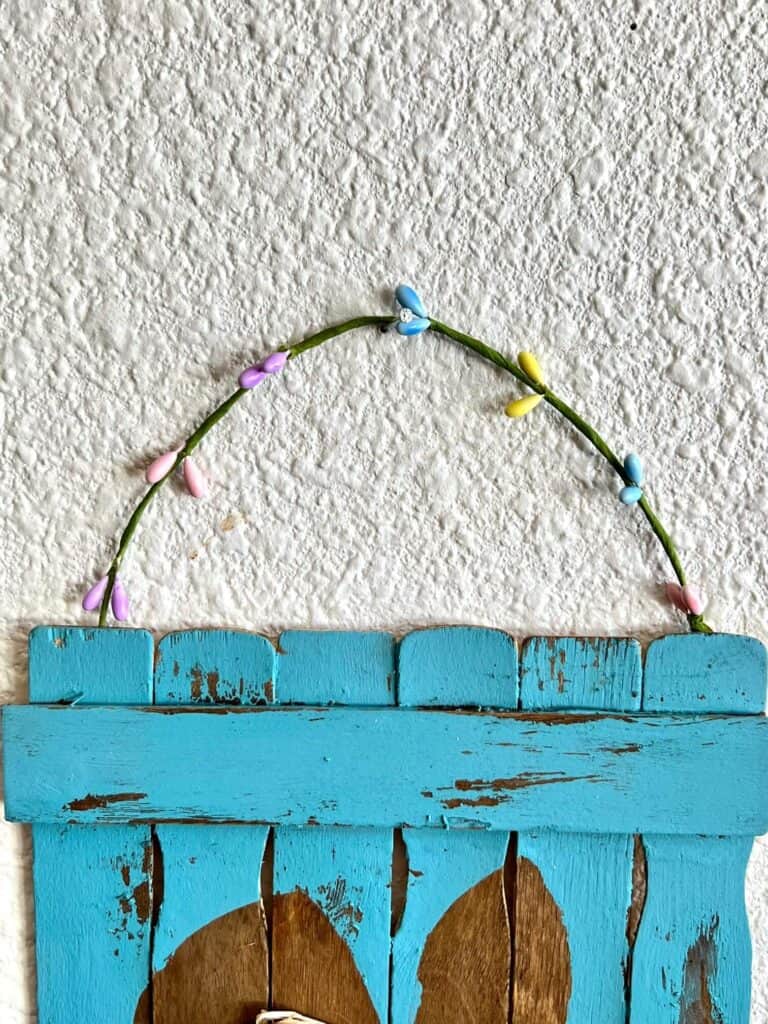
Glue a piece of Easter Pip Berry Garland as the hanger.
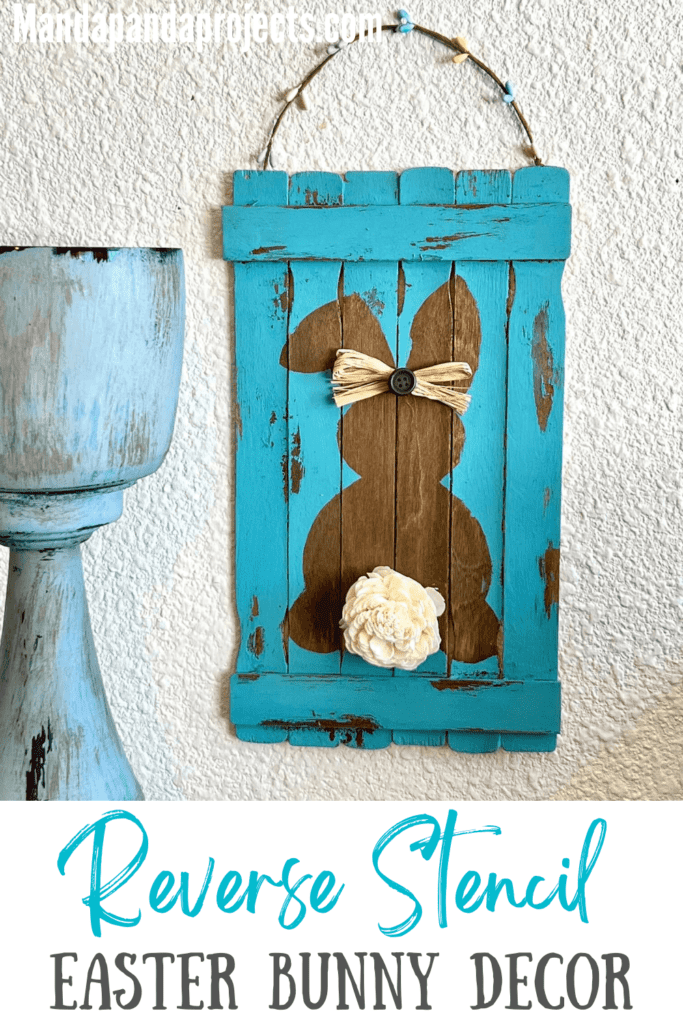
For the finishing touch, add a little raffia button bow in her ears. Look how incredibly adorbs this Reverse Stenciled Easter Bunny turned out!
Are you going to make this Reverse Stenciled Bunny for Easter or Spring this year? If you do, I’d love to see it! Pop on over to our free Craftspiration Facebook group, and join in on the fun by posting a pic of your completed DIY’s and crafts. I just love to see all your creative and crafty creations!
If you’ve got a million projects on your crafting ‘to-do’ list like I do, than you need my FREE Craft Project Planner so you can plan to make *all the things*! When you sign up for the craft planner, I’ll also send you lot’s of fun, easy, and budget friendly ideas for you to fill it up with!

Free printable Craft Project Planner
Get organized, get inspired, and get crafting, with our free Craft Project Planner!
Until Next Time…
Stay Crafty San Diego!

Love this Reverse Stenciled Easter Bunny Decor? Make sure to PIN it for later!

