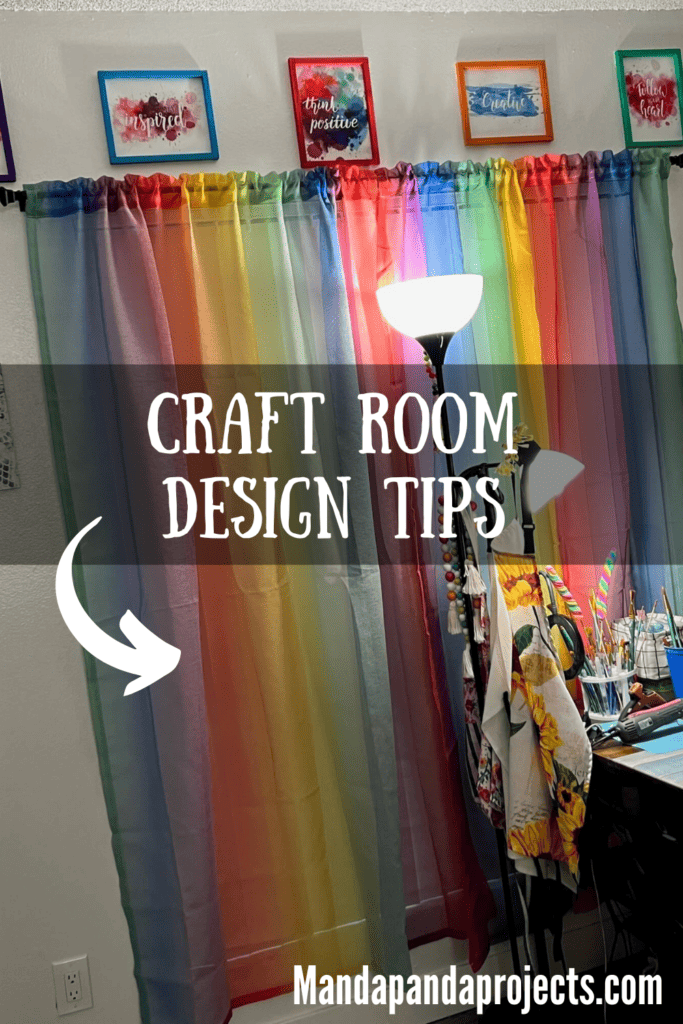
If you have a huge passion for crafts, having a craft room to disappear into from time to time will be absolute bliss. You can make whatever you like in there, as you’ll have everything you need set up and prepared for use. Shut the door behind you to block the world out and cut, stick, sew, and paint to your heart’s content.
Designing a room for crafts takes a bit of DIY know-how; you want to make this room look good, but it also needs to be the most convenient place in your whole house. You’re going to need to store a lot of things here, after all. And if you’re like me, then you want it to be CUTE too. Which is why my room is rainbow of course!
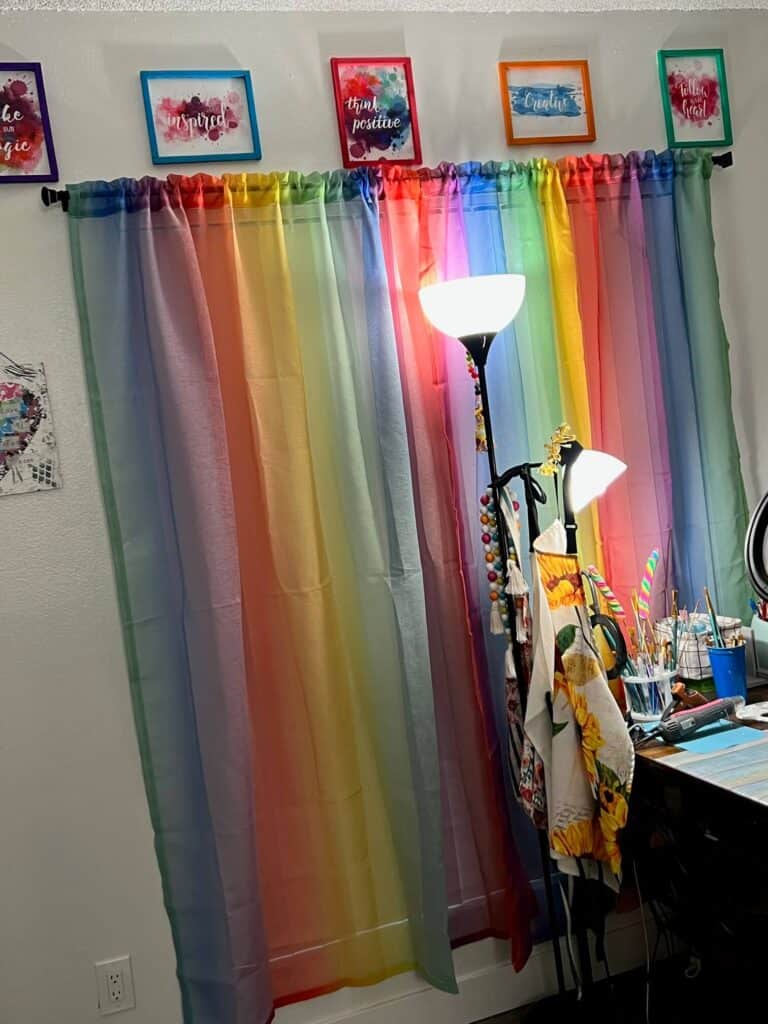
Don’t worry about how much space you have. Even if you’ve got a tiny box room, you can turn it into a brilliant crafting space that’s just for you! Indeed, turning it into a crafting center is one of the best ways to get some practical use out of the space! In fact, my craft room is actually only half of a room, it’s a craft/bedroom!
So, does a crafting paradise sound like a good idea? Then here are some ideas for making it a reality.
Make Sure Your Table is Large Enough
The desk you’re planning to use in your crafting room needs to be wide. It needs to have plenty of space to it, so you can fit desk files, organizers, and various crafting supplies along the back.
This then needs to leave you plenty of room across the front length of the desk, to ensure you’ve got room to unroll yards of fabric and other unwieldy materials. So, whatever size table you’re thinking of right now, see if you can get one that’s at least a quarter size bigger.
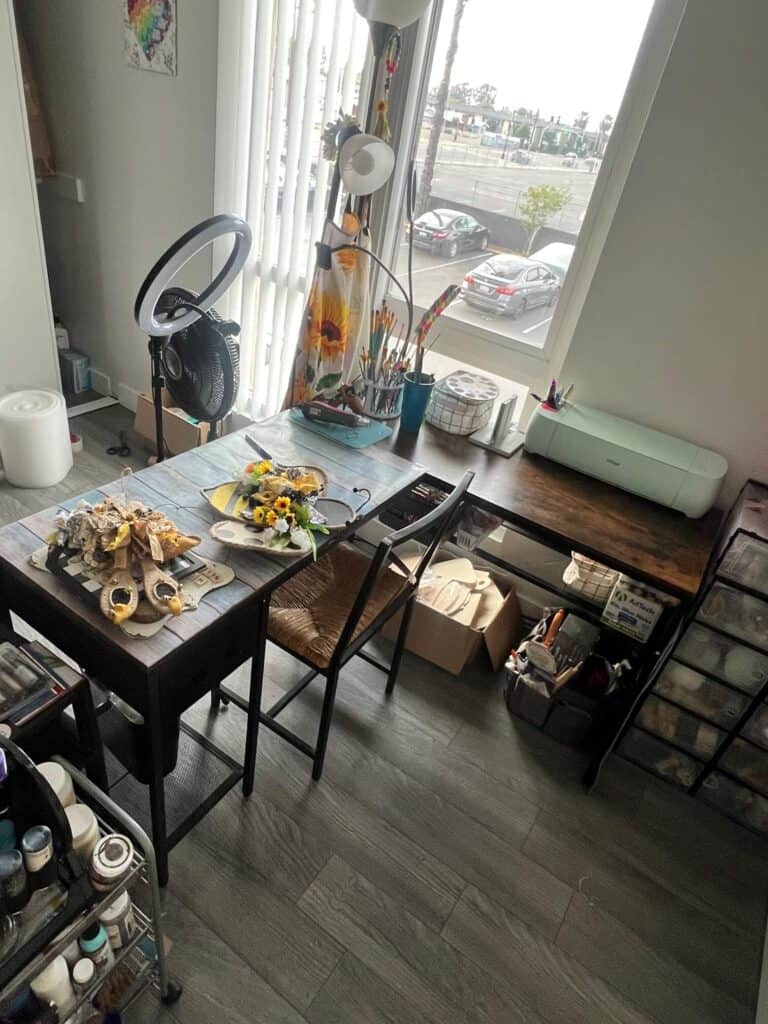
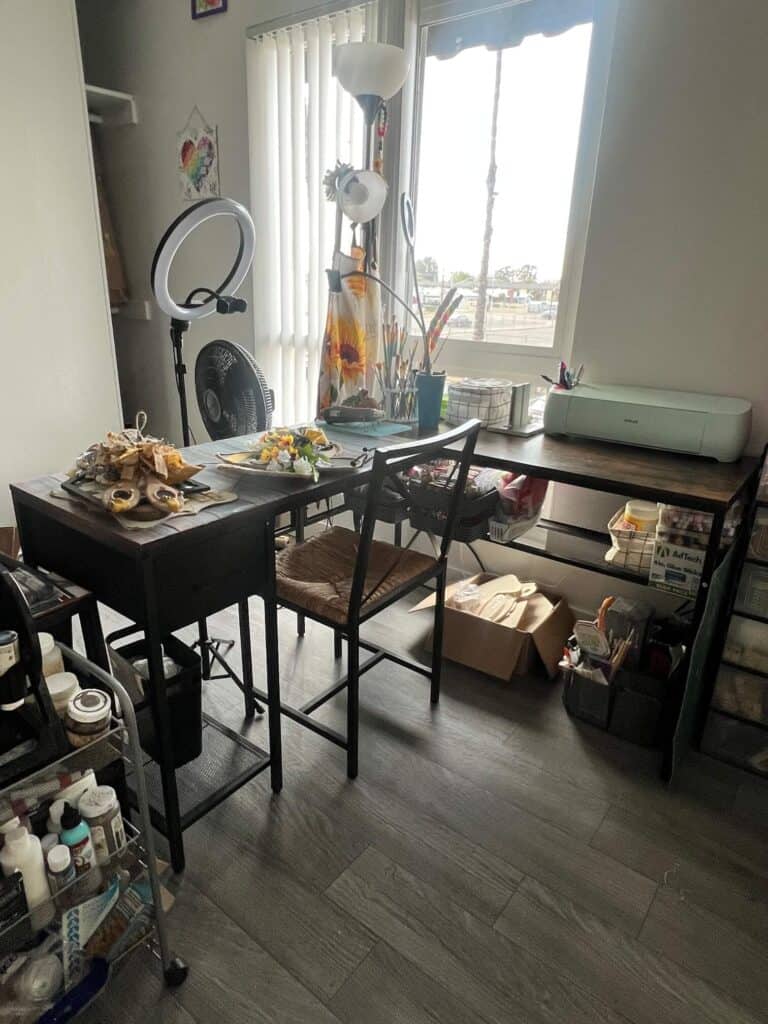
I prefer an L-Shaped desk like the one above, which easily hold everything I need it to.
Fit More Shelves Than You Think You’ll Need
Just like with the size of the table you’re going to use, you’re probably going to need two or three more shelves than you’re planning on fitting. If you can fit a tall bookshelf into the room, that’s great news. This’ll give you a lot of storage space that’s self supporting, which can then have extra shelves fitted around the sides.
But if you can’t, it’s no worries. Use cubby holes, floating shelves, and even a hanging rack fitted from the ceiling. Pack it in as close to eye height as you can and then arrange your supplies as you like.
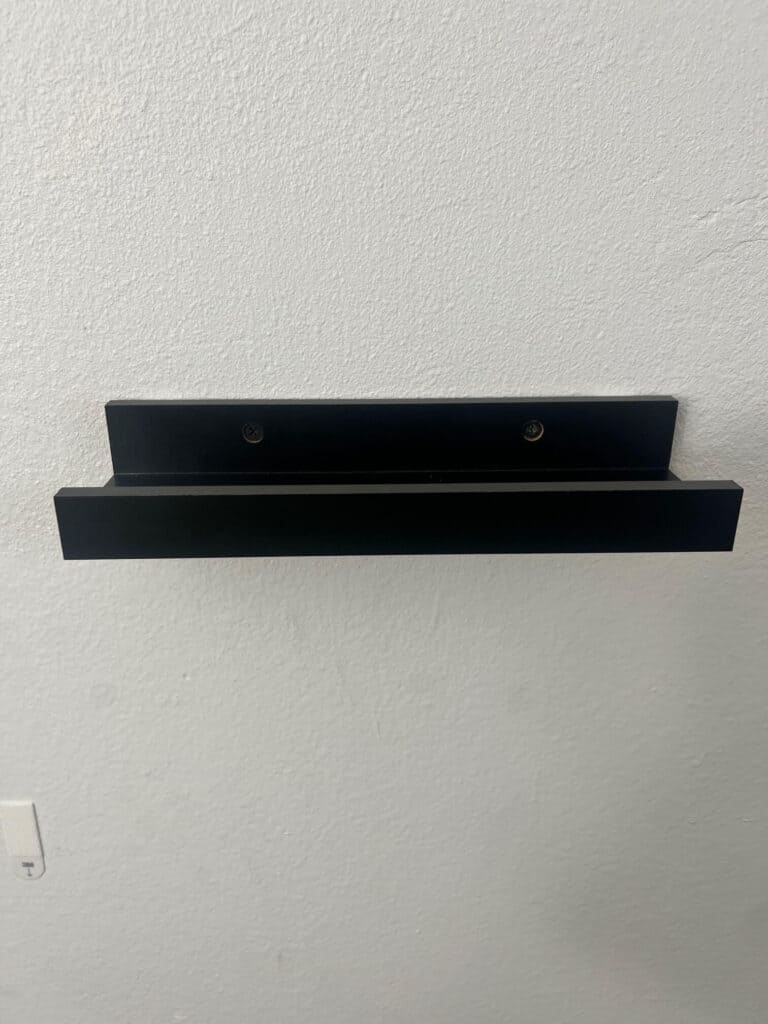
I have a set of floating shelves like you see above, and these work perfect to display your completed projects.
Separate Your Room for Different Crafting Purposes
Separating your room for different crafting purposes keeps the space multi-functional. You won’t have to move anything around to fit back and forth between your creative hobbies.
Set up stations, as it were. In one corner of the room you can fit a sewing and embroidery machine, and then place the appropriate accompaniments around it. In the opposite corner is your art station, where your easel and painting supplies sit.
You can then assign either of the other corners to various other activities that are easy to swap in and out. Items for needle felting and collage making, for example, can be stored and used in the same corner.
Put Up a Cork Board
A cork board is great for keeping the room organized. You can pin up anything that’s in progress here, as well as supply lists, to-do lists, pens and pencils, and literally any loose bits you can’t think to put anywhere else.
Think of a cork board as some easy extra storage. If you already have a hanging organizer above the desk, where items can be easily fitted thanks to all the small holes, the cork board is the sidekick. You’ll thank yourself for investing in one down the line!
Keep Your Lighting Close
You’re likely to already have an overhead light in your crafting room, but you’ll also want to fit some wall lights, fairy lights, and a couple desk lamps as well. You want the light to come close to you so you can see everything you’re doing.
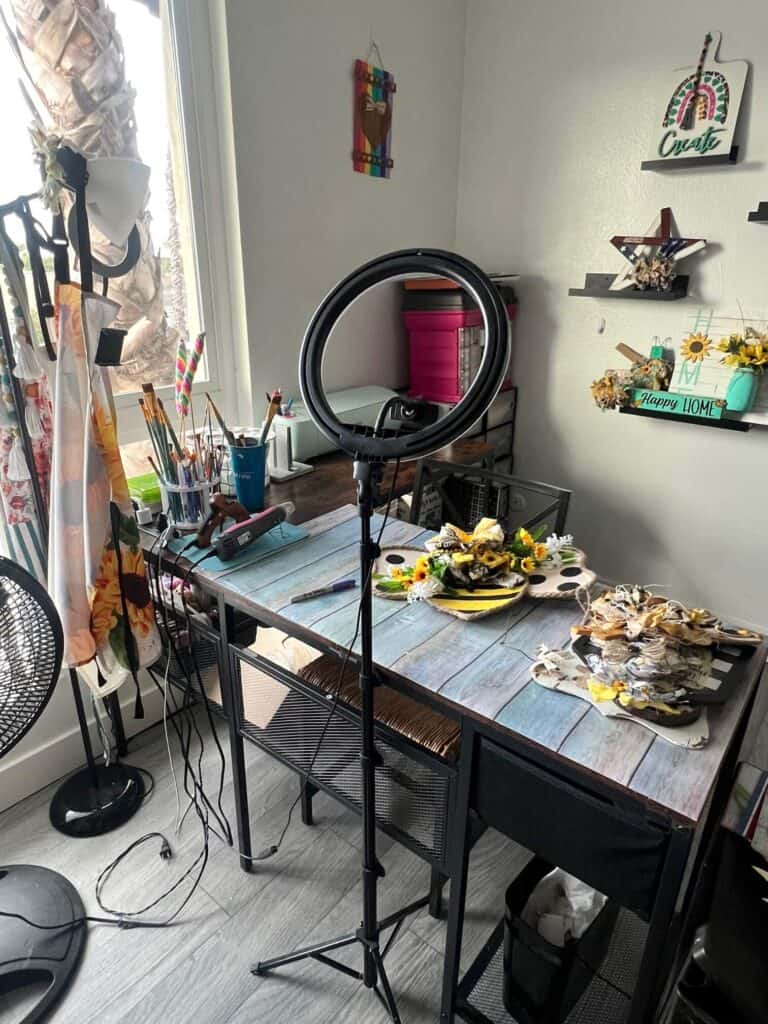
You may also want to get a lightbox that can be used under any project you’re doing, so you can illuminate the item from both sides. This is great for any drawing based pieces, but it’s useful in any number of crafting projects with various materials.
Store Your Supplies in Easy to See Containers
When they’re stored in see-through containers, and each container is separately labelled as well, you’re never going to lose a thing! Seriously, make sure you apply both methods here. You want your crafting room to be an easy place, and if you can instantly spot the things you need thanks to both a visual and a label, you’ll barely have to move out of your seat.
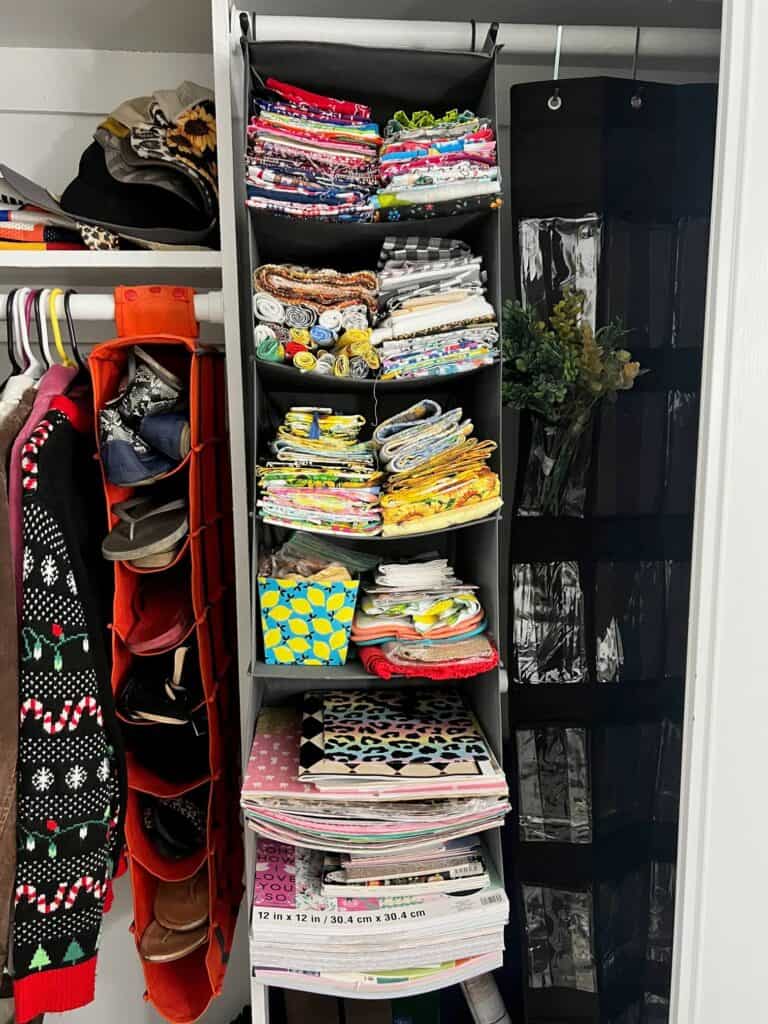
Get creative with your storage! Below, you can see a hanging clothes organizer used for fabric and scrapbook paper. This saves room in the actual design and keeps supplies out of the way and in the closet. This only works if you have a closet in your craft room, of course.
Hang a Rail
If there’s no room left on your craft organizer, or your cork board is a bit full up with ideas at the minute, having a rail hung beneath both can save a lot of space and frustration! You can just reach up to pull something out, like a tool or a pencil, and you can pop it straight back in when you’re done.
Put the things you use the most on this rail, in pots with little handles so they can be removed and replaced too. A crafting paradise helps you to stay in the moment with your creative pursuits, as losing focus can be a disaster!
Make Sure Your Chair is as Comfortable as Possible!
You don’t need a hard desk chair here! You want to be comfortable, with some good cushioning and lumbar support – you’re likely to be hunched over working on things for hours at a time. If you don’t have something there to keep your back straight, you might end up with an injury before too long!
If you want to include a crafting in your home, design it around the things you want to do. Make sure you’ve got enough storage, a good flat surface to craft on, and an easy design board for posting your visions onto. And remember, you deserve to have a comfy seat in there as well!
Are you going to design a craft room you love? If you do, I’d love to see it! Pop on over to our free Craftspiration Facebook group, and join in on the fun by posting a pic of your Tiered Trays, DIY’s and crafts. I just love to see all your creative and crafty creations.
If you’ve got a million projects on your crafting ‘to-do’ list like I do, than you need my FREE Craft Project Planner so you can plan to make *all the things*! When you sign up for the craft planner, I’ll also send you lot’s of fun, easy, and budget friendly ideas for you to fill it up with!

Free printable Craft Project Planner
Get organized, get inspired, and get crafting, with our free Craft Project Planner!
Until Next Time…
Stay Crafty San Diego!

Love this Craft room Design post? Make sure to PIN it for late
