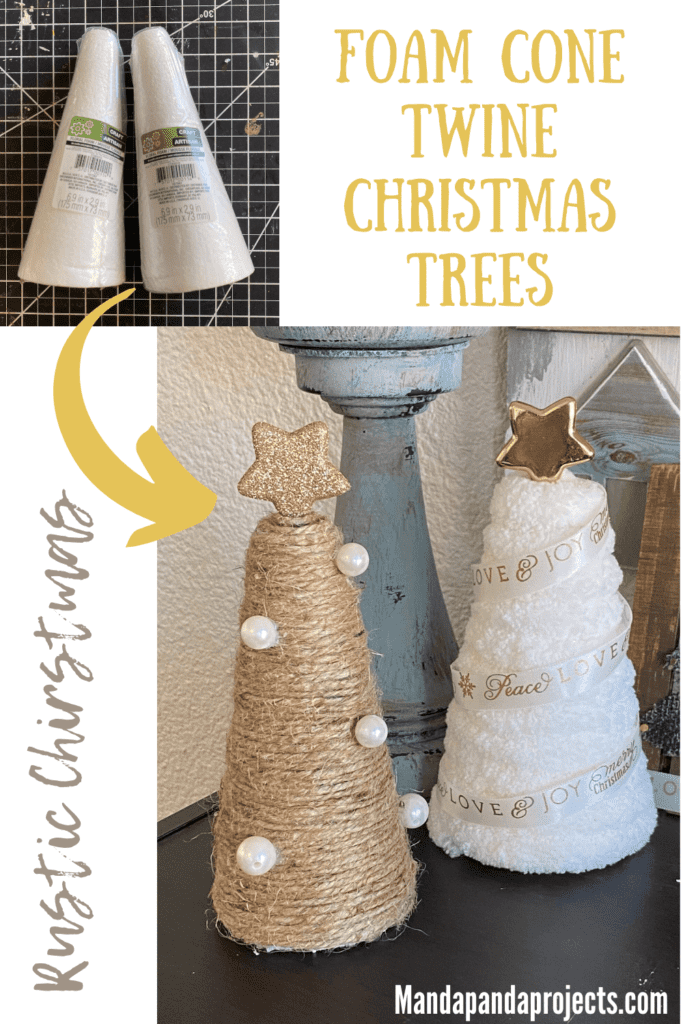
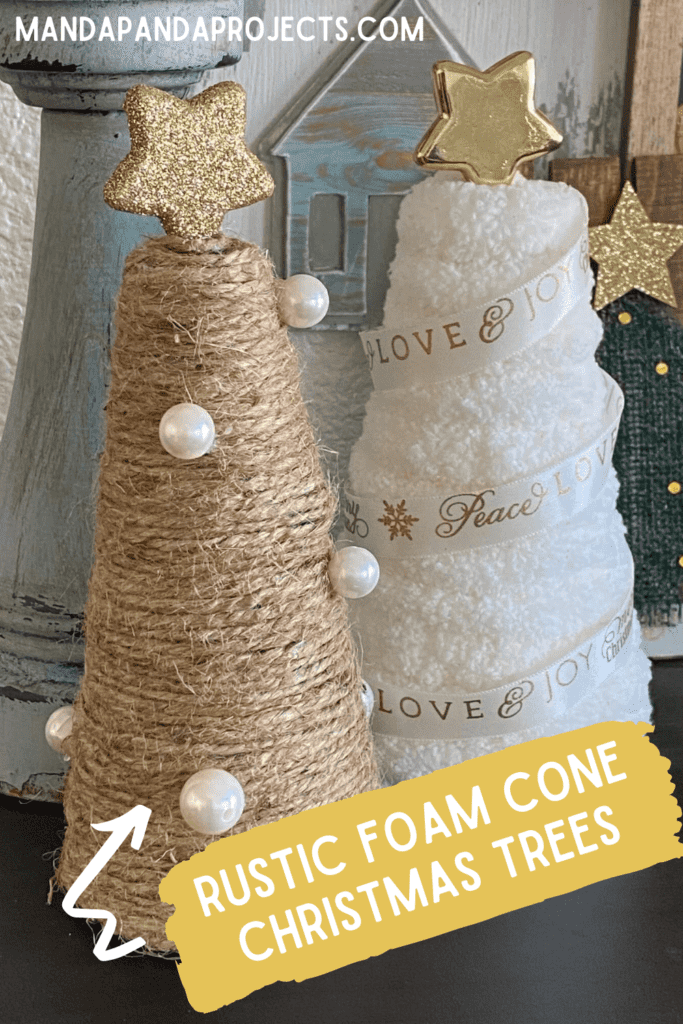
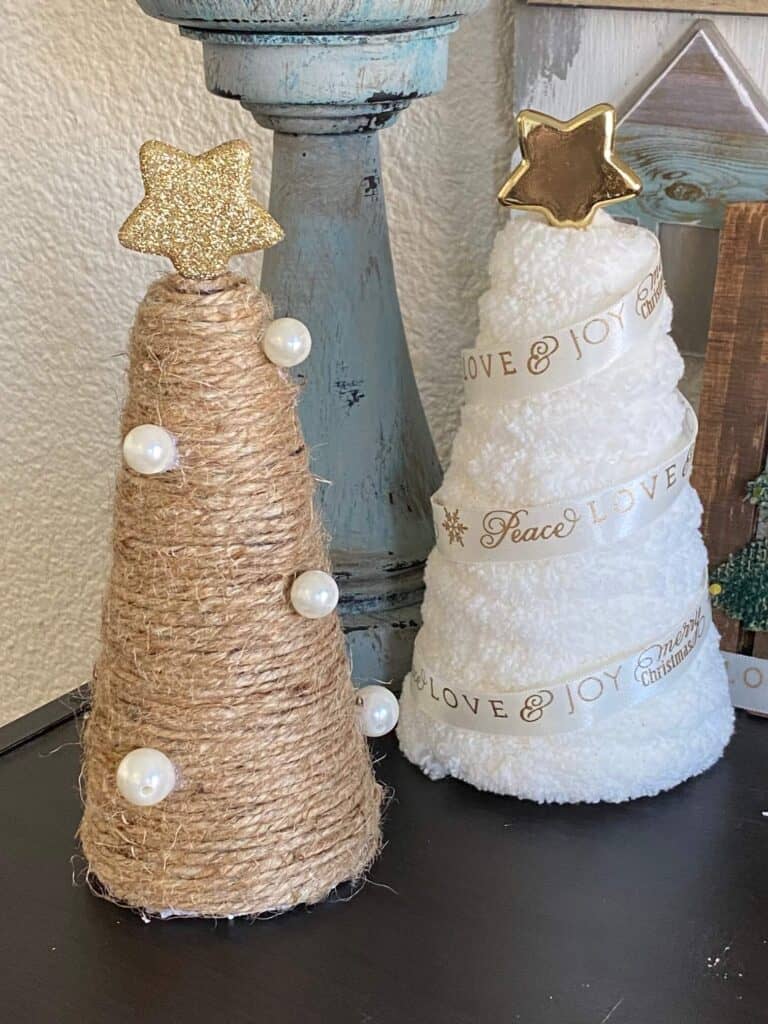
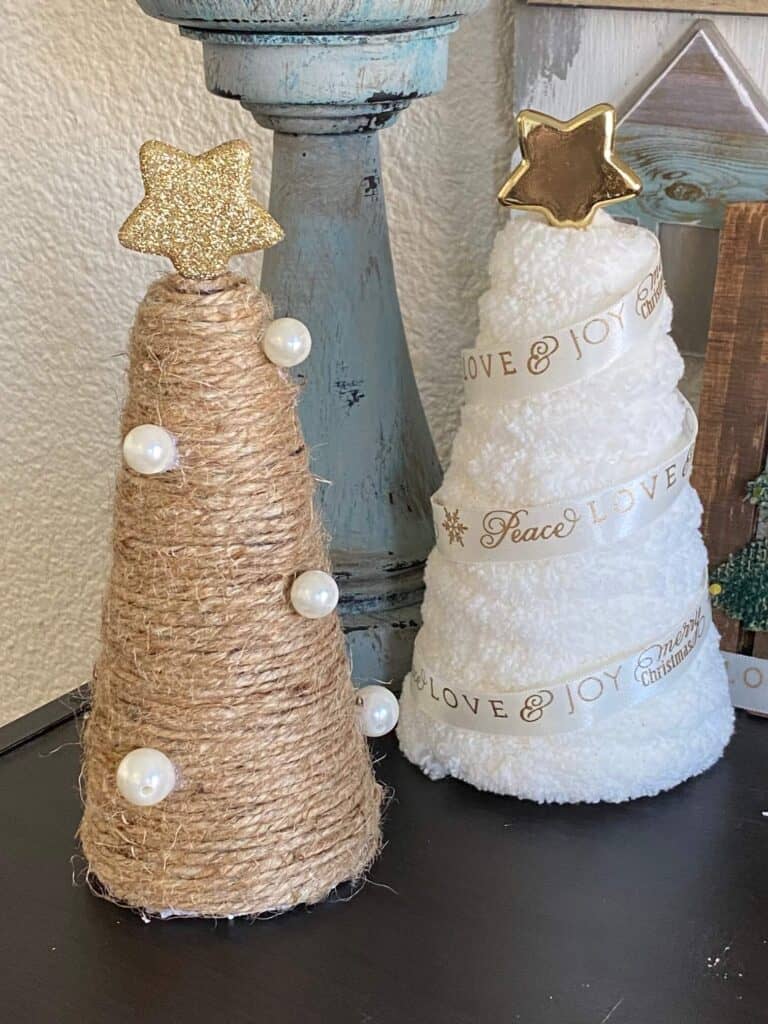
Make just one, or make a handful, but either way these Rustic Twine Foam Cone Christmas Trees are the perfect addition to your DIY Christmas Decor this year. There a mix between rustic with the twine, and elegant with the pearls. A match made in crafty heaven!

Looks are not always as the same and that is definitely the case with these Rustic Twine Foam Cone Christmas Trees. They look as if they cost a pretty penny over at the Hobby Lobby. But they were actually made from mostly Dollar Tree supplies! Win Win!
There’s just something about the twine, gold and pearls that goes so well together. These easy to make Christmas Trees will add all the Rustic Charm you’re looking for in your decor. And let me tell ya, I’m a sucker for some #RusticCharm.
And if you’re not going Rustic for your Christmas decor this year, you could totally mix these up to match your decor. You could wrap them in traditional green, or all white for a neutral farmhouse look. I made mini foam cone versions of these for my tiered tray and went a totally different direction making them Black, White, and red! The choice is yours and the possibilities are endless.
This post may contain affiliate links for your convenience (which means if you make a purchase after clicking a link I will earn a small commission but it won’t cost you a cent more!)
Supplies Needed to make Rustic Foam Cone Christmas Trees
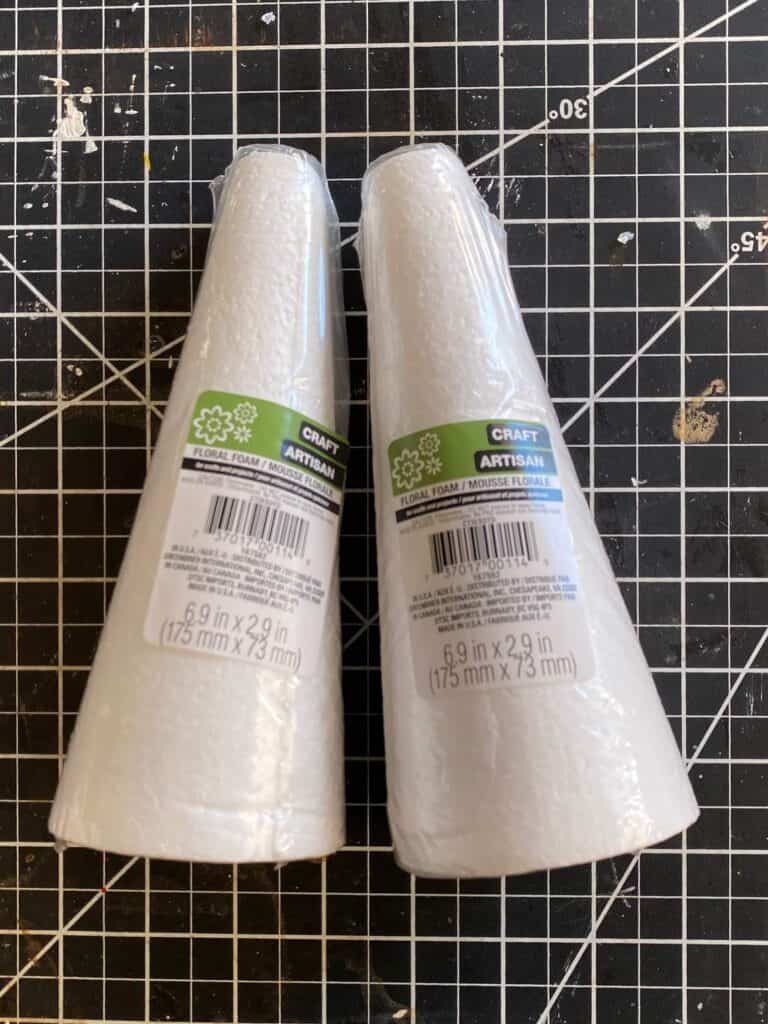
- Styrofoam Cones – you can use any size for bigger or smaller trees
- Twine
- Pearl beads
- Gold star embellishments
- White and gold thin ribbon
- Glue Gun
How to Make Rustic Foam Cone Christmas Trees with Twine and Yarn
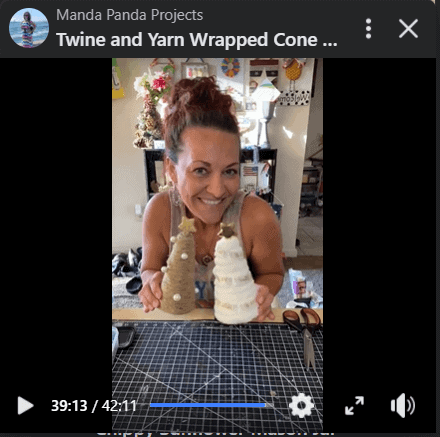
I made these fabulous Rustic Foam Cone Trees on video, so you can WATCH the step by step tutorial HERE or click on the picture right below.
Since these Rustic Foam Cone Christmas Trees were made live on my Facebook page, I don’t have step by step photos showing you exactly how to make this, so I encourage you to watch the REPLAY.
These Styrofoam Cone Trees are E-A-S-Y to make, you can whip a few up in no time!
Start by gluing the twine or yarn to the TIP TIP of the foam cone. It’s very important to start at the top (the point), or it will be difficult to get the twine to stay nice and tight and close together. Then just wrap, wrap, wrap, wrap around all the way to the bottom. It’s not even necessary to glue as you go, but you can add a dab here and there for security.
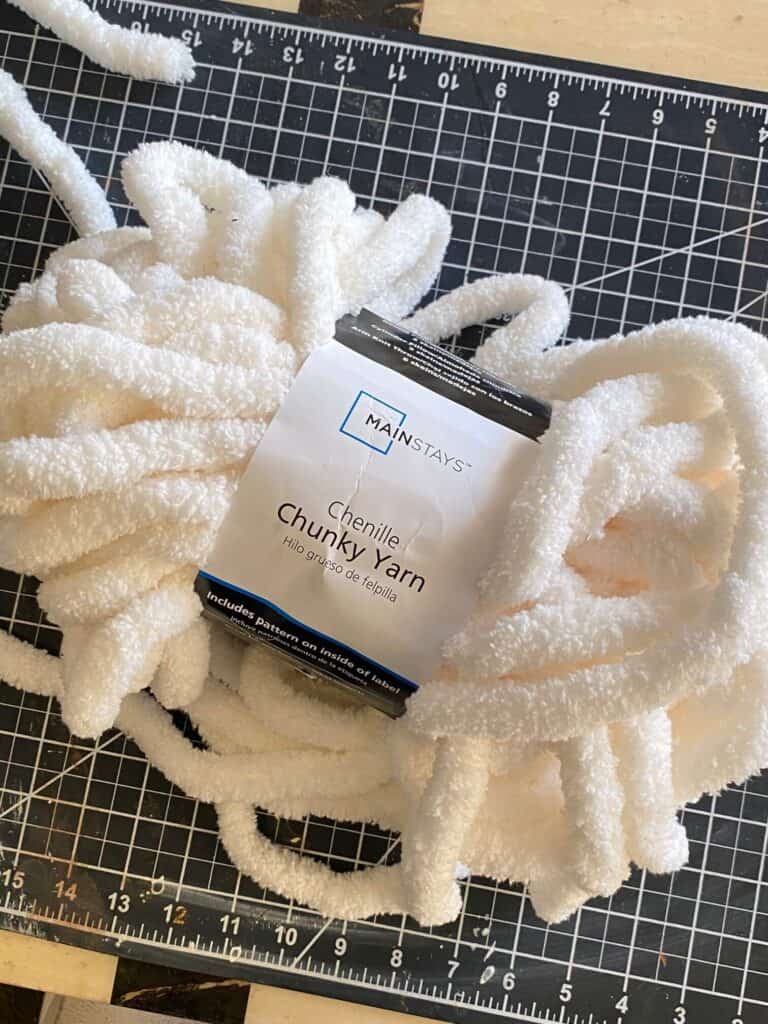
If you are going to make one with yarn, any type of yarn will do, but this Walmart brand – Mainstays – Chunky yarn comes out fabulous!
Once your foam cones are all wrapped with Twine and Yarn it’s time to decorate your Christmas trees. Add some pearl beads to the twine tree, and top it off with a gold glitter plastic star ornament.
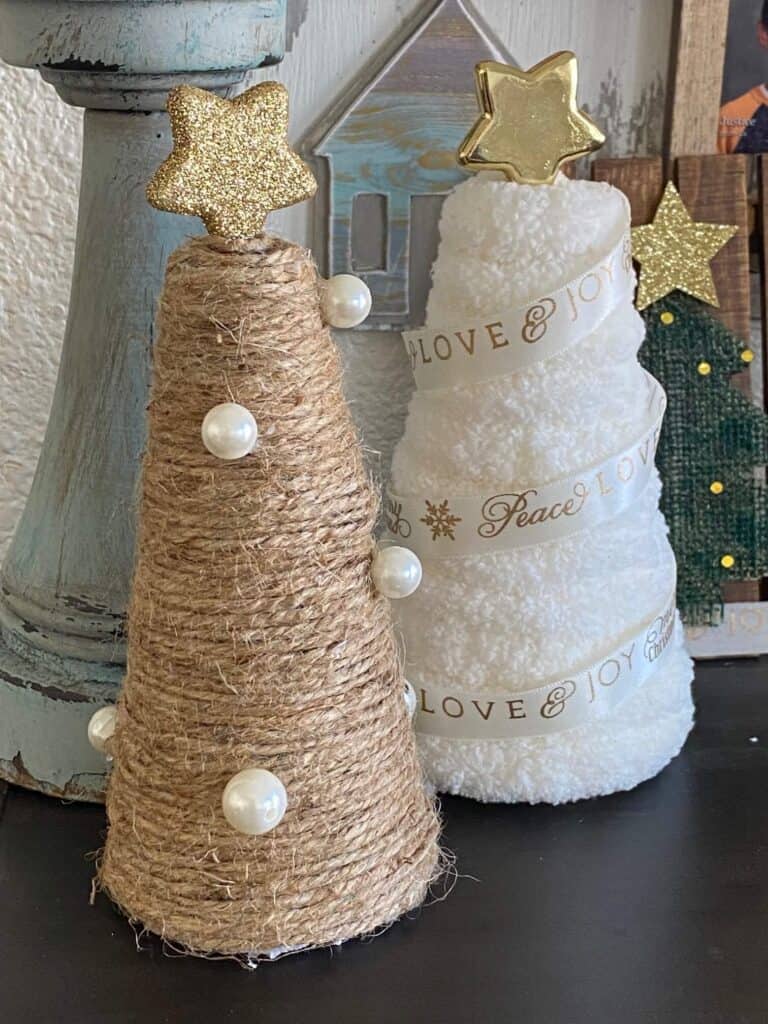
For the chunky yarn tree, take a thin piece of white and gold ribbon and spiral wrap the cone from top to bottom as you would with garland. Add a gold star topper, and voila!
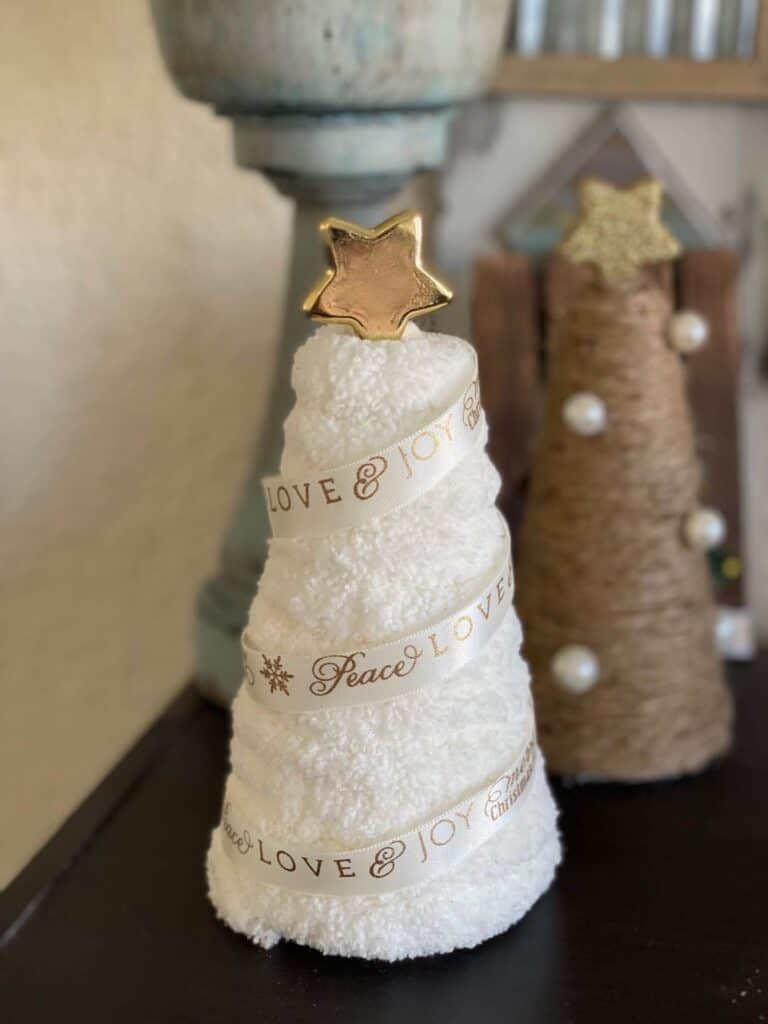
Are you going to make some Rustic Foam Cone Trees for Christmas this year? If you do, I’d love to see it! Pop on over to our free Craftspiration Facebook group, and join in on the fun by posting a pic of your completed DIY’s and crafts. I just love to see all your creative and crafty creations!

If you’ve got a million projects on your crafting ‘to-do’ list like I do, than you need my FREE Craft Project Planner so you can plan to make *all the things*! When you sign up for the craft planner, I’ll also send you lot’s of fun, easy, and budget friendly ideas for you to fill it up with!

Free printable Craft Project Planner
Get organized, get inspired, and get crafting, with our free Craft Project Planner!
Until Next Time…
Stay Crafty San Diego!

Love these Rustic Twine Foam Cone Christmas Trees? Make sure to PIN it for later!

