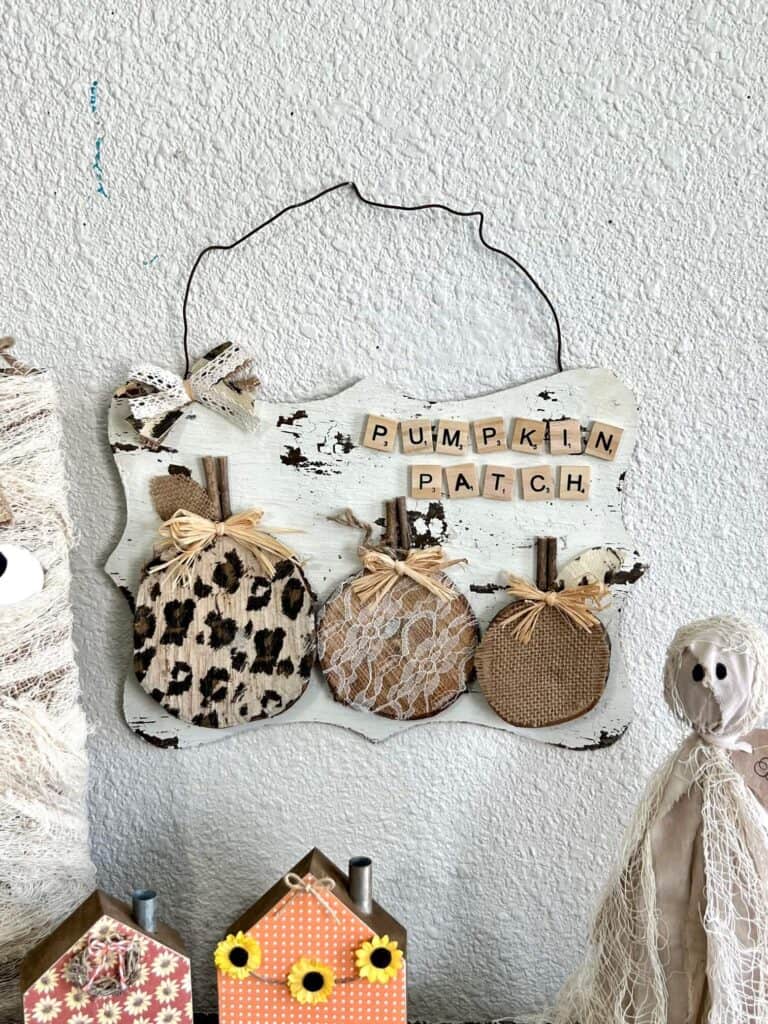
Leopard, Lace and Burlap are a match made in rustic crafty heaven and they all come together to make this gorgeous neutral fall DIY. This is not your average pumpkin patch, but it sure is pretty!
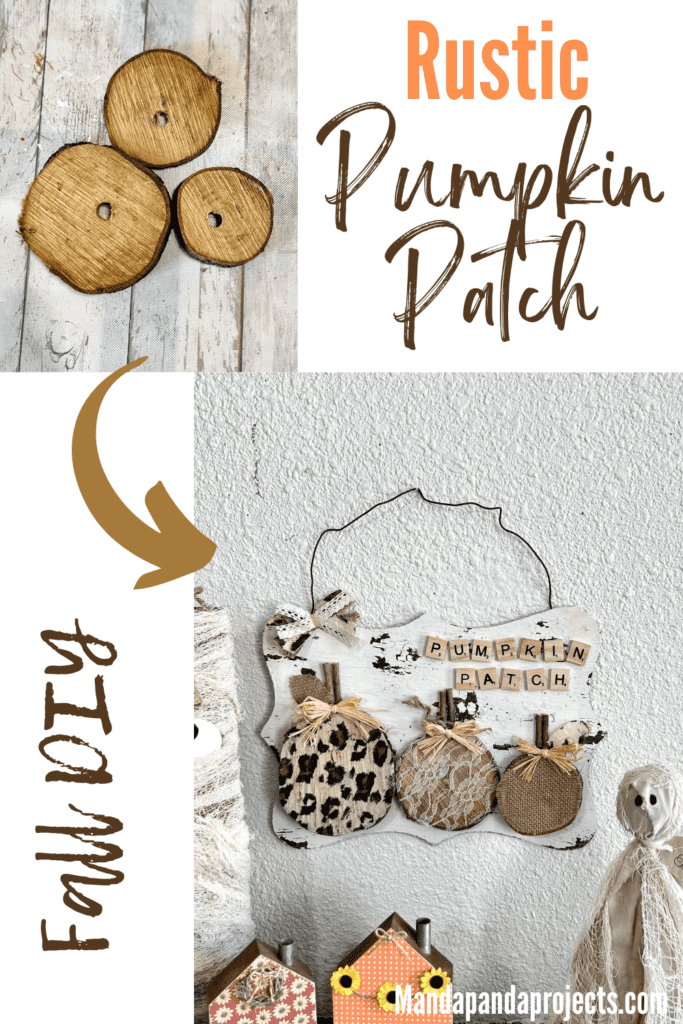
I am typically a color fanatical lover, and if you know me at all you know that to be true. But every once in a while I get in a mood for neutral, and every time that happens there is leopard involved.
Is leopard print considered neutral? I think so! It just goes so well with the lace and burlap that I can’t help myself. This rustic fall pumpkin patch almost has me converted to the dark side (aka the neutral side LOL).
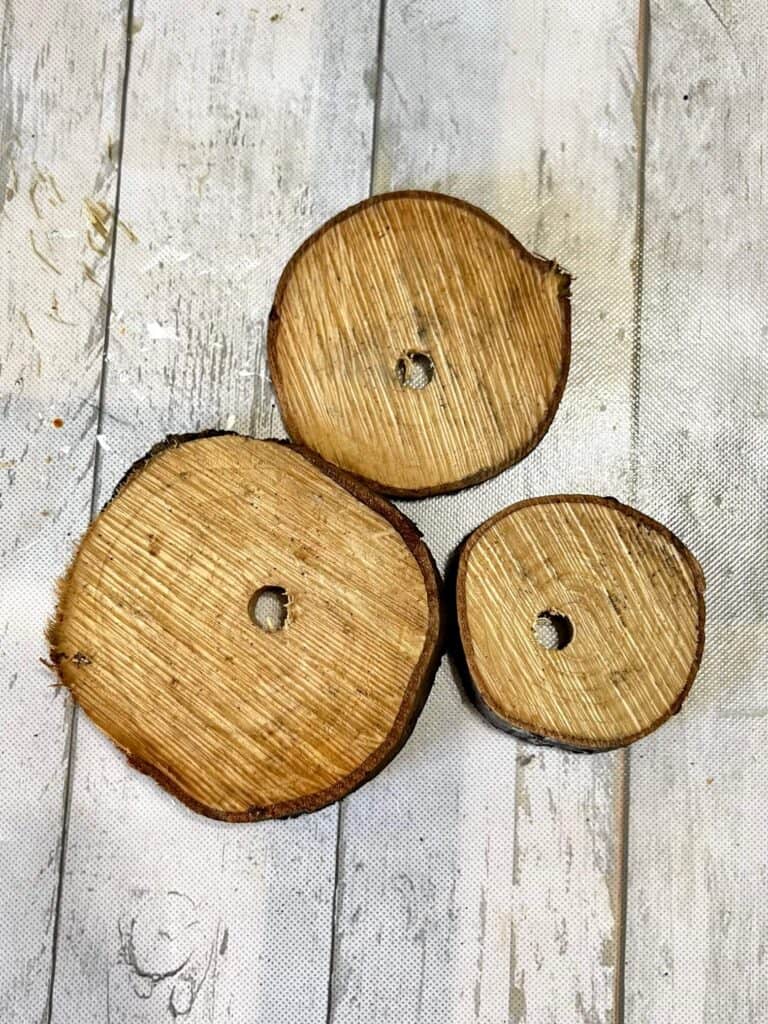
Now I used wood rounds that came straight from my local Christmas Tree farm, but of course you can get them at any craft store or on good ‘ole Amazon. But lemme tell ya, if you get a real tree than make sure you ask the farm for their cut off rounds!
They usually have boatloads of them and they’ll give them to you for free since they’re just gonna throw ’em away!
I have a whole entire bag of these rounds stashed in my closet and they’ve been there since last Christmas. Well, now is their time to shine!
This post may contain affiliate links for your convenience (which means if you make a purchase after clicking a link I will earn a small commission but it won’t cost you a cent more!)
Supplies Needed to Make Rustic Leopard and Lace Pumpkin Patch
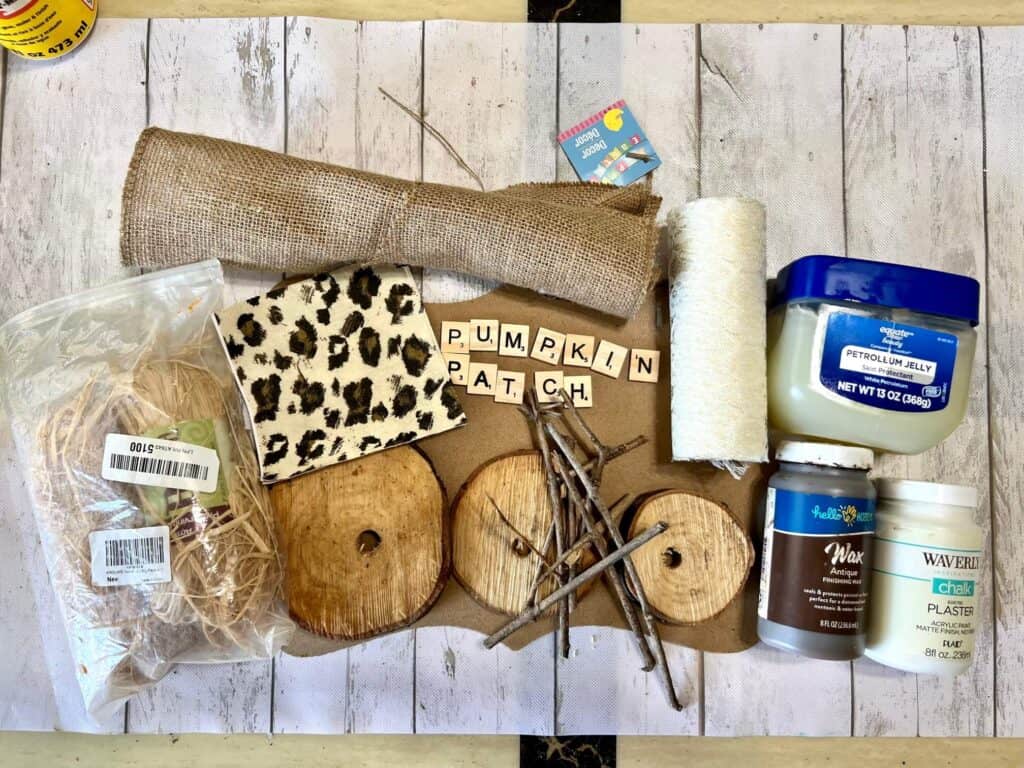
- Wooden square surface (Back of Dollar Tree sign works great)
- 3 Wood rounds
- Leopard napkin
- Lace
- Burlap
- Raffia
- Scrabble tiles spelling “Pumpkin Patch”
- Antique wax
- White paint
- Vaseline
- Sticks from outside
- Primitive rusty wire
- Large Popsicle sticks (if you don’t have a drill to make holes you’ll need these to reinforce)
- Mod Podge
- E6000 Glue (If you don’t have a drill to make holes you’ll need strong glue for the wire)
- Hot glue gun
How to Make Pumpkin Patch with Rustic Wood Rounds
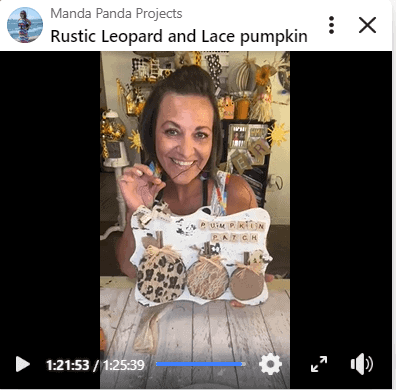
I made this Rustic Leopard Pumpkin Patch on video, so you can WATCH it or click on the picture right below.
Start by doing the “chippy” technique on your entire background. The best way to learn to do this is to watch the replay so you can actually SEE the steps, but I also write out and describe how to do it in the post for this Door Hanger.
But basically you stain the entire surface with Antique wax, and then randomly apply Vaseline to the parts that you want the paint to “chip” in the next step.
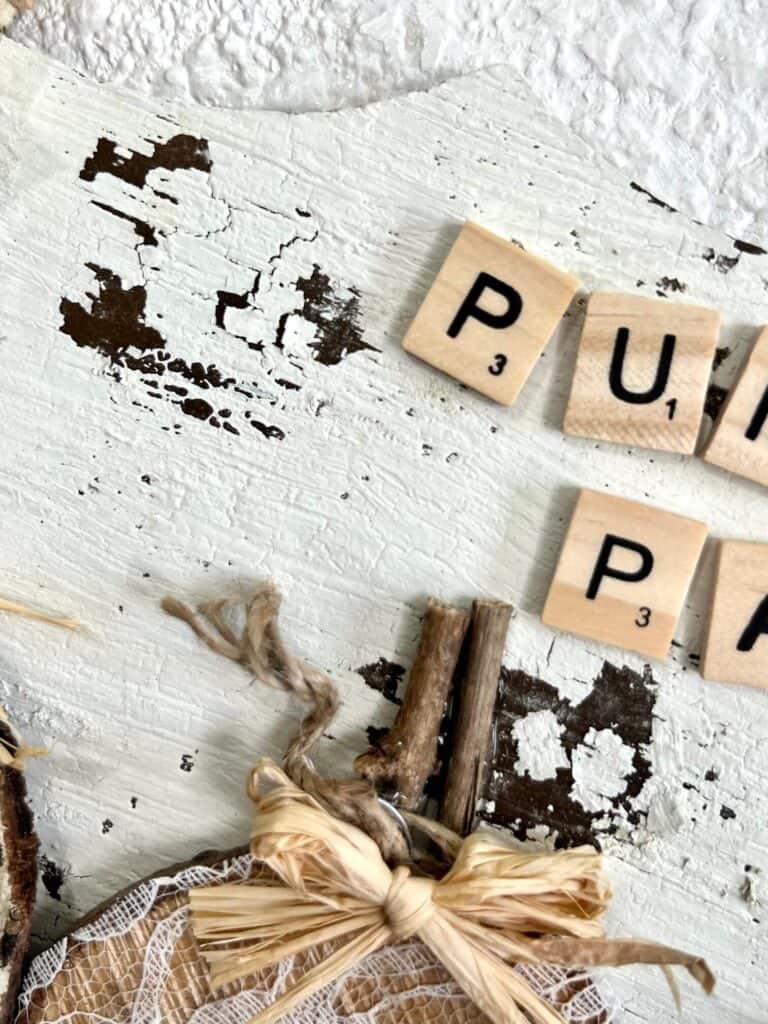
Paint a thick coat of white paint over the top, and then dry to about 90% dry, so that the underside of the paint is still a tad wet.
Use paint scraper to scrape off the parts on top of the Vaseline to get a look like you see below.
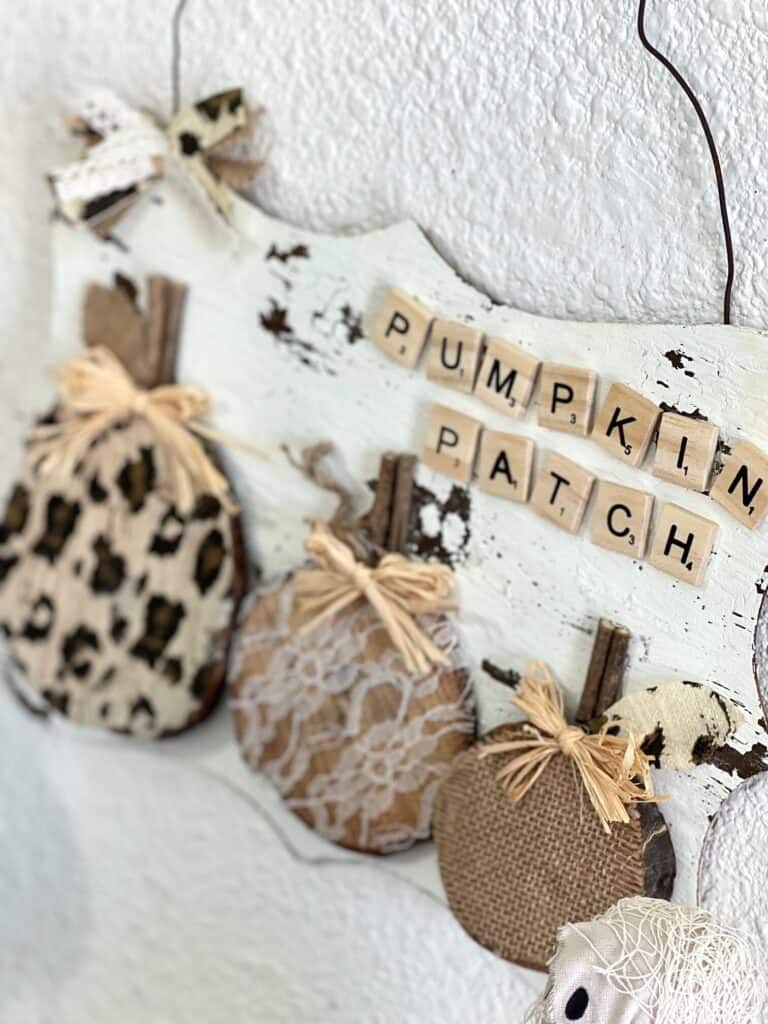
Now to decorate the 3 wood rounds. Just use Mod Podge to attach the Leopard, Lace, and Burlap.
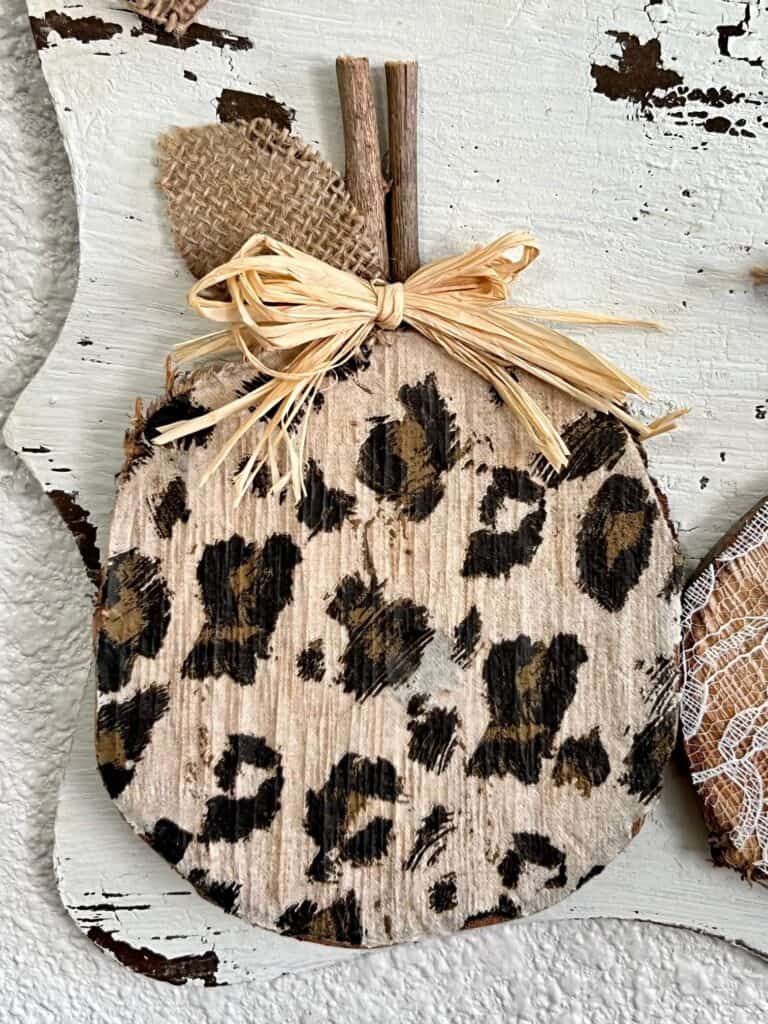
For the Leopard you have to first separate the plys of the napkin so that you have just the one ply. Then apply the Mod Podge and lay the napkin on top smoothing out the wrinkles. Use a sanding sponge to sand off the excess.
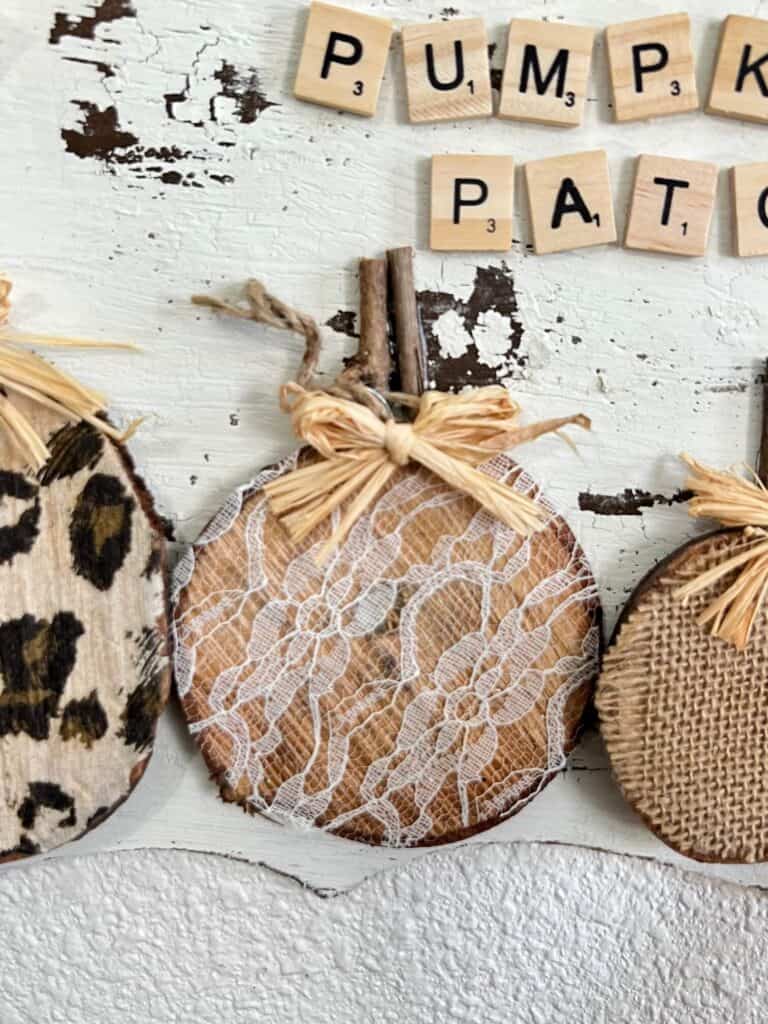
For the lace I just layed the lace on top, and then trimmed around the edge to make it the same size as the wood round. Same thing here, just cover the round with Mod Podge and then lay the lace on top.
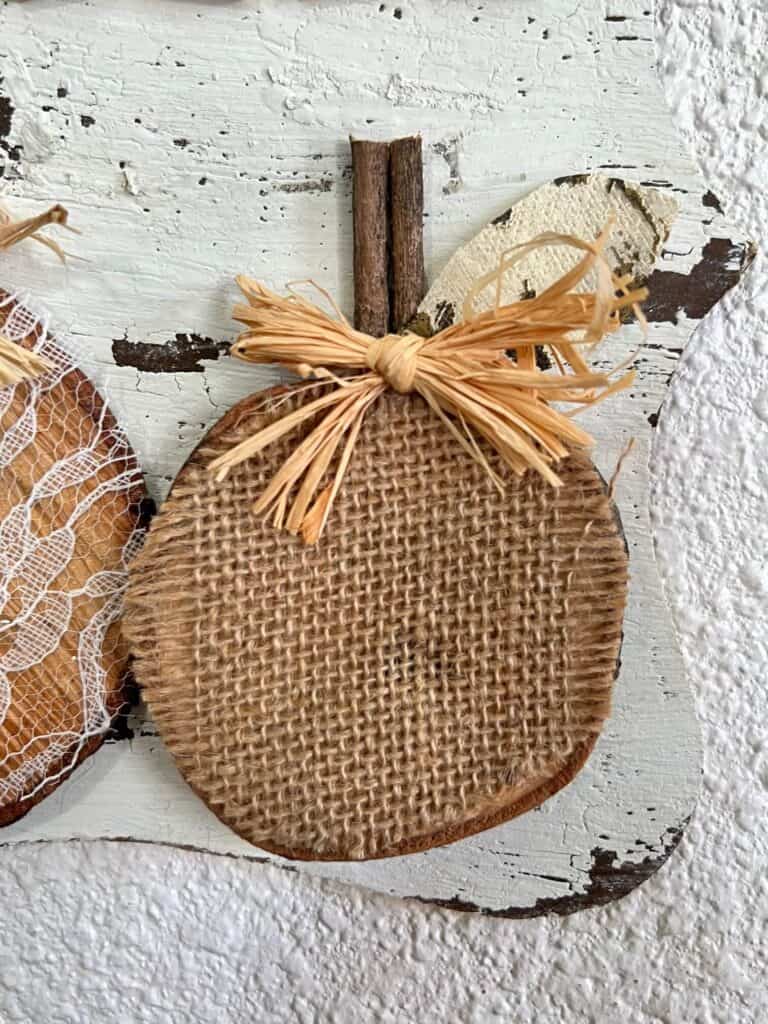
I did the burlap the exact same way as the lace and cut out the circle shape out before Mod Podging that baby on. I did fray the edges just a tad before gluing it down to give it a more worn look.
Next, glue the 3 wood rounds to the chippy surface, from largest to smallest, and then glue some sticks on as stems
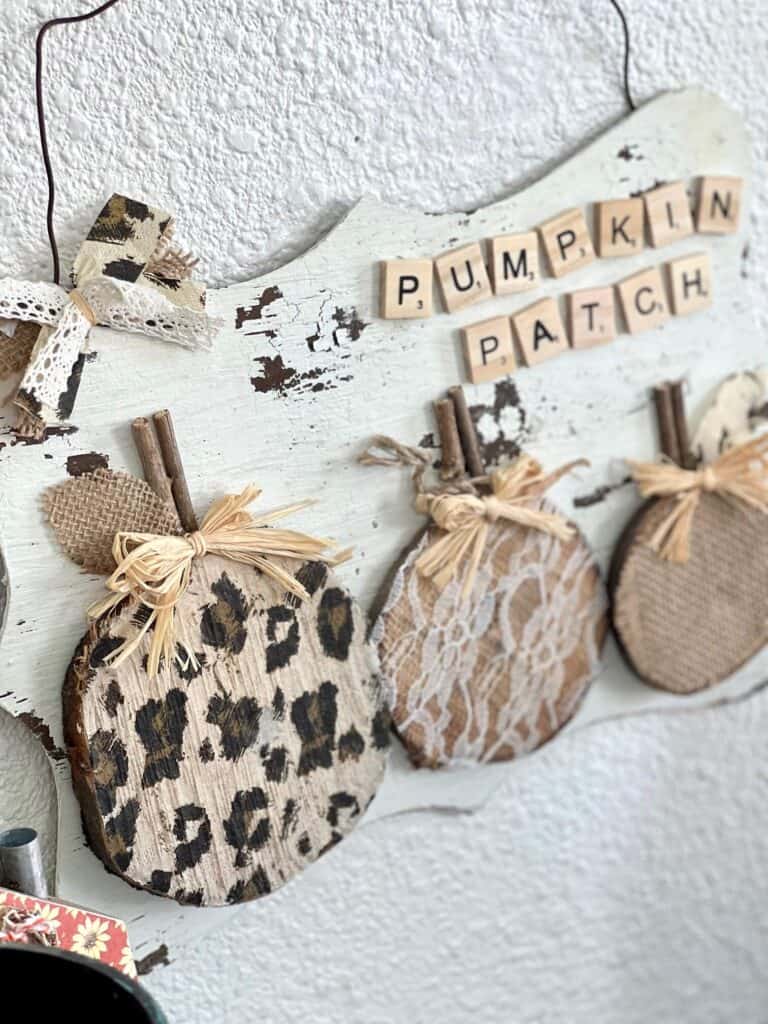
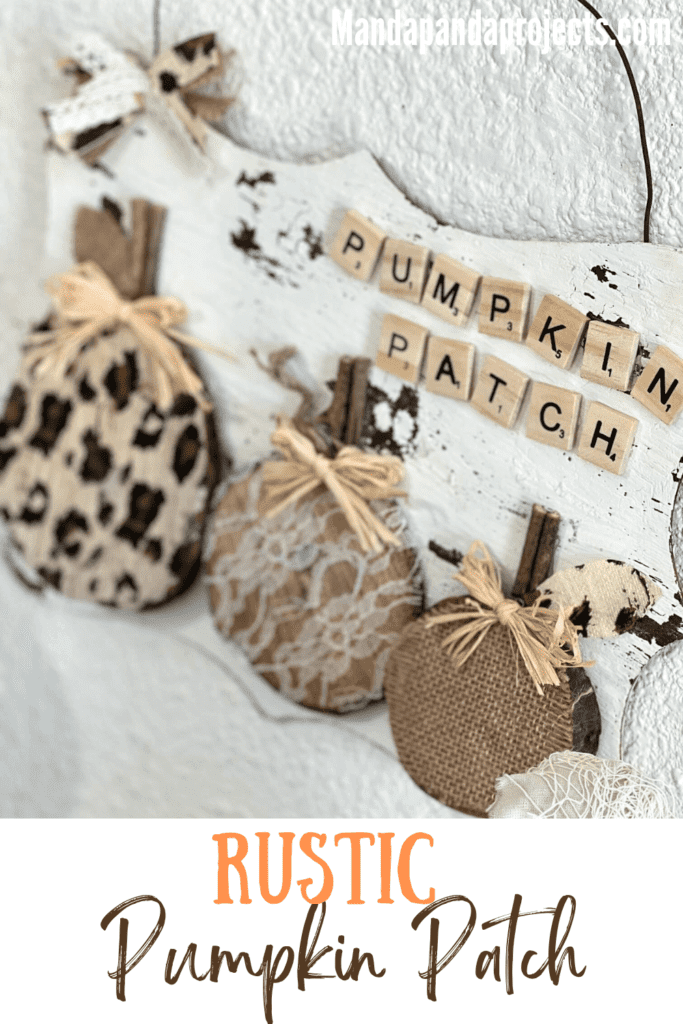
To decorate the stems I made 3 small raffia bows, and I even cut out some leaves from the burlap and the leopard napkins for the two outer pumpkins. For the middle pumpkin I added a twirly wired jute piece which I was unsure about but ended up using in the end. (Side note: Dollar Tree wired jute sucks)
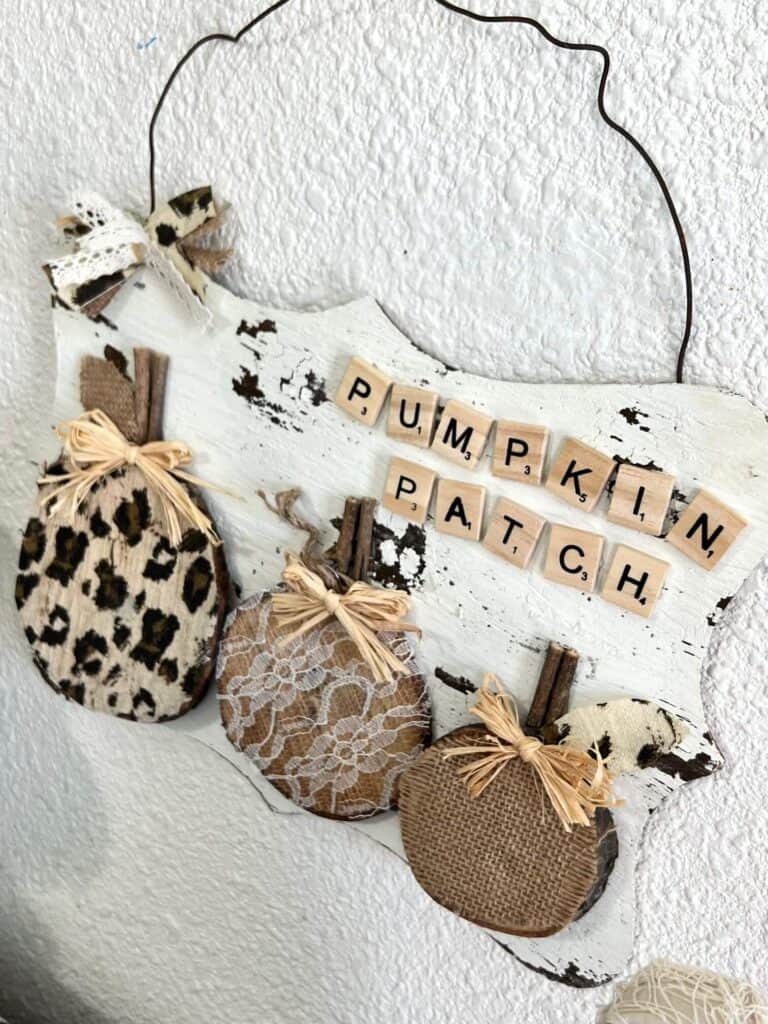
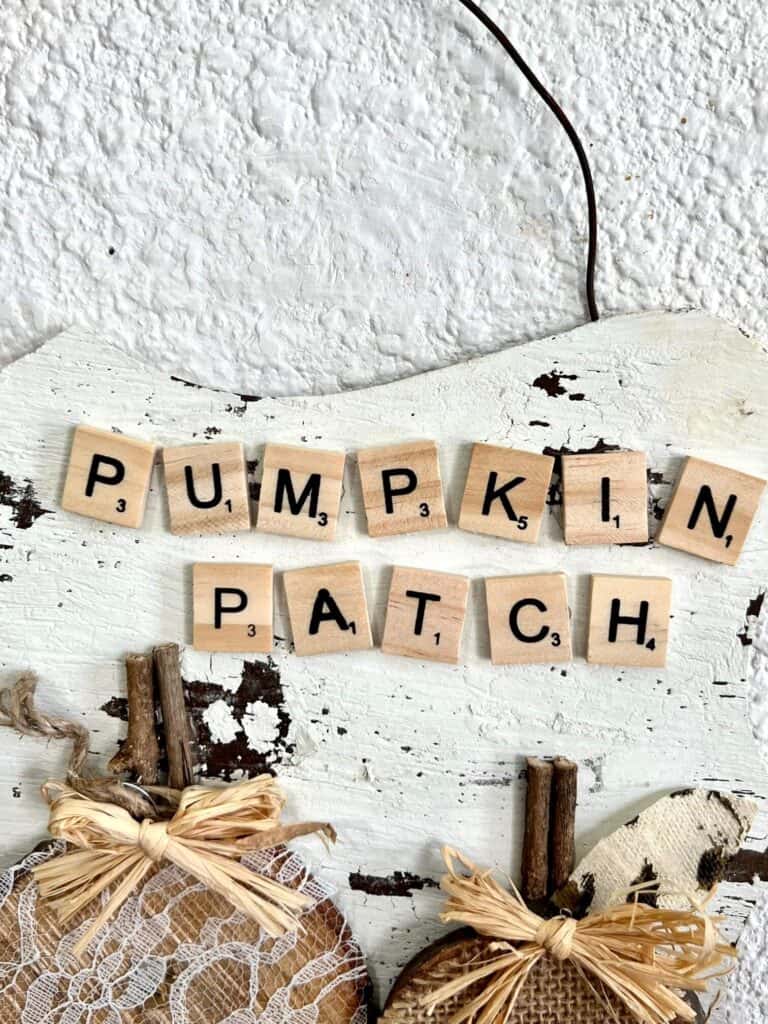
I added the “Pumpkin Patch” scrabble tiles to the top right, above the smaller pumpkin since there was more room.
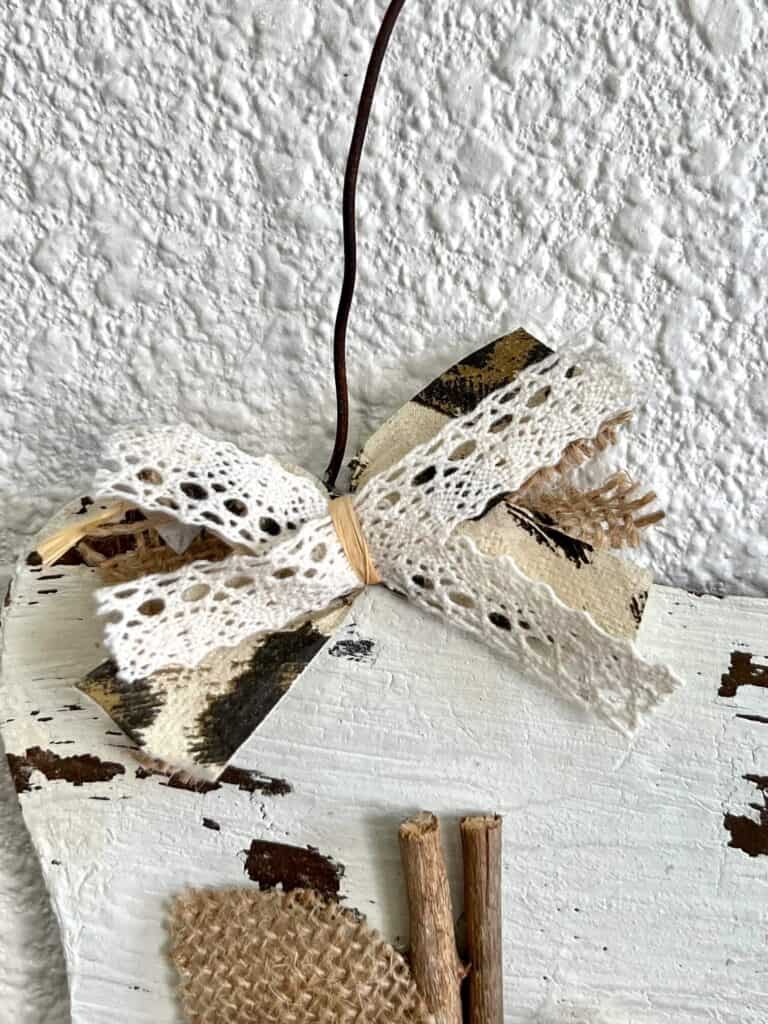
And then a mini bow on the top left to balance it out! Make the bow by layering a few pieces of lacey ribbon, burlap, and even the leopard napkin in an X and then tying a piece of twine or raffia around the center.
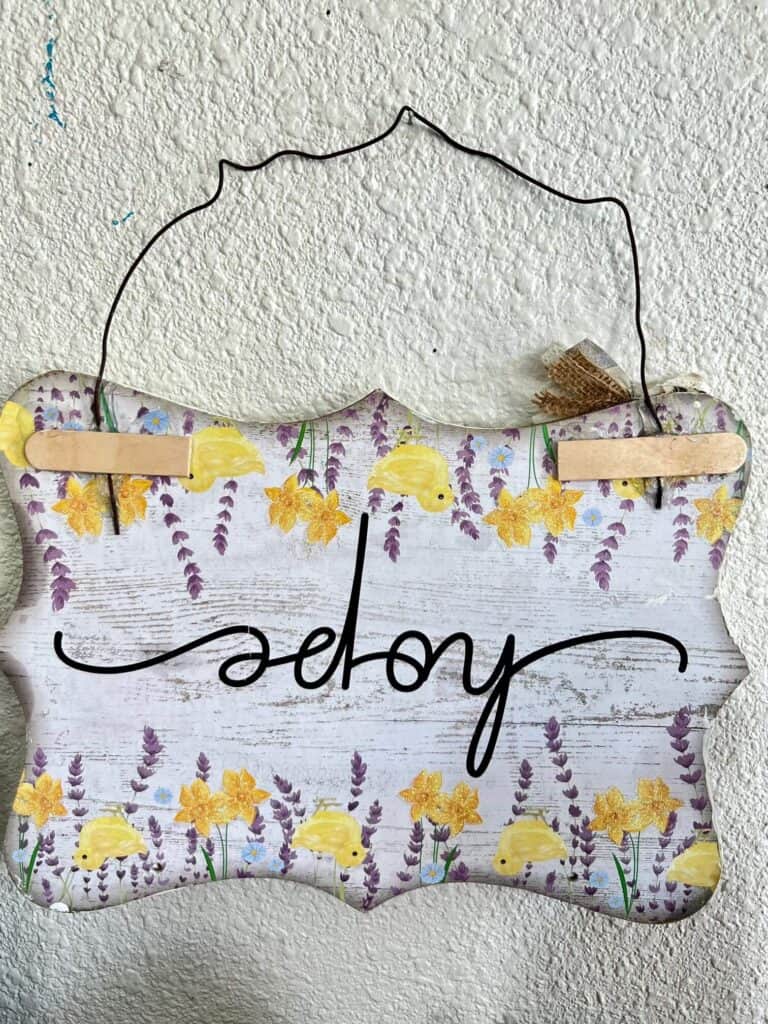
Now for the hanger it’s a bit tricky. I don’t have a drill to make small holes, which would be ideal, so I used popsicle sticks and hot glue plus E6000 glue to reinforce it.
First I used just hot glue but I quickly realized that since it’s so heavy from the wood slices, that that wasn’t gonna hold. So I ended up going back and adding the E 6000 as well and it’s held fine ever since.
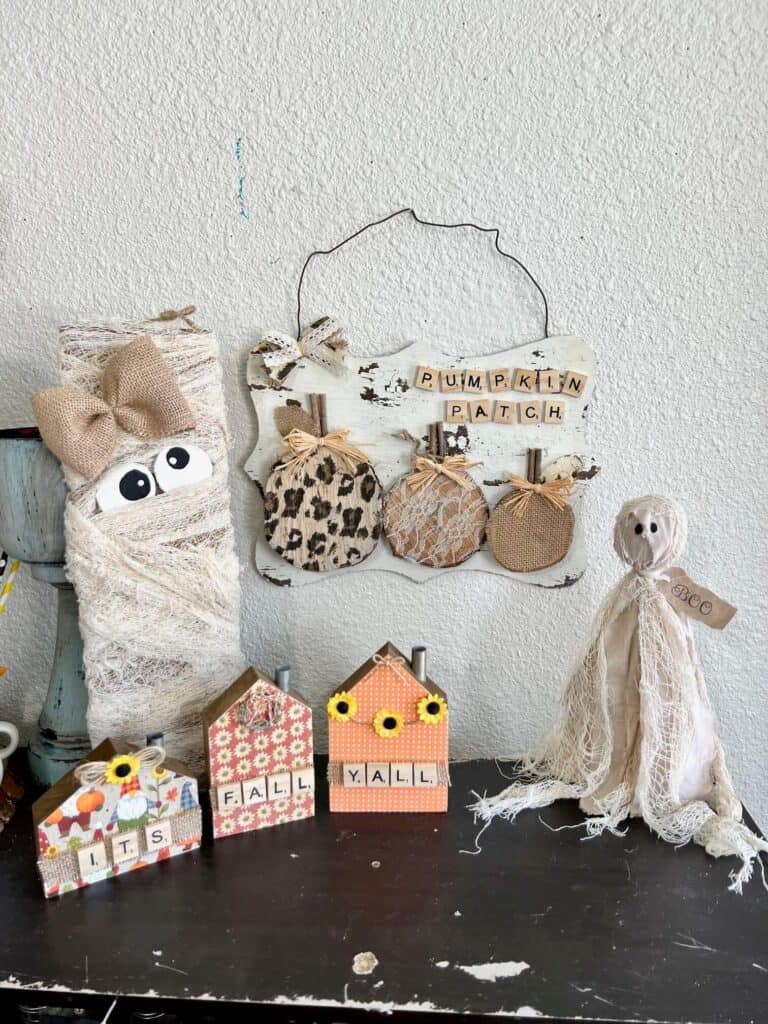
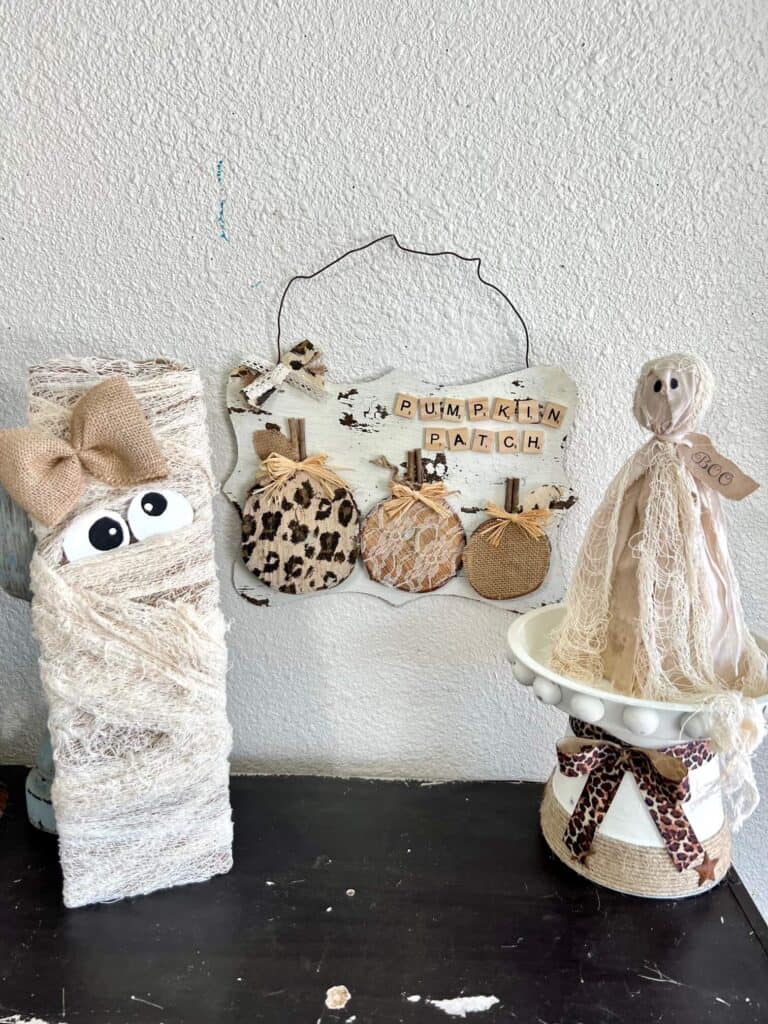
I think our Rustic Leopard Pumpkin Patch looks just darling with the Creepy Cloth Mummy and Primitive Ghost that we made Live over on Facebook!
Are you going to make a Rustic Pumpkin Patch for Fall? If you do, I’d love to see it! Pop on over to our free Craftspiration Facebook group, and join in on the fun by posting a pic of your Tiered Trays, DIY’s and crafts. I just love to see all your creative and crafty creations.
If you’ve got a million projects on your crafting ‘to-do’ list like I do, than you need my FREE Craft Project Planner so you can plan to make *all the things*! When you sign up for the craft planner, I’ll also send you lot’s of fun, easy, and budget friendly ideas for you to fill it up with!

Free printable Craft Project Planner
Get organized, get inspired, and get crafting, with our free Craft Project Planner!
Until Next Time…
Stay Crafty San Diego!

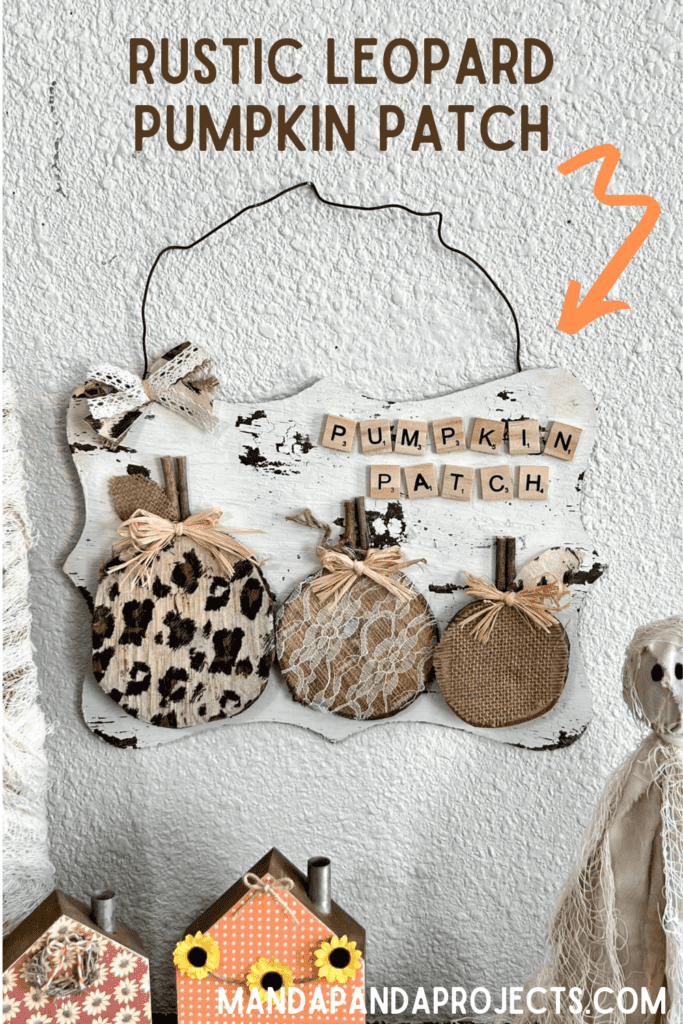
Love this Rustic Leopard and Lace Pumpkin Patch? Make sure to PIN it for later!


September 9, 2022 @ 11:18 am
Funny that you posted this craft because I went to Hobby Lobby during my mini vacation and bought some leopard print paper. Can use that instead of the napkin. Love how yours came out! . Can’t wait to see how mine turns out!
September 9, 2022 @ 12:48 pm
Oh yes, you can absolutely use scrapbook paper! Can’t wait to see your version!