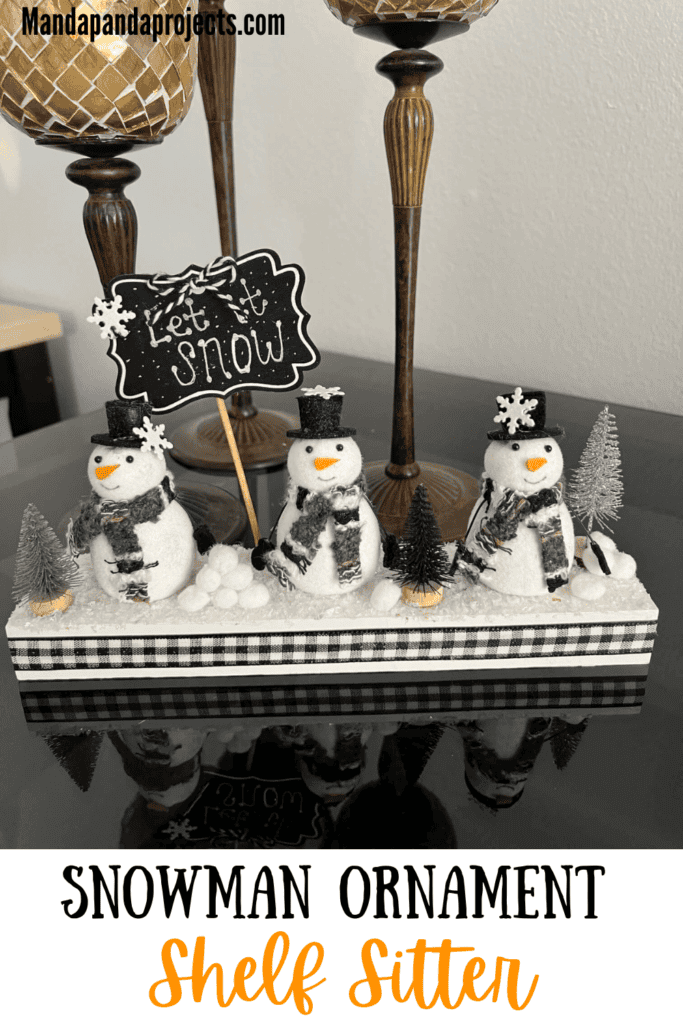
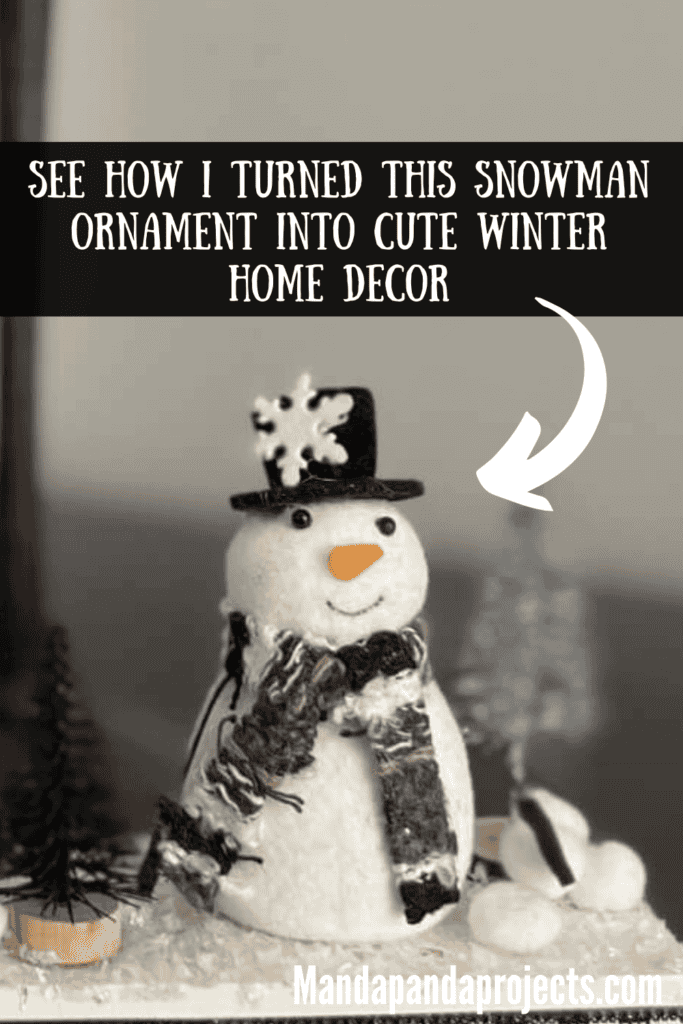
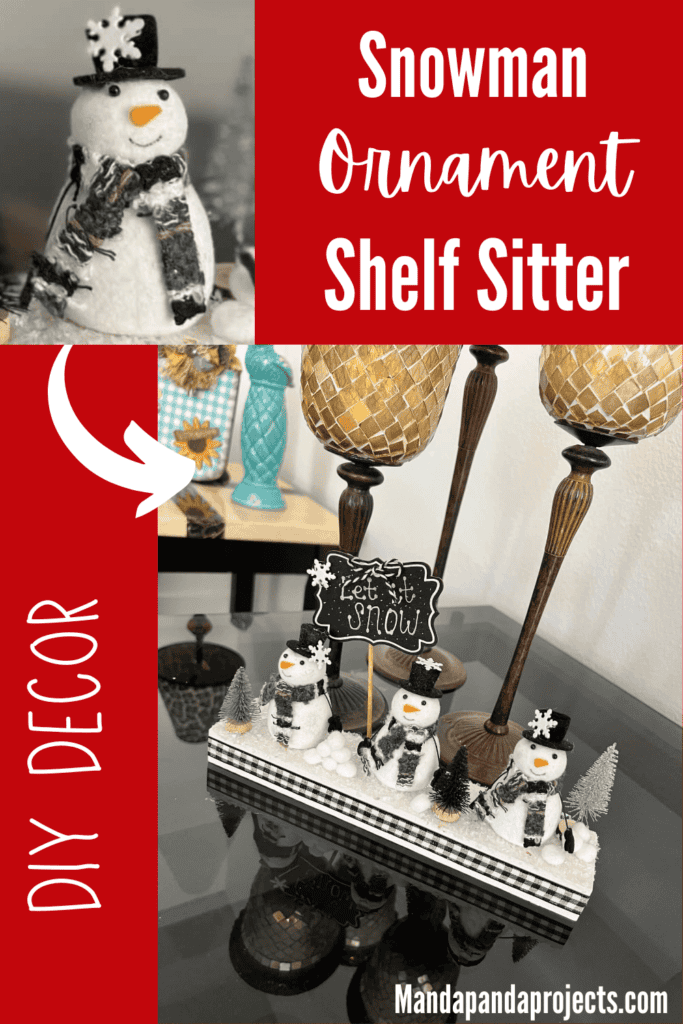
Move on over Frosty, these Walmart mini snowmen ornaments are coming through to make the cutest DIY Winter Shelf Sitter decor!

Every year, for the past 3 years, I have done a Countdown to Craftmas where I go live on Facebook from 12/1-24 for 24 days of Christmas Crafty Inspo.
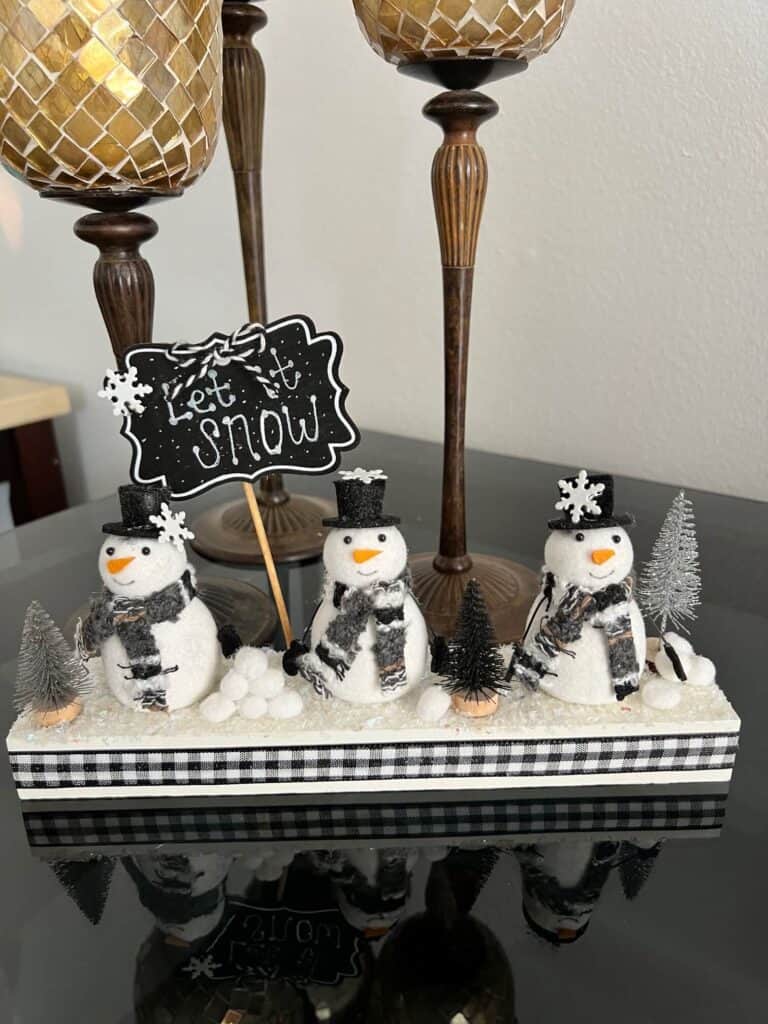
And this Snowman Shelf Sitter was Day 24 of our 2023 countdown! (I am writing this in Jan of 2025, so we just finished the 2024 countdown)
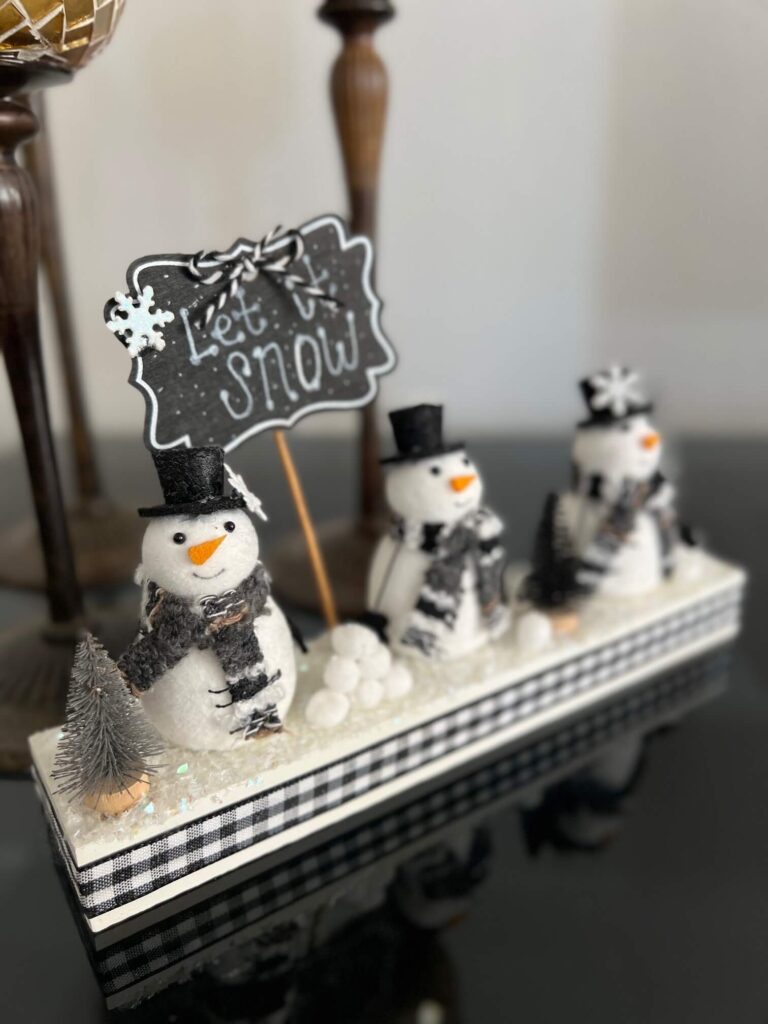
Never sleep on the ornament sections at Walmart, especially the mini ornaments. They are NOT just for your Christmas trees, they make great craft “supplies” too, and this snowman shelf sitter is proof of that!
I also made a cutie little Reindeer Oversize Ornament with the mini ones last year too! Another Walmart ornament craft for the win.
This post may contain affiliate links for your convenience (which means if you make a purchase after clicking a link I will earn a small commission but it won’t cost you a cent more!)
Supplies Needed to Make a Snowman Ornament Shelf Sitter

- Walmart mini snowmen ornaments
- Long wood base (Dollar Tree)
- Faux Snow
- Small Chalkboard tag sign
- White Acrylic Paint Pen
- Paint: White
- Snowflake embellishments
- Silver and black bottle brush Christmas trees
- Black and White Bakers Twine
- Mod Podge
- Hot glue gun
How to Make a Snowman Ornament Shelf Sitter
I did this Snowman Ornament Shelf Sitter on video. So you can WATCH the tutorial by clicking below.

This adorable craft is VERY easy. It’s more or less just gluing and putting things together, but I will walk you through how I did it!
First thing I did was paint my wood base all white with Waverly plaster chalk paint.

I covered the top with a nice thick layer of Mod Podge and then sprinkled with faux sparkly snow.

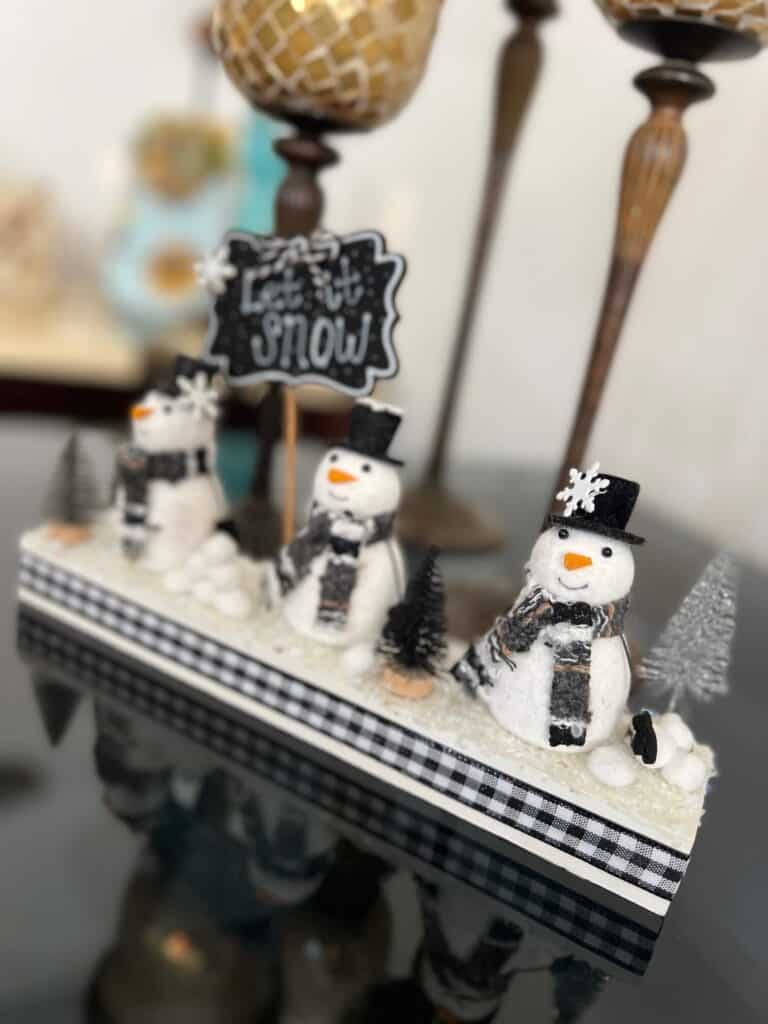
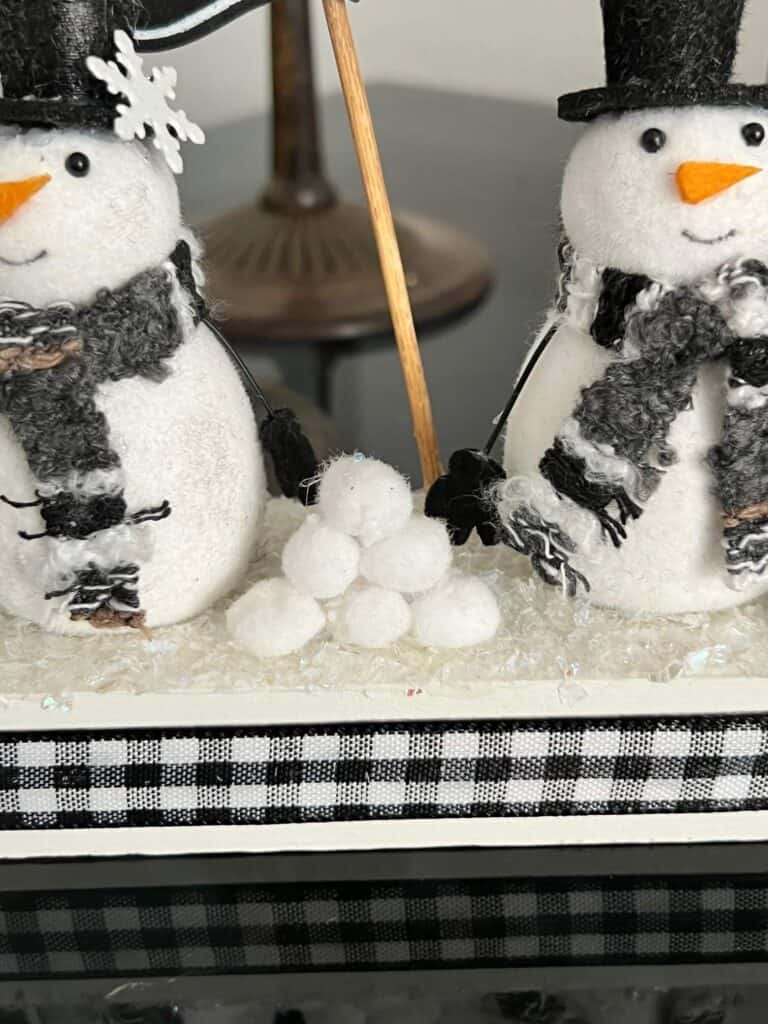
Next, I just started gluing everything together! I glued the 3 snowmen in a row, and then some bottle brush trees around them.
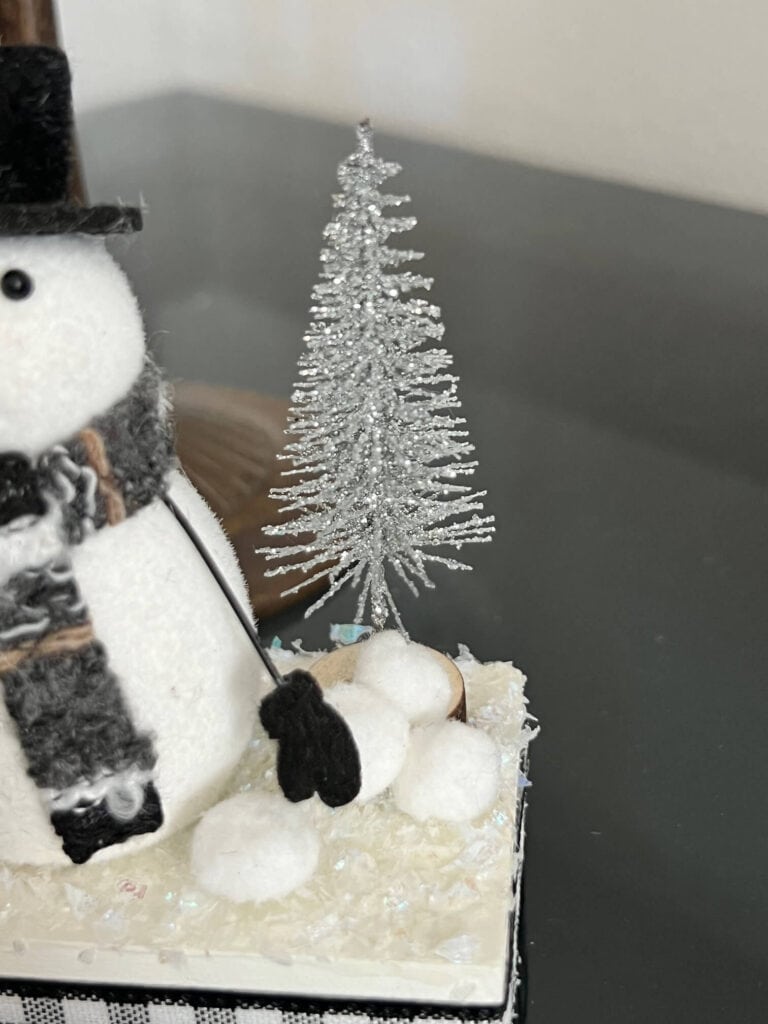
In between the snowmen I added mini white pom poms as little “snowball” piles.
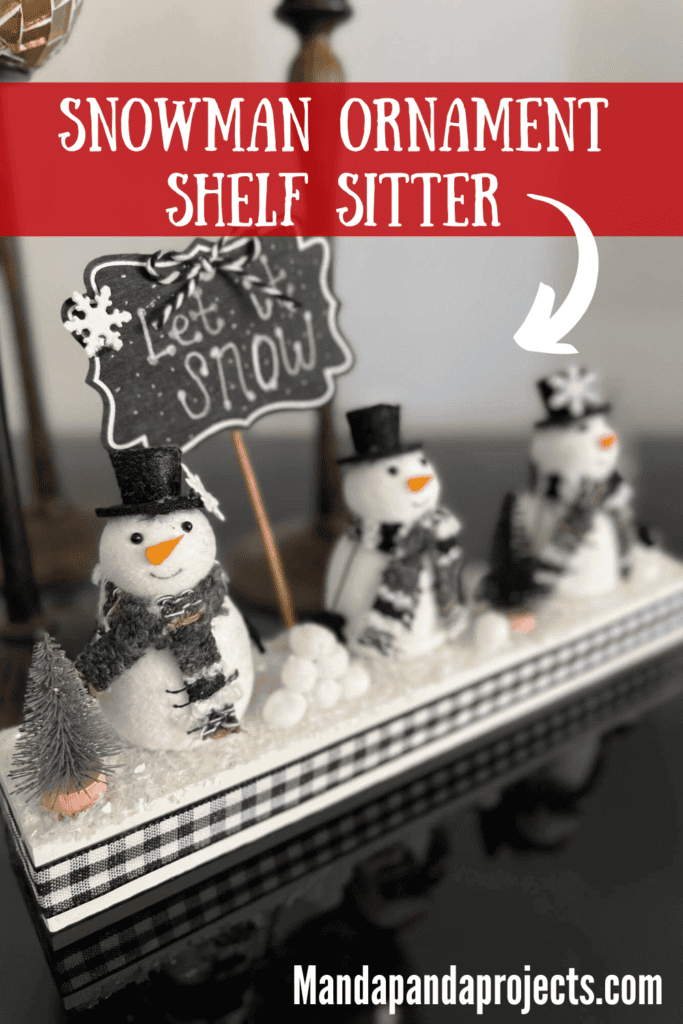
Using a white acrylic paint pen, I wrote “Let it Snow” on a chalkboard tag.

I glued a small snowflake embellishment to the top along with a mini bakers twine shoestring bow.
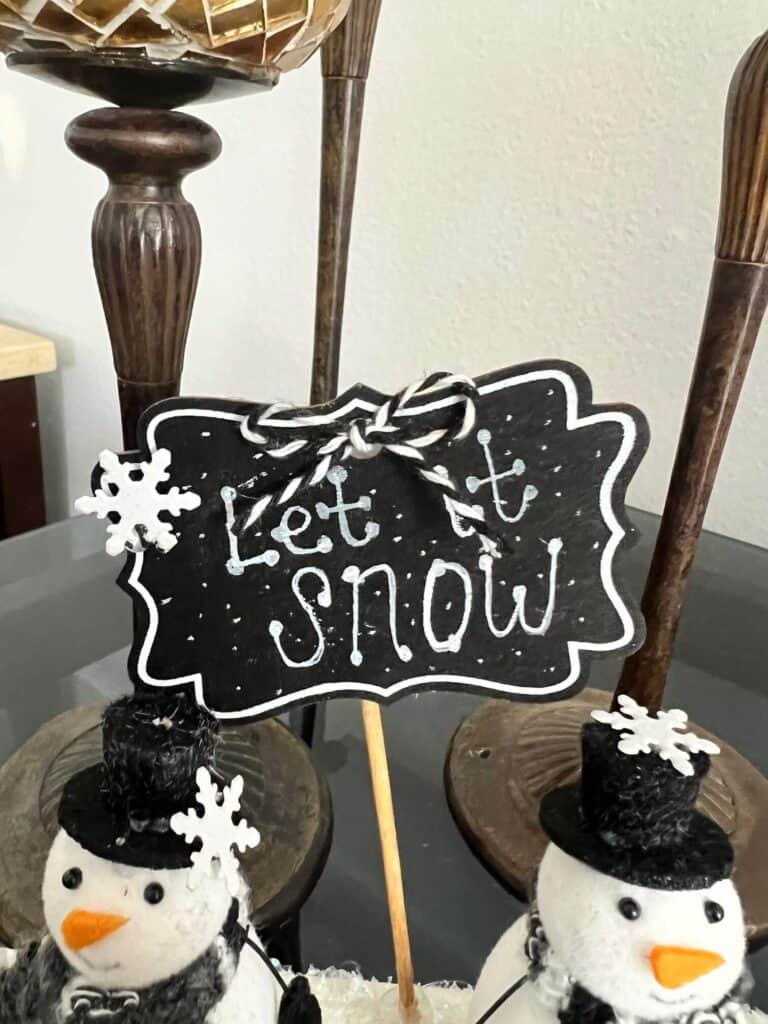
Then I glued a wood skewer to the back to make it a sign, and then glued the sign to the wood base in between the snowmen.
The hot glue is not the most sturdy thing to hold the sign, but it will do. If you have a drill and you are concerned about the sign not holding, then you could drill a small hole and stick it in the wood base.

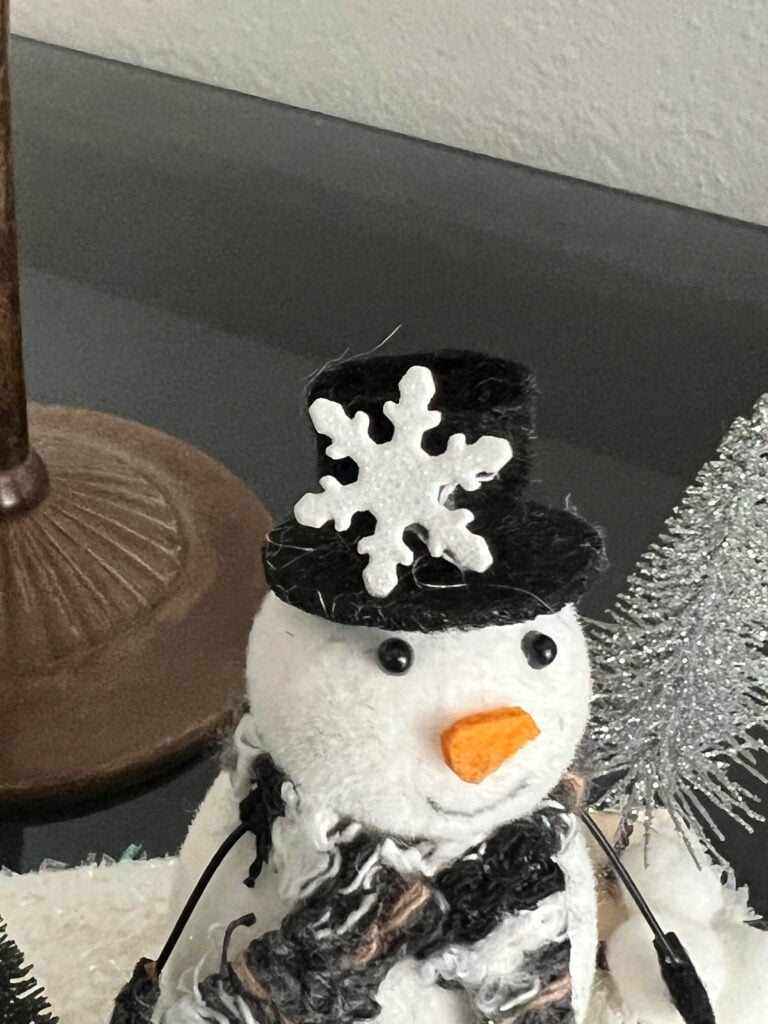
I glued a couple of snowflakes to the snowmen’s hats for extra cuteness.
I felt like the wood base was a little plain, so I glued a piece of black and white buffalo check ribbon all around the middle of the base.
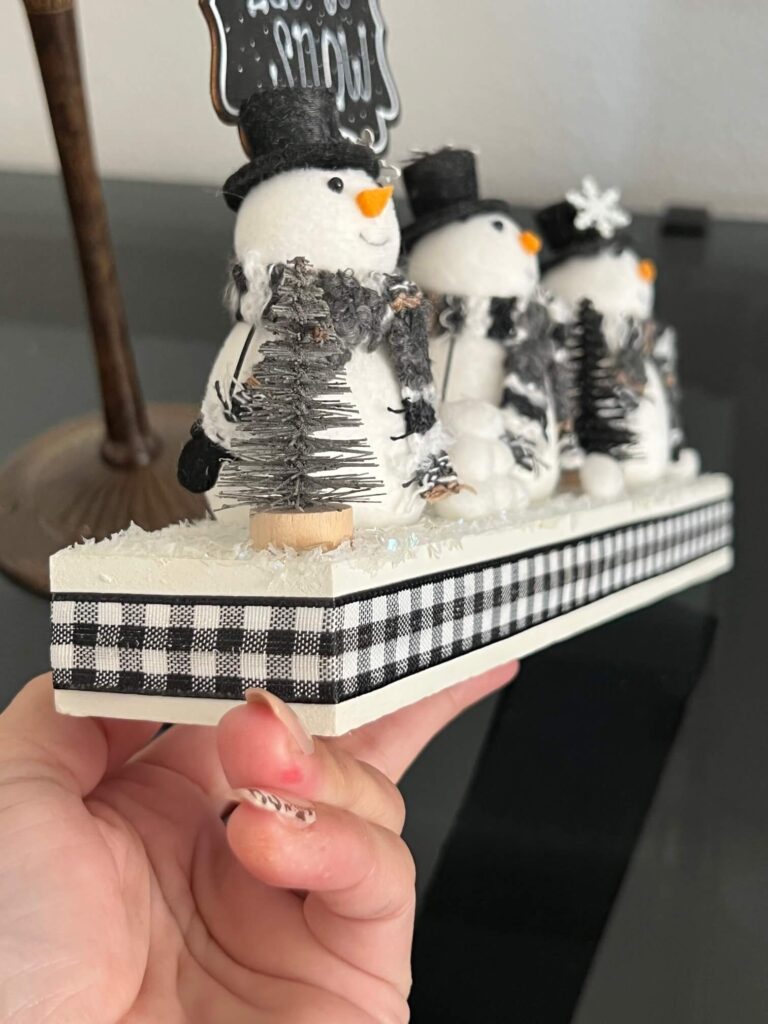
Here it is all together! Ain’t she a cutie!?
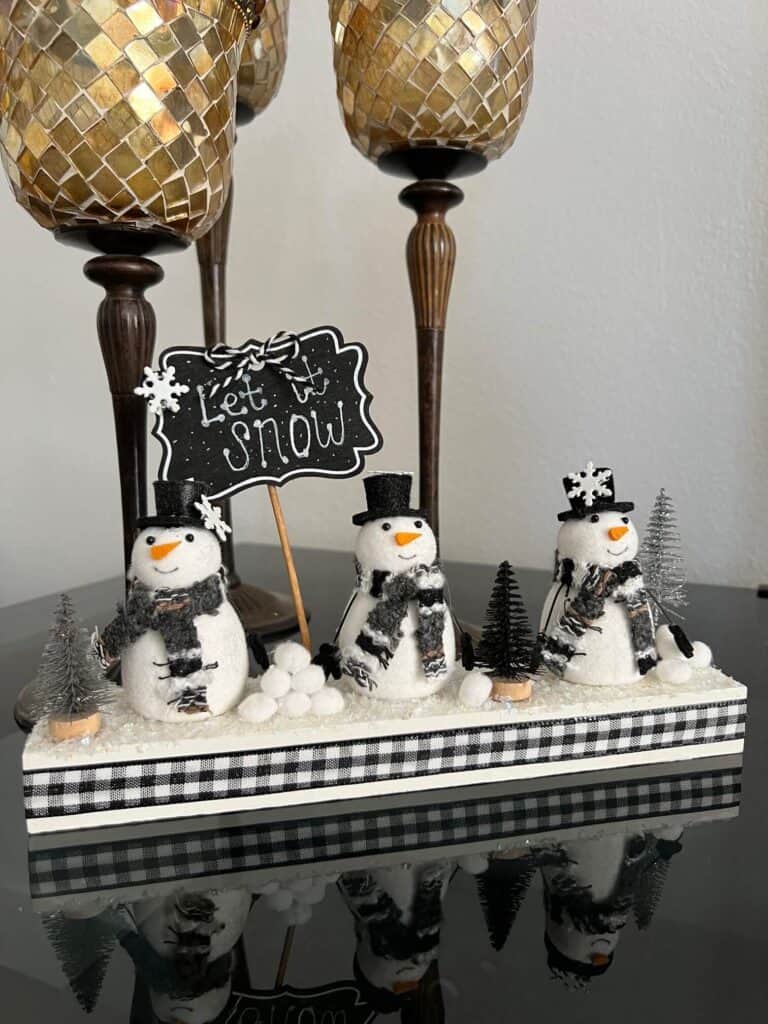
And that my friends was Day 24 of the 2023 Countdown to Craftmas!
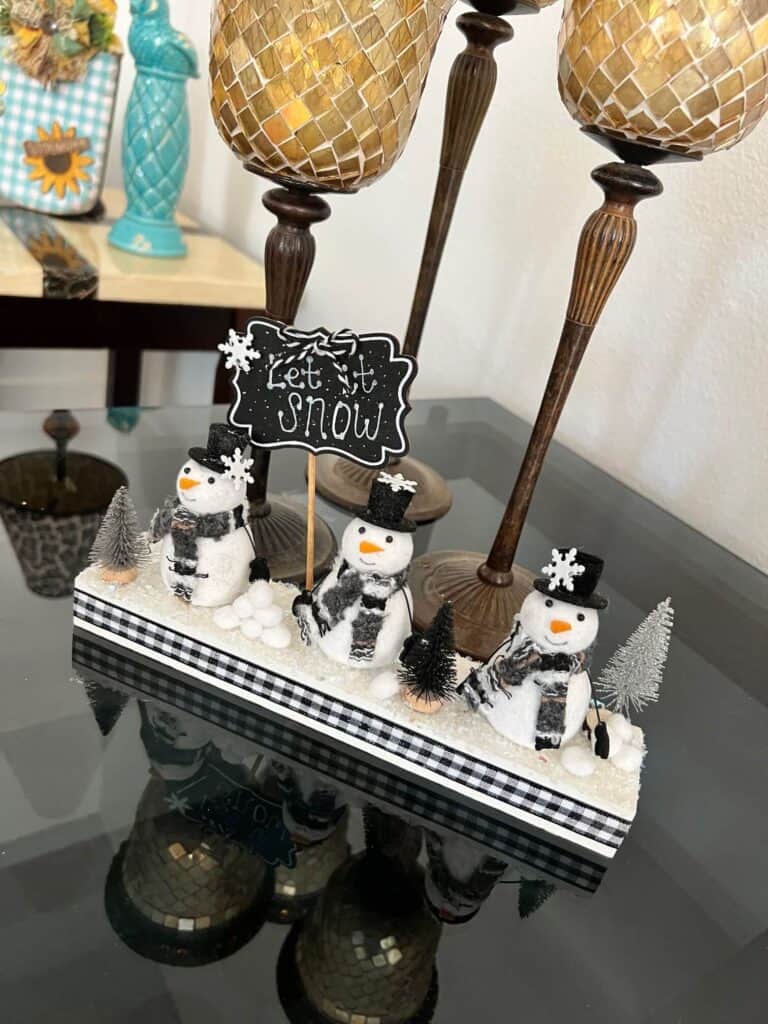
Are you going to make a Snowman Ornament Shelf Sitter? If you do, I’d love to see it! Pop on over to our free Craftspiration Facebook group, and join in on the fun by posting a pic of your Tiered Trays, DIY’s and crafts. I just love to see all your creative and crafty creations.
If you’ve got a million projects on your crafting ‘to-do’ list like I do, than you need my FREE Craft Project Planner so you can plan to make *all the things*! When you sign up for the craft planner, I’ll also send you lot’s of fun, easy, and budget friendly ideas for you to fill it up with!

Free printable Craft Project Planner
Get organized, get inspired, and get crafting, with our free Craft Project Planner!
Until Next Time…
Stay Crafty San Diego!

Love this Snowman Ornament Shelf Sitter? Make sure to PIN it for later!
