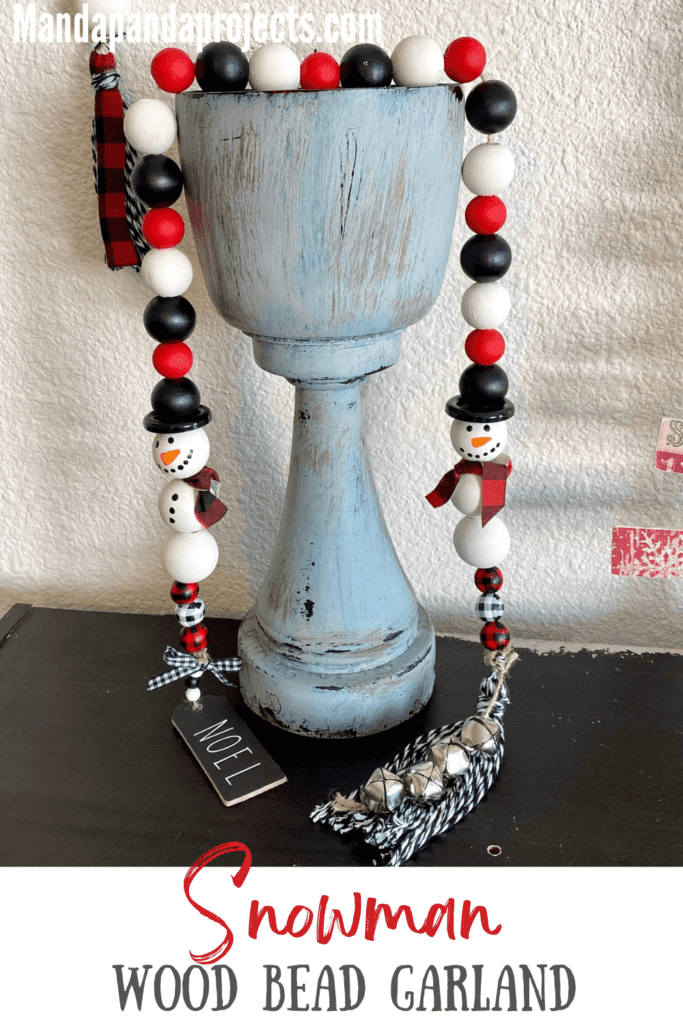
Wood bead garlands are all the rage right now for decorating tiered trays and other cozy spaces, so of course we had to make one for our Christmas tiered tray. This red, white, and black snowman themed wood bead garland is so stinkin’ cute, I made a matching ornament to go along with it!
This absolutely uh-maz-ing Snowman Wood Bead Garland was made in The CRafterparty, my private VIP crafting group full of awesome and talented ladies from all over! And you should see all the other versions of this same project, they are truly phenomenal and I am blown away at the talent in this group.
For more more information on getting your own personal invitation to The CRafterparty you can go HERE. And then you can join in on all the Crafty Fun and learn to make pretty things like this Snowman Wood Bead Garland and Paint Stick Christmas Trees!
This post may contain affiliate links for your convenience (which means if you make a purchase after clicking a link I will earn a small commission but it won’t cost you a cent more!)
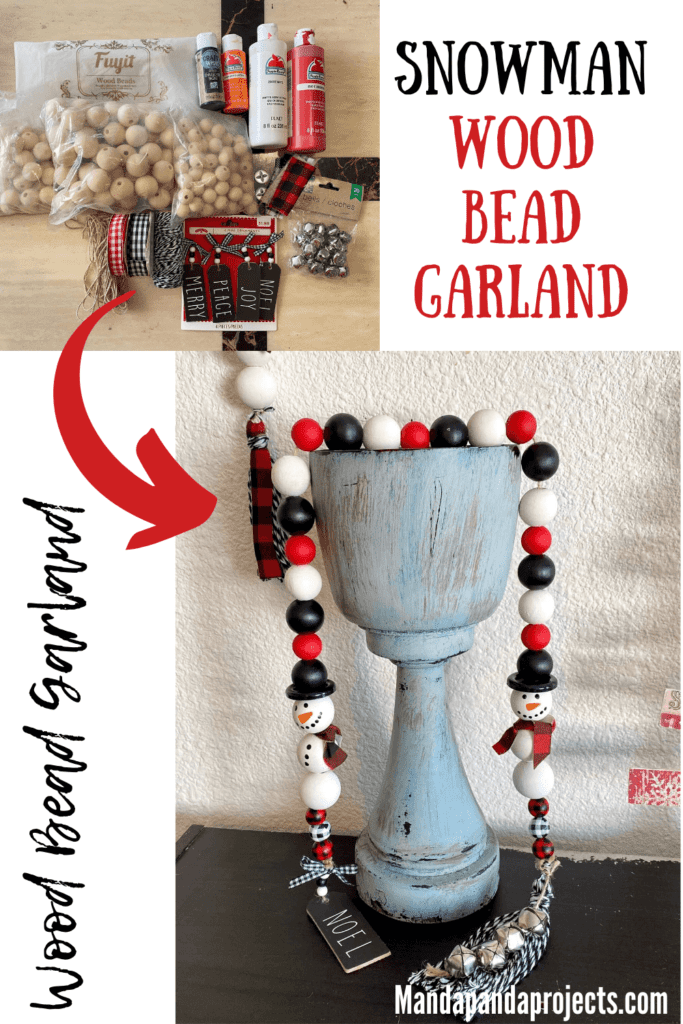
Supplies Needed to make a Snowman Wood Bead Garland and Ornament
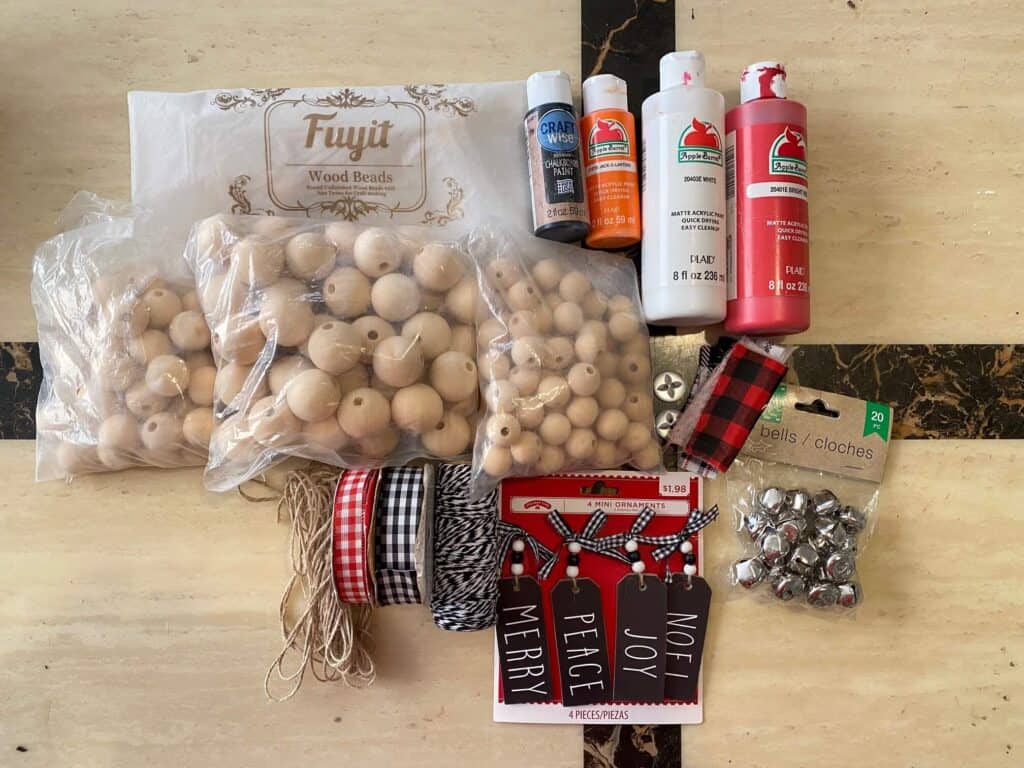
- Wood beads – 20, 25, and 30 mm
- Buffalo check beads – both red/blk and wht/blk
- White paint
- Red paint
- Black paint
- Orange paint
- Scrap fabric and/or thin ribbon
- 1″black buttons– You’ll need 2 for the garland and 1 for the ornament if you’re making it
- Twine
- Jingle Silver bells
- Hanging tag “Noel” mini ornament
- Black and white bakers twine
- Glue Gun
How to Make a Snowman Wood Bead Garland plus Ornament
First things first, decide the pattern of how you want your beads for your Snowman Garland. I just lined them out so I knew how many I needed for how long I wanted it to be. I used 3 size beads, which I’ll call small (20 mm), medium (25 mm), and large (30 mm).
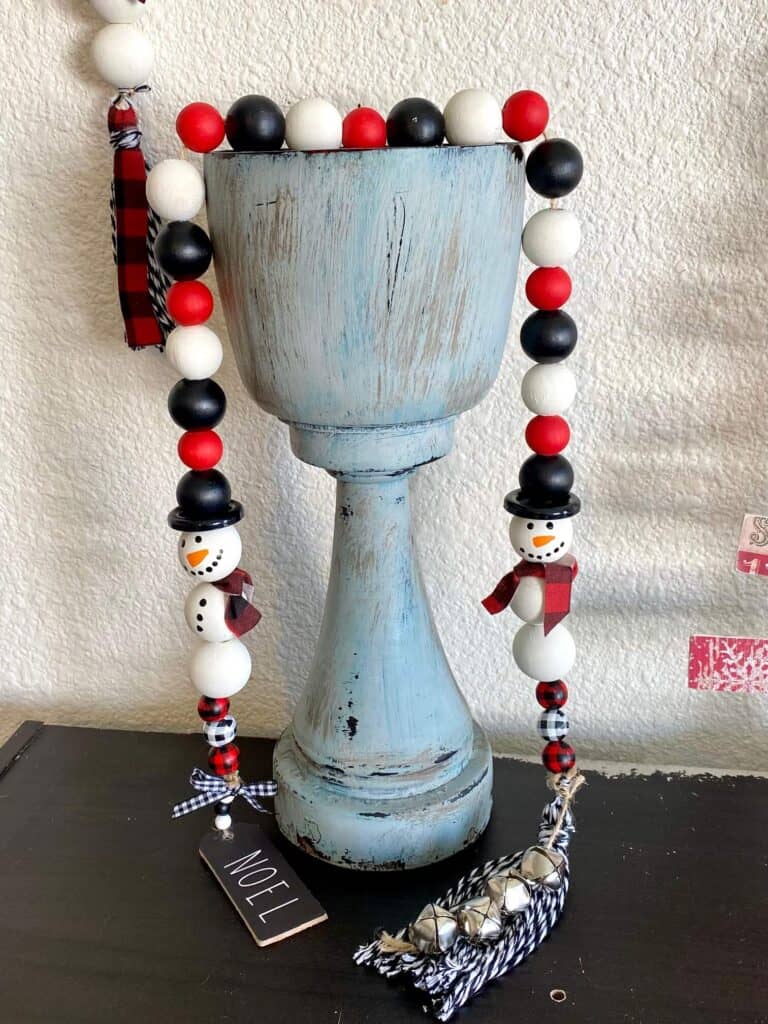
I made sure to include 3 of the large beads on each side, to make the 2 snowmen (6 large beads total) and 2 medium beads for the snowman hats. Then the rest of the pattern I did was small, medium, medium. Small, medium, medium. Repeat. I made all of the small beads red, and all of the medium beads black/white. I used 3 pre-painted buffalo check beads at each end, under the snowmen You can see the pattern below.
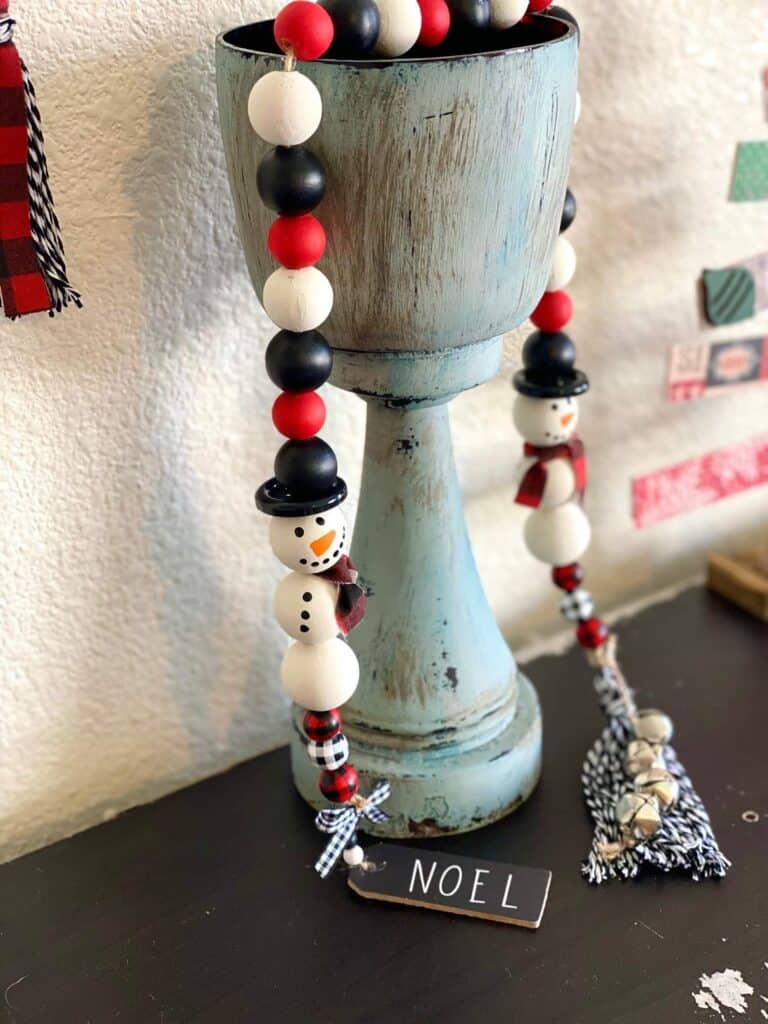
Here is exactly how many of each color you will need to paint:
- 6 large white beads
- 6 medium white beads
- 8 medium black beads
- 7 small red beads
- 4 small red and black buffalo check beads
- 2 small black and white buffalo check beads
*NOTE If you are going to make a matching Snowman Wood Bead Ornament to go along with the garland, make sure to paint 3 additional large white beads and 1 additional medium black (3 large white, 1 med black)
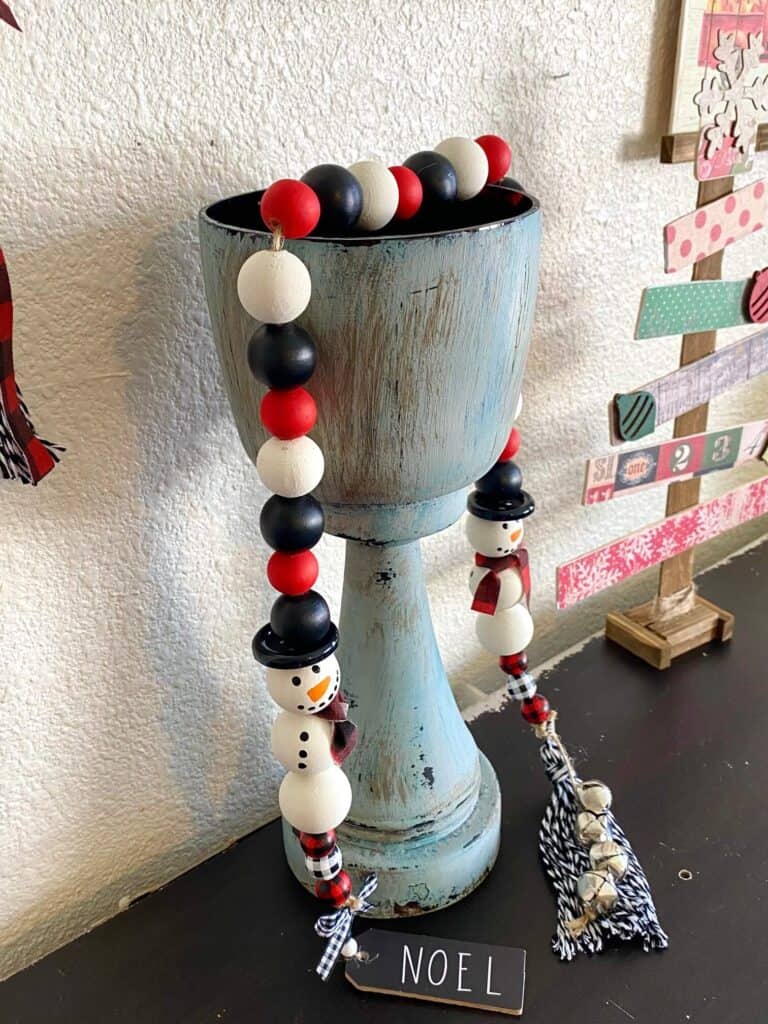
You can decide to do this pattern, or you can totally mix it up as well! Heck, you don’t even have to use the same colors I did. One of my crafty friends in my private VIP group, Dana, made hers Blue and White Winter Wonderland snowman theme!
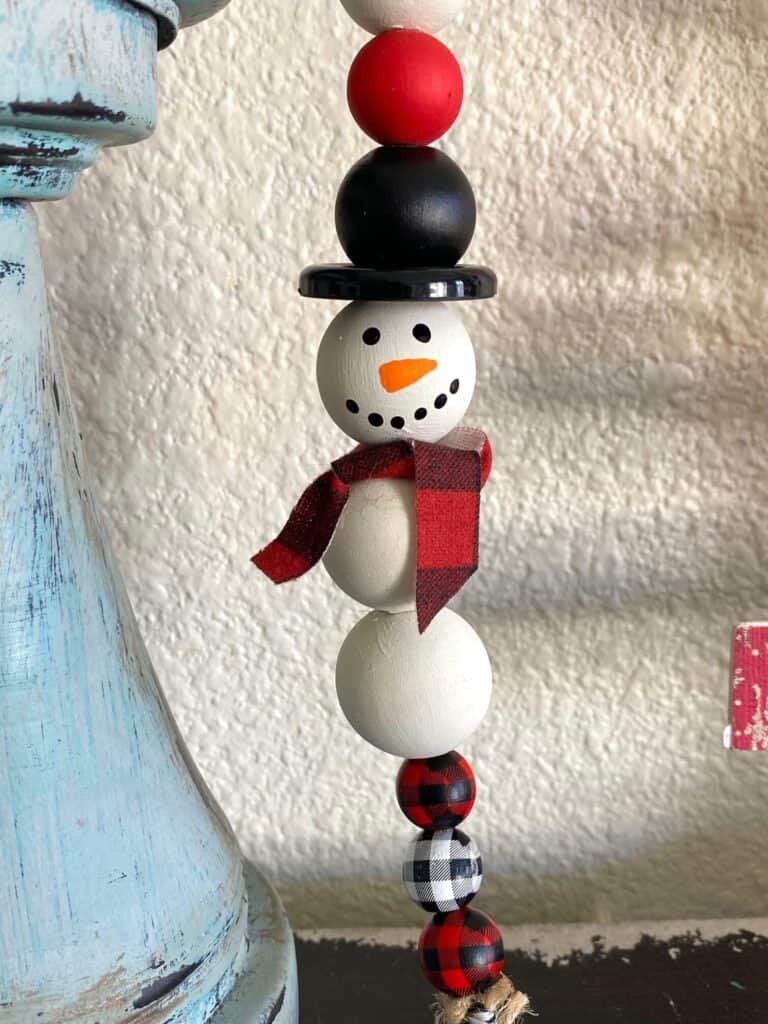
Now, using the end of a small paint brush, dip it into the black paint and make small dots on the large white beads to make the snowman mouth and eyes, and to make the 3 buttons on his body. With the smallest paint brush you can find, draw on his cute little carrot nose.
Now for the Tassel. I made one Tassel for the Snowman Wood Bead Garland, and one for the ornament. There are lots of fancy ways of making tassels with fancy knots, but the easiest way is to wrap the bakers twine around a small book, tie a piece of string around one end to hold it together in a big loop. Then wrap another piece of twine several times around the top to give it the tassel look. Once that’s done, just cut the other end to open it up and voila!
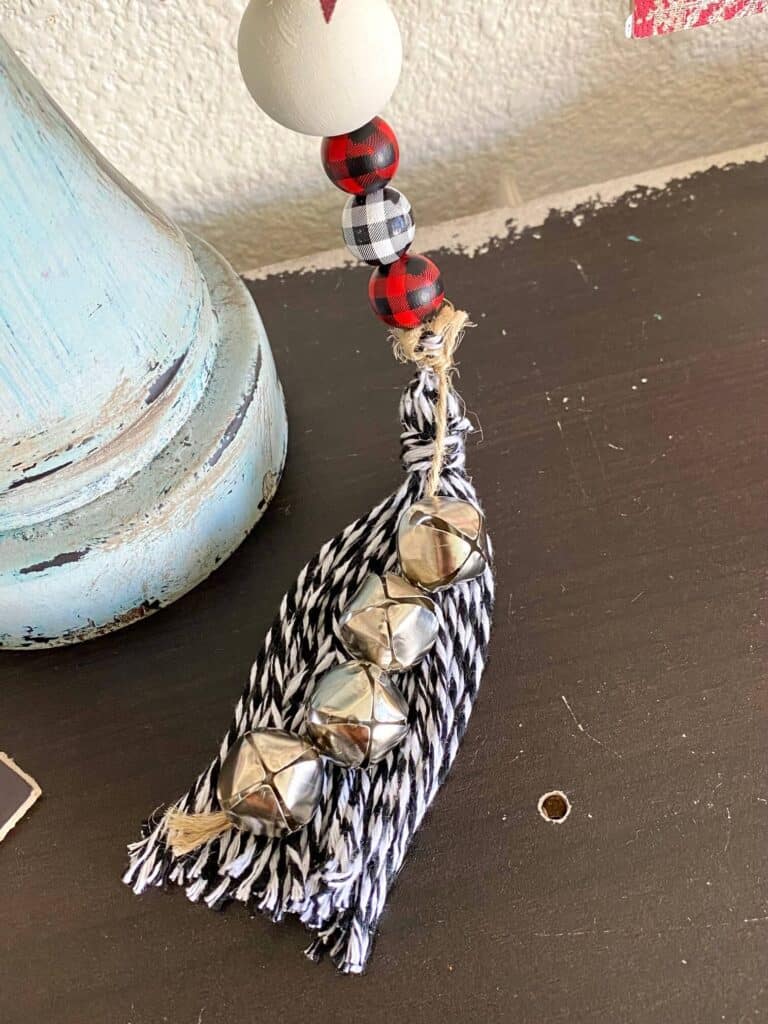
I also glued some silver jingle bells onto a small piece of regular twine and added that to the tassel for my wood bead garland. And for my ornament, I added in a strip of buffalo check ribbon to give it a little somethin’ somethin’.
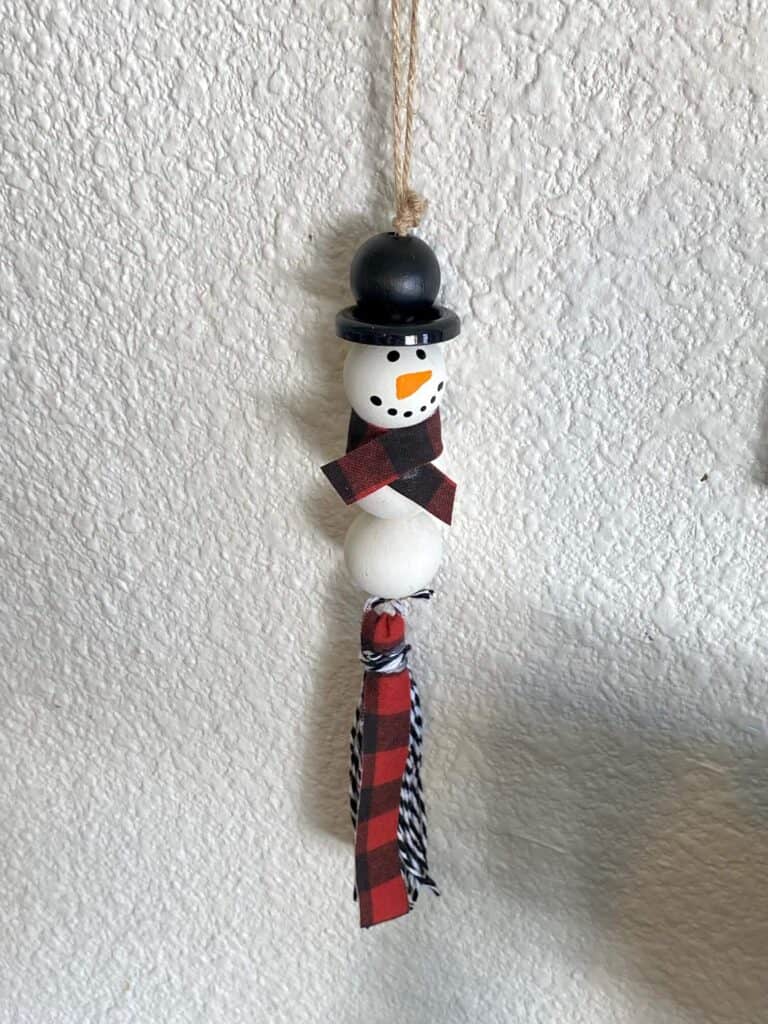
Now to put it all together! String all of your wood beads onto a long piece of twine, being careful to keep them in pattern order. So you’ll start with the small buffalo check beads, then the first snowman making sure to put his body on first and his head on after, followed by the black button and bead to make his hat. Then add all the colored beads in the pattern you decided working your way to the other end of the garland where you’ll make the other snowman, but this time you’ll be adding his hat first, then head, and then his body. Ending with the small buffalo check beads.
Tie a small piece of ribbon or strip of fabric around his neck to give him a cute little scarf.
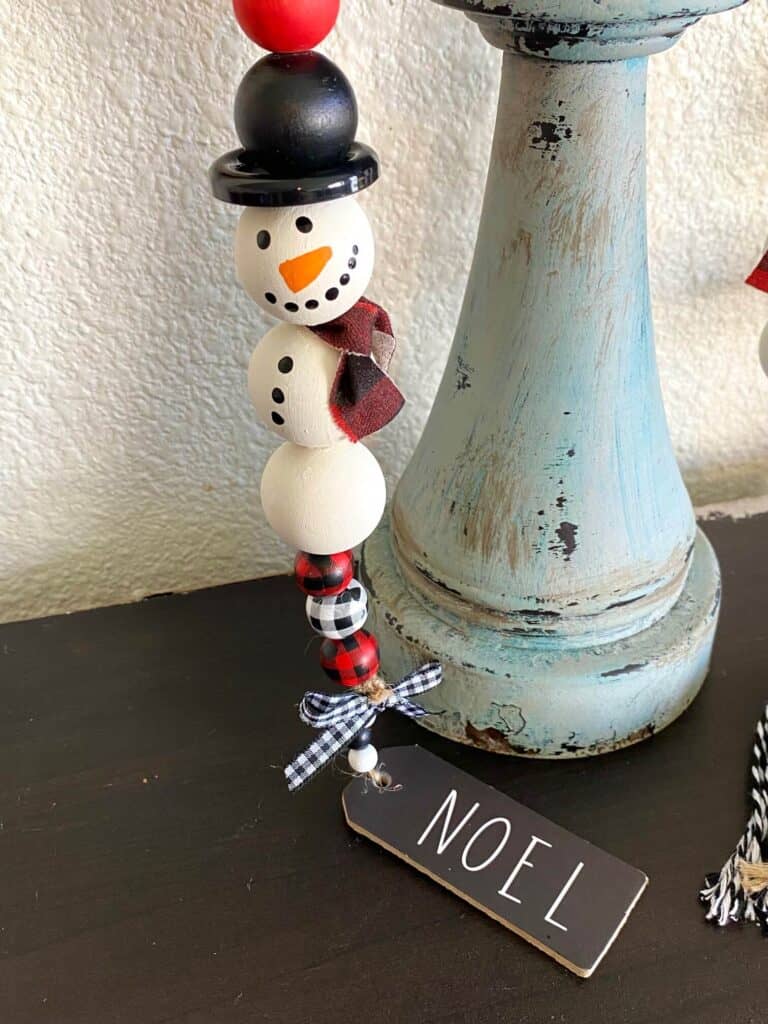
Tie your tassel to one end, and your mini hanging ornament to the other and you’ve got yourself an adorable Snowman Wood Bead Garland and Ornament!
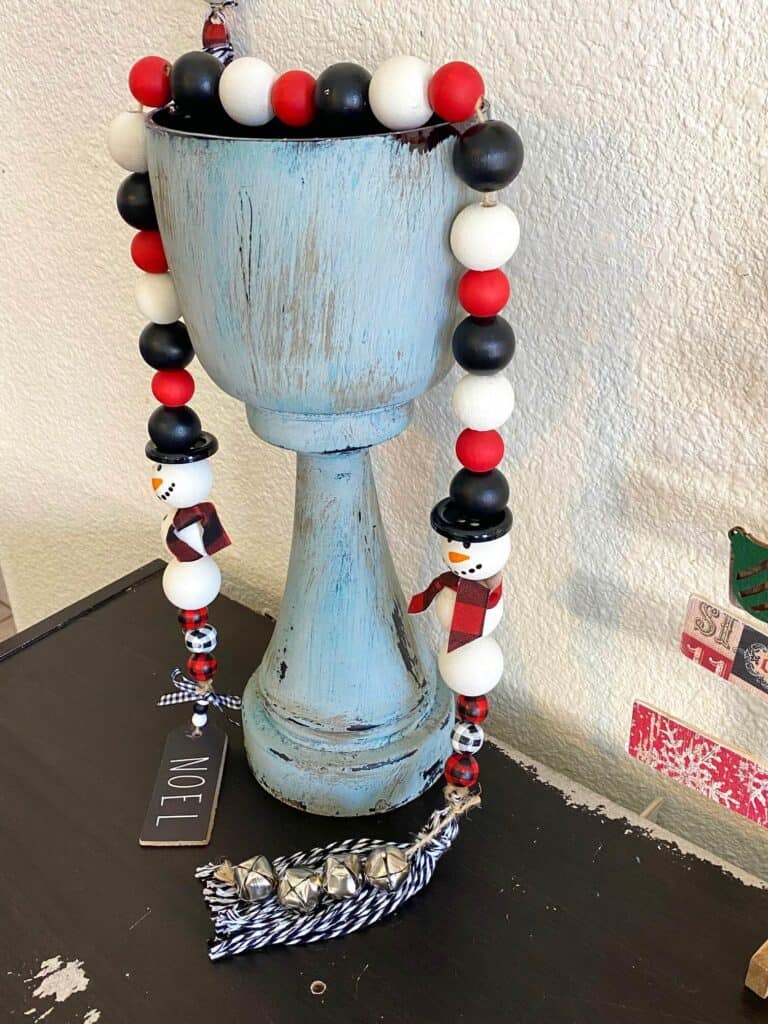
Are you going to make a Snowman Wood Bead Garland or ornament this year? If you do, I’d love to see it! Pop on over to our free Craftspiration Facebook group, and join in on the fun by posting a pic of your completed DIY’s and crafts. I just love to see all your creative and crafty creations!
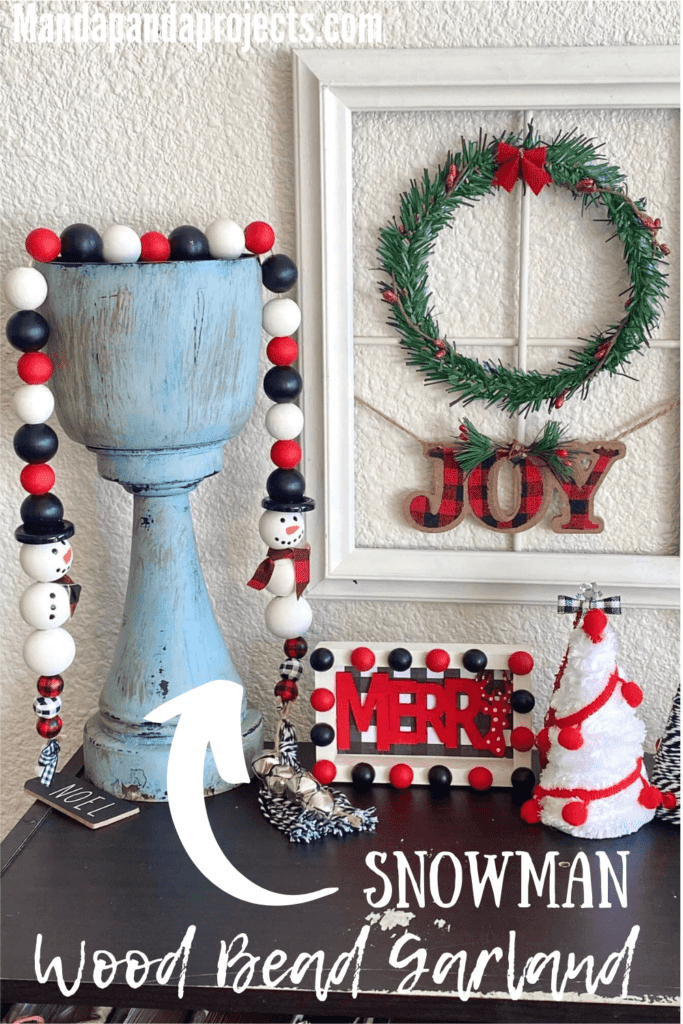
How beautiful does this look with the coordinating Mini Foam Cone Christmas Trees, and Merry Shelf Sitter!

If you’ve got a million projects on your crafting ‘to-do’ list like I do, than you need my FREE Craft Project Planner so you can plan to make *all the things*! When you sign up for the craft planner, I’ll also send you lot’s of fun, easy, and budget friendly ideas for you to fill it up with!

Free printable Craft Project Planner
Get organized, get inspired, and get crafting, with our free Craft Project Planner!
Until Next Time…
Stay Crafty San Diego!

Love this Snowman Wood Bead Garland and Ornament? Make sure to PIN it for later!

