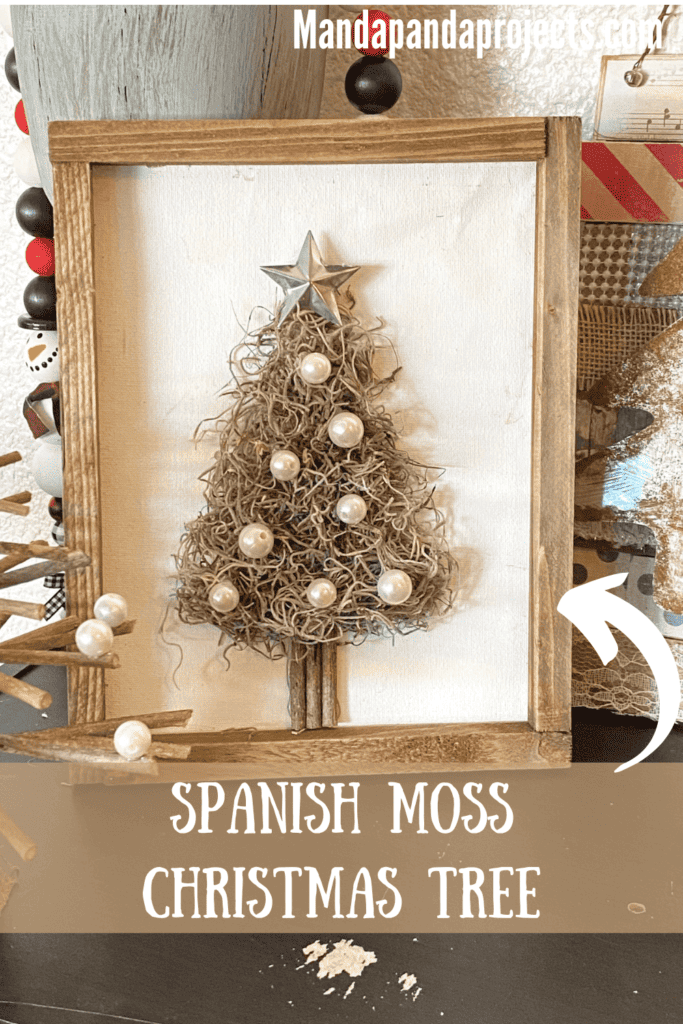
It’s simple, it’s rustic, it’s elegant, it’s a Spanish Moss Christmas Tree. This super easy to make reverse canvas craft is perfect for a neutral Christmas decor theme, and the best part is it can be made with all Dollar Tree supplies!
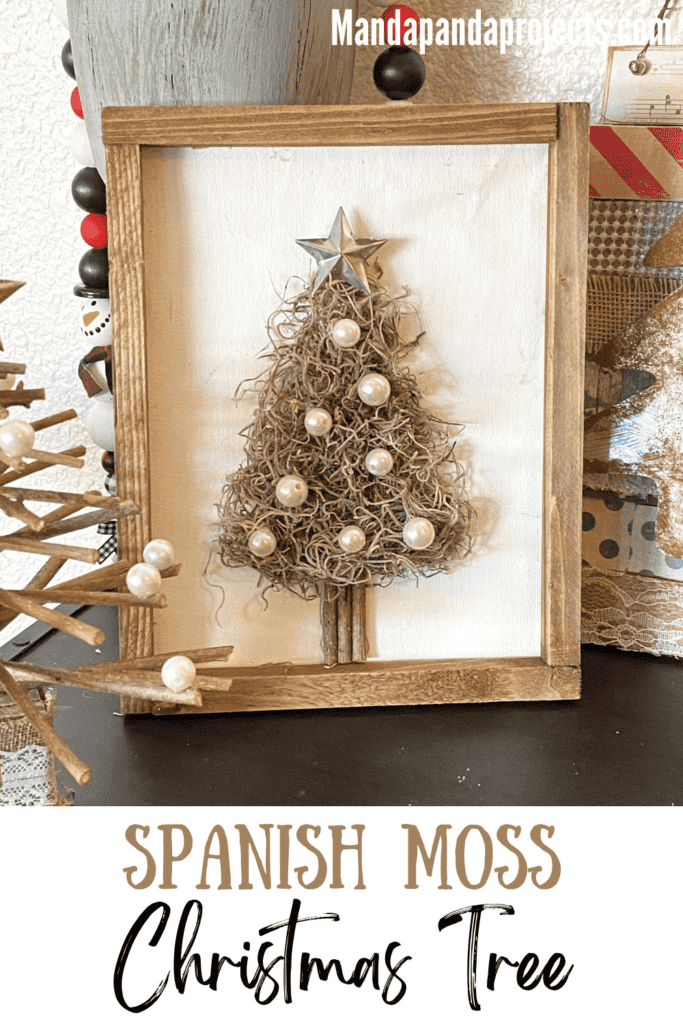
Welcome to Day 6 of our Manda Panda Countdown to Craftmas! This the first year that I am starting a tradition of 24 days of Crafty Christmas lives from Dec. 1 to 24 over on my Facebook Page. Make sure to check out the Dollar Tree Santa Belt Ornament we made for Day 3!
If you know me then you know that my typical style is bold, vibrant, and full of color. And this project is everything but that!
When I do go the neutral route, it almost always includes one of the following supplies: Burlap, Lace, or Pearls. This one def covers those bases with the pearls!
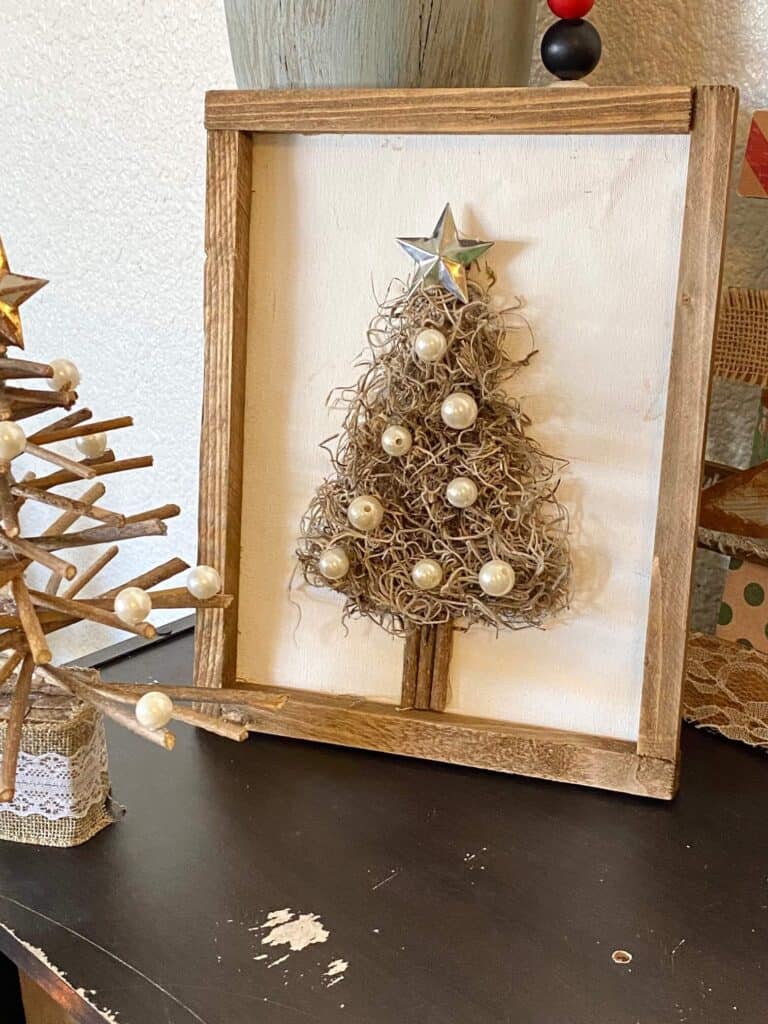
The simplicity of this craft is what I love so much about it. Oh, it can be made with pretty much alllllll Dollar Tree supplies as well. So thats a plus!
This post may contain affiliate links for your convenience (which means if you make a purchase after clicking a link I will earn a small commission but it won’t cost you a cent more!)
Supplies Needed to Make a Spanish Moss Christmas Tree
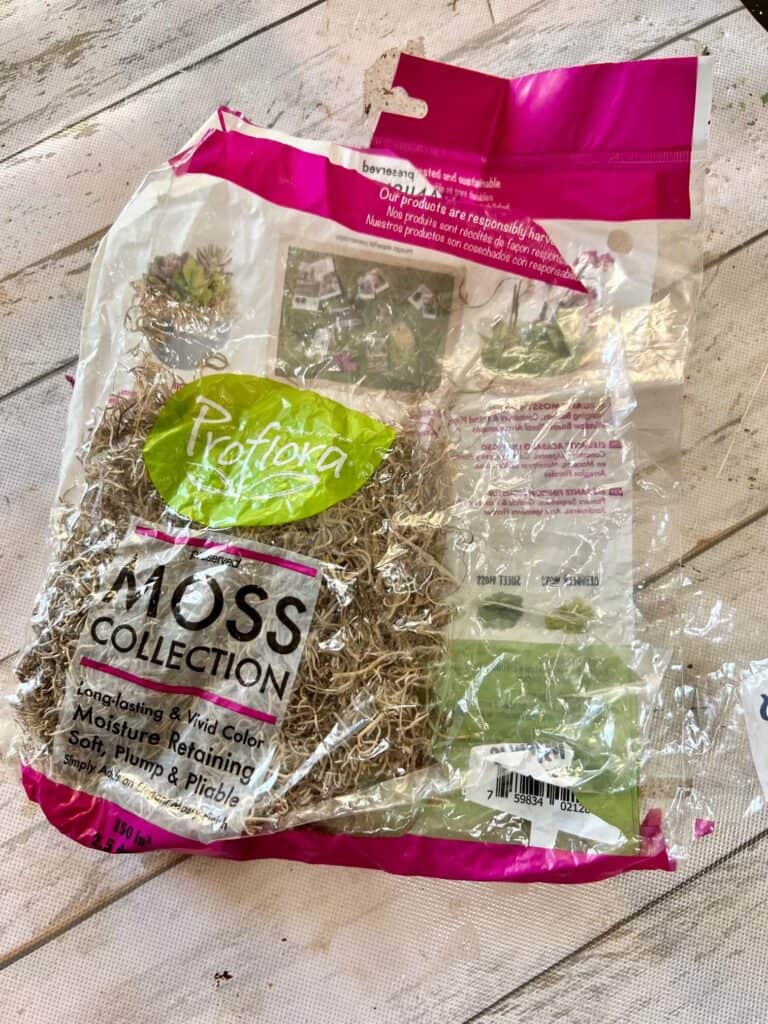
- 8×10″ Stretched canvas
- Spanish Moss
- Pearl beads
- Metal star
- Sticks from outside
- Antique Wax
- Hot glue gun
- Twine (optional for a hanger)
How to Make a Spanish Moss Christmas Tree
I made this Spanish Moss Christmas Tree on video, so you can WATCH it or click on the picture right below.

The first thing you have to do to make this is to reverse the canvas. This is a pretty easy process if you’ve never done it before. I do it all the time just like in this “Somebunny Loves You” reverse canvas I made this past Easter.
First, you need to remove the white canvas from the wooden frame. The easiest way to do this is to use an X-acto knife to slit around the back of the white canvas so you have one rectangular piece. You can rip the remainder off pretty easily, and don’t worry about removing the staples. You won’t see them since they’re on the back of the frame. Trim up the canvas so that it fits over the back of the frame, without hanging off the edge.
Then stain the entire frame with Antique Wax or whatever stain you like.
Next, trim up the white canvas to fit the back of the frame. Attach it to the back by applying hot glue all around the frame (side with the staples), and gluing the canvas to it.
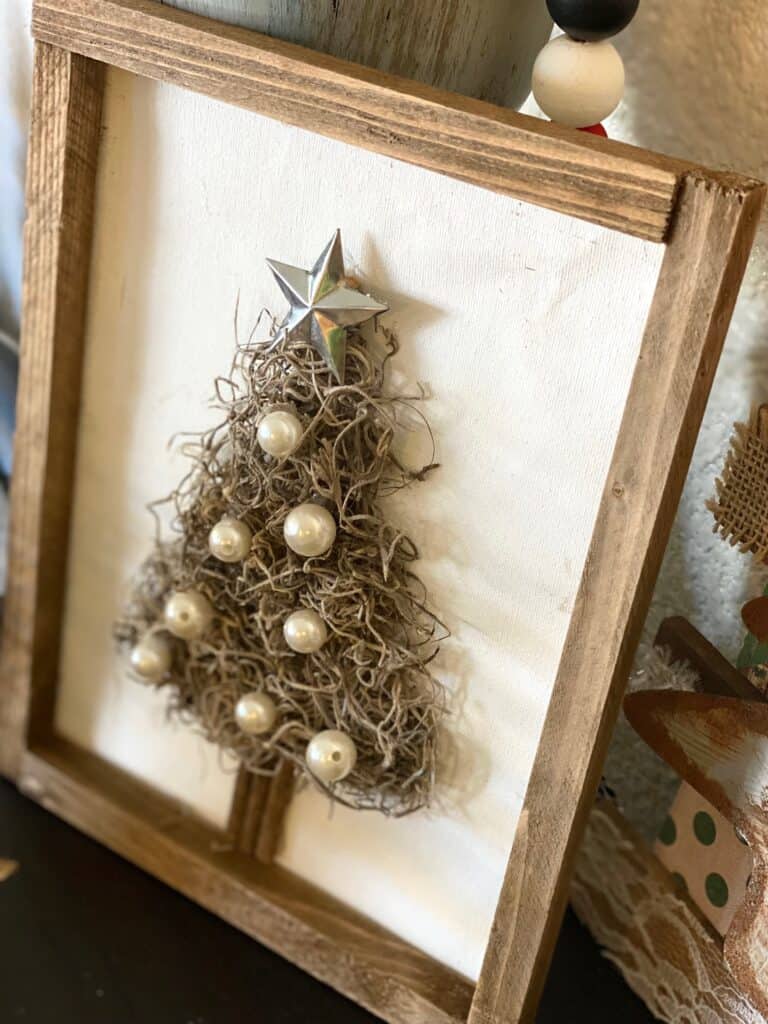
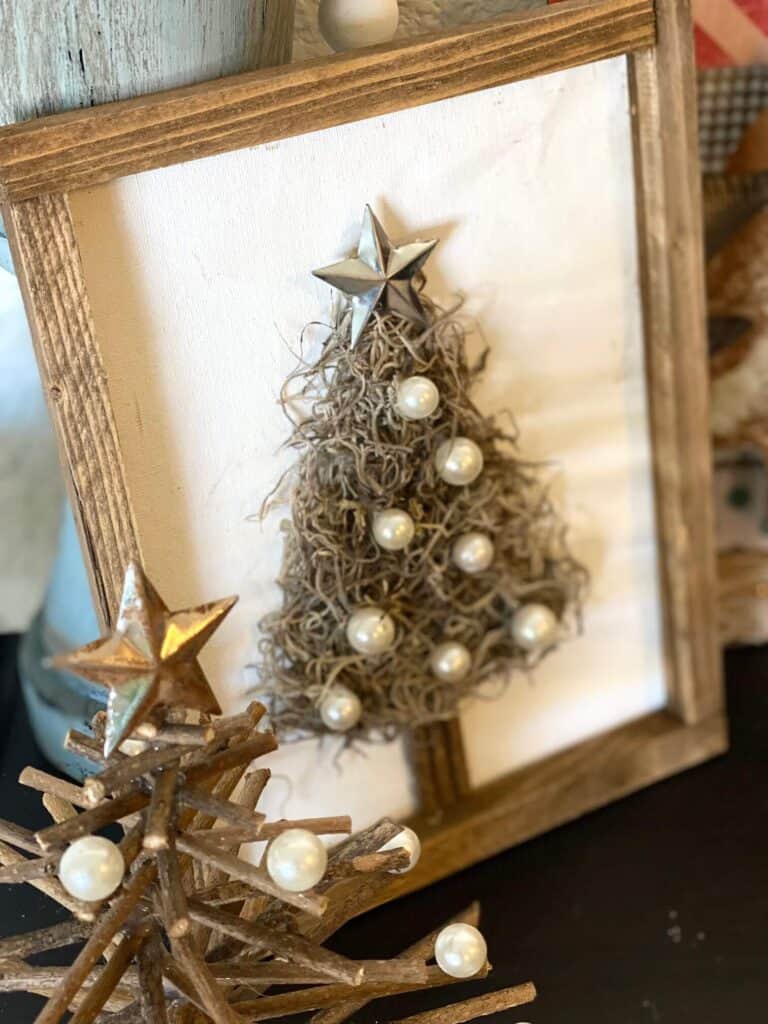
Now, all you do is simply hot glue the Spanish moss to the canvas in the shape of a Christmas Tree. I added some sticks from outside as the tree “trunk”, glued on some pearl beads as “ornaments” and topped it off with a galvanized metal star.
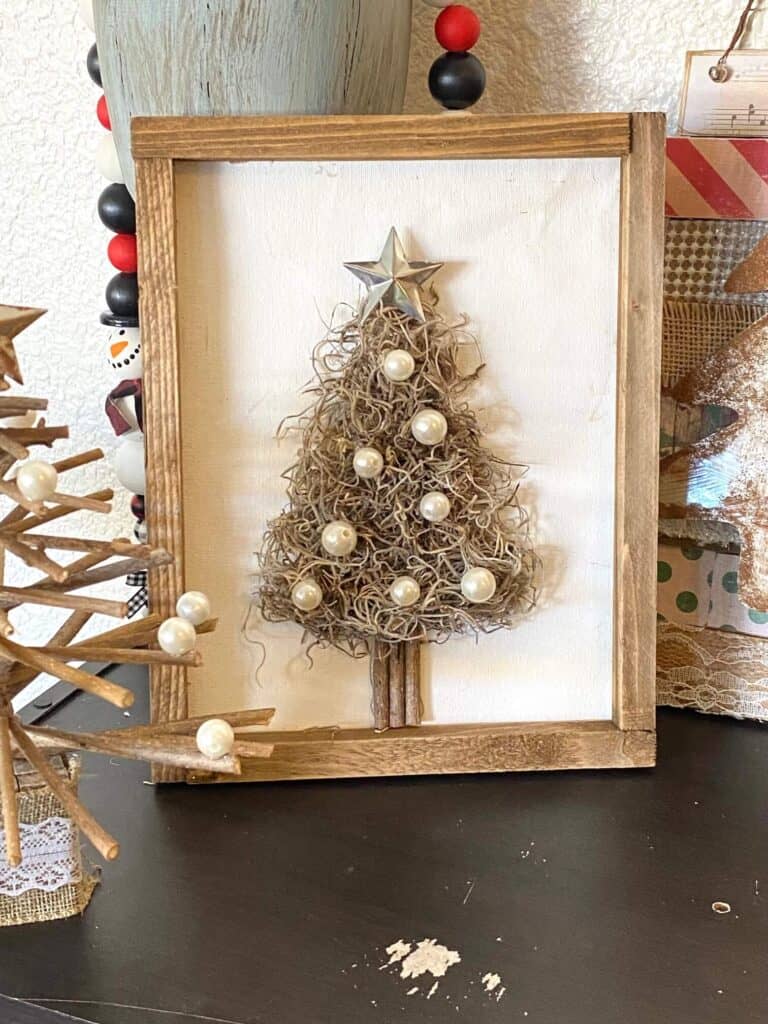
I’m so in love with how this Spanish Moss Christmas Tree turned out! I think he looks just fabulous with the Faux Rusted Christmas Tree!!
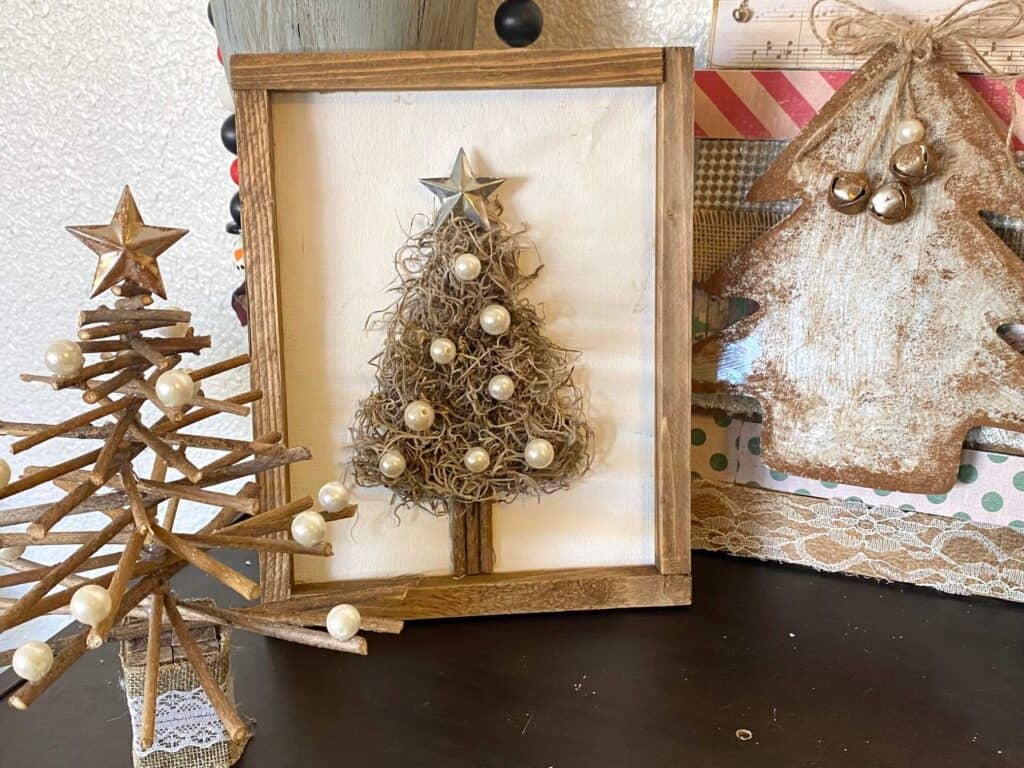
Are you going to make a Spanish Moss Christmas Tree for Christmas? Shoot…are you gonna make anything for Christmas?! If you do, I’d love to see it! Pop on over to our free Craftspiration Facebook group, and join in on the fun by posting a pic of your Tiered Trays, DIY’s and crafts. I just love to see all your creative and crafty creations.
If you’ve got a million projects on your crafting ‘to-do’ list like I do, than you need my FREE Craft Project Planner so you can plan to make *all the things*! When you sign up for the craft planner, I’ll also send you lot’s of fun, easy, and budget friendly ideas for you to fill it up with!

Free printable Craft Project Planner
Get organized, get inspired, and get crafting, with our free Craft Project Planner!
Until Next Time…
Stay Crafty San Diego!

Love this Spanish Moss Christmas Tree? Make sure to PIN it for later!


November 18, 2022 @ 3:52 pm
Spanish Moss Christmas tree deco is nice, but the twig Christmas
tree really caught my eye! Great thinking of new ways! Love it!!
Hugs, from Wisconsin
December 12, 2022 @ 9:54 am
Thank you so much Anna! That twig Christmas Tree definitely is cute, I’m not sure you saw my live making that but it gave me a run for my money! It was a challenge for sure!