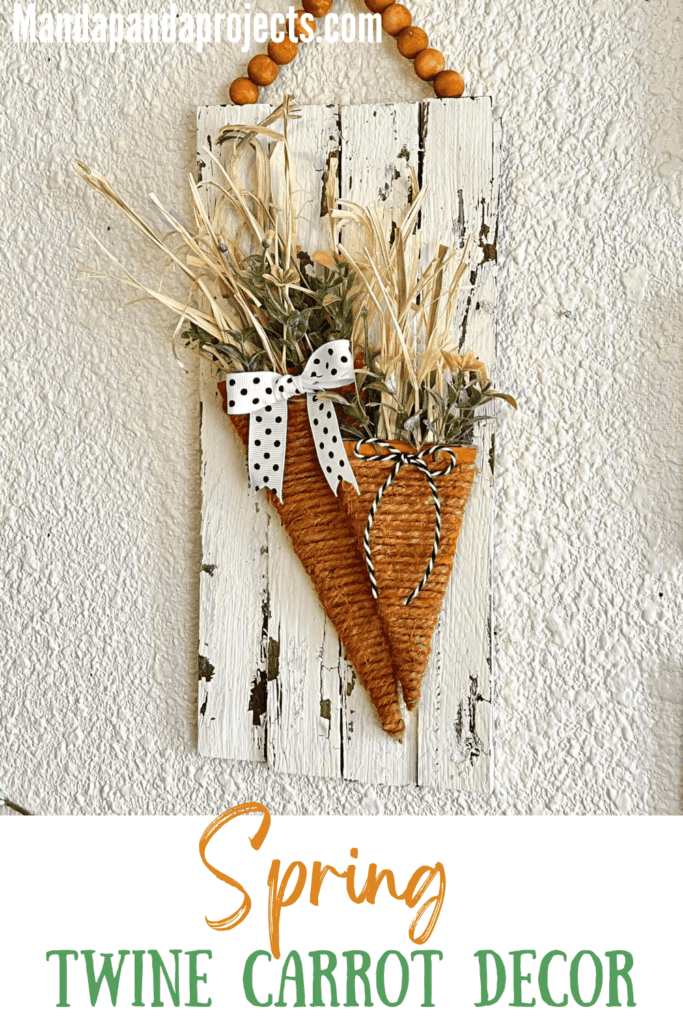
Nothing says “Spring is in the Air” like a good ‘ole carrot craft! These Spring Carrots are an easy and affordable DIY decor project is made with a secret supply that you probably already have at home. Can you guess it?…….Cardboard!

I get it, craft supplies can be expensive. Trust me, I know. Which is exactly why I craft with cardboard All.The.Time. Hence these Spring Cardboard Carrots.
Pretty much anything that is made of wood, can be recreated a la cardboard. Same goes for all those Dollar Tree cutouts that are so hard to find since they sell out in like a hot second. Just find a free template online, print, cut, and trace!
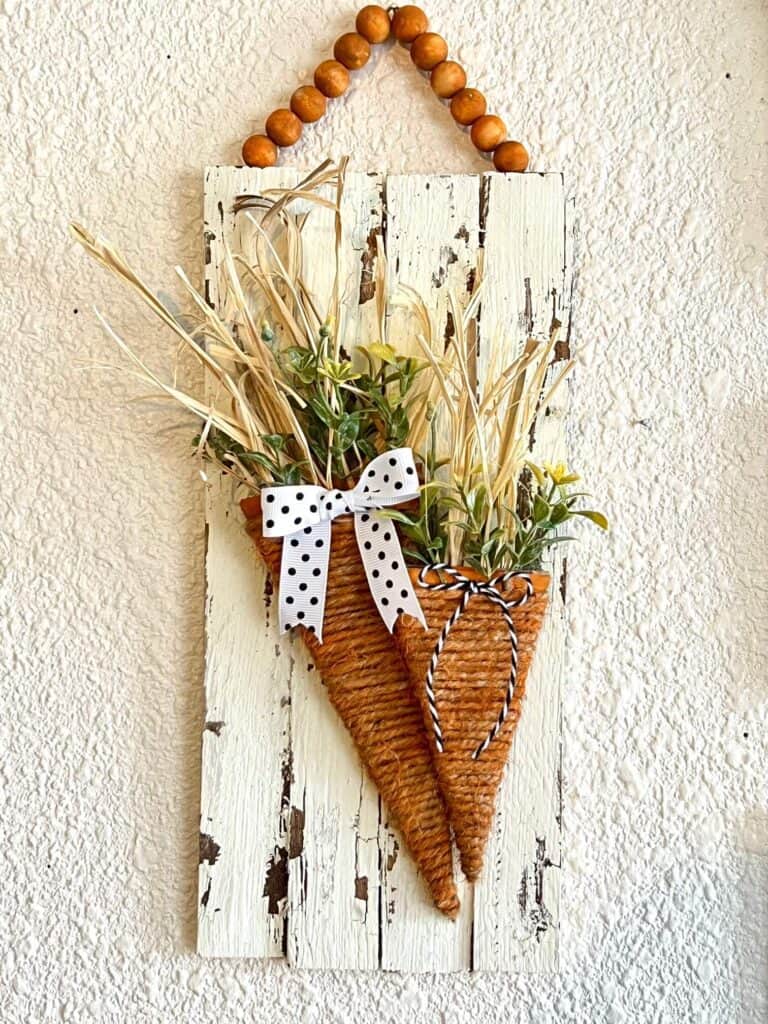
For as cute as these Spring Carrots are, you would never know they are cardboard! Just like you’d never know this Easter HOP sign is cardboard too. Check it out, I’m telling you…Cardboard is KING!
This post may contain affiliate links for your convenience (which means if you make a purchase after clicking a link I will earn a small commission but it won’t cost you a cent more!)
Supplies Needed to make Spring Cardboard Carrots
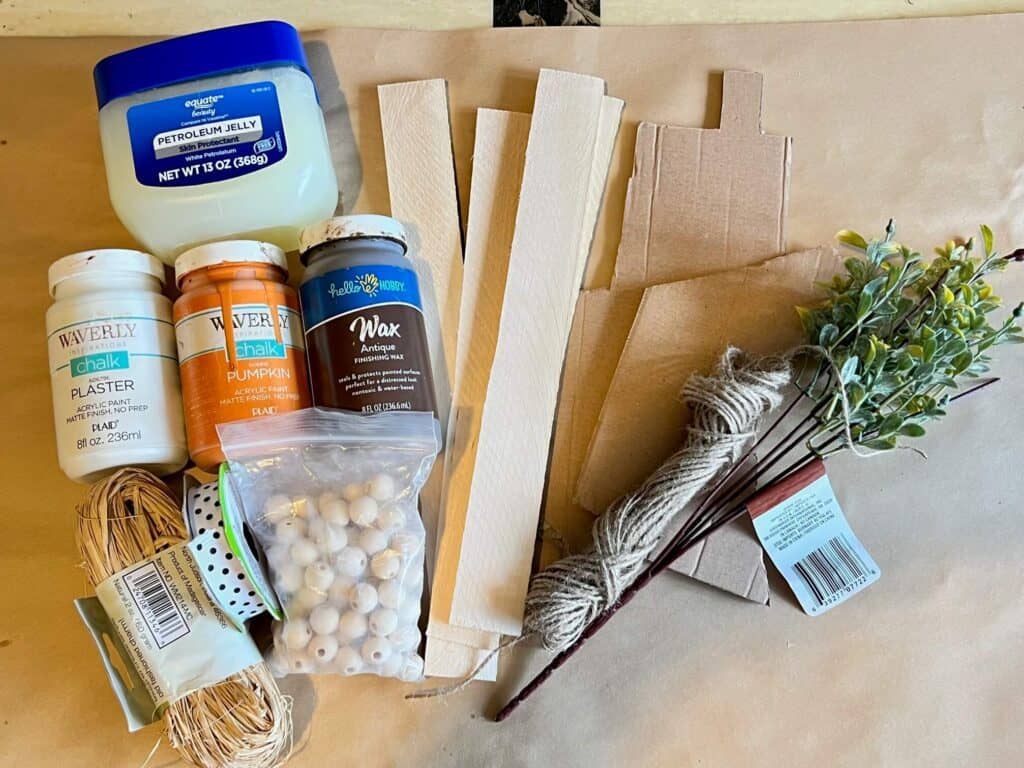
- 12″ Wooden Shims
- Cardboard long triangles
- Twine
- Faux leafy greenery
- Raffia
- Orange paint
- White paint
- Black and white bakers twine
- Wood beads – I used 16 mm
- Black and white polka dot ribbon (or buffalo check or whatever you like)
- Vaseline
- Chip brush
- Glue Gun
How to Make Cardboard Carrots for your DIY Spring Decor
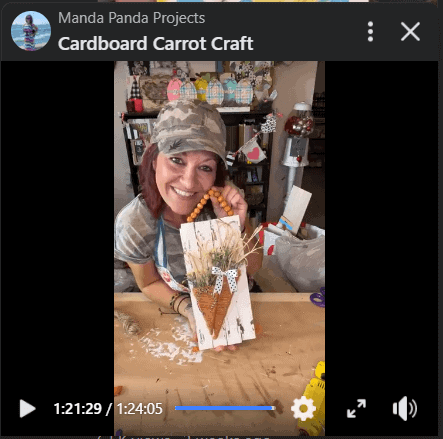
I made these precious Spring Cardboard Carrots on video, so you can WATCH the step by step tutorial HERE.
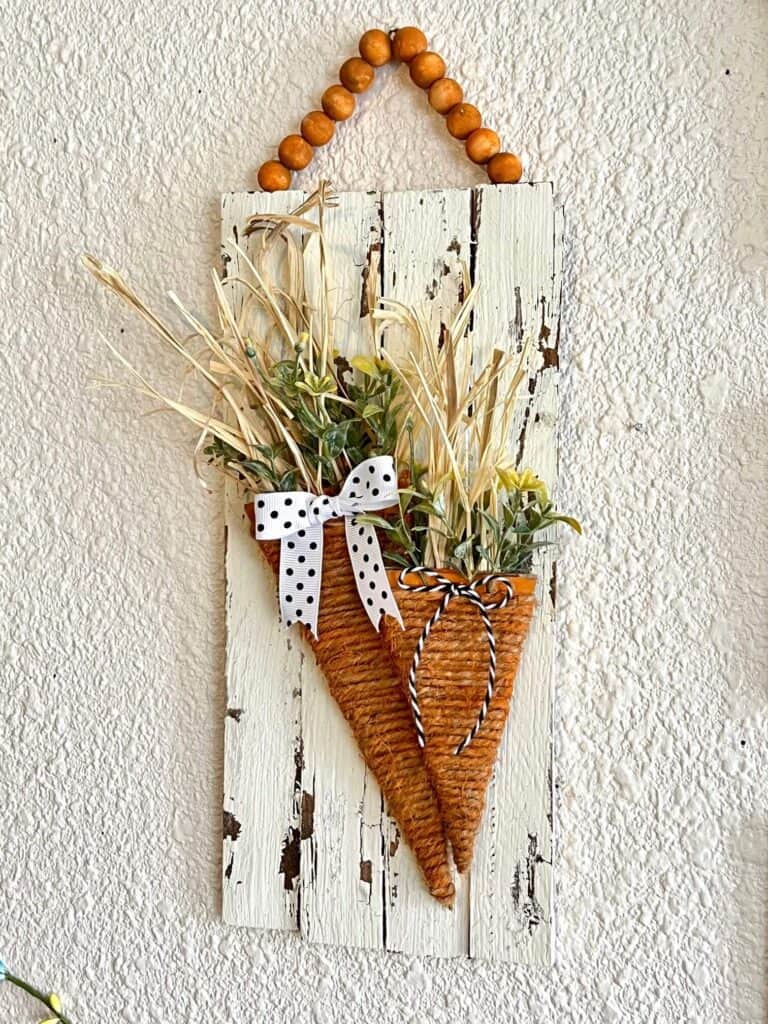
First things first we made our background using 12″ wooden shims. Just lay them side by side, alternating the thick ends with the thin ends, and glue a few craft sticks across the back to brace them together.
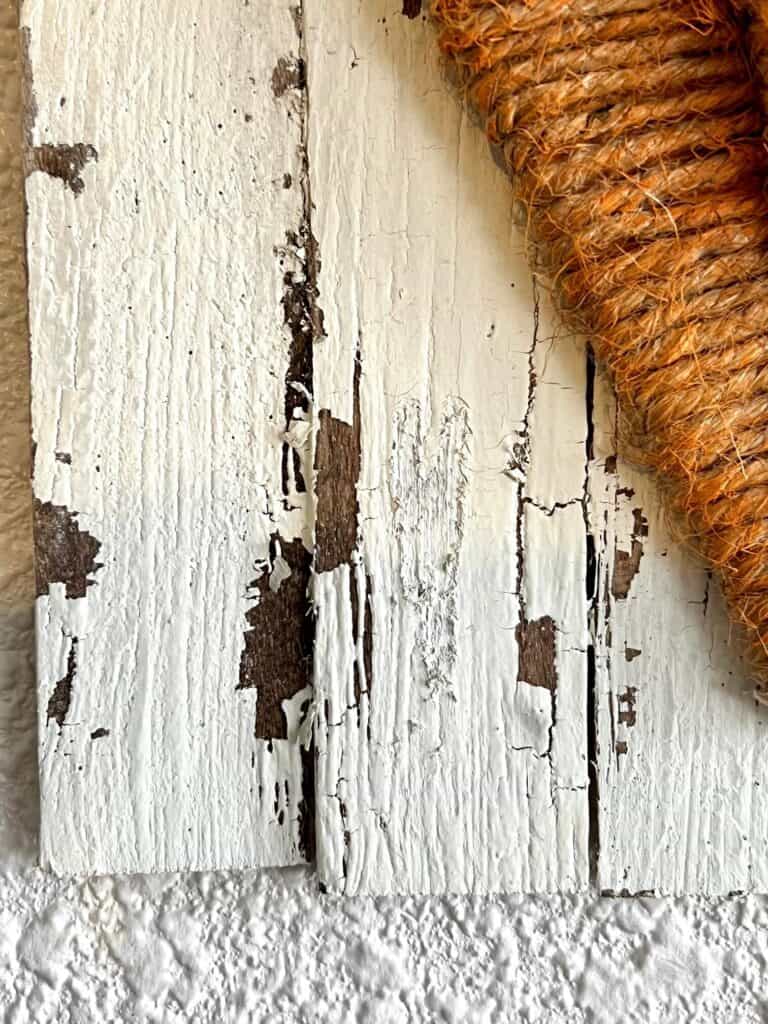
Stain the entire surface with antique wax, and then use Vaseline in random areas to create the “chippy” look. Paint the entire thing white and then dry to ALMOST done before using a paint scraper to “chip” the paint. The chippy process is better explained and detailed out in THIS post, or you can watch the replay to SEE me do it!
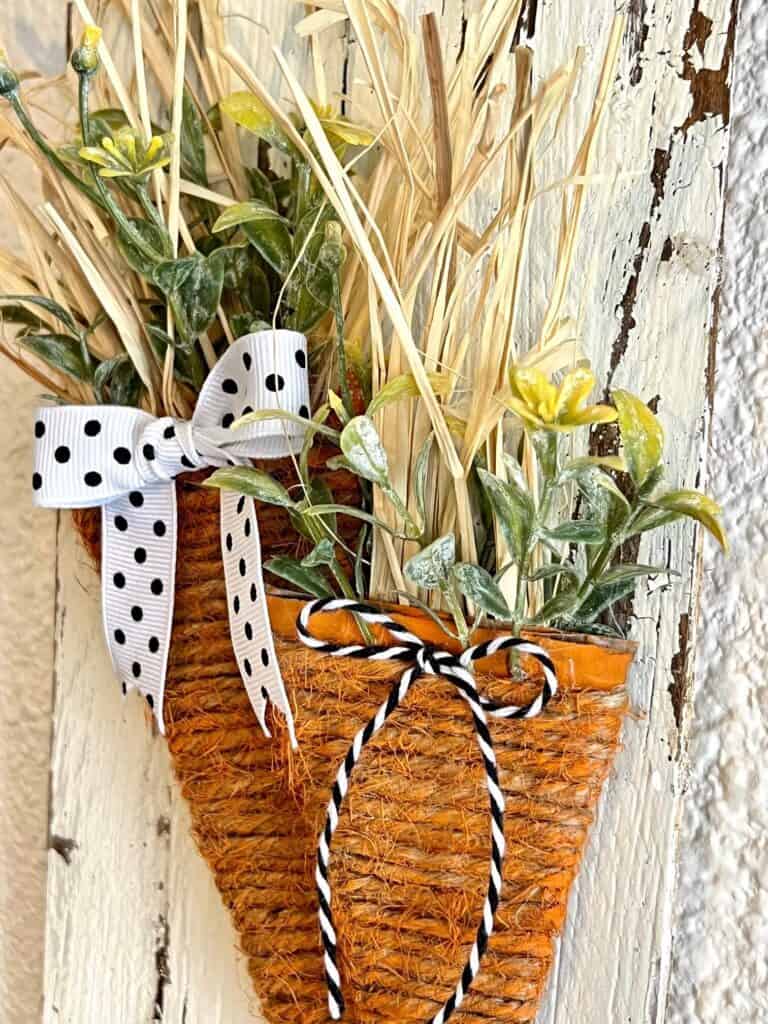
Cut some cardboard triangles and paint them orange first before wrapping them on twine just in case you can see it through the twine. Dry brush some orange on top of the twine for a rustic farmhouse feel.
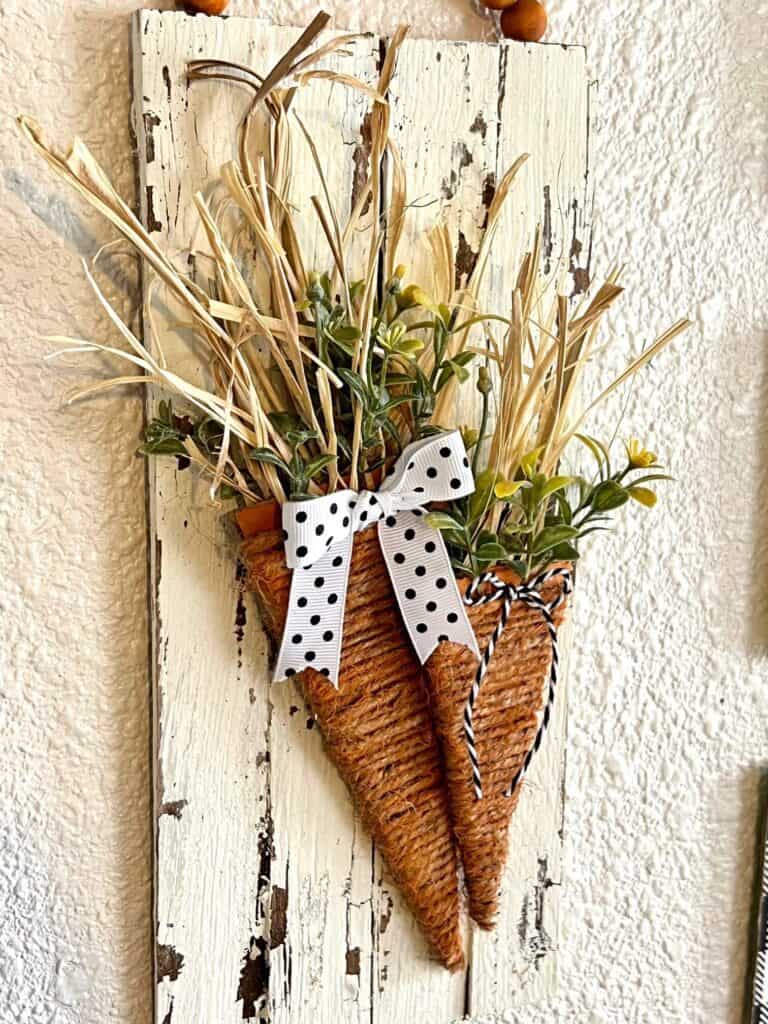
Glue some raffia and greenery to the top of each carrot, and then finish them off with a couple of cute shoestring bows.
Paint some wood beads orange, and then brush some antique wax to dirty them up to make the wood bead hanger.
Are you going to make these Cardboard Carrots Decor for Spring this year? If you do, I’d love to see it! Pop on over to our free Craftspiration Facebook group, and join in on the fun by posting a pic of your completed DIY’s and crafts. I just love to see all your creative and crafty creations!
If you’ve got a million projects on your crafting ‘to-do’ list like I do, than you need my FREE Craft Project Planner so you can plan to make *all the things*! When you sign up for the craft planner, I’ll also send you lot’s of fun, easy, and budget friendly ideas for you to fill it up with!

Free printable Craft Project Planner
Get organized, get inspired, and get crafting, with our free Craft Project Planner!
Until Next Time…
Stay Crafty San Diego!

Love this Spring Cardboard Carrot Decor? Make sure to PIN it for later!



April 2, 2022 @ 4:10 pm
Love all your projects! They are always so beautiful!!!
April 5, 2022 @ 3:50 pm
Thanks so much Tammy girl!
April 5, 2022 @ 3:51 pm
Thanks Kim! Cardboard for the win!
April 2, 2022 @ 6:03 pm
This is super cute!
April 2, 2022 @ 11:28 pm
I loved making these sweet carrots too! Thank you for just easy and affordable craft ideas.
April 5, 2022 @ 3:50 pm
You’re so welcome gotta love a good cardbt craft!
April 3, 2022 @ 9:21 am
I love how the chippy turned out on this. I perfer the wax candle method for most things, but this is an awesome method too.
April 5, 2022 @ 3:49 pm
What on earth is the wax candle method? I’m so intrigued!