Share the Love!
Follow these easy steps to learn how to dye clothespins with RIT dye so that you get the perfect color every time! Dyed clothespins can be used in so many ways, from decorative clothespin wreaths, to fridge magnets, to chip clips. With this method, your clothespins will come out just the right color each and every time!
No matter what the reason you want to dye clothespins with RIT, this simple method will take the trial and error out of the process for you since I made all the mistakes first!
One thing to be very careful of when you dye clothespins with RIT is that you will also dye anything else that comes into contact with the solution. And lemme tell ya, this stuff stains like a mo’ fo’!
Got PHD's in Crafting?
Using my Elephant system, I will walk you through completing those ‘Projects Half Done’ from start to finish in 5 days.

This past weekend I performed a bit of a science experiment to dye clothespins with RIT for a Sunflower Wreath that I made for summer. My kitchen felt like a little laboratory as I mixed up color concoctions and tested and retested until I achieved JUST the right shade!
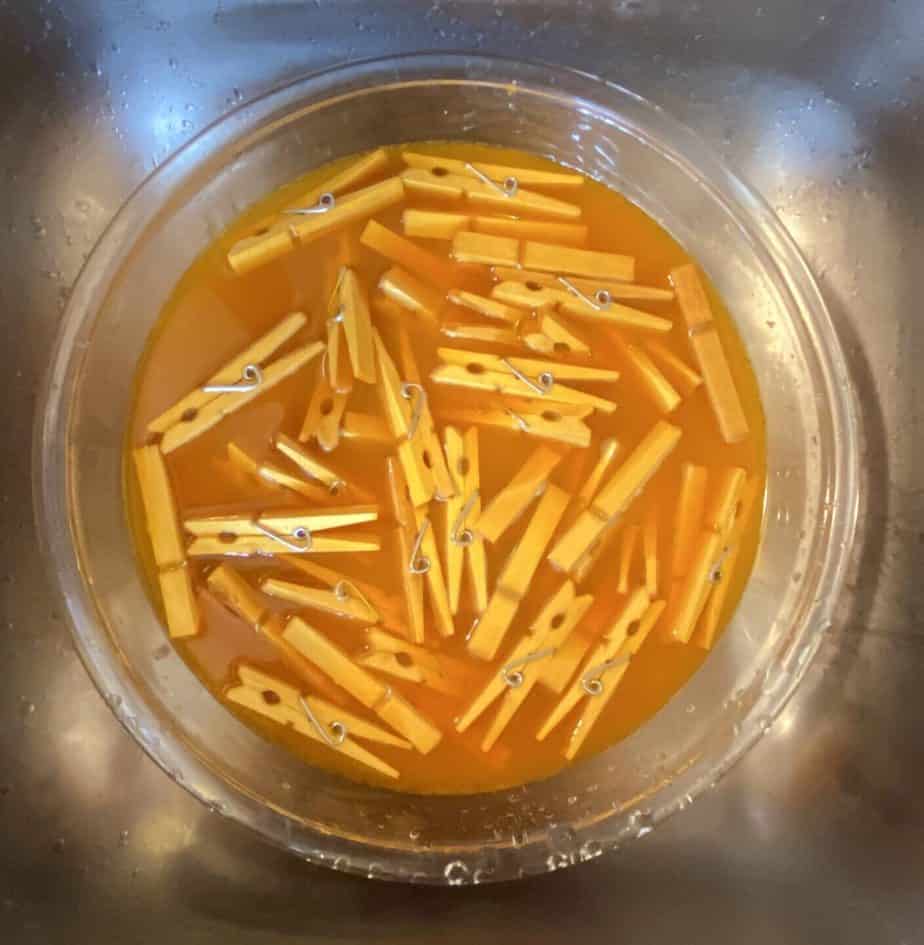
I tested with both the powder and the liquid, and although the steps are pretty much the same, I found the powder method was easier since you didn’t have to keep the water hot on the stove.
This post may contain affiliate links for your convenience (which means if you make a purchase after clicking a link I will earn a small commission but it won’t cost you a cent more!)
Supplies Needed to Dye Clothespins With RIT Dye
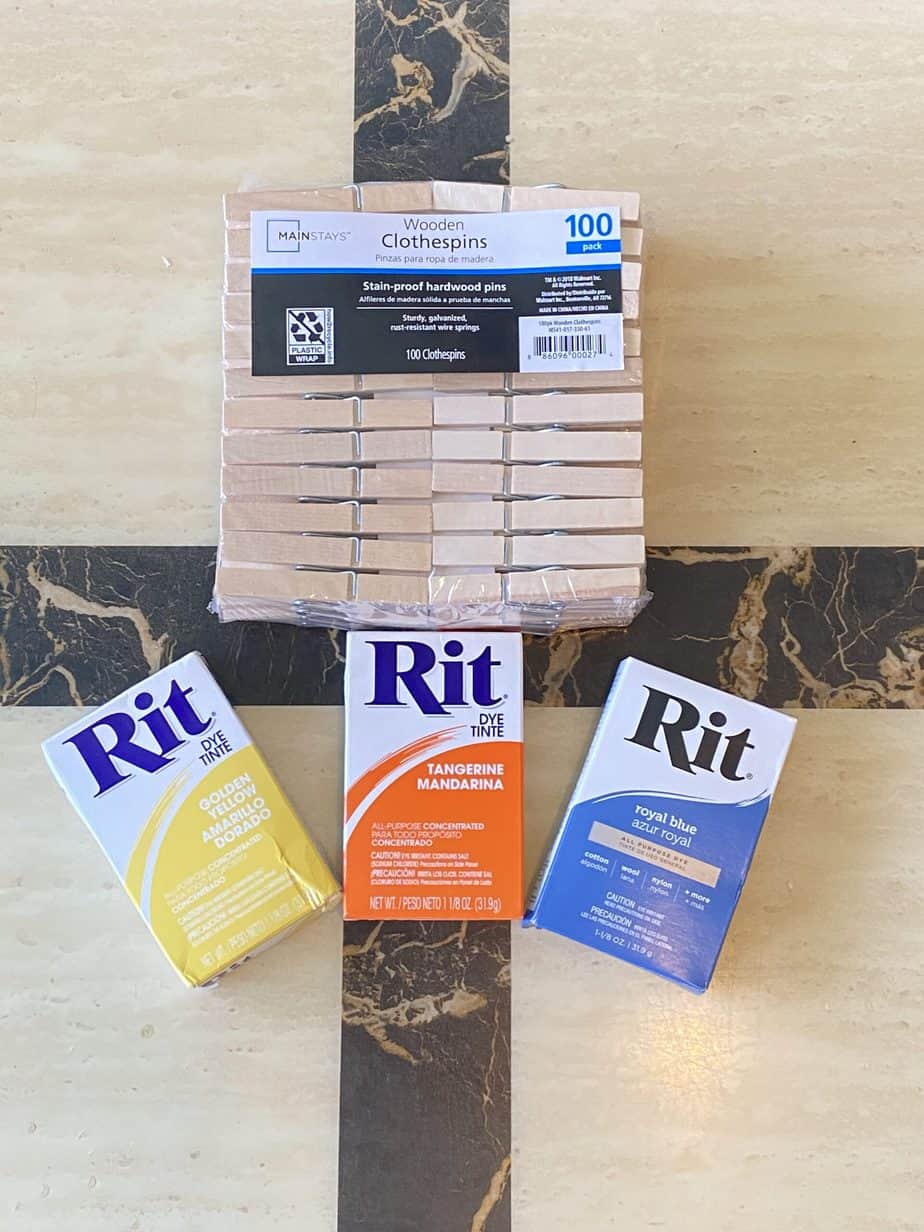
- Wooden Clothespins
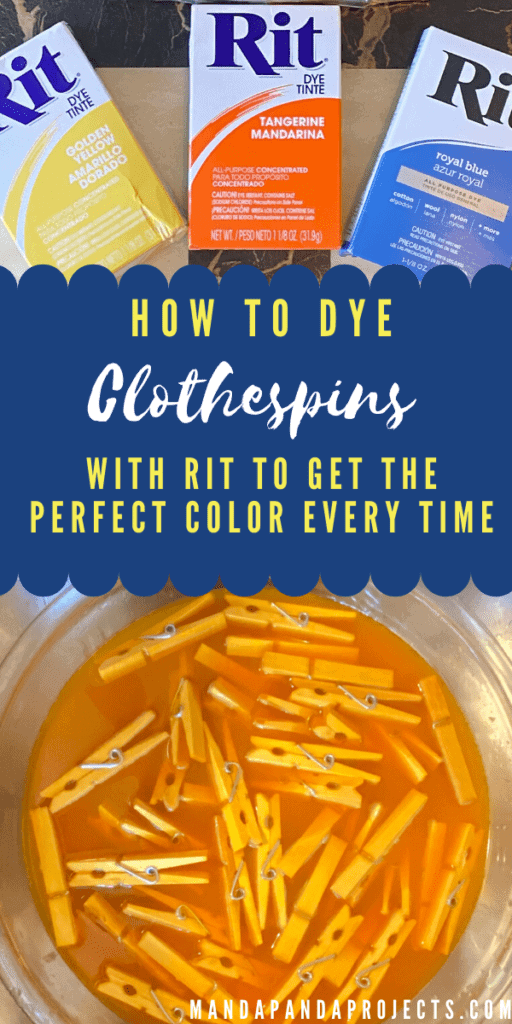
- RIT Dye in desired color (we used Golden Yellow, Tangerine, and Kentucky Sky)
- Dish Soap
- Sink, Bucket, or Glass Bowl
How to Dye Clothespins with RIT Dye
When I was searching the web for “how to dye clothespins with RIT”, I found a lot of “follow the directions on the back of the package” which was entirely unhelpful because the instructions detail how to dye just about every material EXCEPT for wood!
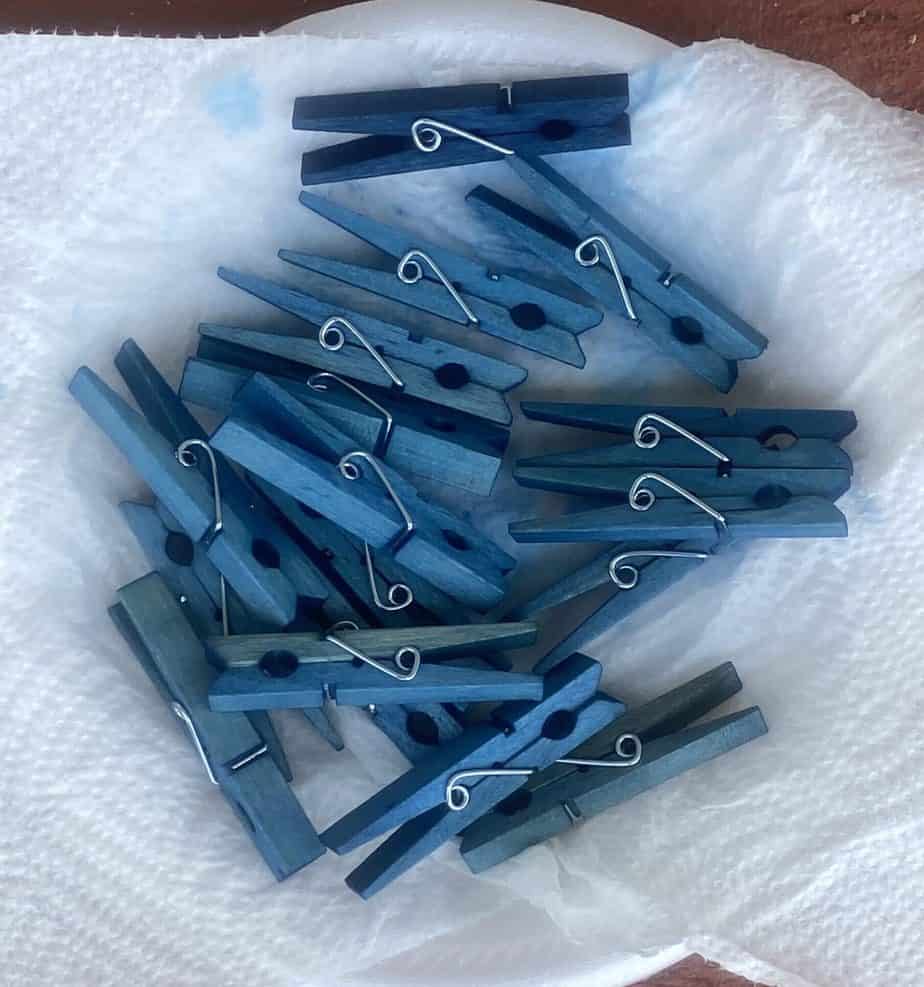
To determine how much water/powder to use, you want the clothespins to be fully submerged in the solution, while leaving just a bit of room to freely float and stir around.
The amount of water:dye ratio will of course vary depending on how many clothespins you want to dye, but I will give exact amounts that I used here and you can double it or half it, depending on your needs. The amounts listed are what I used to successfully dye 50 clothespins with RIT.
Heat 2 cups of water on the stove to just before boiling
The water needs to be hot, but it does not need to be brought to a rolling boil.
*NOTE: If you are using liquid RIT dye, you will need to boil the full amount of water on the stove (8-10 cups) and follow the remaining steps while the water simmers on medium heat. Only use 1/2 of liquid bottle.
Add 1/2 tablespoon dish soap
Stir the soap into the water and don’t worry if there is a bit of bubbles.
Add 1 full packet of RIT dye powder

Combine the entire packet of powder with the hot water until fully dissolved. We did this in an old cup, because we didn’t want to run the risk of ruining or dyeing the pot.
Combine powder color solution with 6-8 cups hot water
Fill up whatever container you will be using to soak the clothespins with about 6-8 cups hot tap water. Then add the 2 cups of “almost” boiling colored water and stir to combine. Don’t worry about the amount of water being exact, you can always add more to make sure they are fully submerged.
Add the clothespins to the dye bath
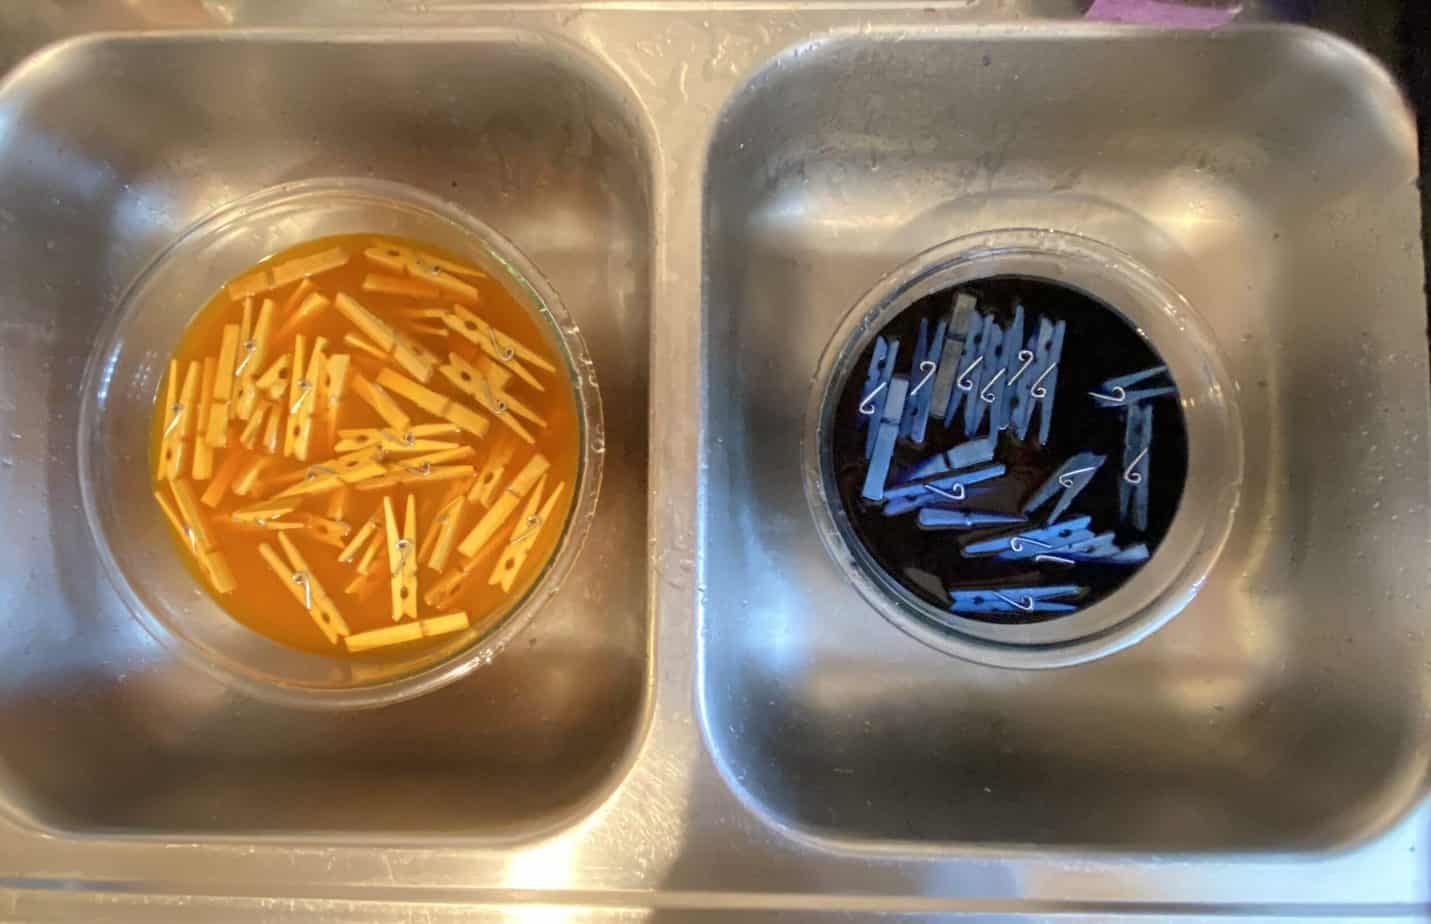
Make sure the clothespins are fully submerged with just a bit of room to float freely, and add more water if needed. Stir the clothespins for about 30 seconds to ensure the color is evenly mixed.
Let soak for about 15 – 30 minutes, stirring occasionally
This is where the perfection comes in. After about 5 minutes, stir the solution and check the color for desired shade. Continue to check the color every 5 minutes until you achieve the desired color. The longer they soak, the darker the clothespins will get and not necessarily the brighter. Once the clothespins begin to look just a tad too dark, it’s time to remove them as they will lighten up just a bit once rinsed.
Rinse clothespins in warm water
Rinse completely in warm water first, and then cool, until the water runs clear. The clothespins will lighten up a bit once they are rinsed and if they become to light, pop them back into the dye bath.
Lay out to dry
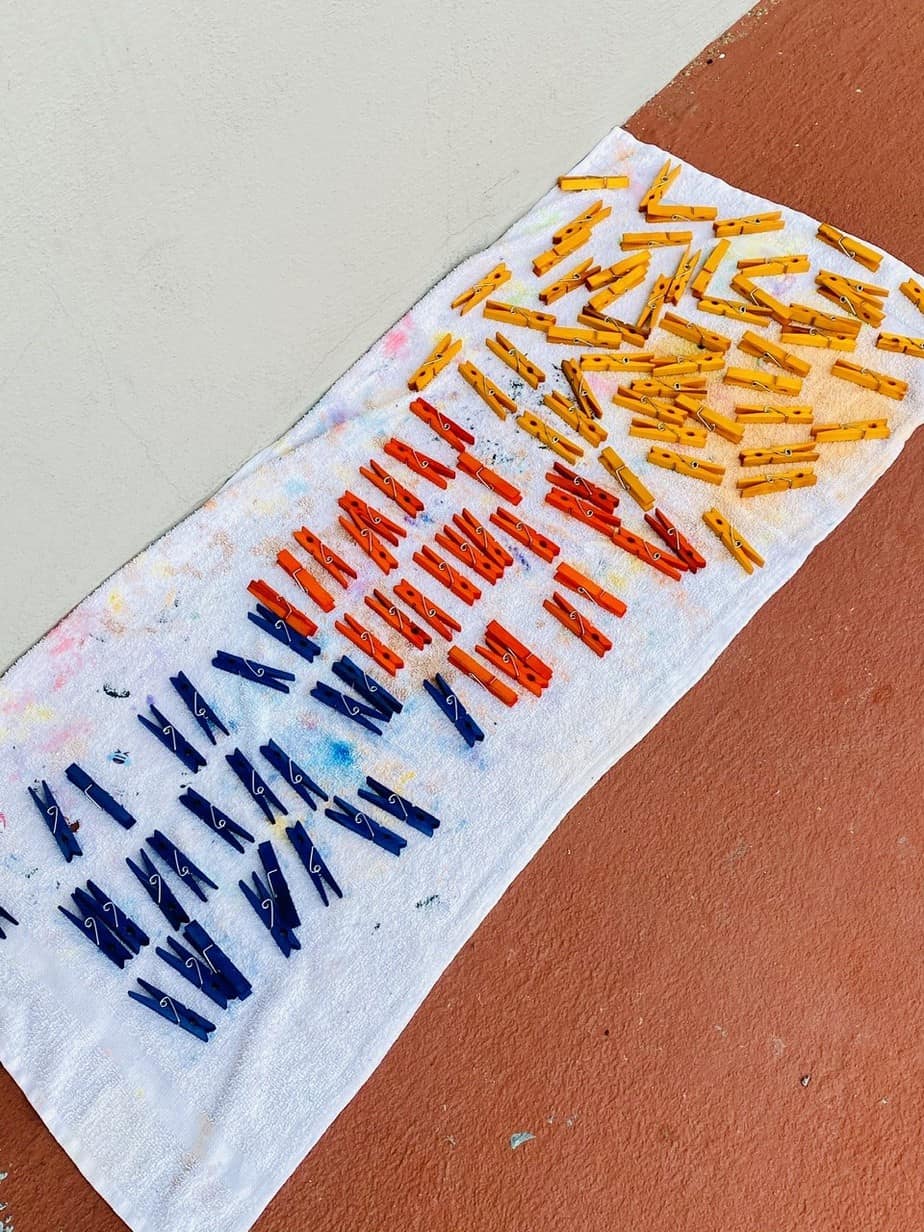
Lay the clothespins in a single layer on an old towel or newspapers in the sun to dry if possible. The suns heat helps to bake the color into the wood. Turn them over after about an hour and they should be fully dried after an hour on each side.

How to Dye Clothespins With RIT DYE
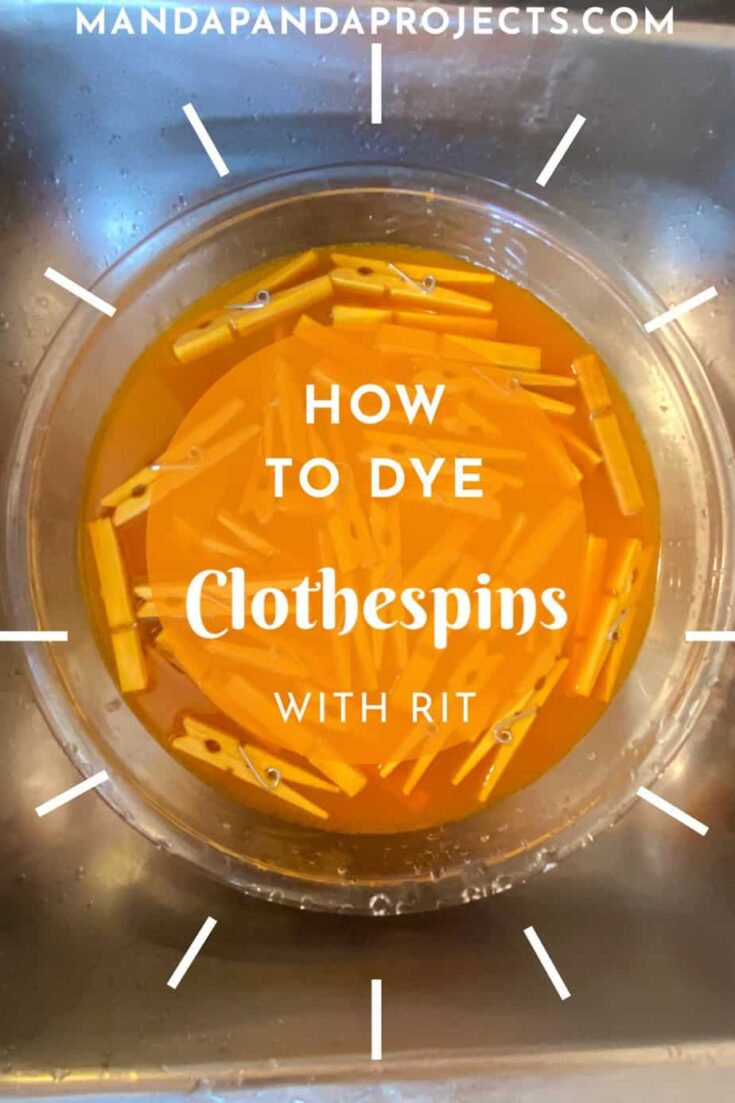
Materials
- Wooden Clothespins (50)
- RIT Dye- Powder (Liquid can be substituted)- 1 Pckg or bottle
- Water
- Dish Soap- 1/2 TBSP
Tools
- Pot to boil water
- Glass or stainless steel bowl (something that won't stain)
Instructions
- Heat 2 cups of water on the stove to just before boiling *NOTE: If you are using liquid RIT dye, you will need to boil the full amount of water on the stove (8-10 cups) and follow the remaining steps while the water simmers on medium heat. Only use 1/2 of liquid bottle.
- Add 1/2 tablespoon dish soap and stir
- Add 1 full packet of RIT dye powder to the hot water and stir until dissolved.
- Combine powder color solution with 6-8 cups hot tap/sink water in a glass bowl or whatever you will use to soak the clothespins.
- Add the clothespins to the dye bath and make sure they are fully submerged.
- Let soak for about 15 – 30 minutes, stirring occasionally.
- Rinse clothespis in warm water. If the color is too light, return to dye bath for 5 minutes.
- Lay out to dry for about 2 hours, turning over halfway through.
Notes
After about 5 minutes of soaking in the the dye bath, stir the solution and check the color for desired shade. Continue to check the color every 5 minutes until you achieve the desired color. The longer they soak, the darker the clothespins will get and not necessarily the brighter. Once the clothespins begin to look just a tad too dark, it’s time to remove them as they will lighten up just a bit once rinsed.
Uses For RIT Dyed Clothespins
There are so many uses for dyed clothespins, my favorite being of course CRAFTING! We made a “Hello Summer” Sunflower wreath with this batch (stayed tuned for that tutorial- UPDATE it came out great!l) and since we have a bunch of blue leftover, I’m thinking a 4th of July wreath is next.
You can also hot glue a ceramic magnet on back and use them to display the kiddos school and art work on the fridge, use them as chip clips, journal clips, or to organize receipts.
There are endless kids crafts you can make with them, the list goes on and on! Whatever the reason you choose to dye clothespins with RIT, this method will guarantee the very best results.
And whatever you decide to do with your perfectly dyed clothespins, make sure to share a picture over in our Craftastic Facebook group or tag me on social @MandaPandaProjects
Until Next Time…
Stay Crafty San Diego!

Got PHD's in Crafting?
Using my Elephant system, I will walk you through completing those ‘Projects Half Done’ from start to finish in 5 days. You’ll get 1 email per day, and by the end you’ll have a COMPLETED project that you just can’t wait to show the world!




How to Dye Coffee Filters With Food Coloring or RIT Dye: The Easy Way!
June 1, 2020 @ 5:43 am
[…] I’ve spent quite a few hours in the kitchen mixing up color concoctions in search of the best way to dye clothespins, and now the best way to dye coffee […]
"Hello" Summer Sunflower Clothespin Wreath: The Simplest Tutorial Yet!
June 7, 2020 @ 10:47 am
[…] me, the color scientist, that dyeing the clothespins with RIT dye is 100% the way to go. You can check out the full post on exactly how I dyed them to achieve […]
How to Make a Dollar Tree Fourth of July Clothespin Wreath: 3 Easy Steps!
June 14, 2020 @ 4:16 am
[…] joke, an entire day testing out different methods of coloring clothespins and I typically swear by dyeing them with RIT dye. This July Fourth clothespin wreath is an exception to my rule for one reason: THE WHITE. You […]