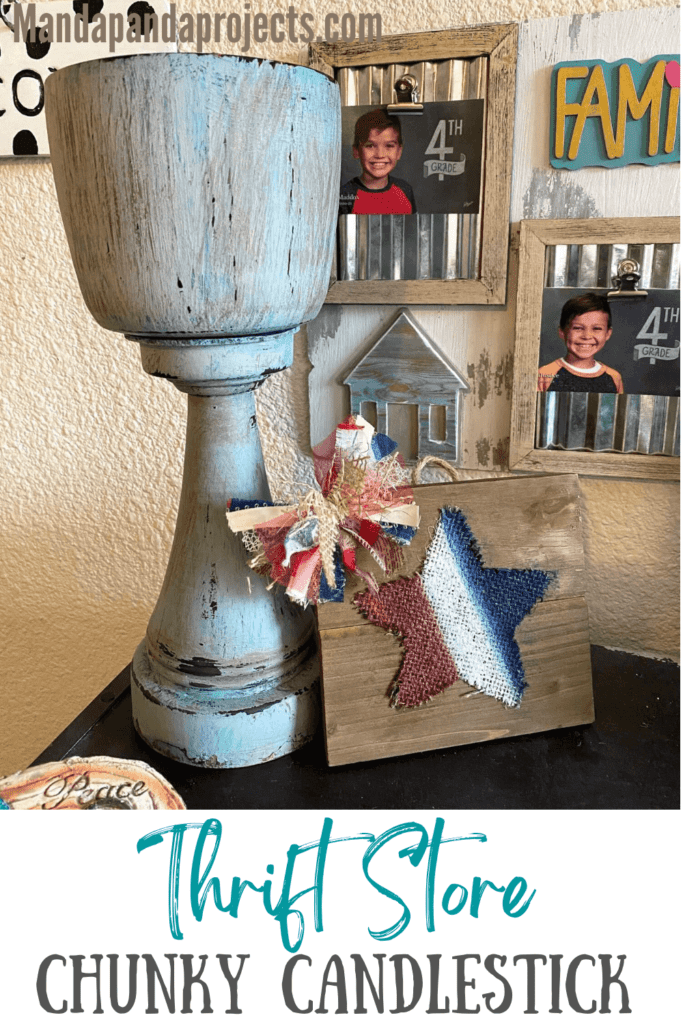
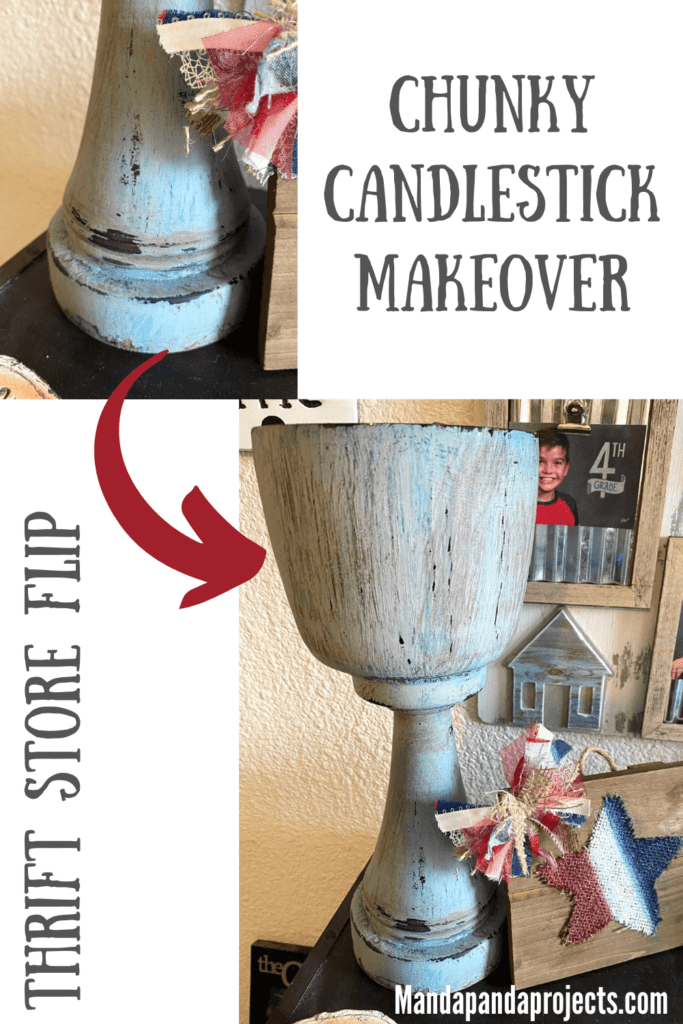
There’s no better feeling than making over an old unique piece that you scored at your local thrift store into something fun and new! As soon as I saw this old Chunky Candlestick I knew it was coming home with me, and boy did I have some big plans for it!
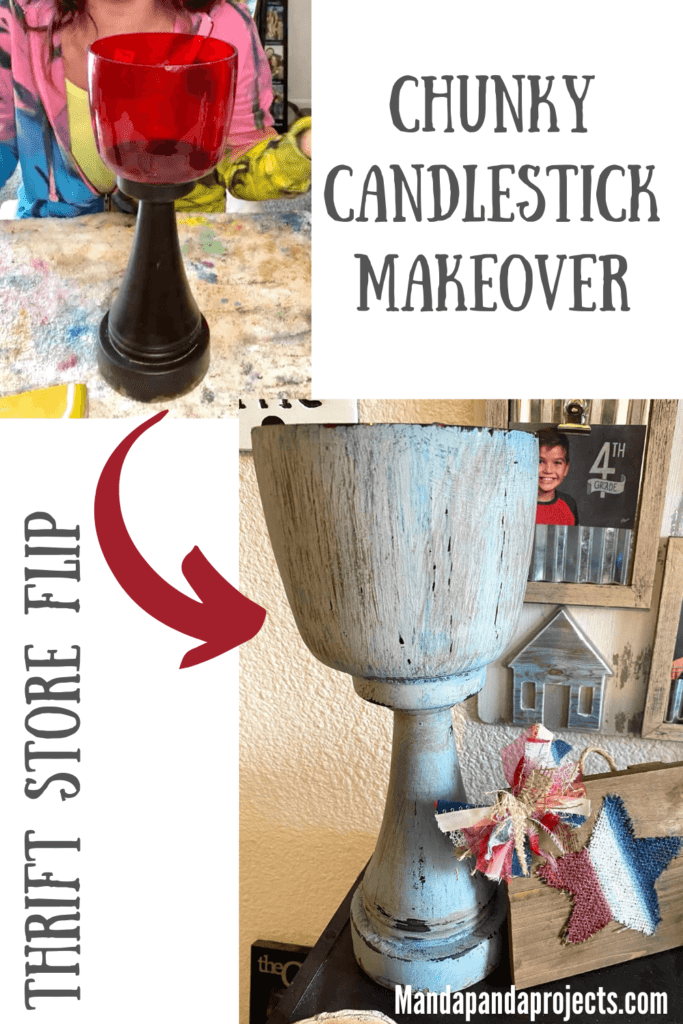
You know that thrift store find that has ben sitting on your garage or craft room for weeks? Well now is it’s time to shine! That’s exactly how it went with this Thrift Store Chunky Candlestick for me, except mine sat in the corner of my living room staring at me for months.
And to be completely honest, the only reason that I finally decided to make it over is because I wanted to go thrifting again but I couldn’t justify it unless I actually did something with the pieces that I already had! LOL!
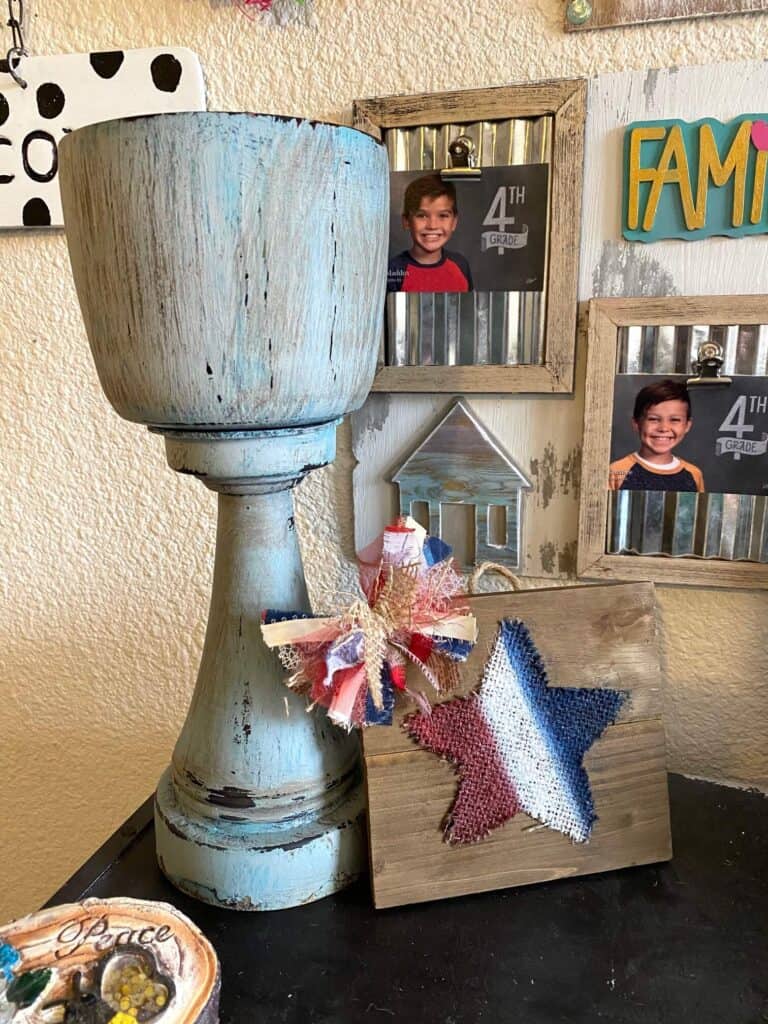
So I chose to remake this Chunky Candlestick along with this really uh-maz-ing Thrift Store Pineapple Welcome Sign that came out fantabulous if I do say so myself!
This post may contain affiliate links for your convenience (which means if you make a purchase after clicking a link I will earn a small commission but it won’t cost you a cent more!)
Supplies Needed to flip a Thrift Store Candlestick
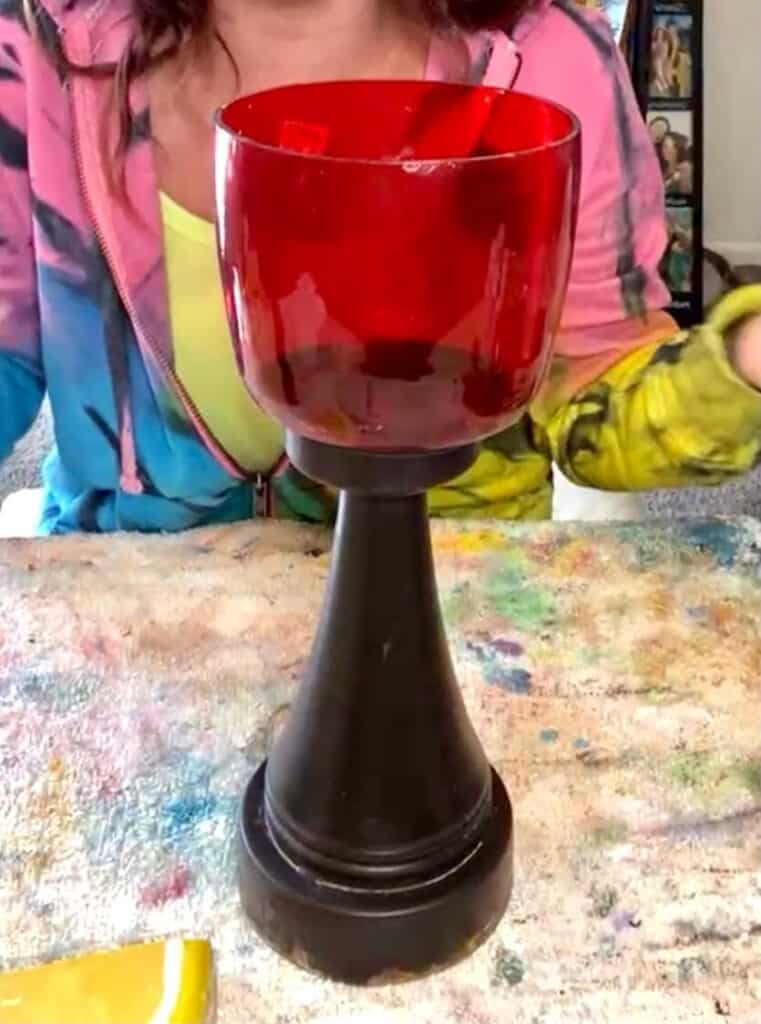
- Thrift Store Chunky Candlestick
- Waverly “Agave” chalk paint
- Black chalk paint
- Country Grey acrylic paint
- Waverly “Antique Wax”
- Old towel or cloth
- Chip brush
- Sanding sponge
How to Make over a Chunky Glass Candlestick
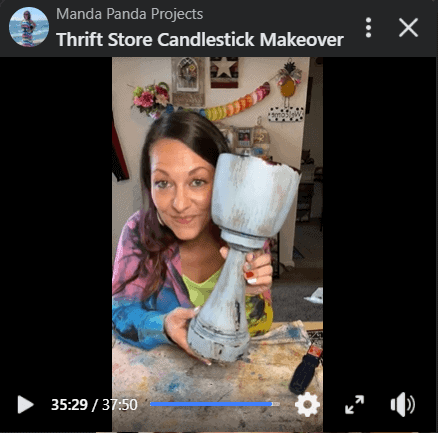
I made over this Thrift Store Candlestick on video, so you can WATCH the step by step tutorial HERE, or click the picture below.
For as much as I loved this thrift store chunky candlestick, I did NOT love the red on the top, so that was the first thing to go.
I used Dollar Tree black chalk paint to cover that whole part up.
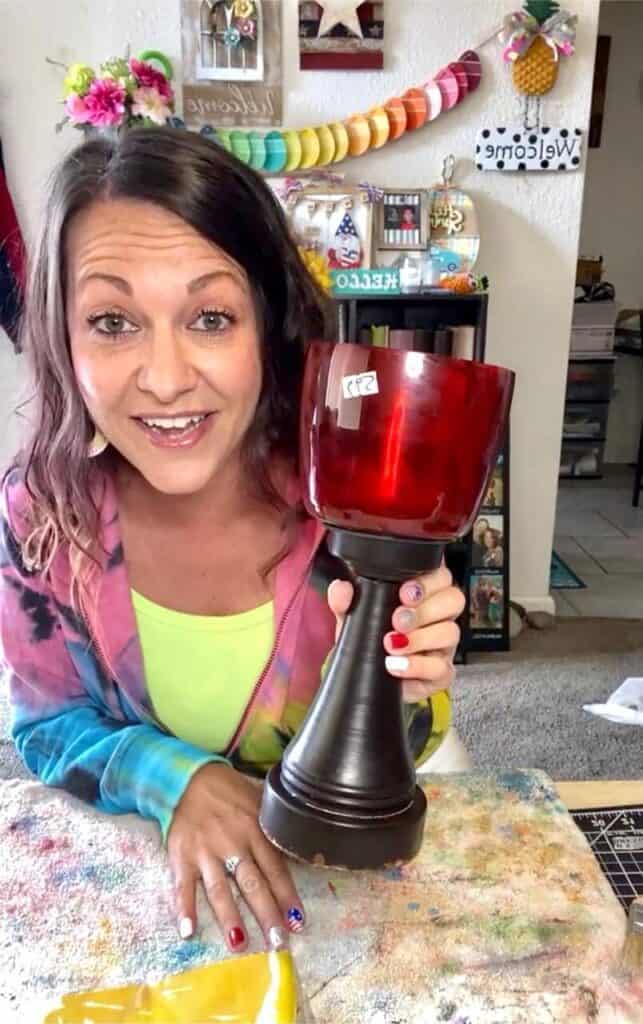
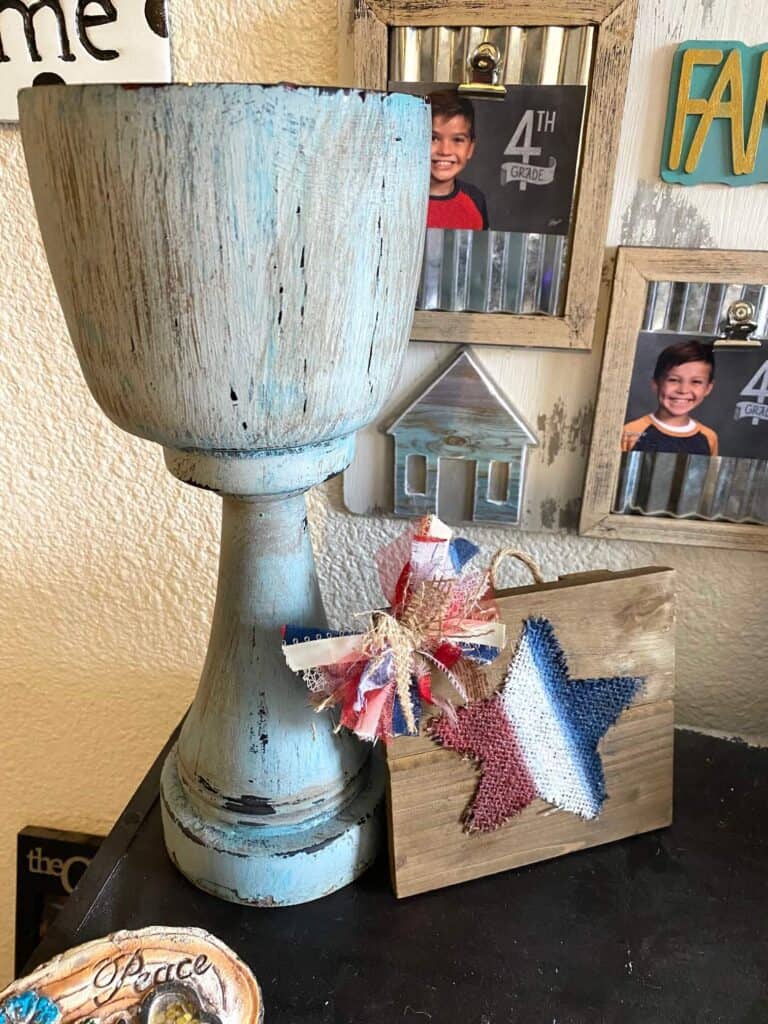
Next I dry brushed my Waverly “Agave” chalk paint right over the top with a chip brush. I wasn’t worried about full coverage at all, just brushed it on with no rhyme or reason making sure to allow some of the black to show through.
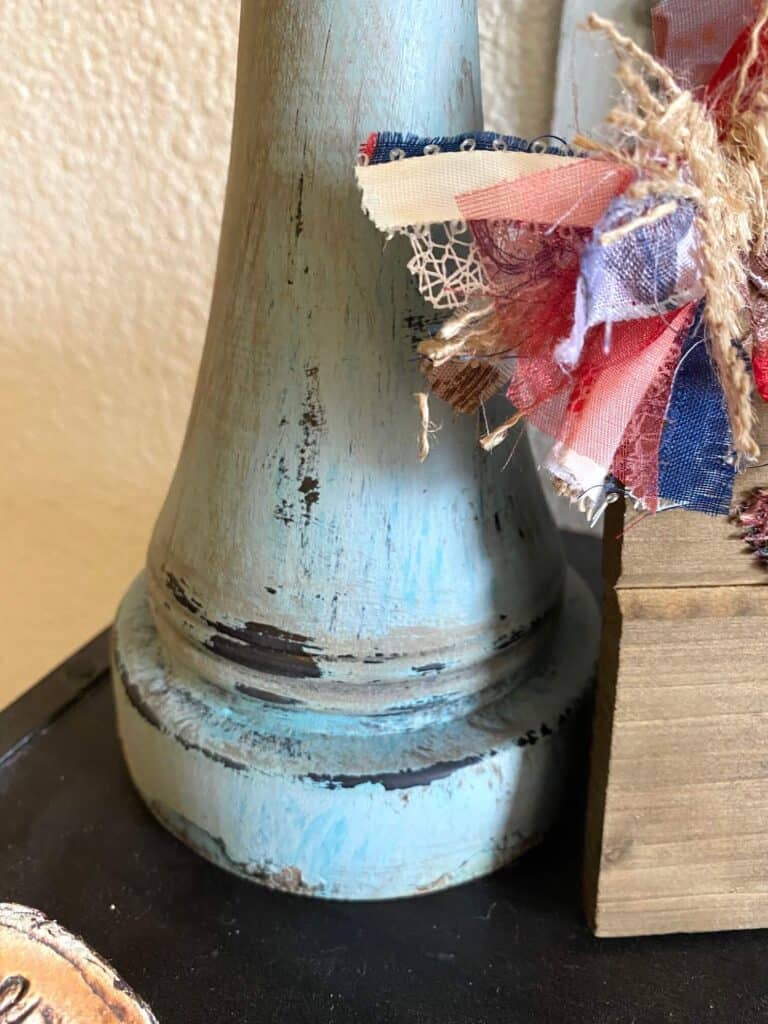
Next I dry brushed some light grey right on over the top of the Agave in the same fashion. Then finished it off with Antique Wax for a bit of a grungy look. Just brush it on, and then wipe it off with a towel.
The bottom of the thrift store candlestick was already rusted up, so I made sure to preserve some of that as I painted since I wanted it to show through.
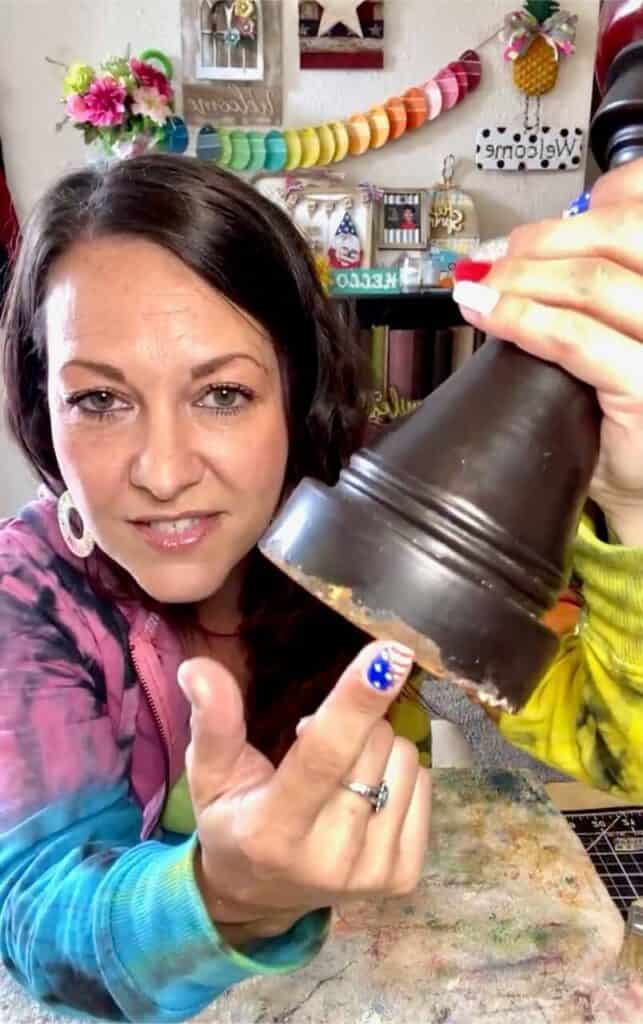
The last thing I did was take a sanding sponge and rub some of the edges and parts that stick out to give the whole thing a distressed look. Start off rubbing pretty softly to see how much of the paint comes off, and then adjust the pressure from there. Make sure to get all the edges and rims since those parts would “naturally” distress over time.
You can choose to distress it as little, or as much as you like!
Are you going to makeover that thrift store find that has been sitting in your garage for weeks? If you do, I’d love to see it! Pop on over to our free Craftspiration Facebook group, and join in on the fun by posting a pic of your completed DIY’s and crafts. I just love to see all your creative and crafty creations!
If you’ve got a million projects on your crafting ‘to-do’ list like I do, than you need my FREE Craft Project Planner so you can plan to make *all the things*! When you sign up for the craft planner, I’ll also send you lot’s of fun, easy, and budget friendly ideas for you to fill it up with!

Free printable Craft Project Planner
Get organized, get inspired, and get crafting, with our free Craft Project Planner!
Until Next Time…
Stay Crafty San Diego!

Love this Thrift Store Chunky Candlestick Makeover? Make sure to PIN it to your favorite!
