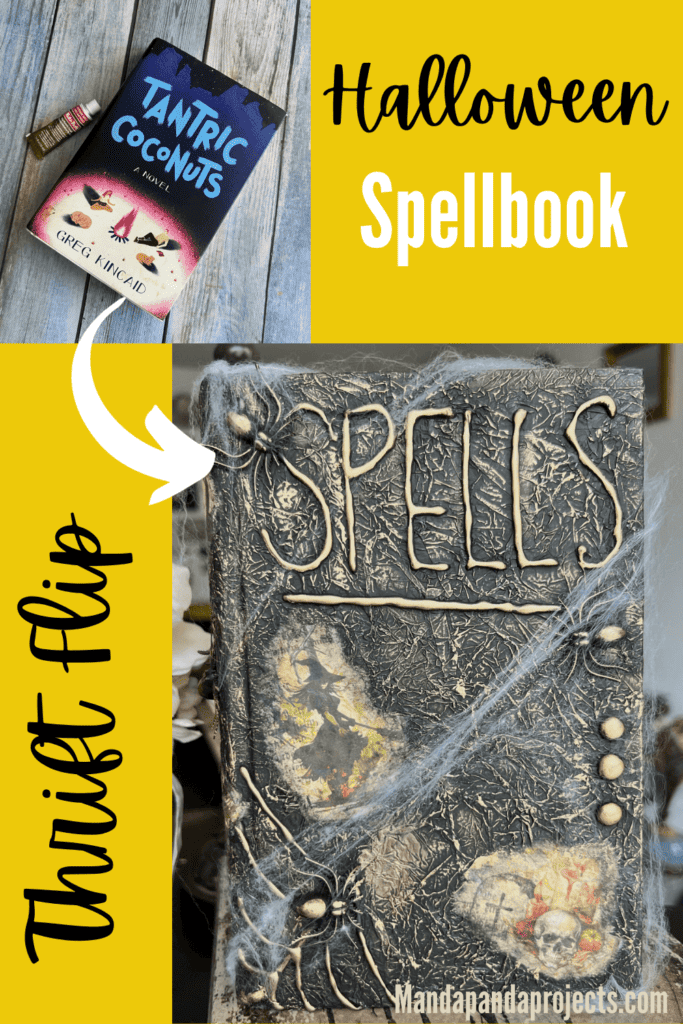
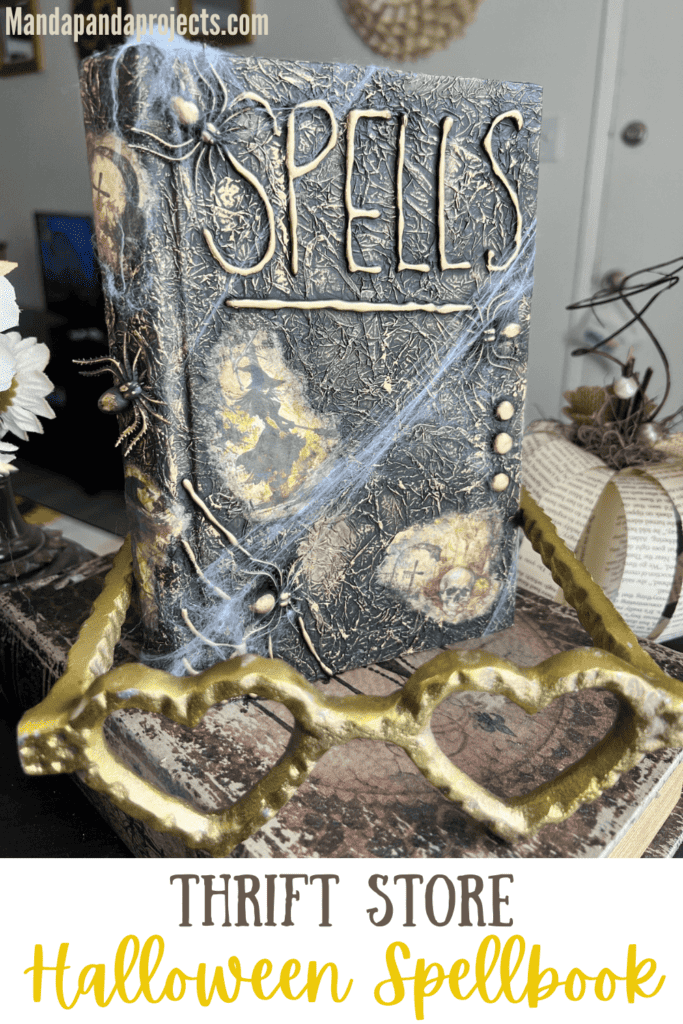
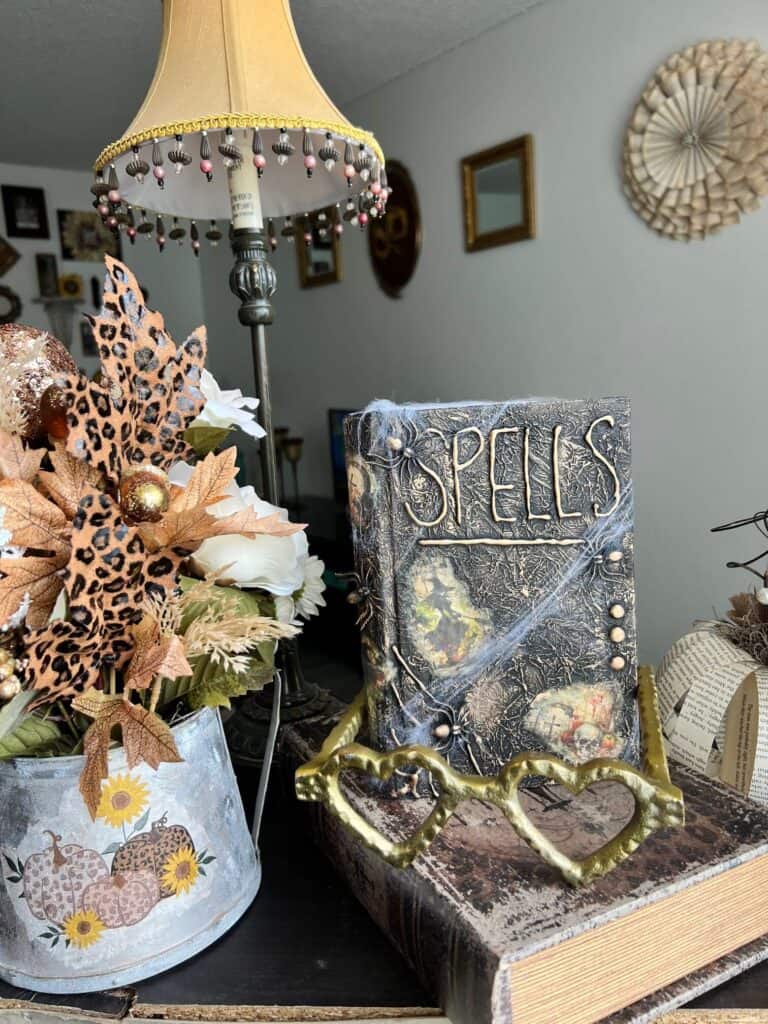
With a cheap Thrift Store book and some spooky Halloween rice paper, you can create a DIY Halloween Spellbook to add to your holiday decor! Decoupage and Gold Rub n’ buff works wonders for this Thrift Store Flip!
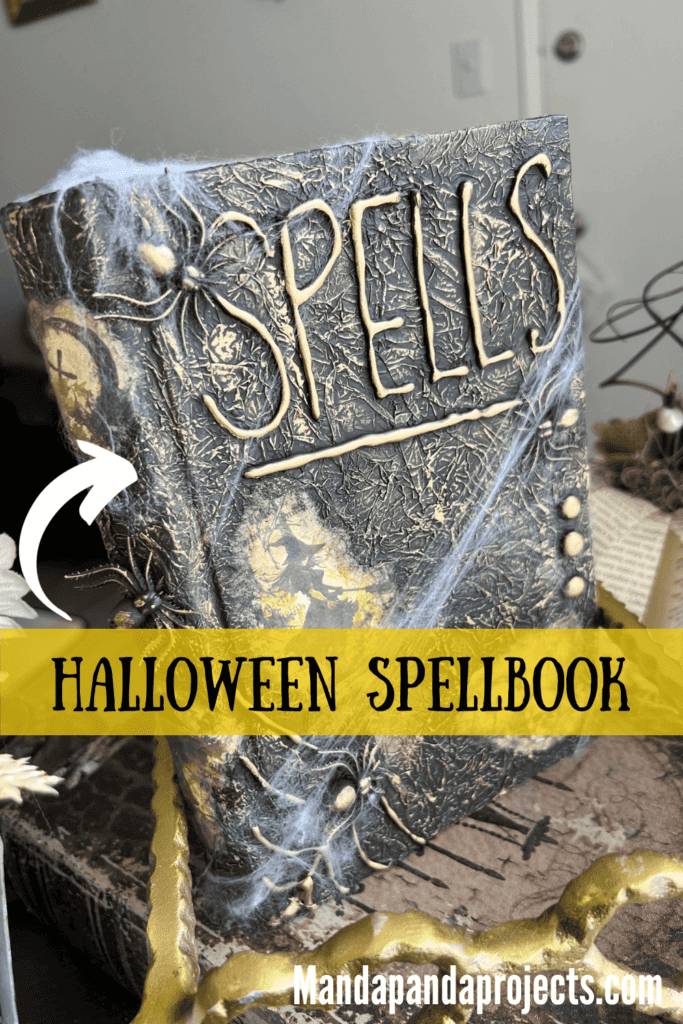
I’ve seen them floating around Pinterest for YEARS, but I’ve never made one until now……a Halloween Spellbook! And mine is better than all those Pinterest ones because I made it with cute and spooky rice paper from Digital Deco Designs. #JusSayin’
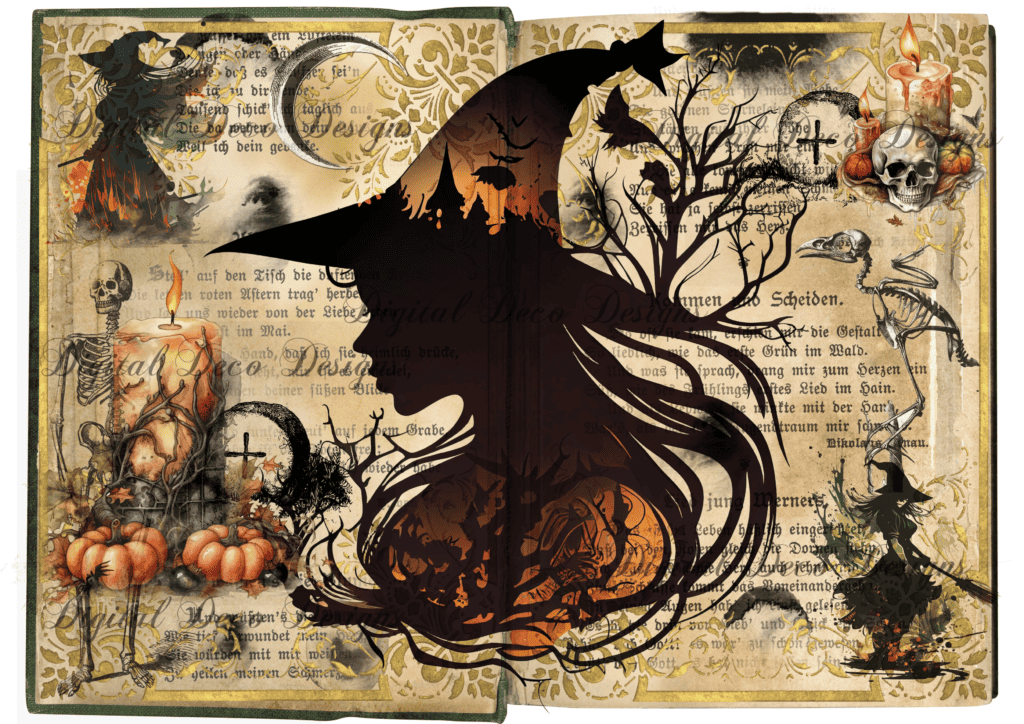
The particular print that I chose for this Thrift Store Book flip is “Spell Book 1“, but don’t worry there is a Spell Book 2, 3, 4, and 5. In fact there is a whole Halloween Spell Book BUNDLE!
If you are not familiar with Digital Deco Designs, I’m gonna need you to go check her site out stat. She makes gorgeous rice paper printables that you can either download and print at home, or you can have them printed and shipped to you.
I have a printer, so I download and print them onto rice paper at home, but either way, once you start Mod Podging rice paper, you can’t stop!
This post may contain affiliate links for your convenience (which means if you make a purchase after clicking a link I will earn a small commission but it won’t cost you a cent more!)
Supplies Needed to Make a Thrift Store Halloween Spellbook
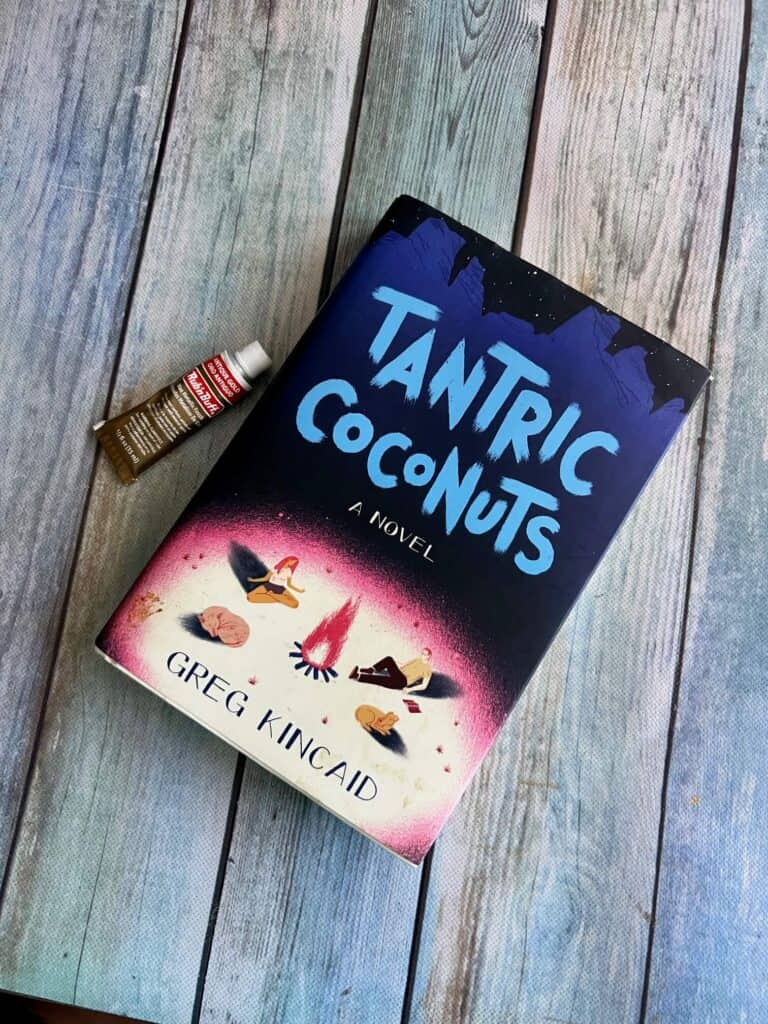
- Digital Deco Designs “Spell Book 1” (You can get the entire bundle here)
- Thrift Store Book
- Black Chalk Paint
- Antique Gold Rub n’ Buff
- Tissue Paper
- Fake Spiders
- Tim Holtz Mica Spray – Antiqued Bronze
- Faux Spiderwebs (Optional)
- Mod Podge
- Hot glue gun
- Water Pen
How to Makeover a Thrift Store Book into a Halloween Spellbook
I made over this Thrift Store Book with Digital Deco Designs rice paper on video, so you can WATCH it or click on the picture right below.

First, can we talk about the name of the book I picked out? Tantric Coconuts? LOL!! I am not sure at all what it’s about, but it ain’t gonna be good!
First things first, take the paper cover off of your book (You really want a hard cover to give the full Spellbook effect).
Then take a large piece of tissue paper and crumple it up reallllllllll good, and then uncrumple it up so that it’s all wrinkled. Now Mod Podge that baby all over the front and back cover of the book. Don’t worry about wrinkles, you WANT them!
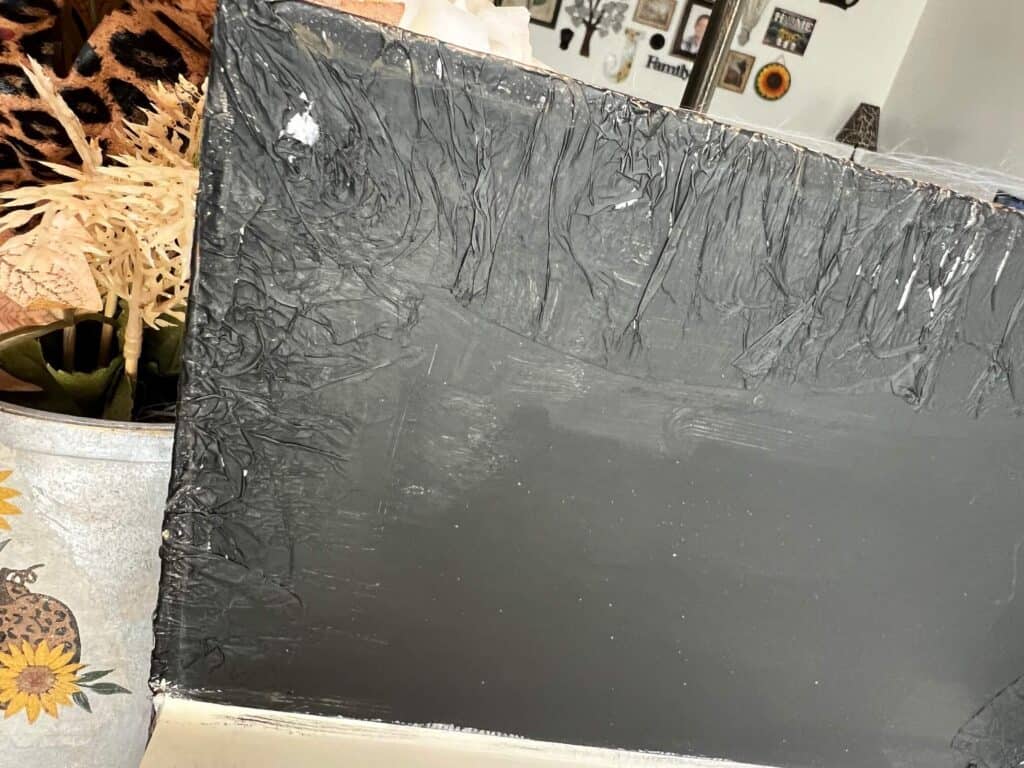
Wrap the tissue paper around the edges of the book and Mod Podge them to the inside cover like you see here. There is no rhyme or reason to this just get the whole book covered with the crumpled tissue paper.
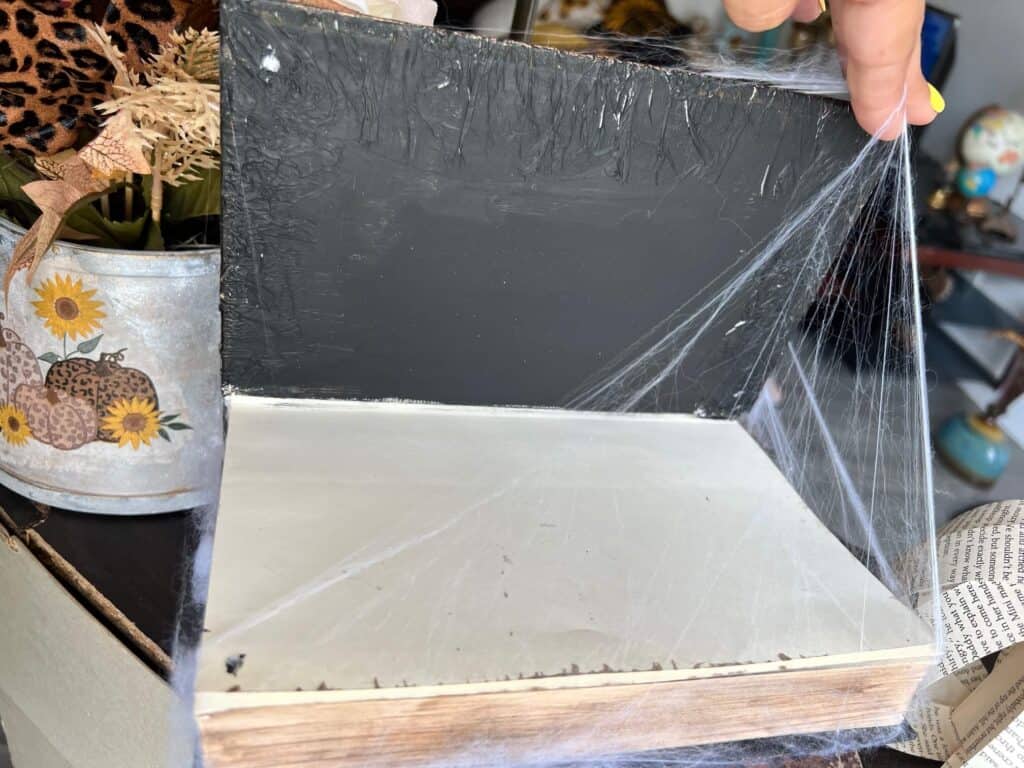
Then paint the entire thing black, right over top of the tissue paper. This will create the look of the textured book cover. I painted the inside cover as well for uniformity since it may be displayed slightly open if it’s standing up.
Using your hot glue gun, carefully spell out S-P-E-L-L-S. You have to go nice and slow and steady to get the “writing” even. It won’t look like much until we break out the Rub n’ Buff, but just trust the process.
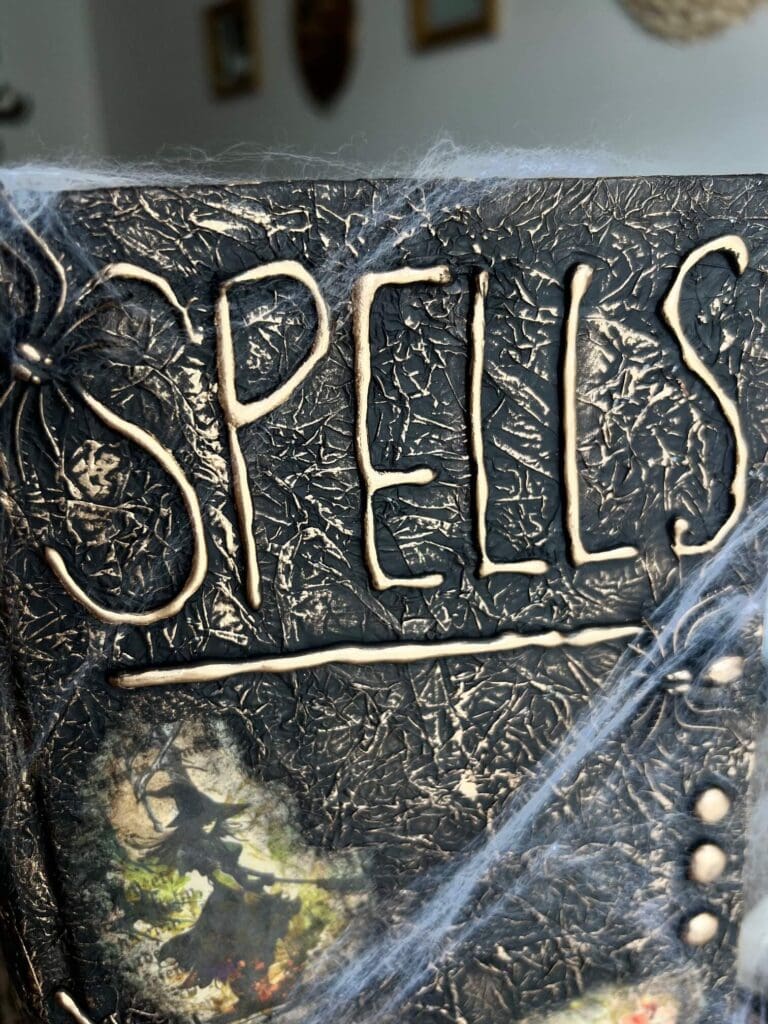
The same way that I did the word “SPELLS”, I did a spiderweb in the bottom left cover of the Halloween Spellbook.
Next, I took my Spell Book 1 rice paper and chose which pieces I wanted to use. I went with the smaller images in the corners, and used a water pen to tear them out.
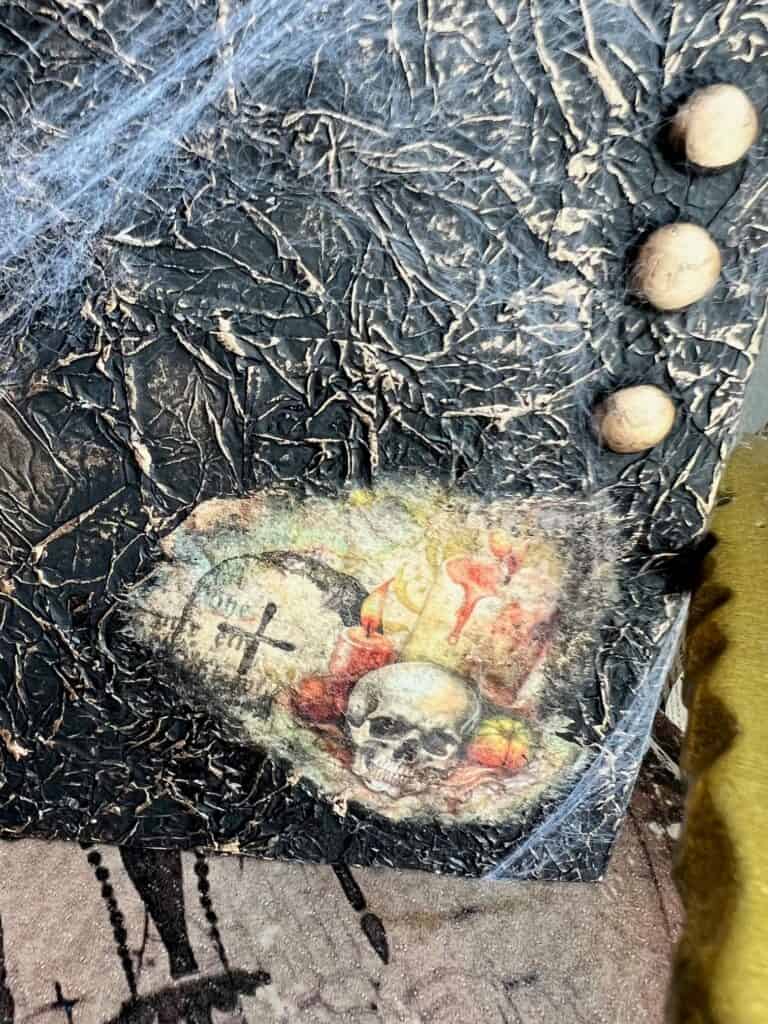
Now decoupage them wherever you want to place them on your Halloween Spellbook. I put the skull, coffin, and candle part in the bottom right hand corner.
I Mod Podged the spooky Witch on the left hand side towards the middle.
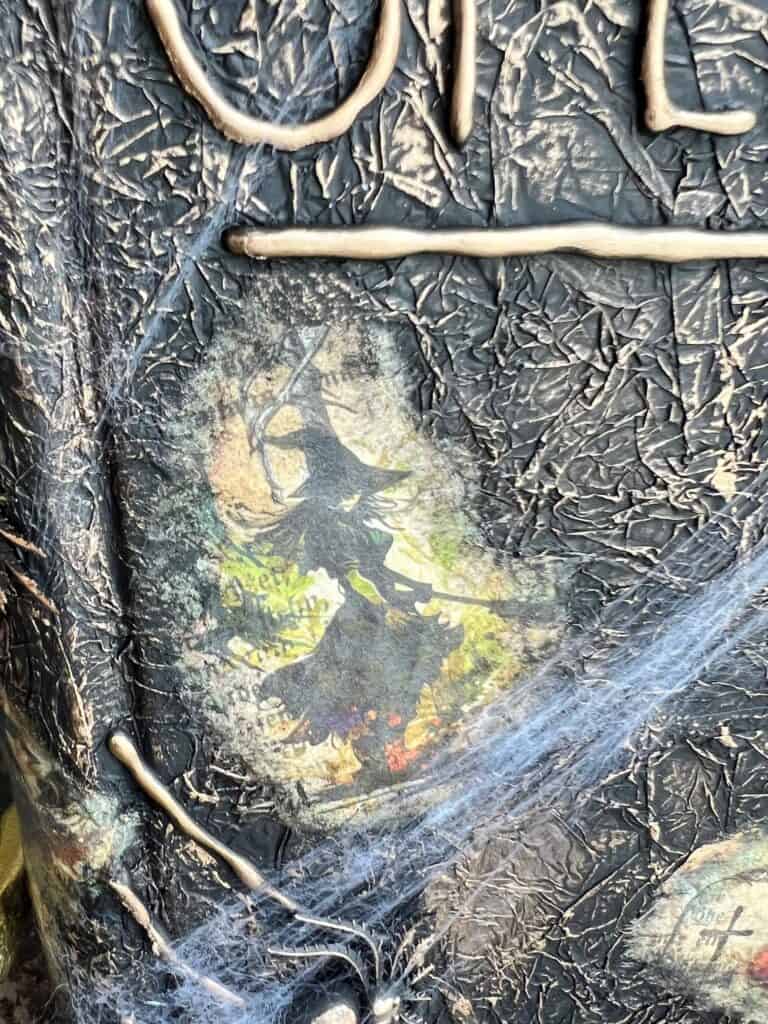
And I put the last two on the top and bottom of the book spine. Once the papers were all decoupaged on, I took some black paint, and brushed around the edges of each of the designs, so that it kind of blended in with the black of the book.
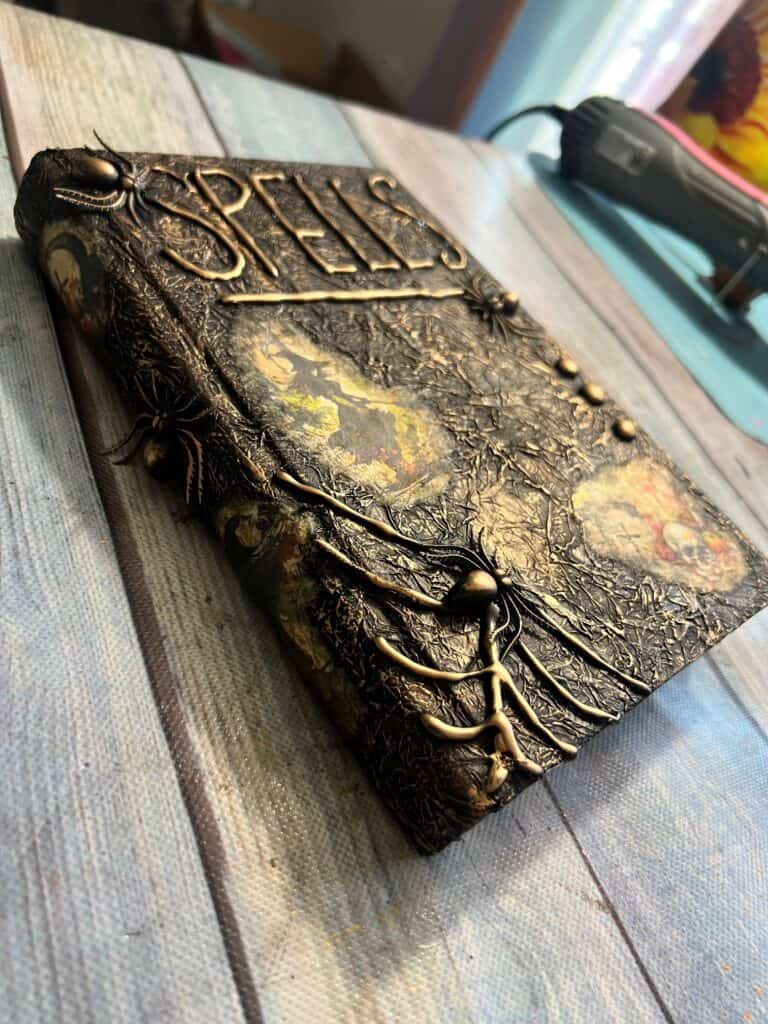
Time for the spiders! I glued one on the book spine along with the Spell Book rice papers.
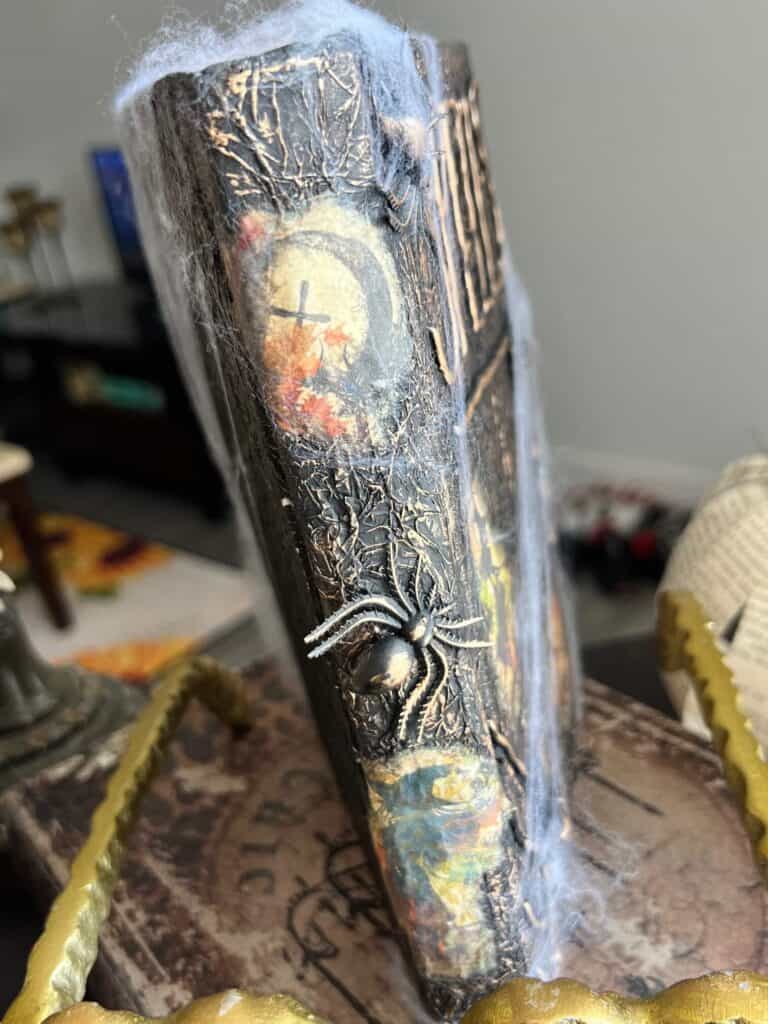
I glued 3 more spiders on the front cover. I also added 3 random glue dots on the right side, just for extra decoration.
THIS is where the magic happens! The Rub n’ Buff! I use my finger because I think it is easiest to apply, and I just rub it LIGHTLY all over the book, so that anything that is raised is highlighted gold.
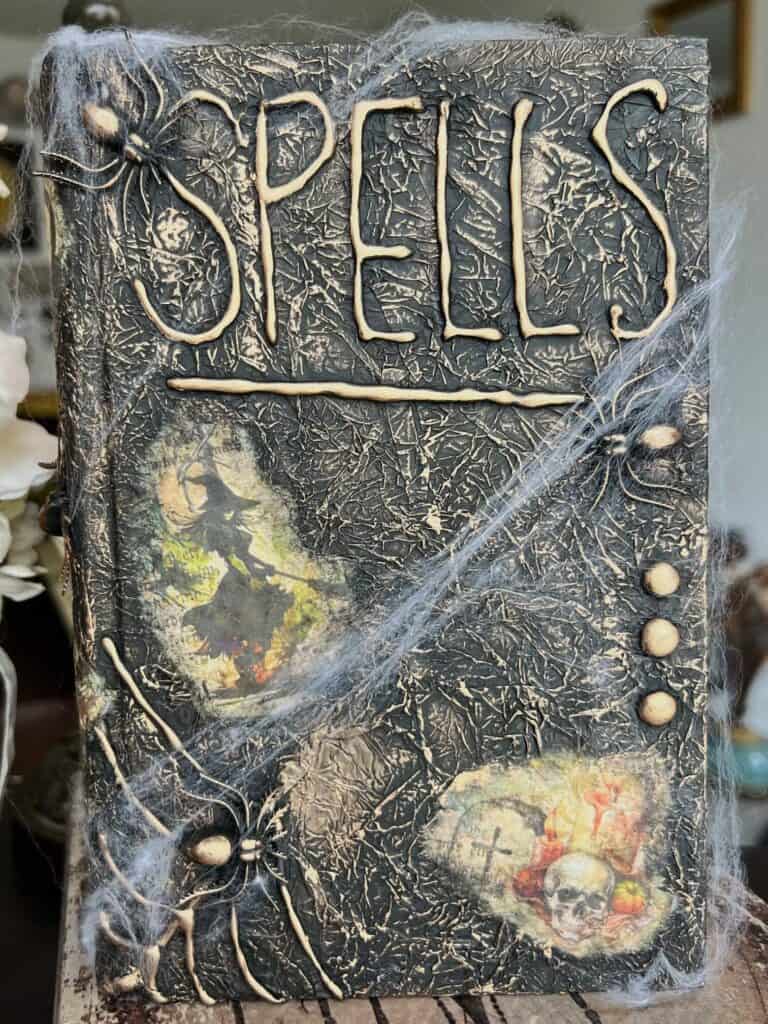
I went over the word SPELLS, the spiders, the spider web, the glue dots, the raised wrinkles of the tissue paper…….ALL.OF.IT.
It’s really hard to tell in this next pic, but the pages shimmer! I sprayed them with Tim Holtz Mica Spray, in “Antiqued Bronze”. In person it really sets this Spellbook over the top, the pics just don’t do it justice.
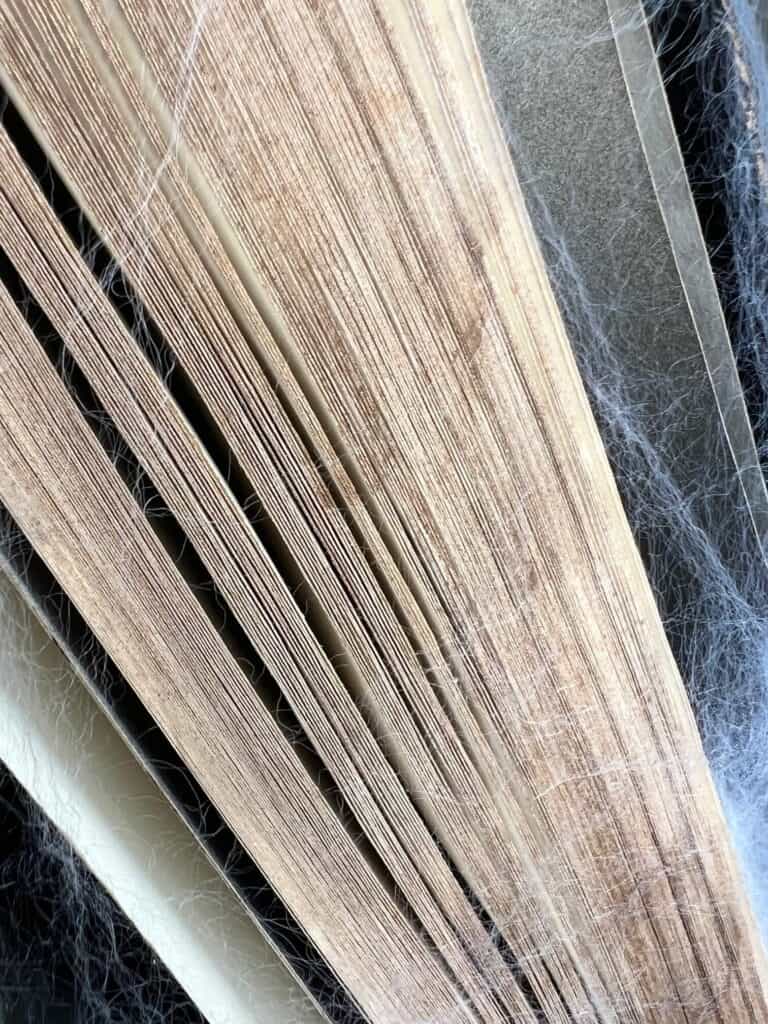
This is totally optional, and I didn’t do this until I put my Halloween Spellbook over on my bookcase area to decorate, but you can add some faux spiderwebs for an extra fun and spooky effect.
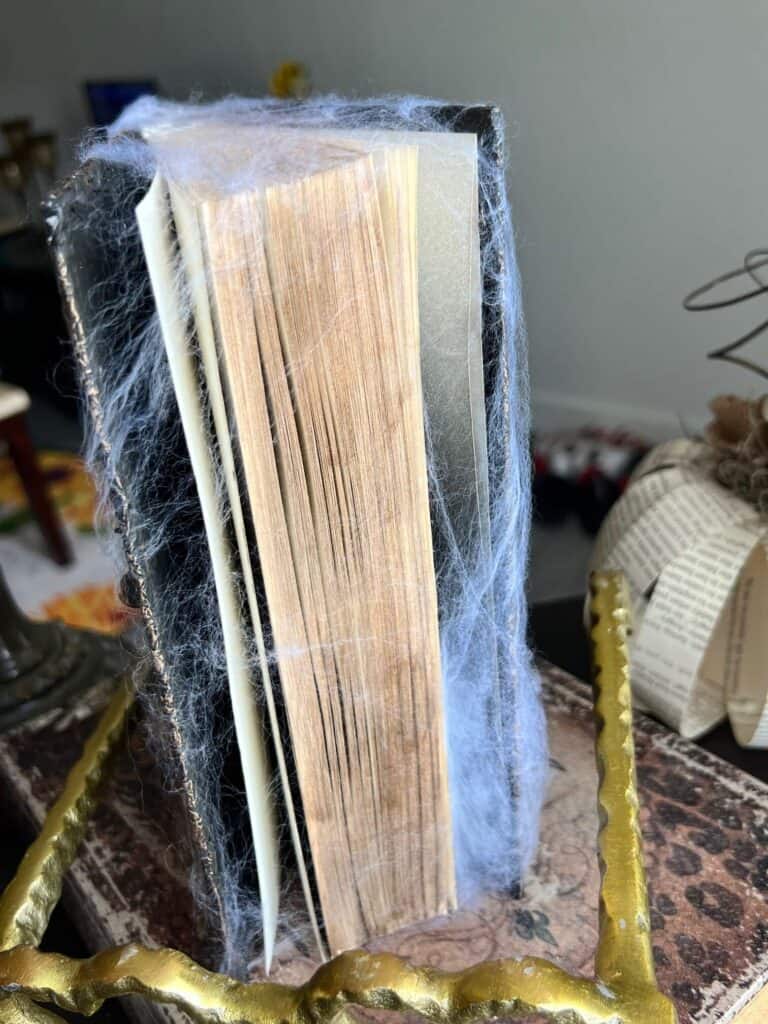
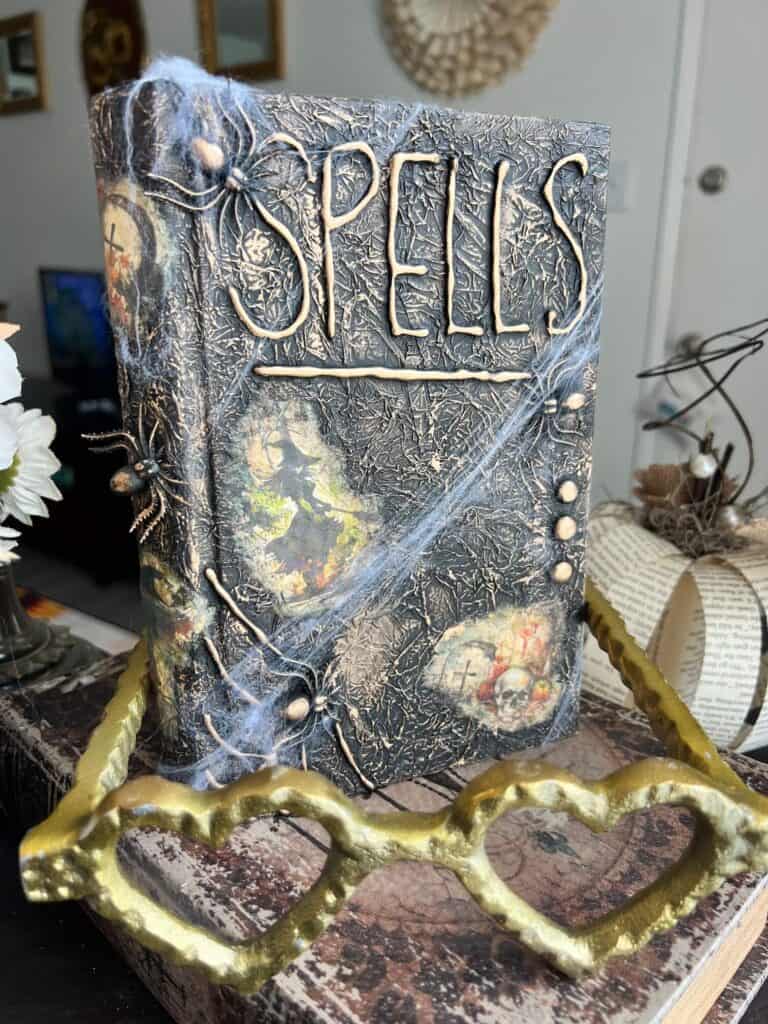
This thrift store book is no longer recognizable! Tantric Coconuts who? LOL!
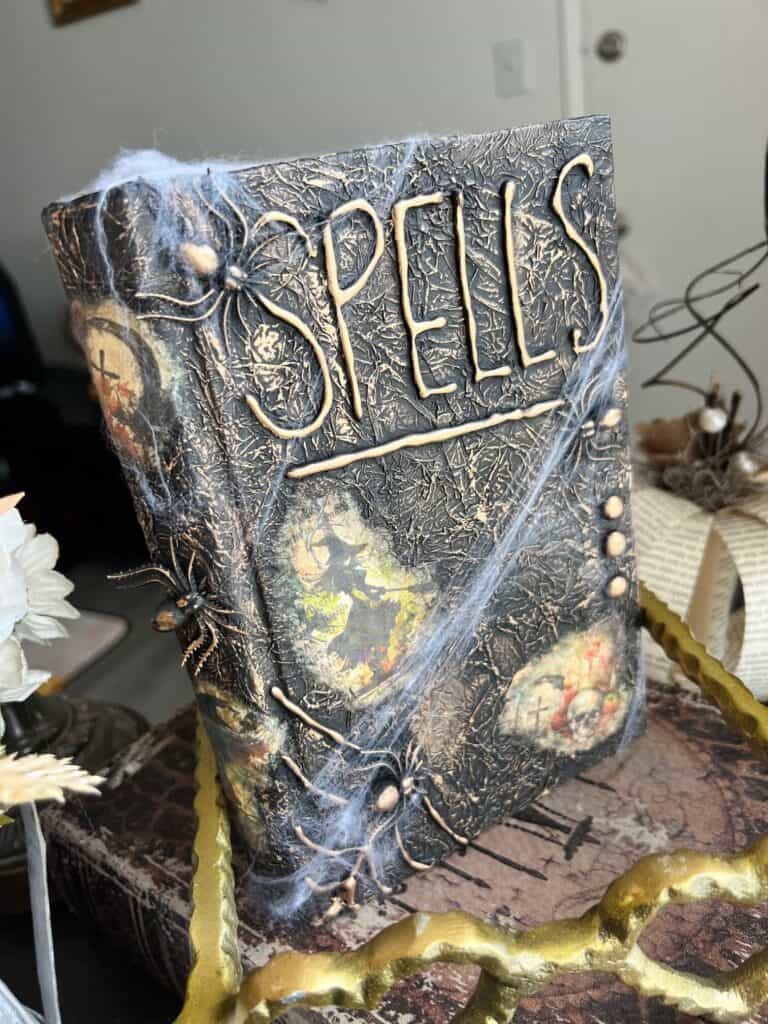
I put this one right on my bookcase area by my big picture window and it was the perfect piece to complete the Fall-O-Ween look I was going for.
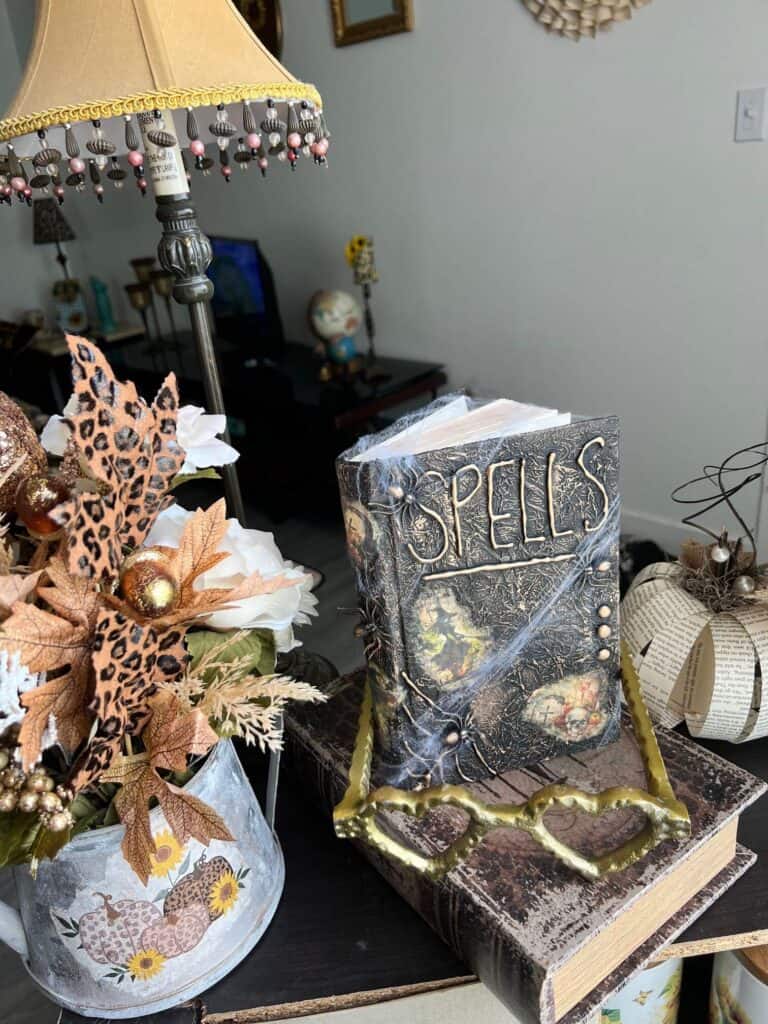
Are you going to makeover a Thrift Store Book into a spooky Spellbook for Halloween? Shoot…are you gonna makeover anything at all?! If you do, I’d love to see it! Pop on over to our free Craftspiration Facebook group, and join in on the fun by posting a pic of your Tiered Trays, DIY’s and crafts. I just love to see all your creative and crafty creations.
If you’ve got a million projects on your crafting ‘to-do’ list like I do, than you need my FREE Craft Project Planner so you can plan to make *all the things*! When you sign up for the craft planner, I’ll also send you lot’s of fun, easy, and budget friendly ideas for you to fill it up with!

Free printable Craft Project Planner
Get organized, get inspired, and get crafting, with our free Craft Project Planner!
Until Next Time…
Stay Crafty San Diego!

Love this Thrift Store Halloween Spellbook? Make sure to PIN it for later!
