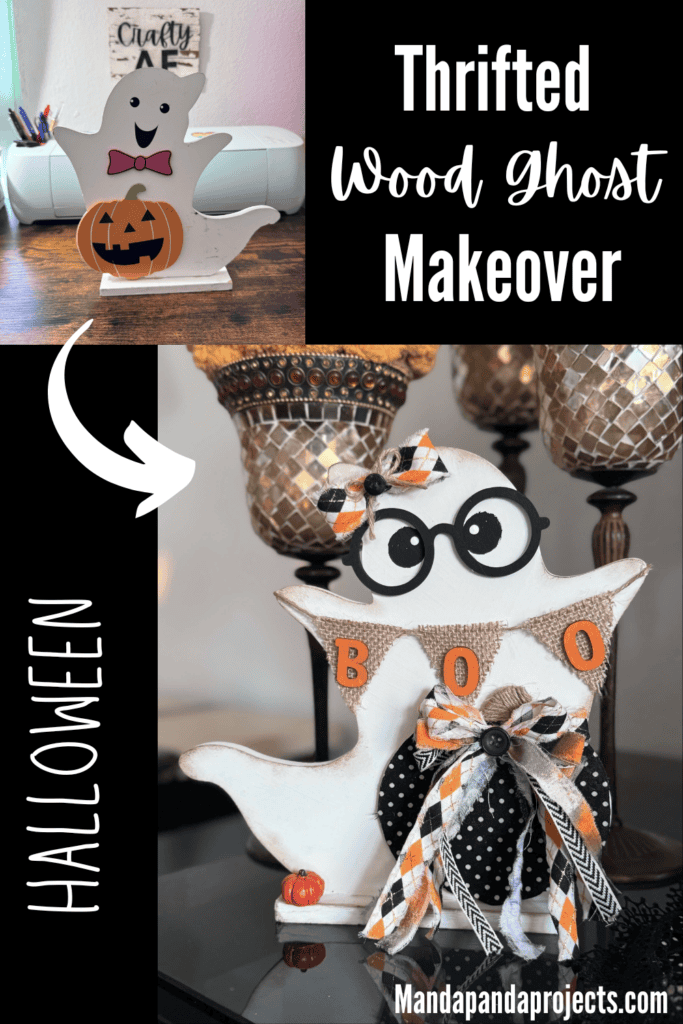
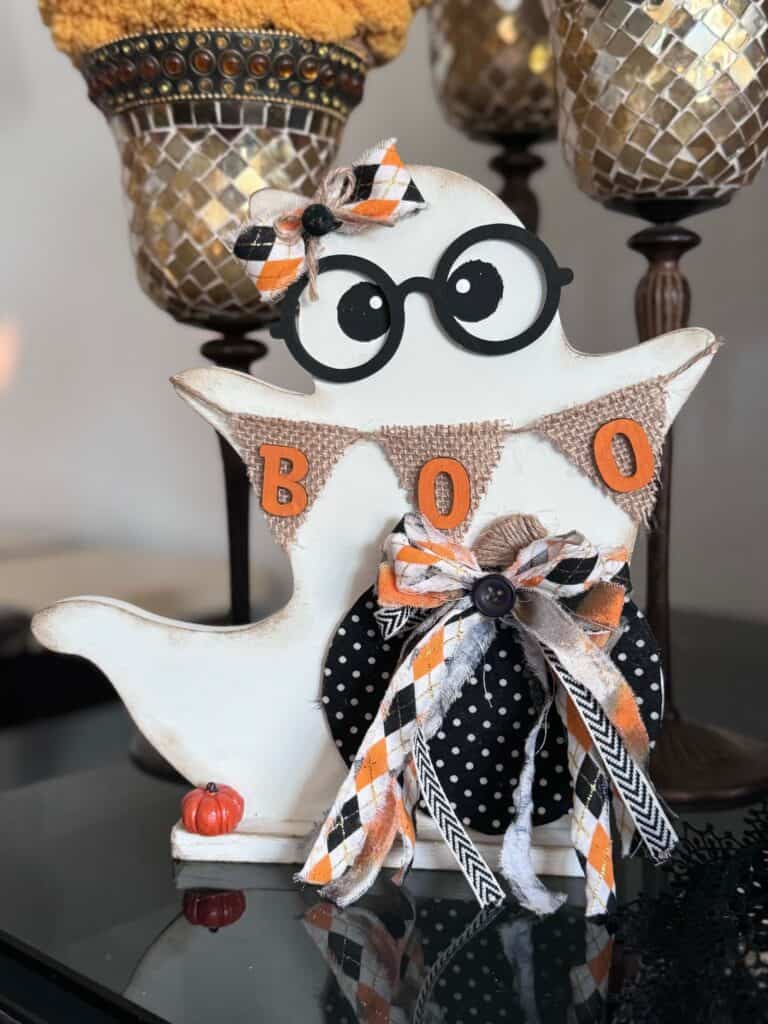
This Thrifted Wood Ghost was cute when I bought him, but once I made him over with some cutesy glasses he went from cute to BOO-tiful. DIY Halloween decor at it’s finest!
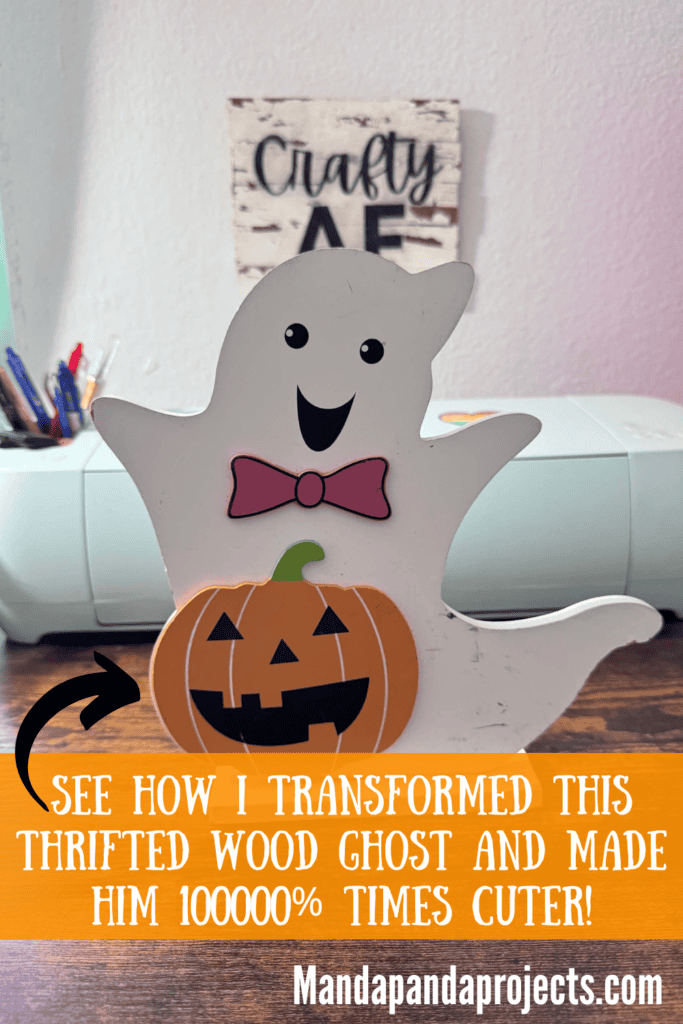
This is your reminder that if you see something cute-ish at the thrift store, but you don’t absolutely love it, then grab it anyway! Because you can make it over to be something even more amazing.
I mean, this ghost really was cute when I first got him. But I knew right away that he wasn’t gonna stay as is. In fact, HE became a SHE! No surgery required LOL!
Major GLOW UP here!
I thought about him being almost like a wood craft kit…but cheaper! ($1.95)
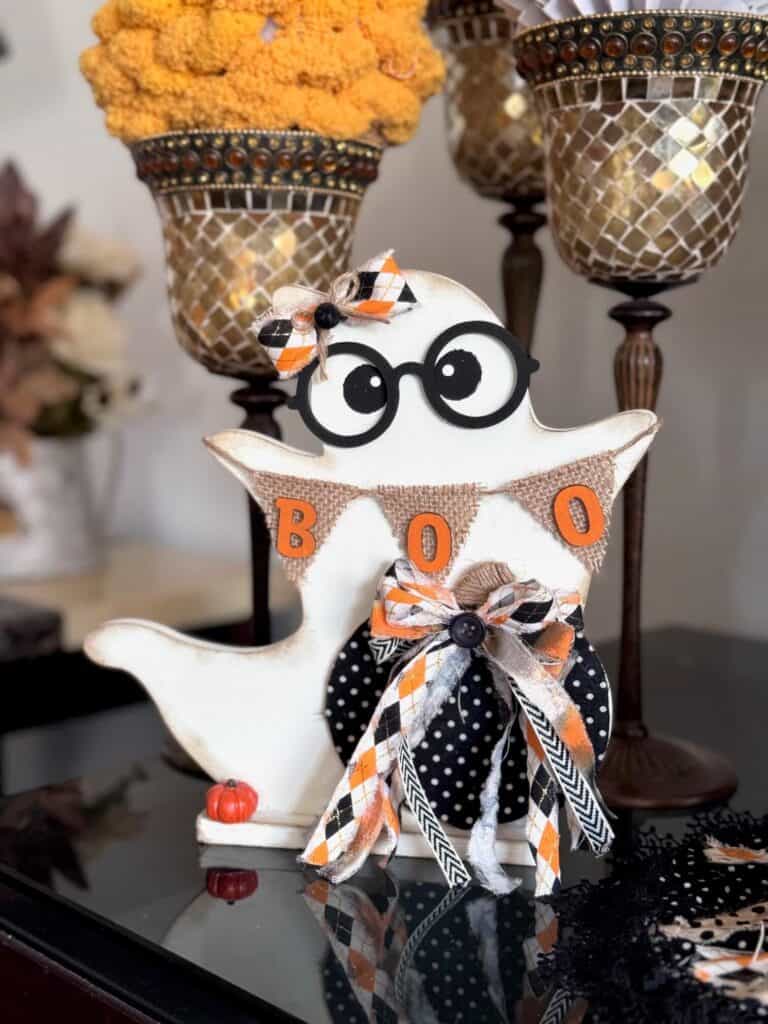
I got this gorgeous Halloween fabric at JoAnns Fabrics, and it made for the absolute perfect bows for this project.
I am not huge fan of the color orange, but this fabric is quickly changing my mind this Halloween season.
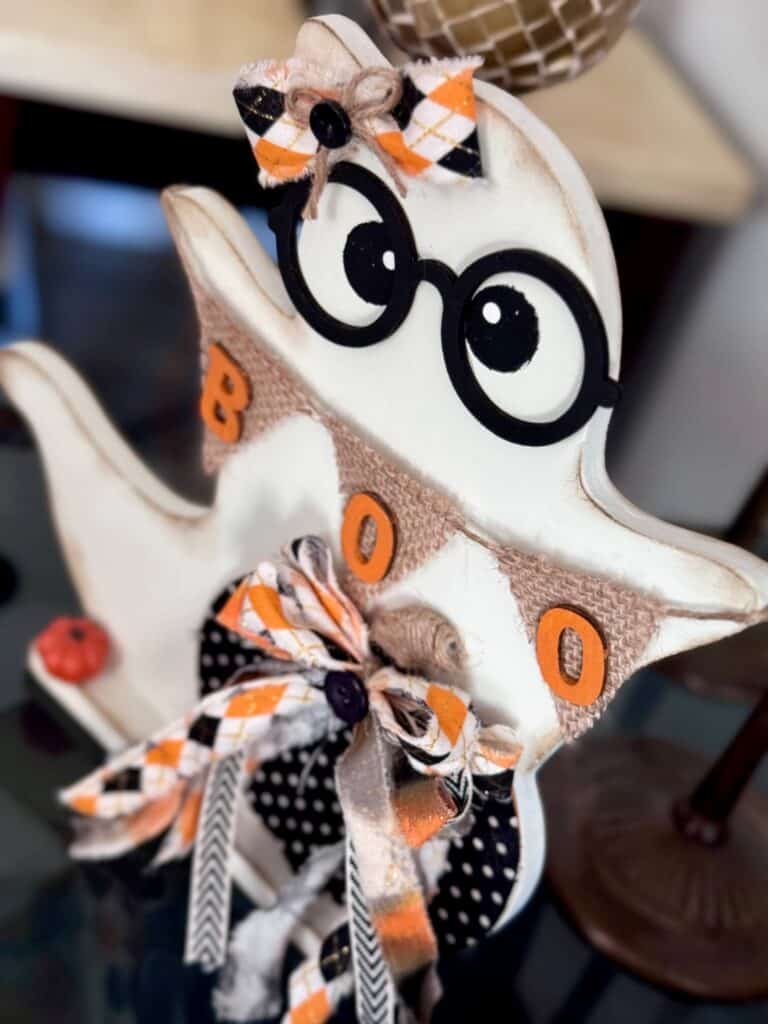
Since I don’t normally love orange, I made a similar BOO Banner Ghost last year that was Rainbow theme. It kind of reminds me of this cutie since she was holding a Boo Banner as well. I guess you can say my own project inspired this one.
This post may contain affiliate links for your convenience (which means if you make a purchase after clicking a link I will earn a small commission but it won’t cost you a cent more!)
Supplies Needed to Makeover a Cute Thrifted Wood Ghost
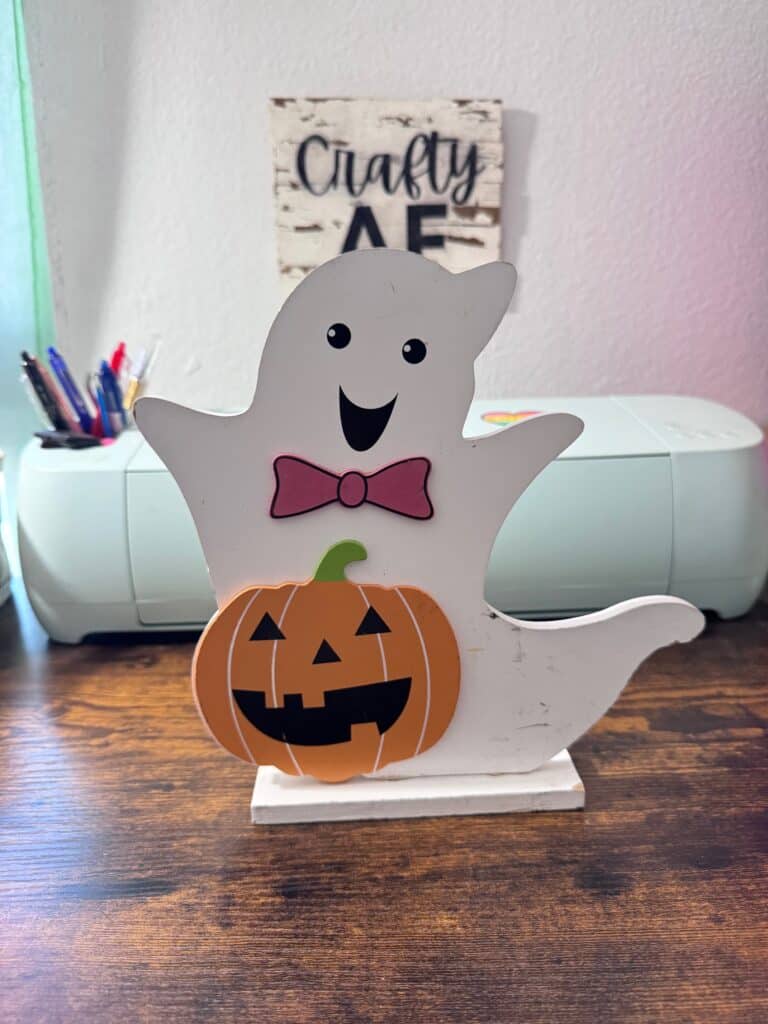
- Thrifted Wood Ghost
- Black and white polka dot fabric
- Wood eyeglasses
- Burlap
- Twine
- Small black button
- Wood letter B-O-O
- Small pumpkin
- Coordinating Black and Orange Fabric and ribbon
- Paint: White, Black
- Kilz Dark Wax
- Spouncer
- Mod Podge
- Hot glue gun
How to Makeover a cute Thrifted Wood Ghost
I made over this Thrifted Cute Ghost on video. So you can WATCH the tutorial by clicking below.

The ghost was already white, but since I wanted to paint over the current face to redo it, I painted another coat of white over the entire thing. Here is the back, before I did a second coat.
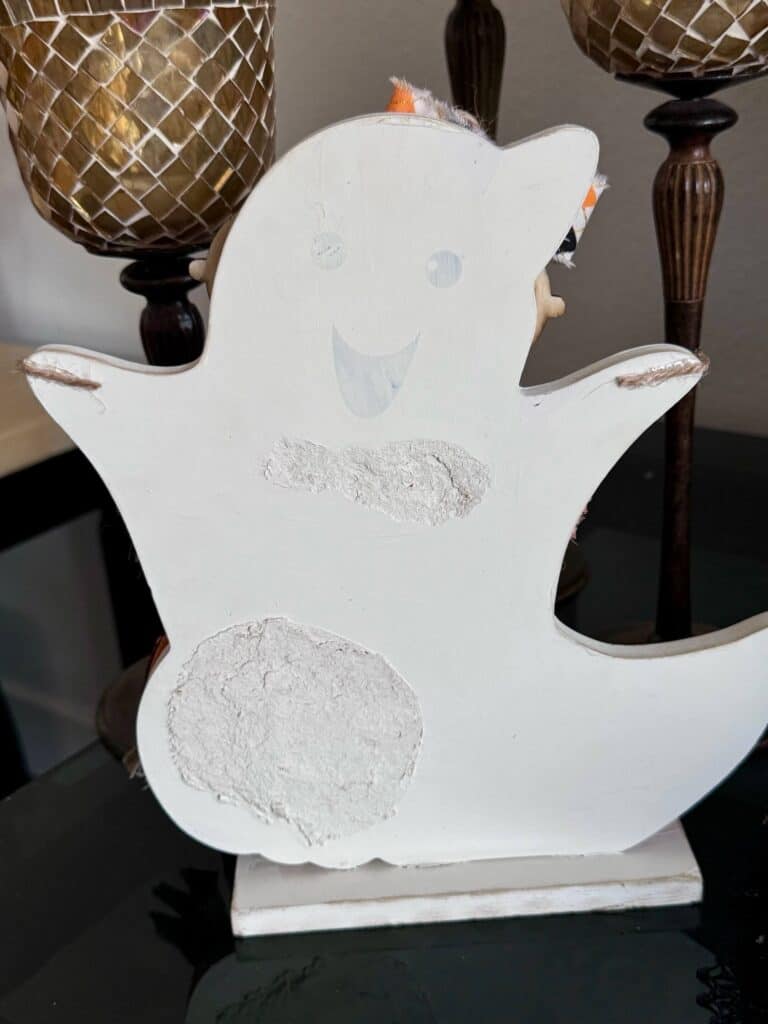
When I ripped the pumpkin and bowtie off, it pulled up some of the MDF, so I decided to turn it around and make the front be the back.
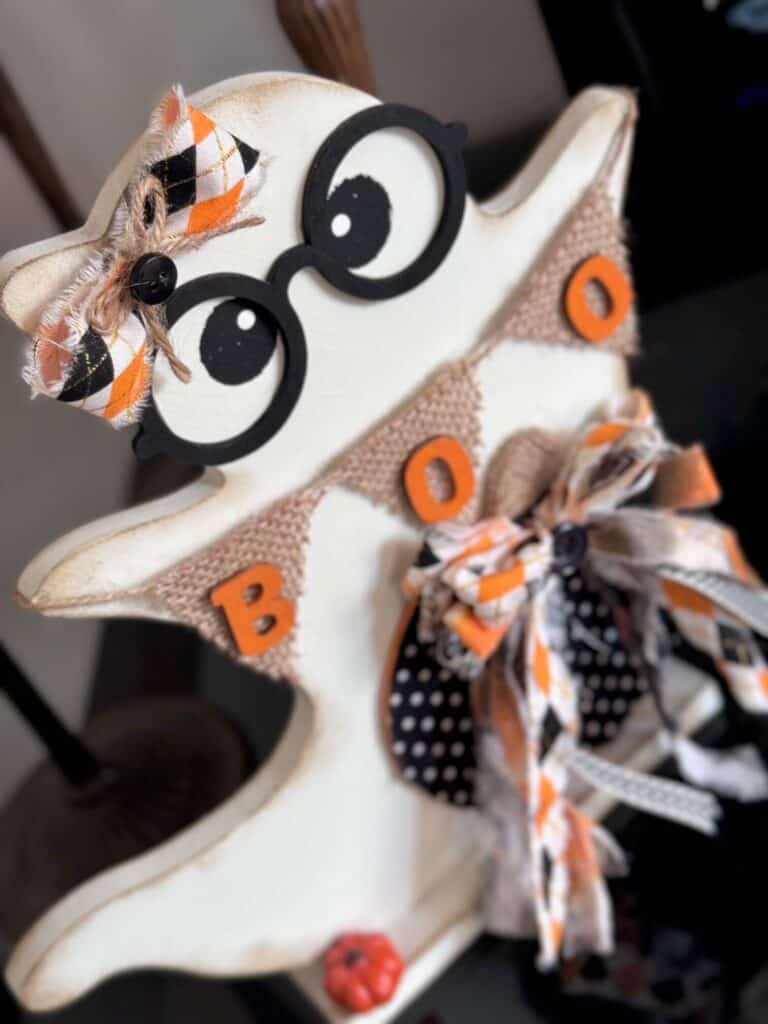
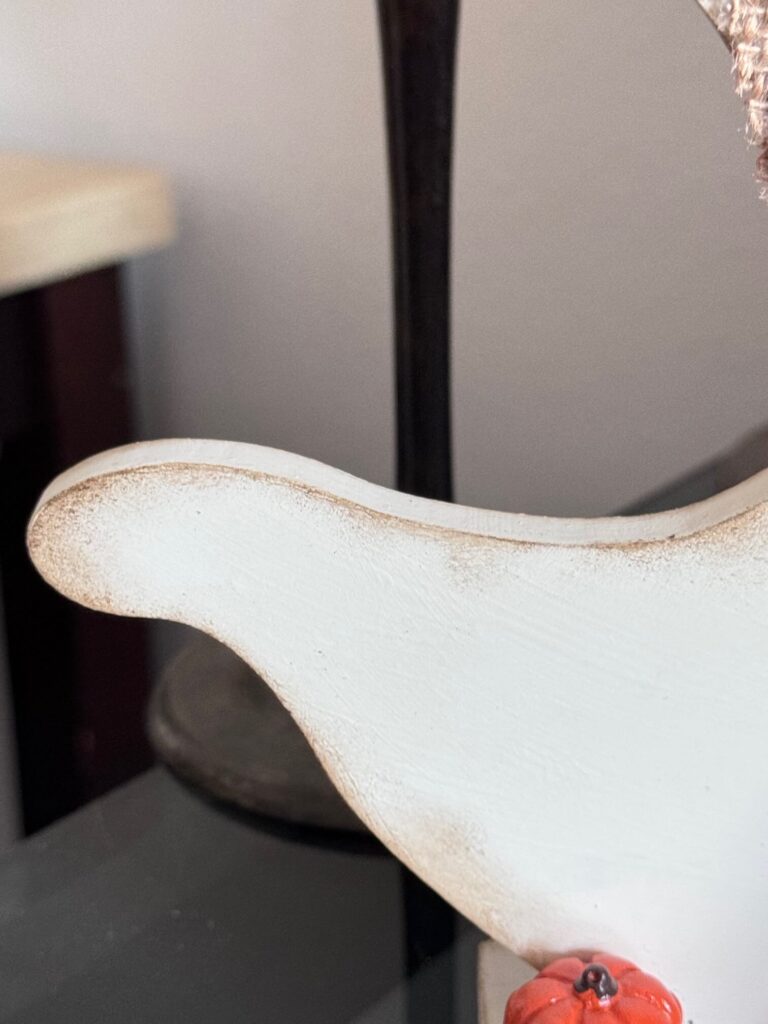
I like my crafts old and grungy so I used my Kilz Dark Wax and “antiqued” all around the edges of the wood ghost using a finger dauber.
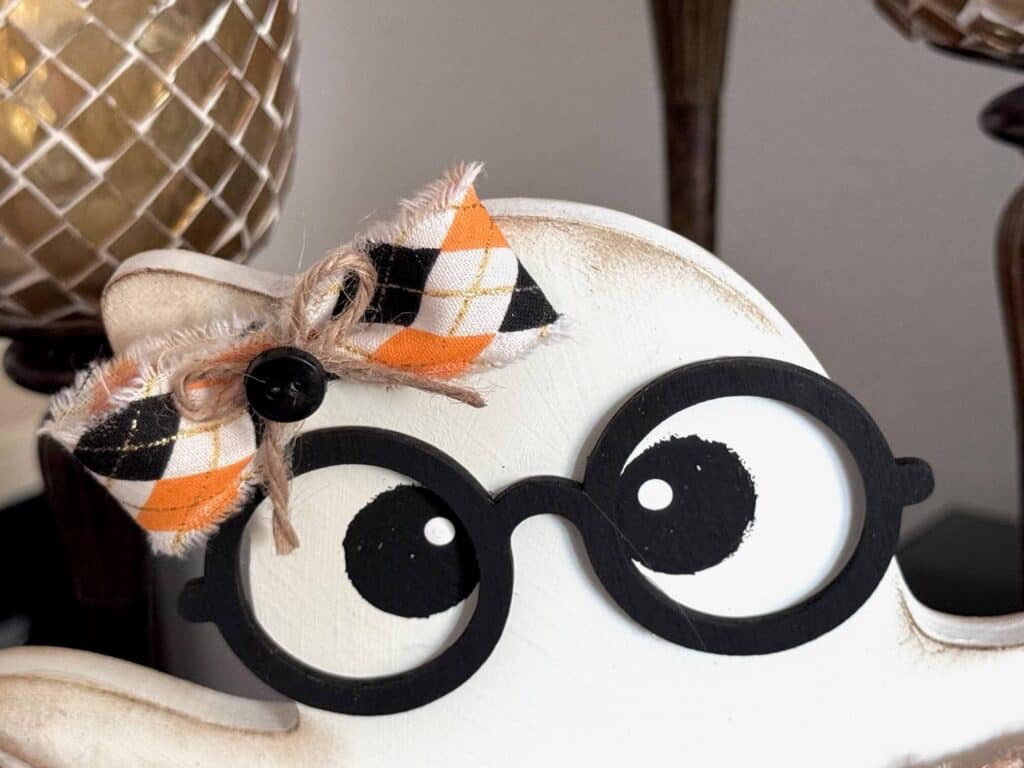
For her face, I used a spouncer to make large round black eyes, and the end of a paint brush to put a dot of white inside.
I painted the wood eyeglasses black, and glued them to the ghosts face.
For extra cuteness, I made a simple “hair bow” with some pretty argyle fabric, a twine shoestring bow, and a small black button in the center.
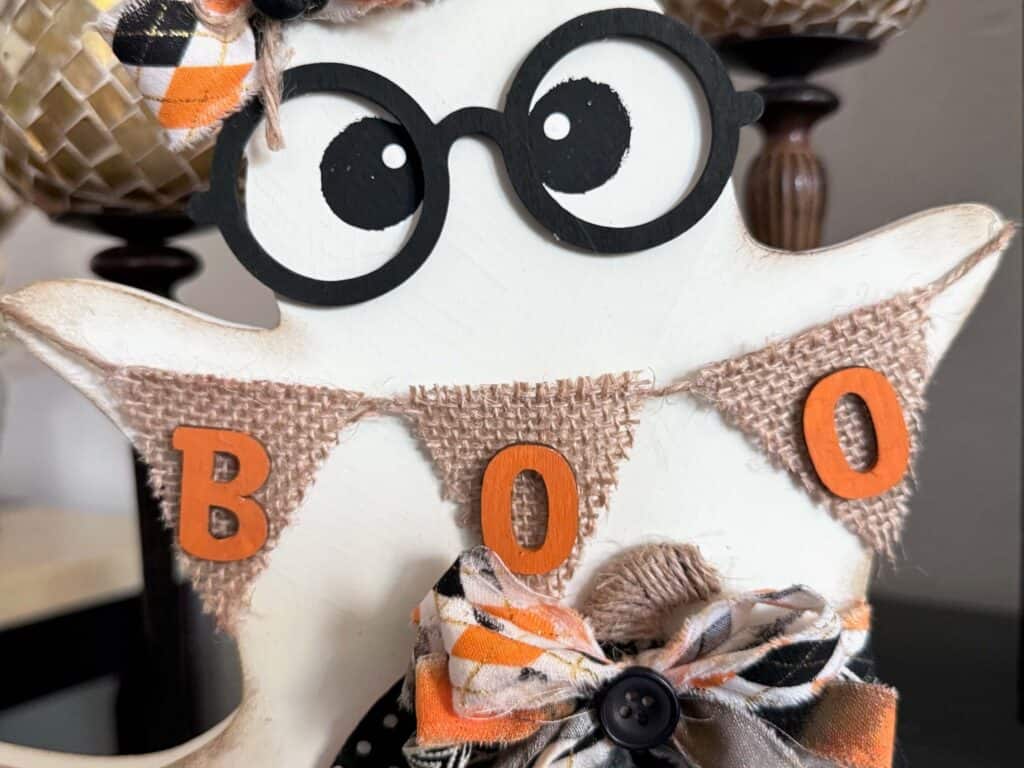
For the BOO banner, I cut 1 perfect triangle out of cardstock, and then used that as a template to cut the 3 triangles out of burlap. I coated the back with Mod Podge to make them stiff and prevent them from fraying.
Next, I painted the one inch wood letters B-O-O orange, and glued them to the burlap pendants.
Then, I glued the burlap pendants to a long piece of twine and attached the banner from arm to arm by gluing the twine around the “arms” to the back.
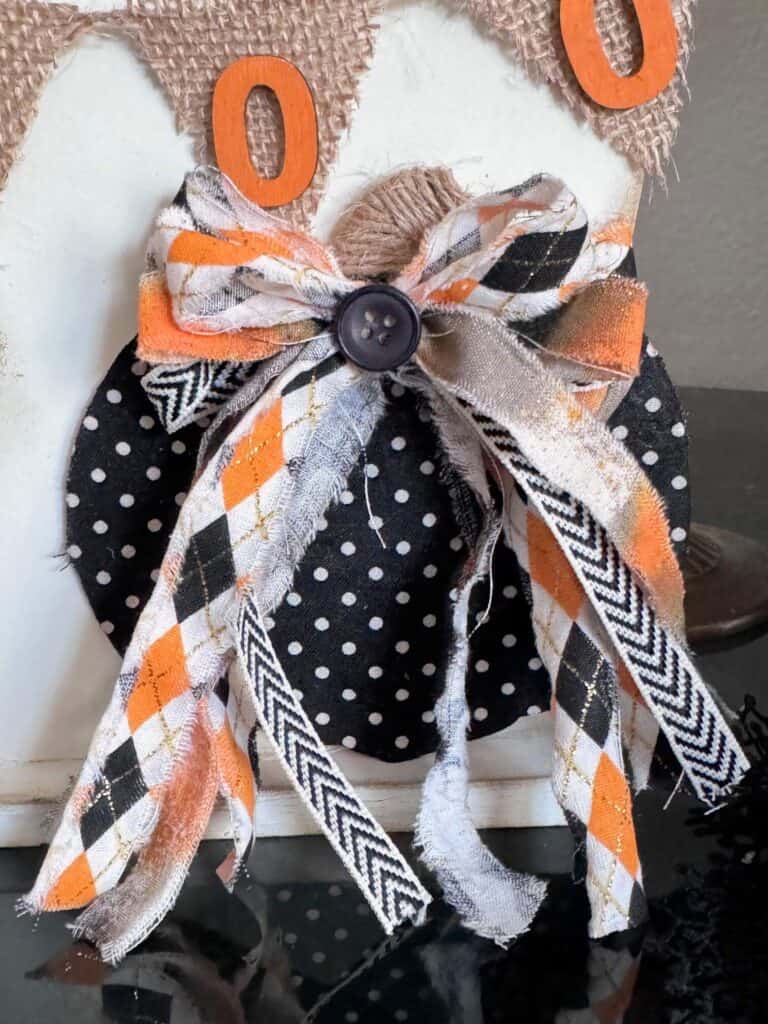
To decorate the pumpkin, I first pulled it off of the ghost (I heated the glue up with my heat gun first, to loosen it up). Then I traced it onto a piece of black and white polka dot fabric, cut it out, and decoupaged it to the pumpkin using Mod Podge.
For the stem, I wrapped it in twine and secured with hot glue.
Of course I had to make a mini fabric bow for the pumpkin stem using my Bowdabra, but you could totally make a bow without that. I used a combination of fabric and ribbon, and glued a mini black button to the center as an embellishment.
To finish it off I glued a small resin pumpkin to the bottom left on the base of the ghost, because I just felt like it needed a lil’ somethin’ somethin’ there.
I think this lil’ ghosts name should be Paisley. Paisley got a MAJOR glow up from her original thrift store version!
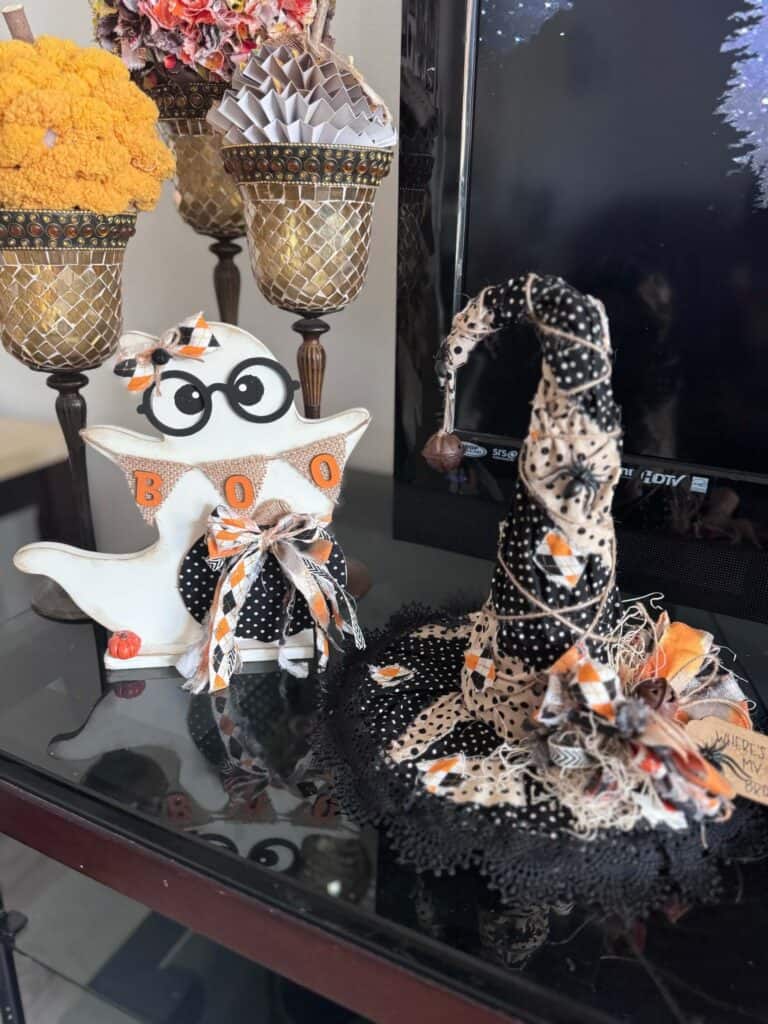
She also coordinates perfectly with the Foam Cone Witch Hat that we made in my exclusive subscription group, The CRafterparty!
You can go HERE for deets on being apart of this amazing group of crafty women, and get the tutorial for this Witch Hat too.
Are you going to makeover a thrifted ghost? Or thrifted ANYTHING for that matter? If you do, I’d love to see it! Pop on over to our free Craftspiration Facebook group, and join in on the fun by posting a pic of your Tiered Trays, DIY’s and crafts. I just love to see all your creative and crafty creations.
If you’ve got a million projects on your crafting ‘to-do’ list like I do, than you need my FREE Craft Project Planner so you can plan to make *all the things*! When you sign up for the craft planner, I’ll also send you lot’s of fun, easy, and budget friendly ideas for you to fill it up with!

Free printable Craft Project Planner
Get organized, get inspired, and get crafting, with our free Craft Project Planner!
Until Next Time…
Stay Crafty San Diego!

Love this Thrifted Cute Ghost Makeover? Make sure to PIN it for later!
