Share the Love!
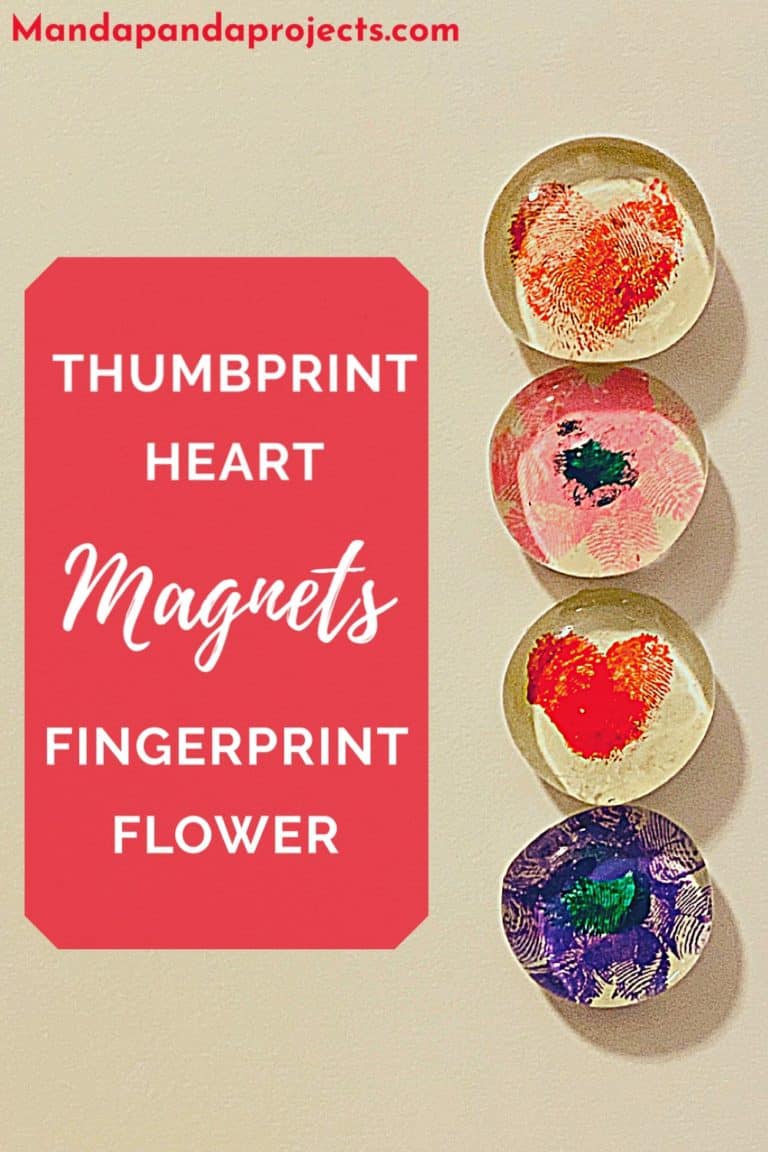
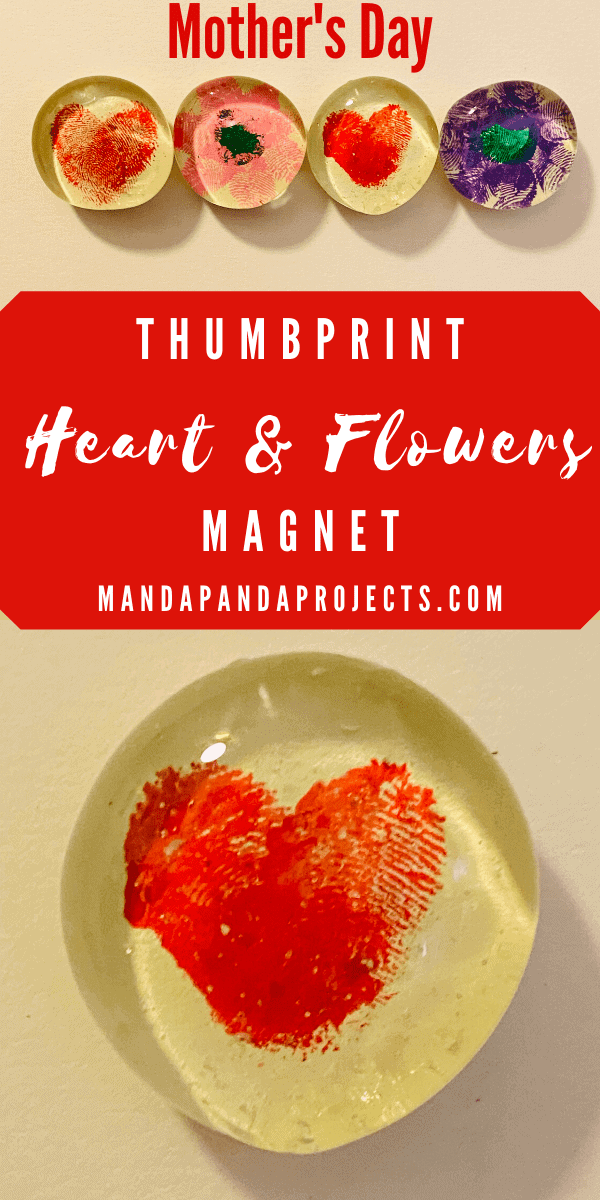
The kids will just love turning their little thumbprints into hearts, and fingerprints into flowers with this glass bead magnet craft. These Kids Thumbprint Heart Magnets are easy to craft and make the perfect keepsake gift for Mother’s Day, Birthdays, Valentines Day, or “Just Because”!
Hand print crafts are the ultimate go-to when it comes to kids Mother’s Day craft projects. But why not make some thumb and fingerprint crafts too? That’s why we came up with these kids Thumbprint Heart Magnets!
Preserve their cute little prints into a Thumbprint Heart and a Fingerprint Flower with these glass bead magnets.
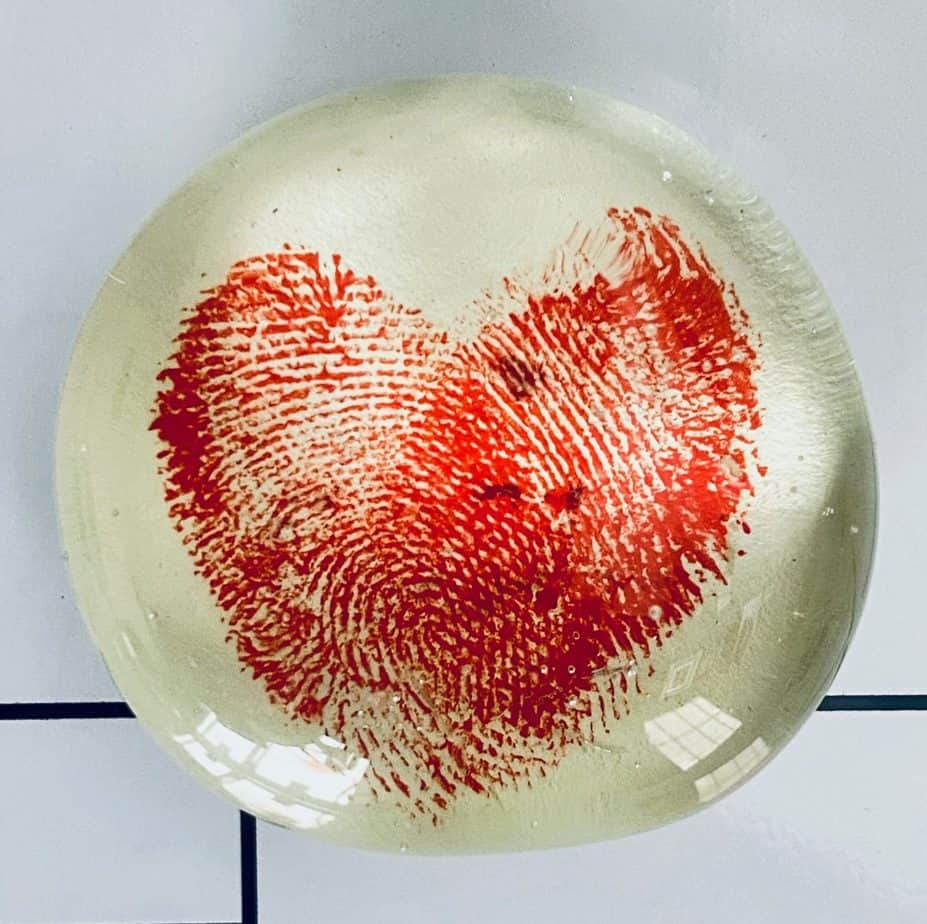 This is such a quick and easy project for the kids to make and they will love getting their hands messy in the process! Bonus for Mom? The craft itself isn’t much of a mess at all! In fact we made these AND had them cleaned up in under 30 minutes!
This is a great craft for the kids to make for a Mother’s Day gift, Father’s Day, Birthday, or even for a Teacher. The best part is you can hang their cute little art projects on the fridge with their very own fingerprints. Makes for the perfect keepsake gift.
This post may contain affiliate links for your convenience (which means if you make a purchase after clicking a link I will earn a small commission but it won’t cost you a cent more!)
Supplies Needed to Make Glass Bead Magnets
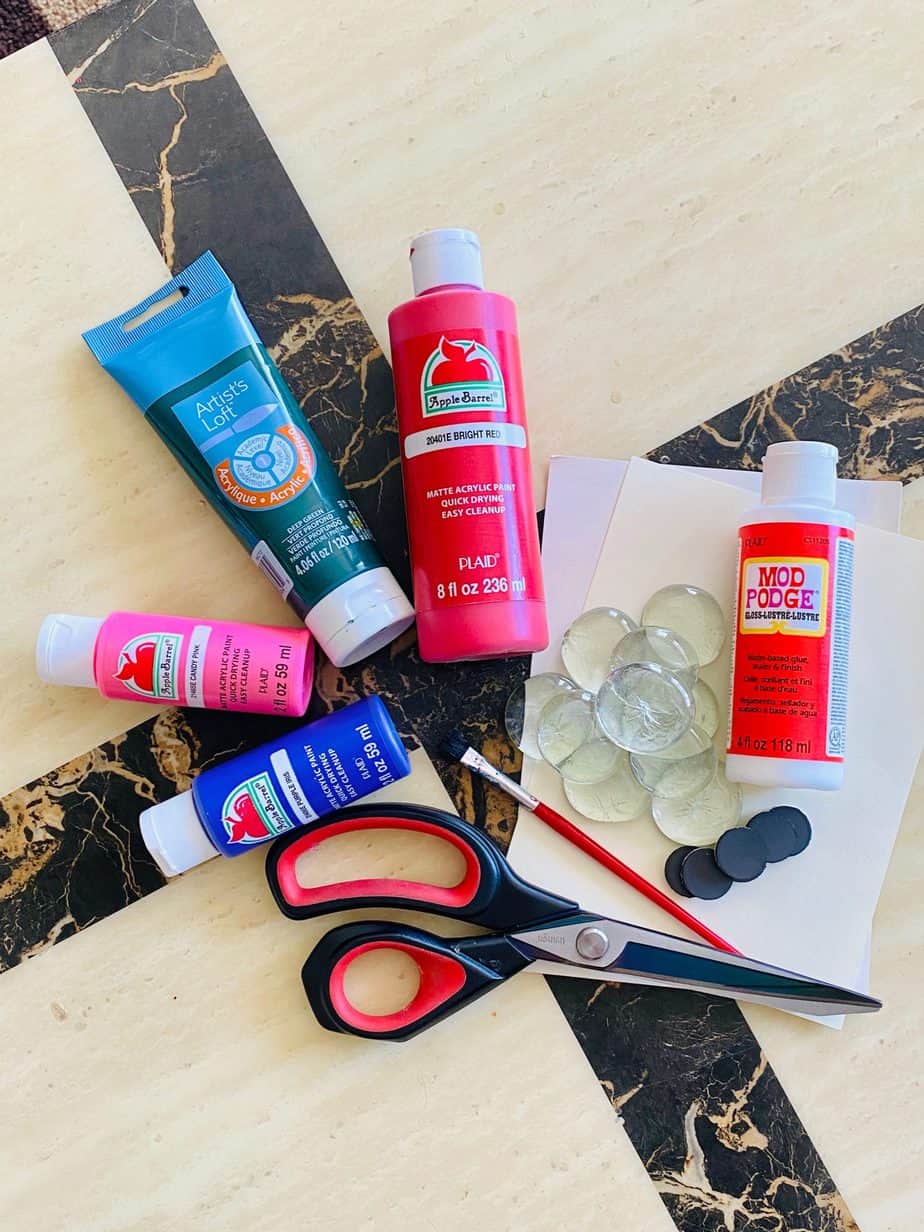
- Flat Back Glass Beads (Amazon offers the Beads and Magnets in a pack together)
- White card stock
- Ceramic magnets
- Mod Podge
- Paint – We used Bright Red, Purple Iris, Candy Pink, Real Green (You could also use a rainbow ink pad)
- Paper plate
You can find the glass beads at most Dollar Trees for well…..$1. But if you do get them here just make sure to look and pick out a bag that are nice and clear. Each glass bead is made differently, and if your not careful you’ll get a bag of foggy or cracked ones that don’t make for very nice magnets at all.
You can get better quality ones at all craft stores, as well as Amazon which I’ve linked to above. Amazon even offers the glass beads and magnets in a pack together (which I wish I had known before making these!).
If you happen to have colored ink pads, you can totally use them instead of paint. We used paint because we already had it in the house and it works just fine as well
How to Make Glass Bead Magnets
Follow these easy steps below to make Finger and Thumbprint keepsake magnets!
Spread the red paint thinly onto a paper plate with your thumb
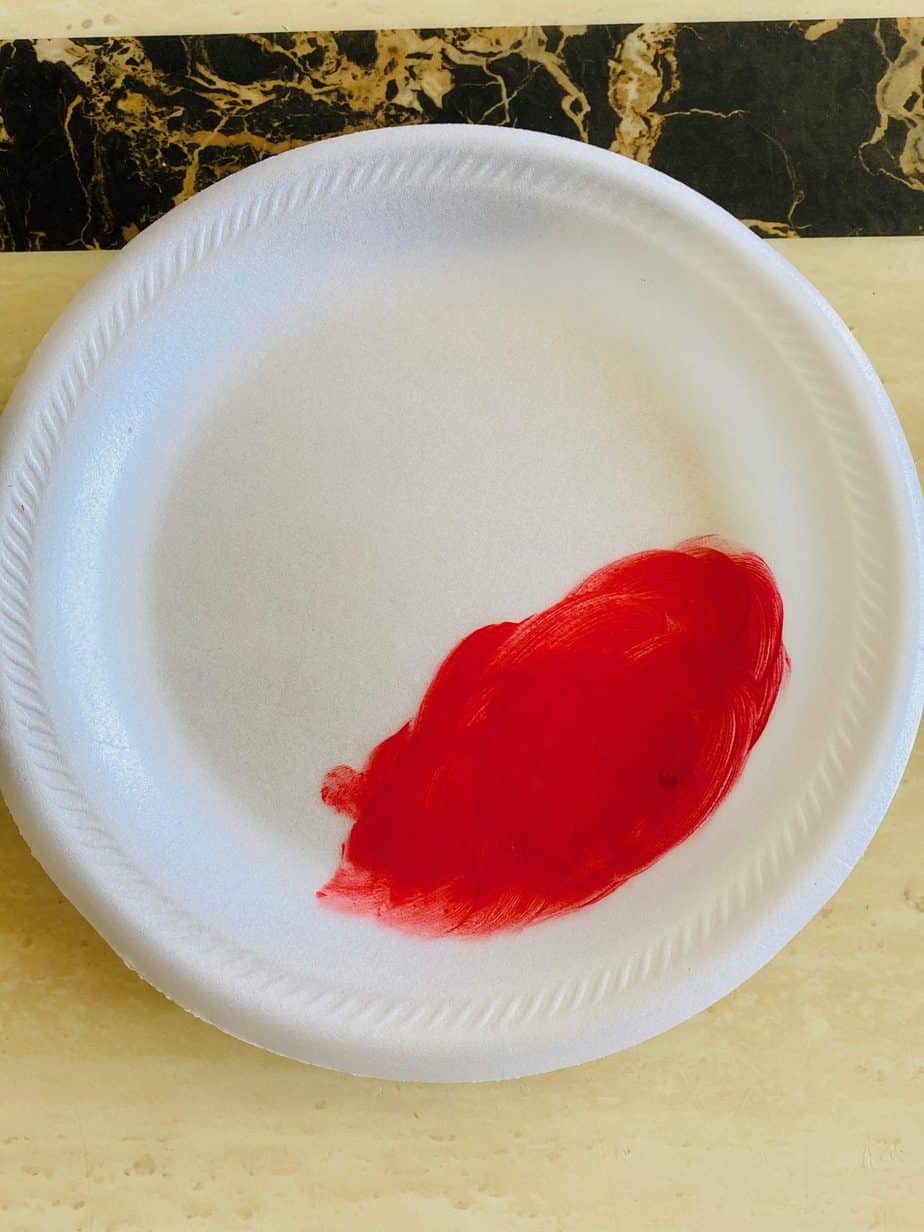
It’s important that the paint is super thin, to the point it is almost drying or else you will get a big blob instead of a thumbprint.
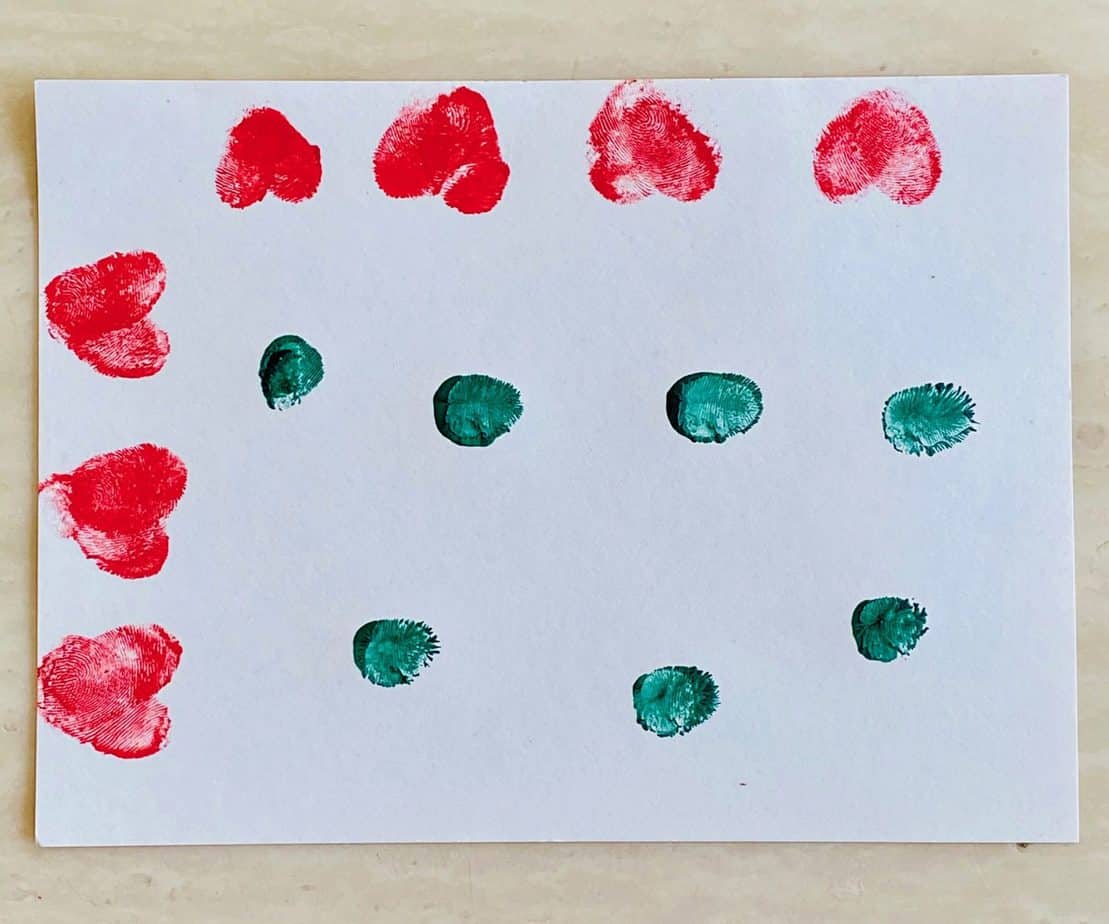
Make a thumbprint slightly off center on the card stock to make one half of the heart, and repeat for the other half
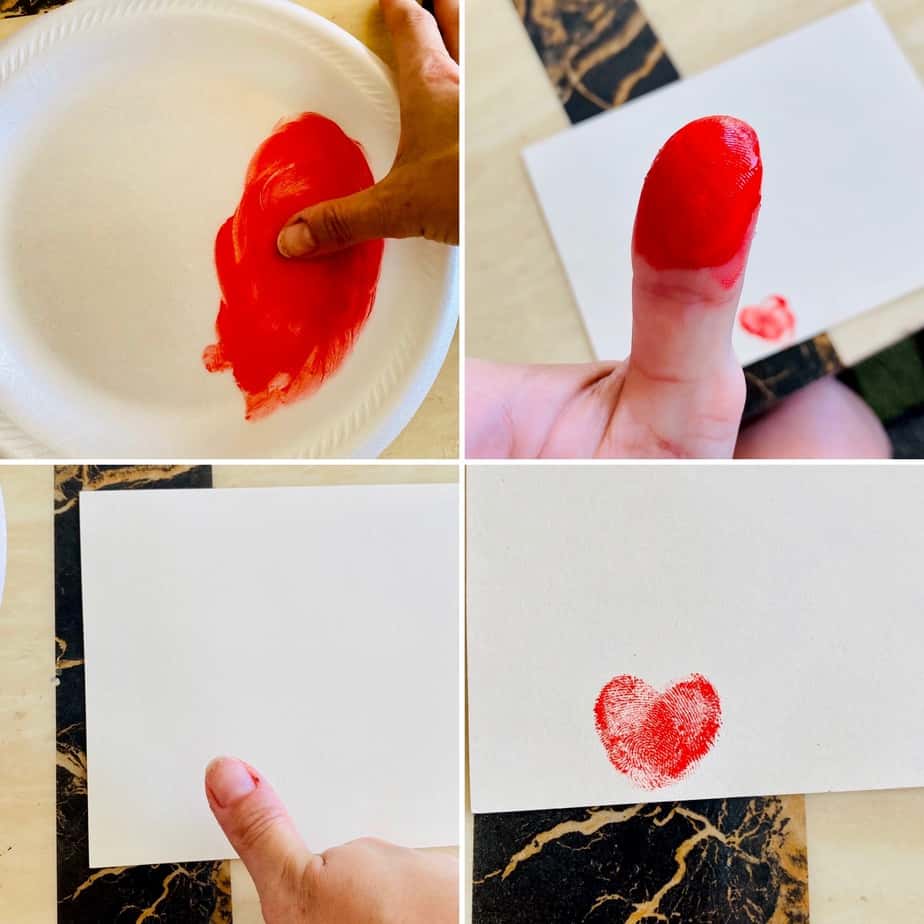
You may have to make a few prints to get it just right. We made several to get the amount of paint and how much pressure to apply just right. Just make a bunch of hearts, and then you can pick your favorite to turn into magnets.
Spread the green, pink, purple paint thinly onto a paper plate with your finger
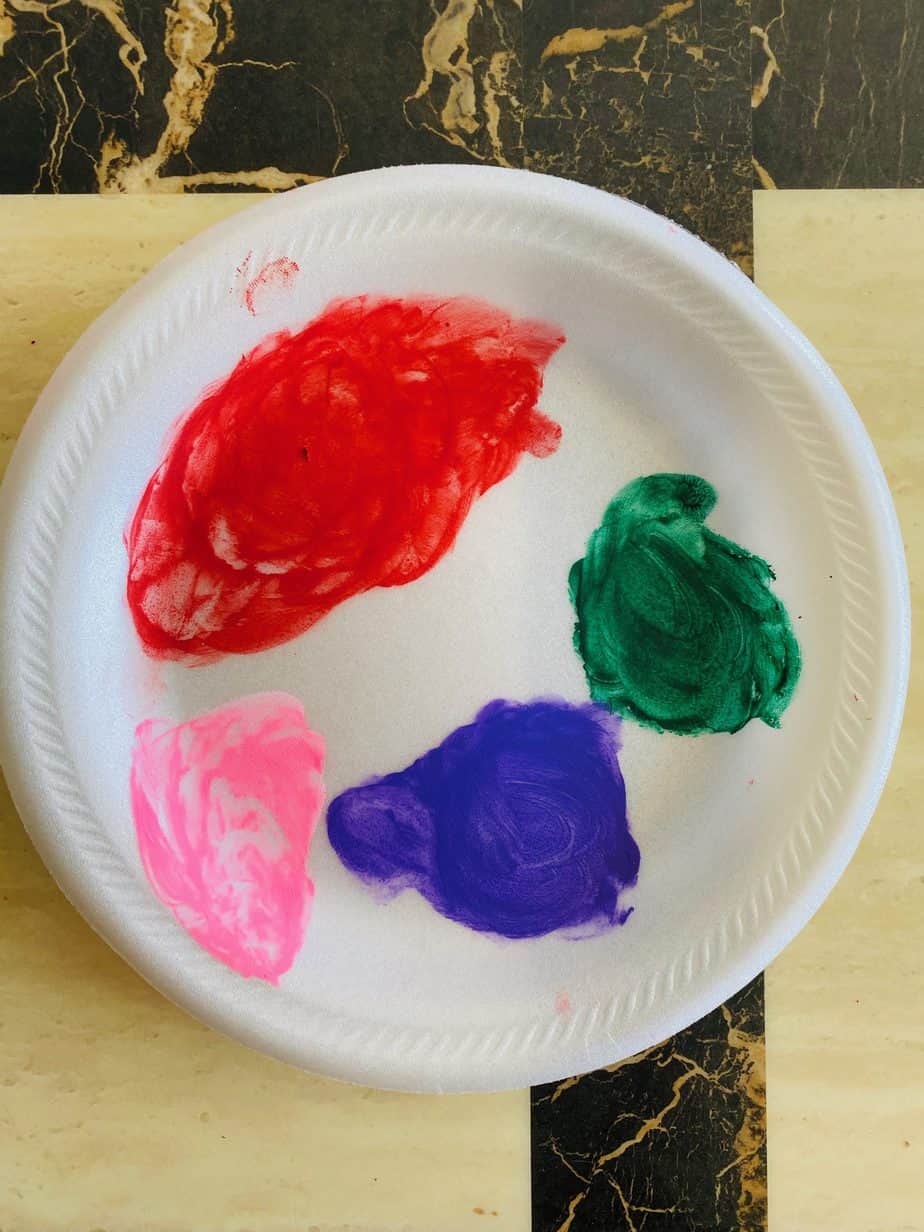
Same as with the red heart, make sure the paint is spread very thinly or you’ll get a big blob.
Use your pointer finger to to make a green print as the center of the flower.
I’d recommend making several green centers around the paper so that you don’t have to go back and forth between colors.
Make purple/pink finger prints around the center in a circular fashion to form the petals.
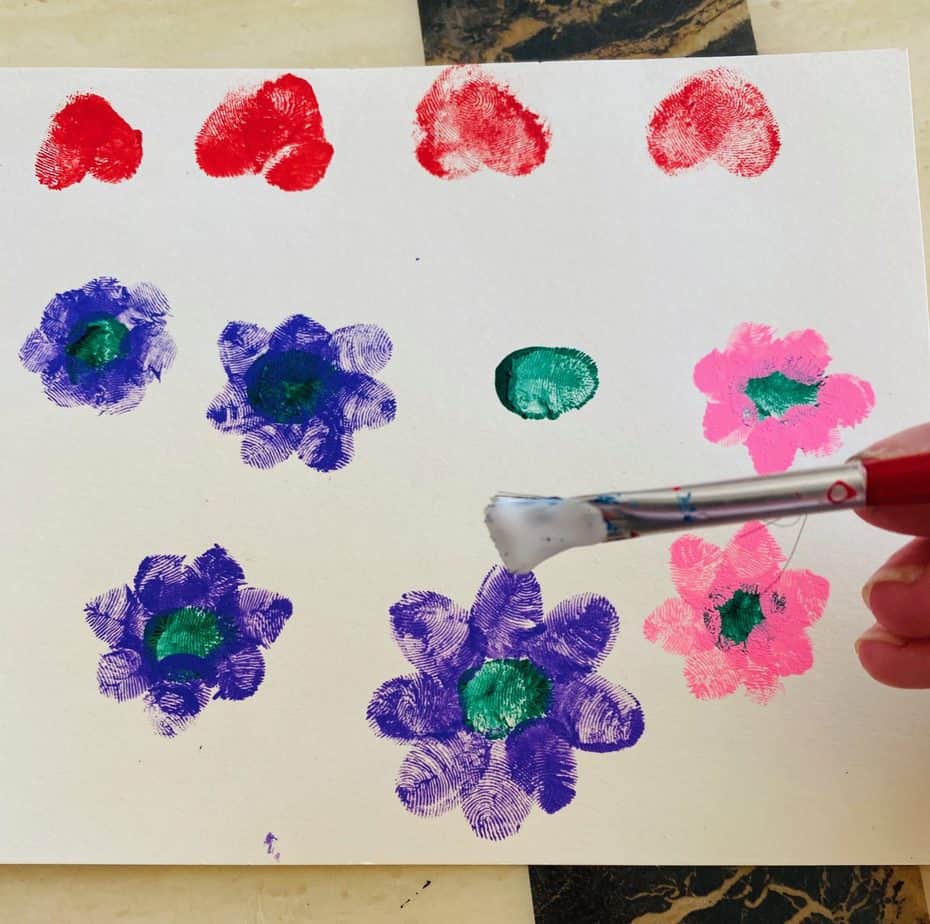
Again, I’d recommend making several flowers and then you can choose your favorite to make into magnets. Allow the paint to fully dry before moving onto the next step, which should only take about 5 minutes. If you started with the hearts, those will already be dry so you can start with those first.
Apply a thin layer of Mod Podge over the surface of the heart/flower.
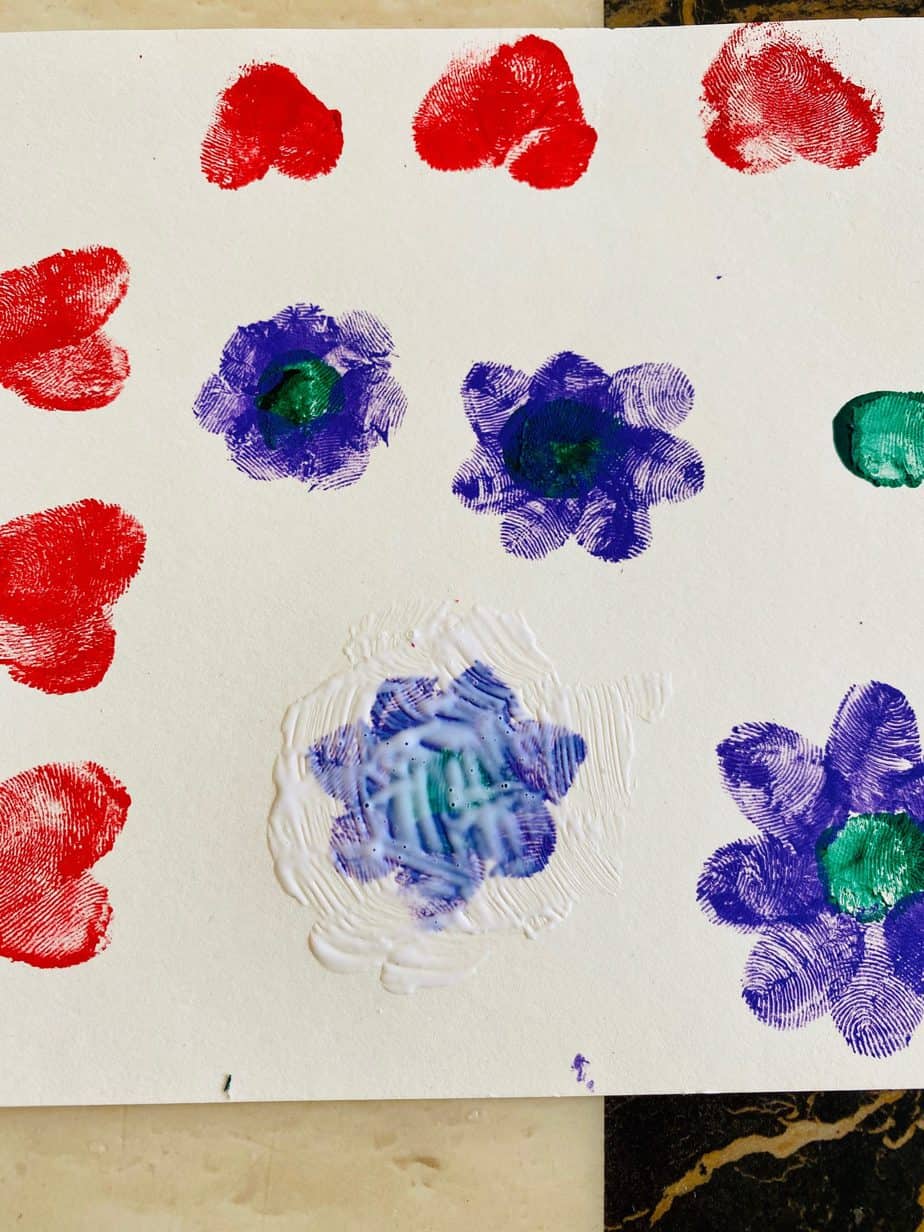
You can use a paint brush to do this, or your finger works just fine too. Just be sure to wash your paint brush right after or the glue will dry and ruin your brush.
Center the glass bead over the top of the heart/flower and apply firm pressure.
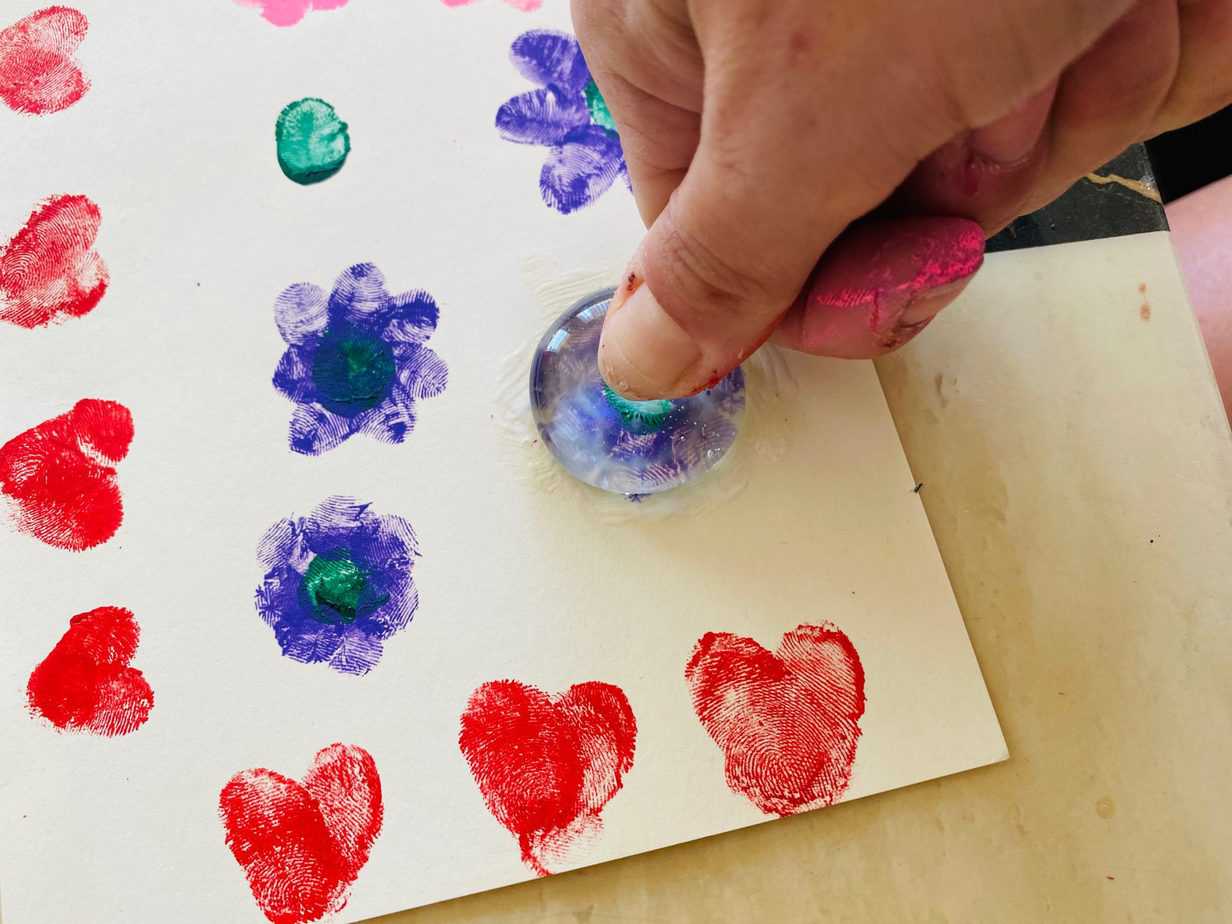
Press and hold firmly for about 10 seconds. You may want to even lift the paper up and press down on the back of the card stock to smooth the paper over the glass bead and to spread the Mod Podge evenly.
Allow them to dry for several hours or overnight.
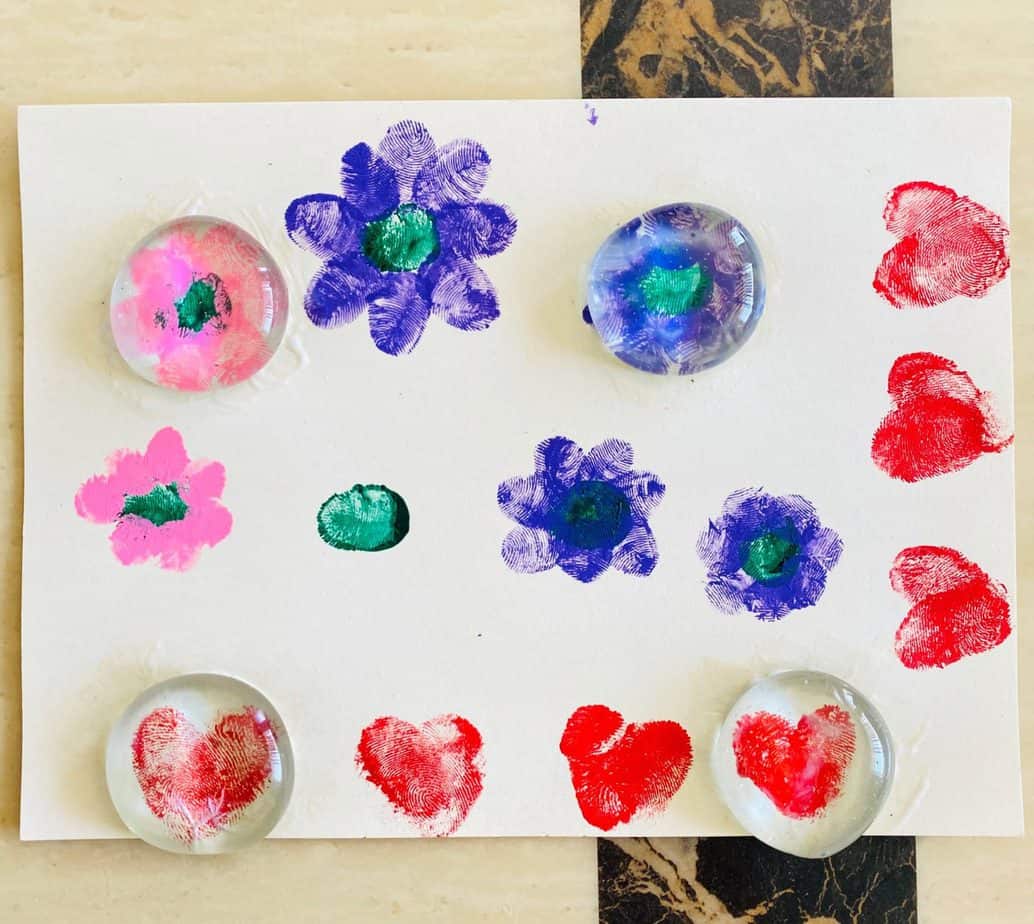
Don’t worry if the Mod Podge looks white or foggy, it will dry completely clear.
Cut the card stock from around each magnet.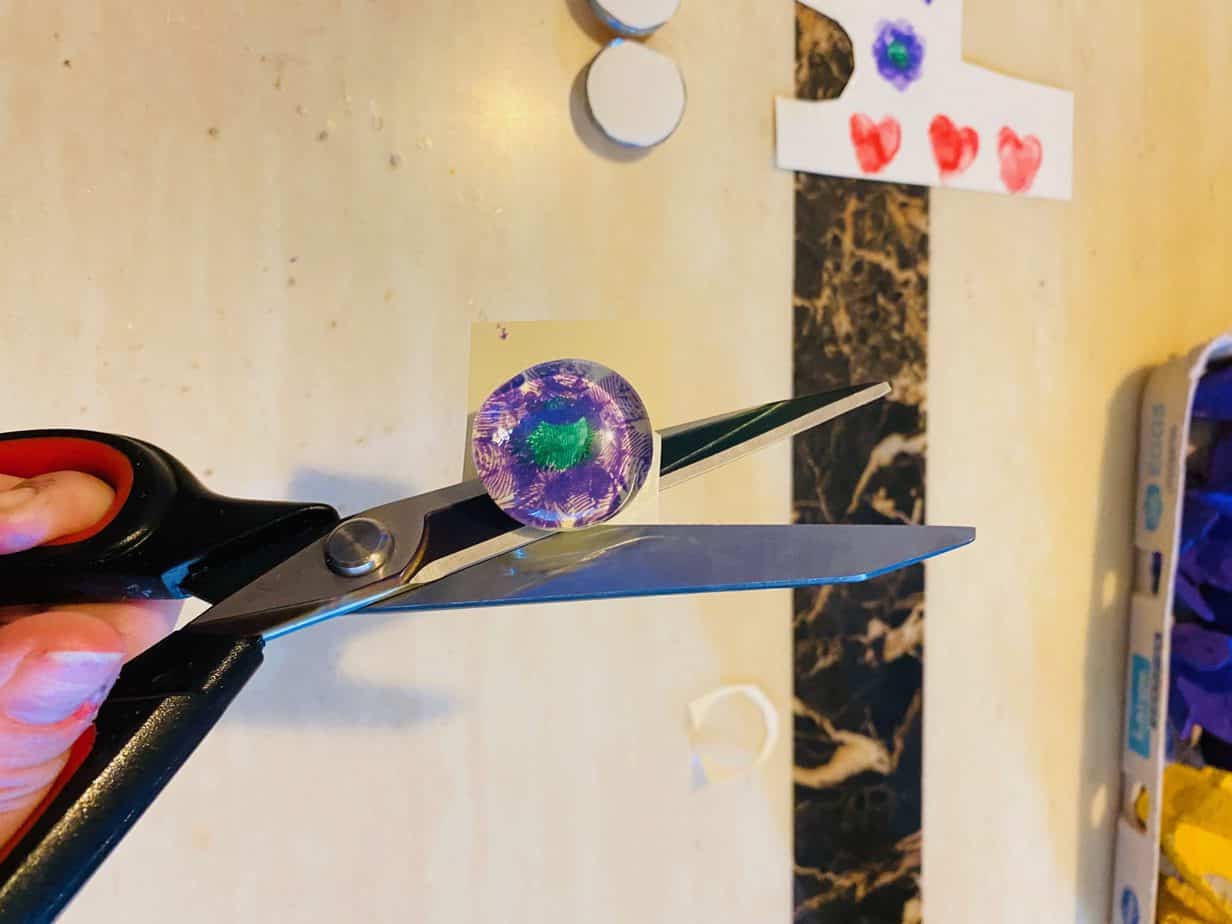
It helps to cut a square around each magnet first, and then trim the extra around in a circle.
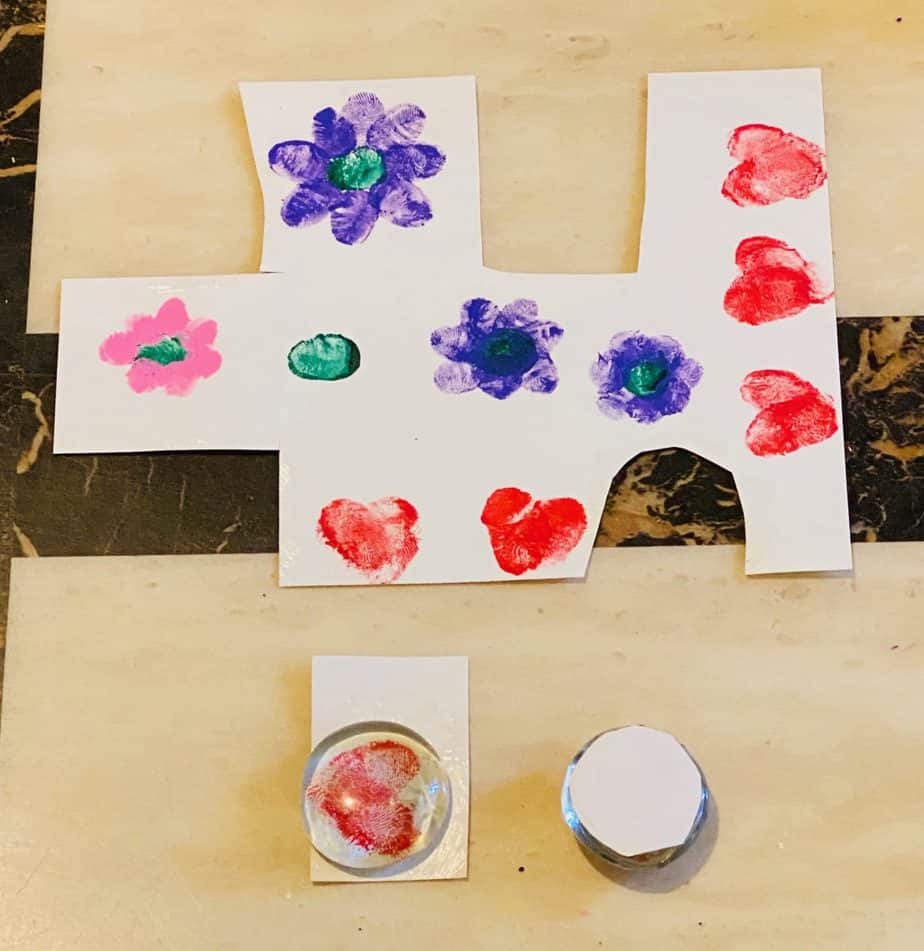
Glue the ceramic magnet to the back of the glass bead.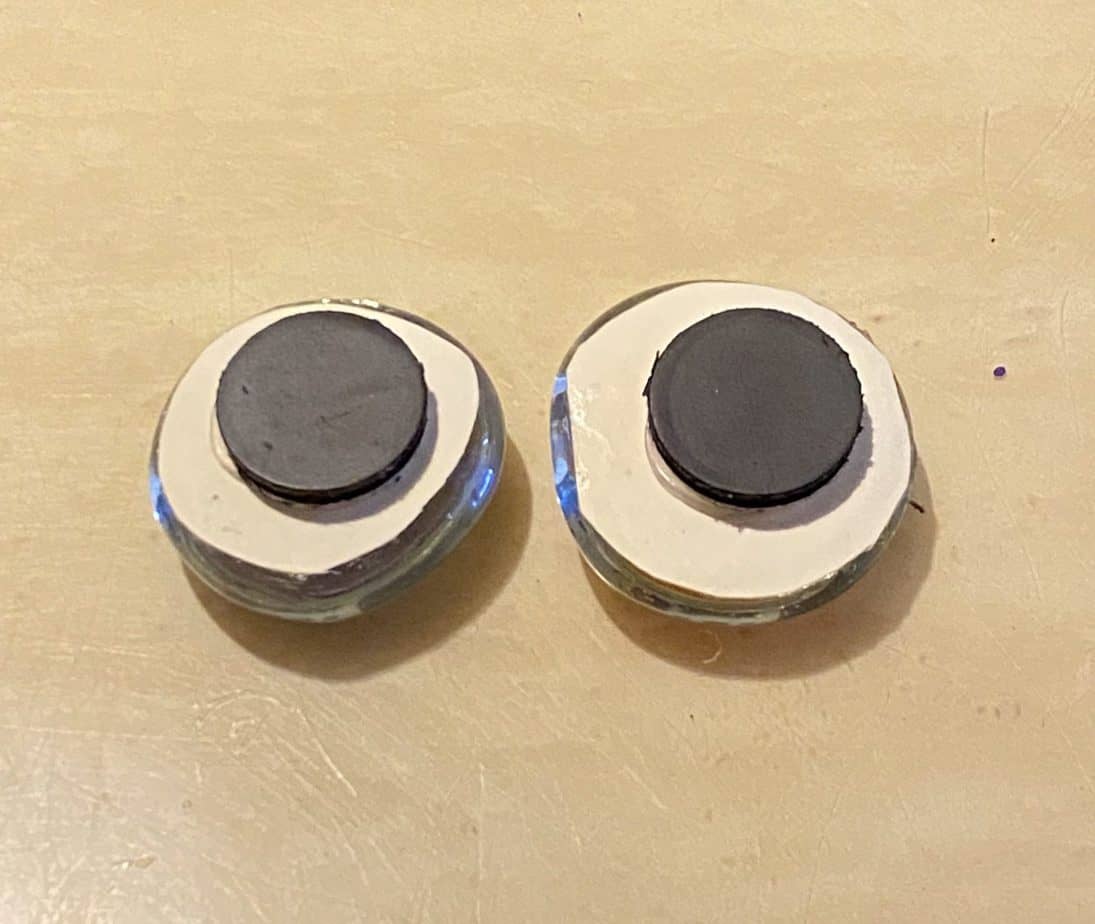
Some of the magnets have a sticky back (mine did), but I would recommend gluing them on anyway.
Congratulations! You’ve made a forever keepsake magnet!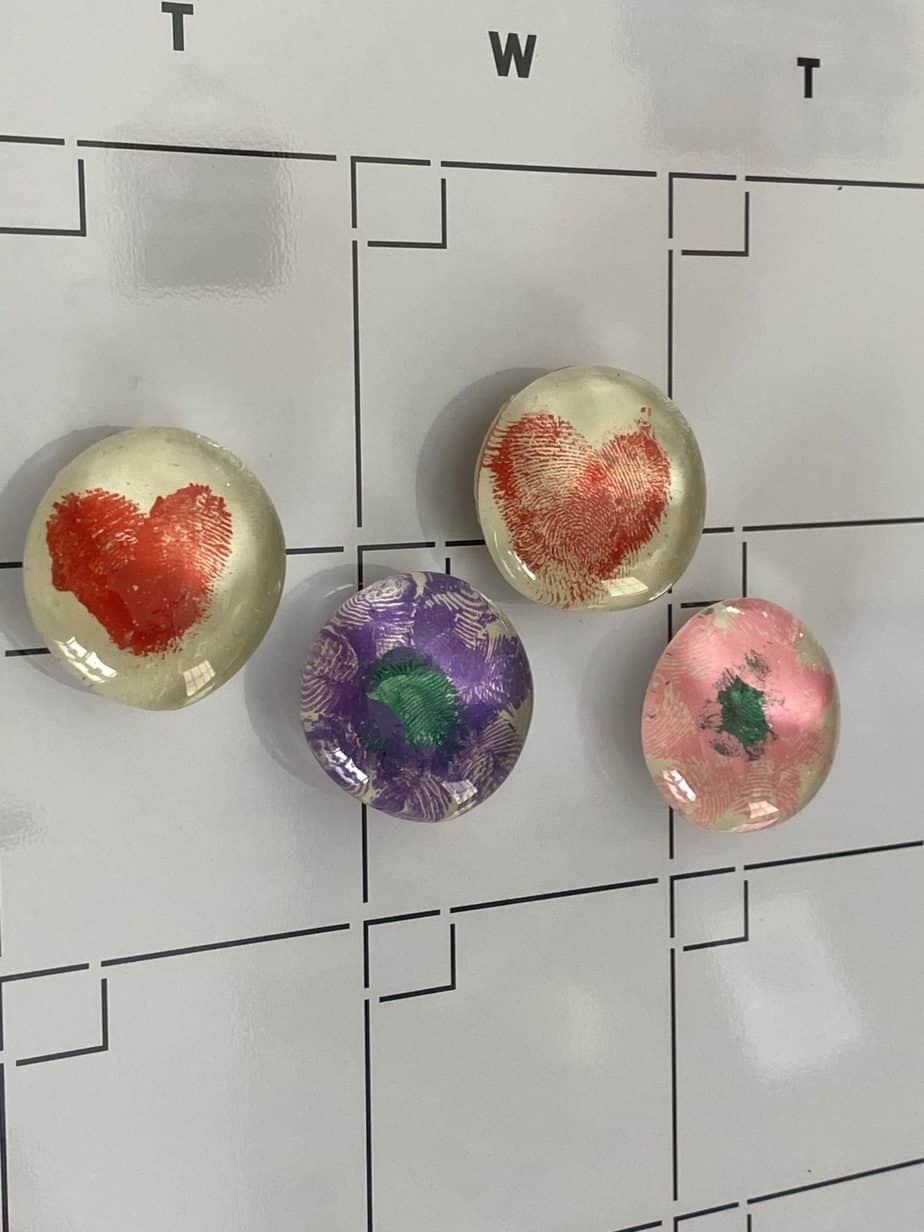
Now you can hang your little’s artwork on the fridge with their little fingers and thumbprints. These magnets are the perfect keepsake for any Mother’s Day, Father’s Day, and they would make a wonderful Teacher gift as well.
If your looking for some other Mother’s Day gifts check out the two different types of Forever Flowers we made…Egg Carton Tulips, and Cupcake Liner Carnations!
Until Next Time…
Stay Crafty San Diego!


