Tin Can Leprechaun Hat
Don’t toss those recycled tin cans just yet! With a little creativity, you can transform one into a budget friendly DIY Leprechaun Hat that’s perfect for St. Patrick’s Day and can be displayed all season long!
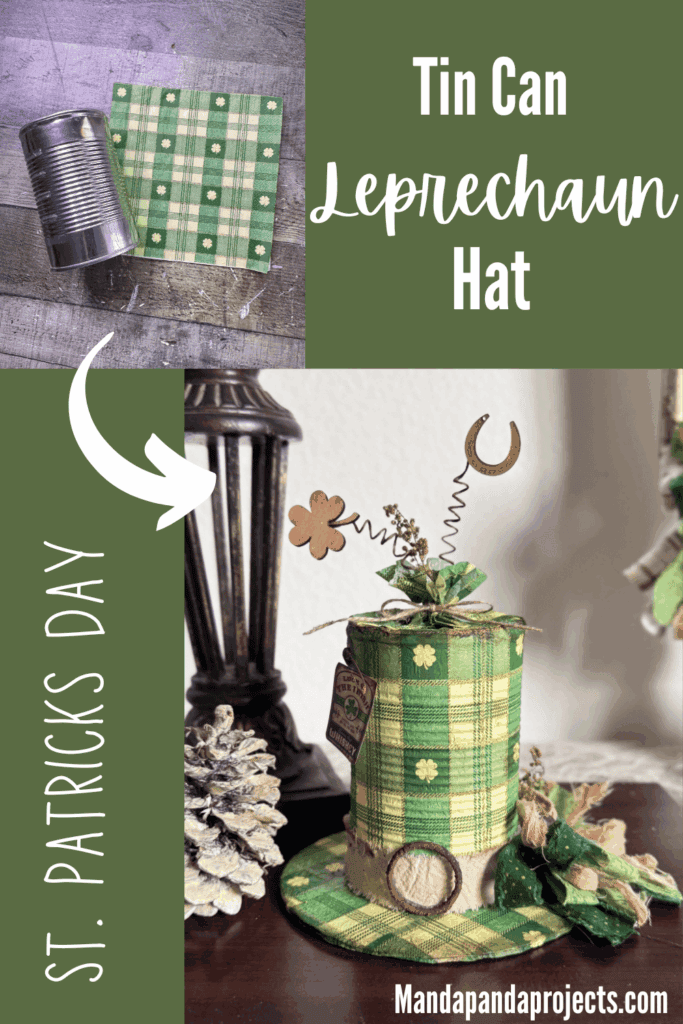
May the luck of the Irish be with you for this budget friendly and adorable St Patrick’s Day DIY! There is nothing I love more then a good ‘ole recycled craft, and if you’re anything like me than you have a stash of Tin Cans that are just dying to be made into something cute!
Last year, in The Crafterparty (my subscription group) we made a BIG Leprechaun Hat out of a coffee can. So that inspired me to make this smaller version.
For this “mini” version, I used a Shamrock check napkin from my Big Pack of Craftkins napkin subscription to decoupage the can into the CUTEST hat.
The Craftkins are an adorable seasonal pack of 18 decoupage napkins sent to your door once every three months so that you never have to buy full packs of napkins for crafting ever again! Napkins ship beginning of Feb, May, Aug, and Nov. Depending when you sign up, your mack may ship immediately, or if in between quarters it will ship on the next round. You can grab your next pack HERE.
This post may contain affiliate links for your convenience (which means if you make a purchase after clicking a link I will earn a small commission but it won’t cost you a cent more!)
Supplies needed to make a Tin Can Leprechaun Hat

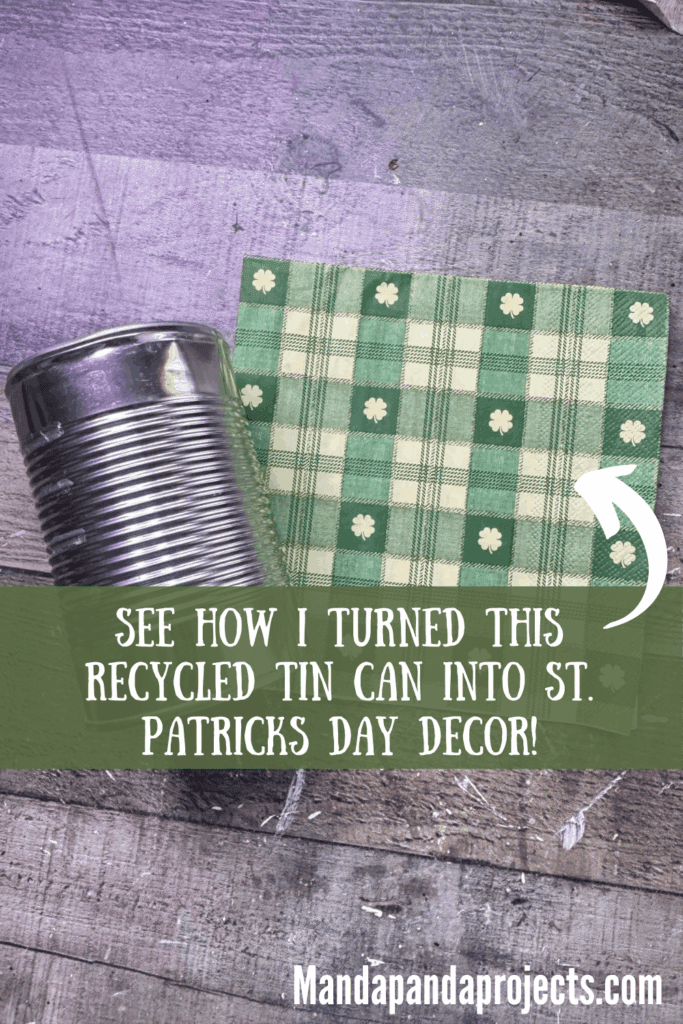
- Tin Can
- Cardboard
- St. Patricks Day Napkin (from my Big Pack of Craftkins)
- Metal Ring
- Rust Effect Paste
- Rustic floral wire
- kraft paper hangtag
- Rusty safety pin
- Irish Whiskey Image
- Muslin or Cheesecloth (I coffee stained mine)
- Fabric/Ribbon
- Sweet Annie
- Small wood shamrocks
- Rusty Bell
- Mod Podge
- Twine
How to Make a Leprechaun Hat out of a Tin can
I made this Tin Can Leprechaun Hat on video. So you can WATCH the tutorial by clicking below.

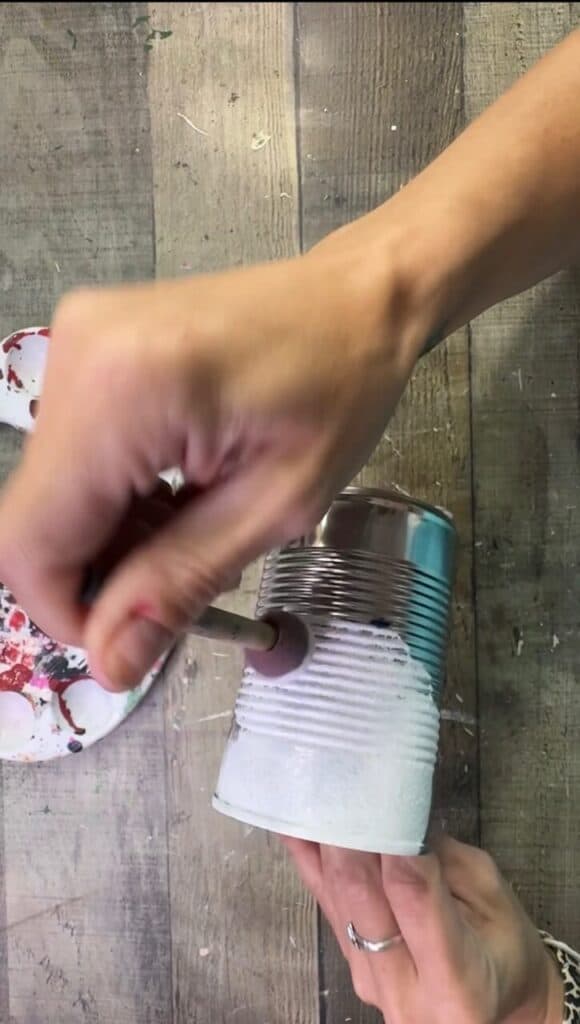
First things first, I painted the tin can all white. I used a spouncer for faster, better coverage.
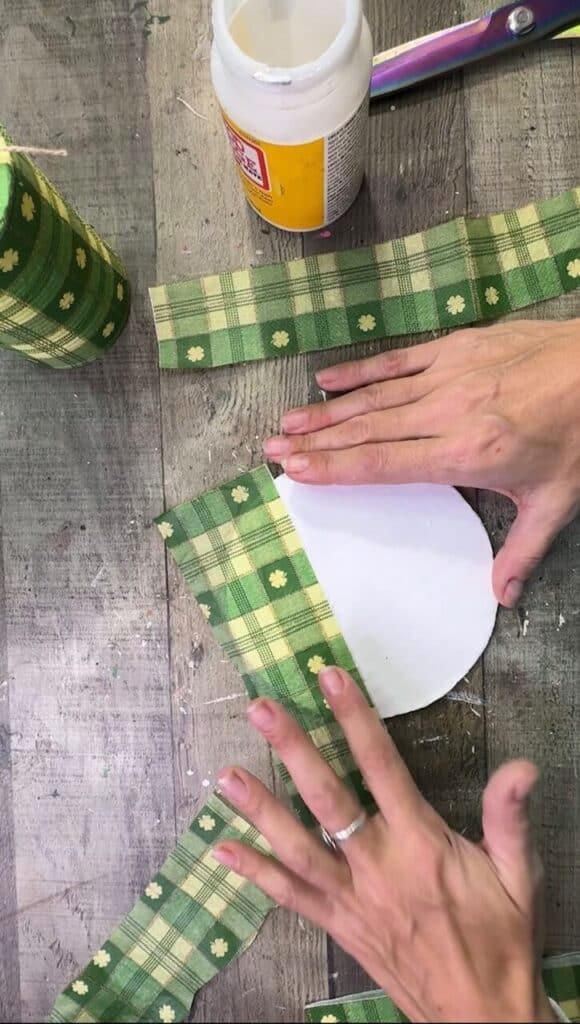
Next, find something that is circular and the perfect size for the hat brim and trace it onto a piece of cardboard, and cut it out.
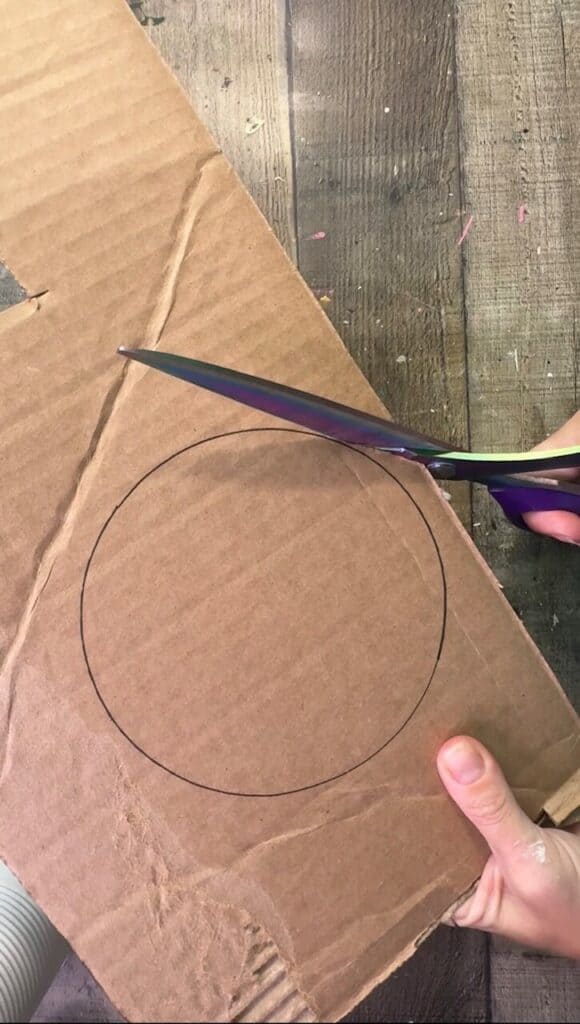
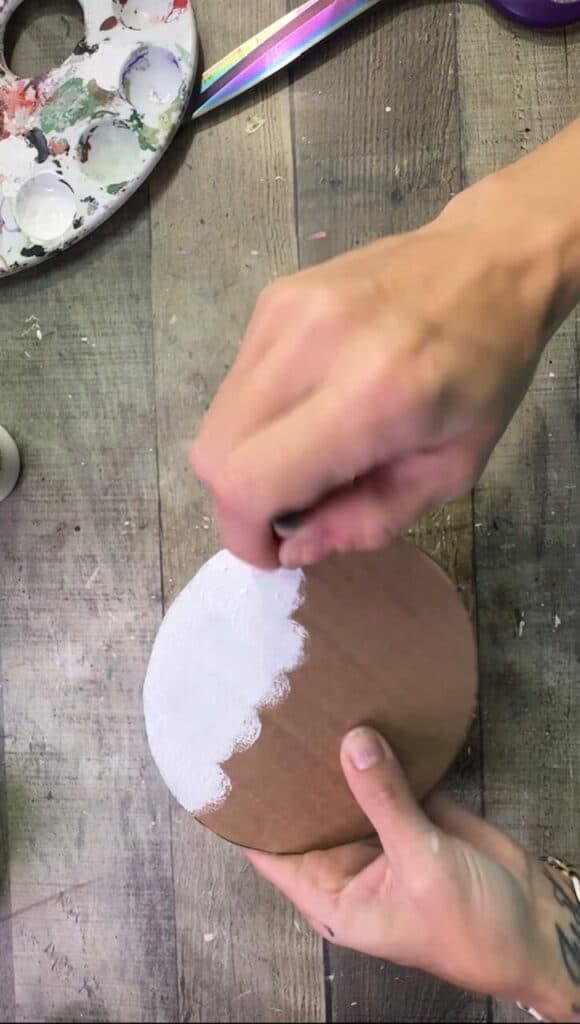
I painted the cardboard circle white as well.
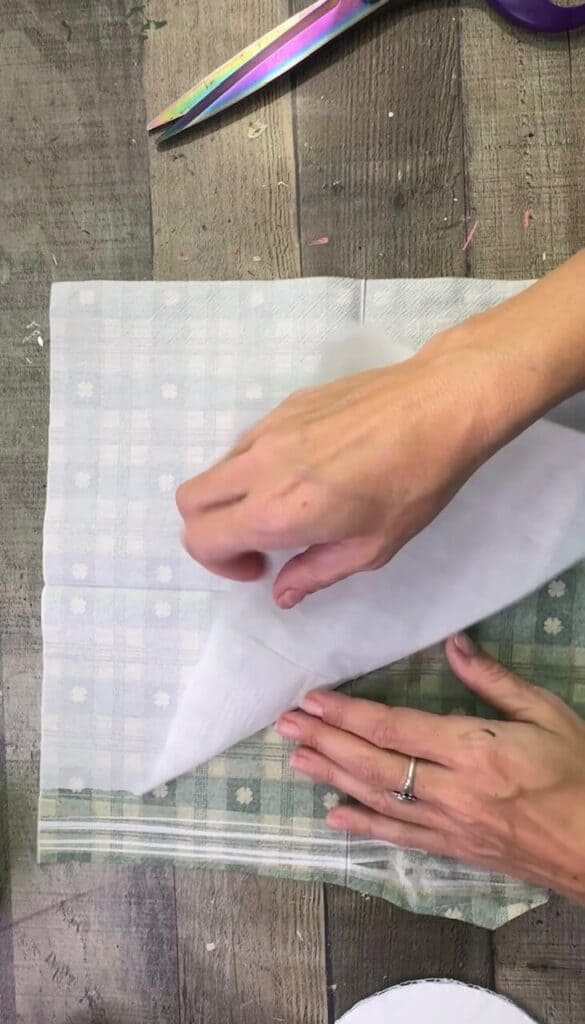
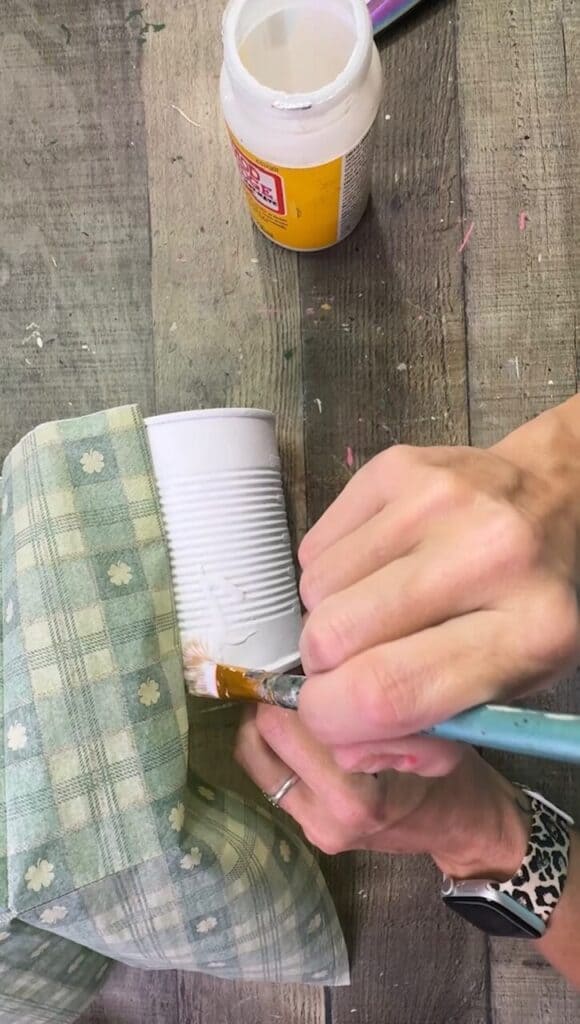
Separate the napkin down to one ply to get it ready to decoupage to the can.
The next part I did in small sections. I added a a bit of Mod Podge to the can, added the napkin on top and smoothed it out as best I could, and then moved on to the next section.
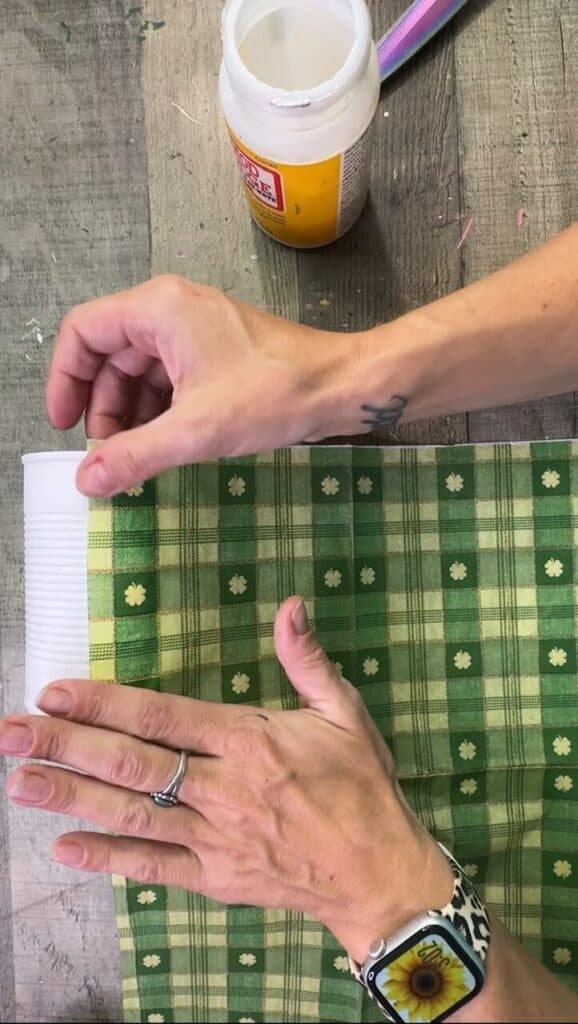
And I did that all the way around the tin can until the entire can was decoupaged.
Then I cut off the excess napkin so that it didn’t overlap too much.
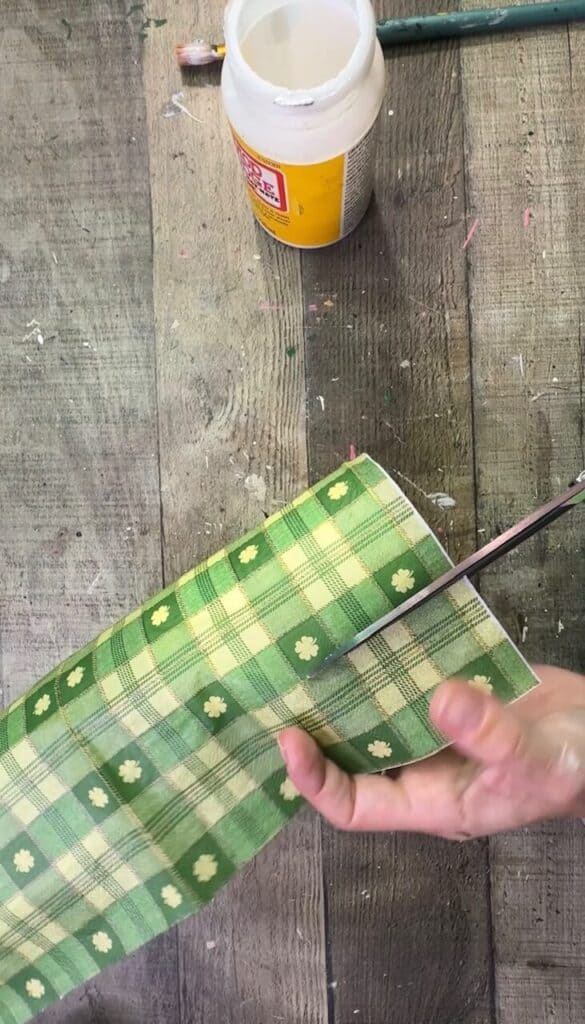
The small piece of the napkin that went over the bottom edge of the can I just wrapped around and used Mod Podge to glue it to to the inside of the can. You could also sand it off and that would work too.
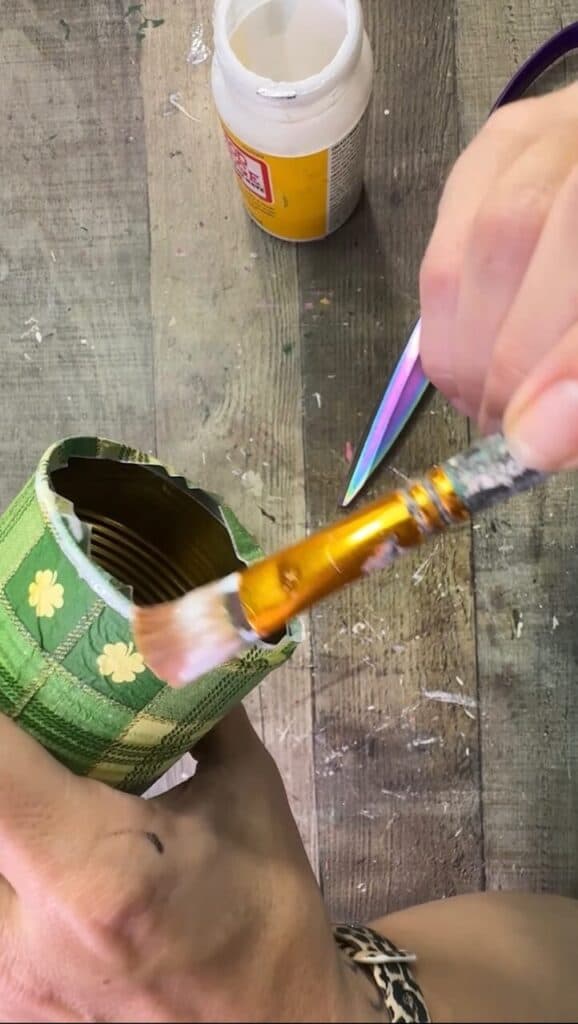
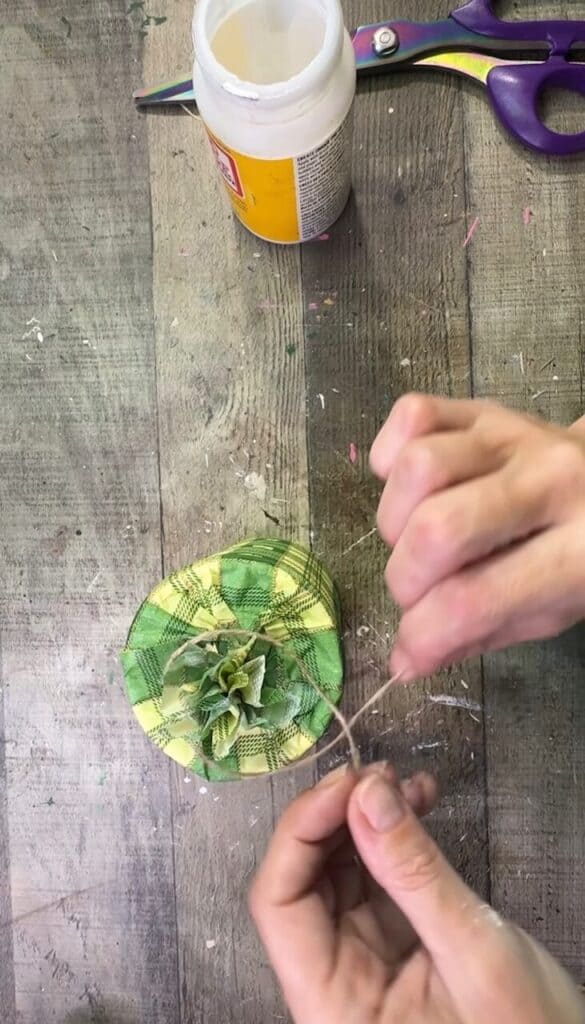
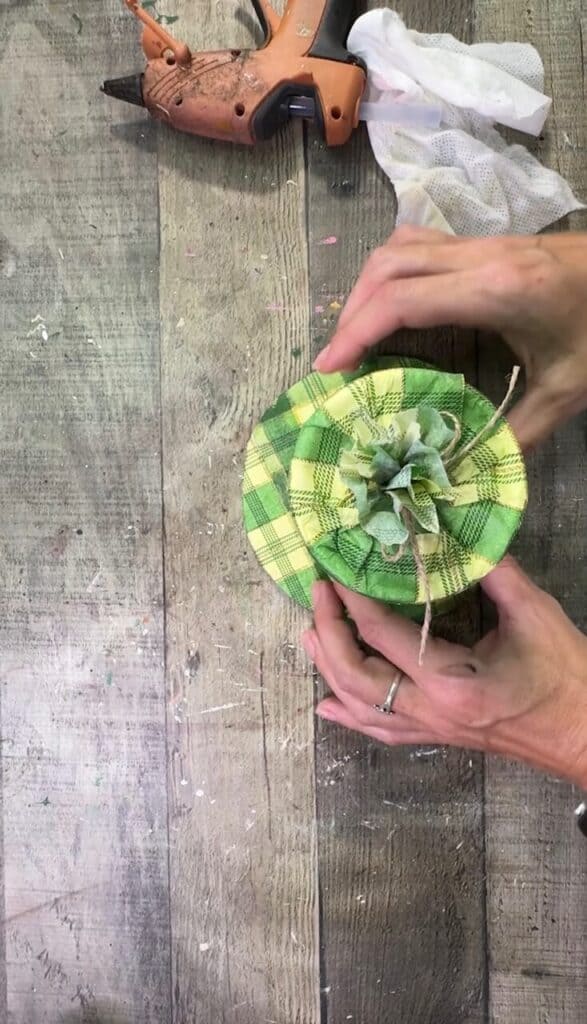
At the top of the can/hat, I added a bit of Mod Podge, and then pinched the napkin together, pushed it down, and cut off the excess napkin.
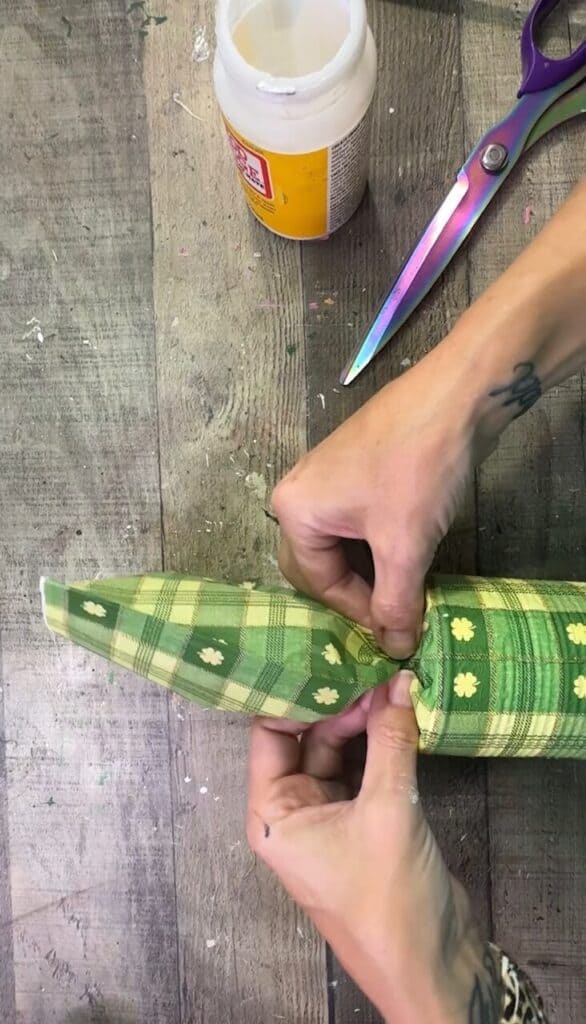
I then tied a piece of twine around the top.
I cut the remaining piece of the napkin into long 2-3″ strips, and then Mod Podged it to outer edges of the cardboard circle brim.
Just like the can, I wrapped the excess napkin around the bottom of the cardboard and Mod Podged it so that you can’t even see the edge of the cardboard.
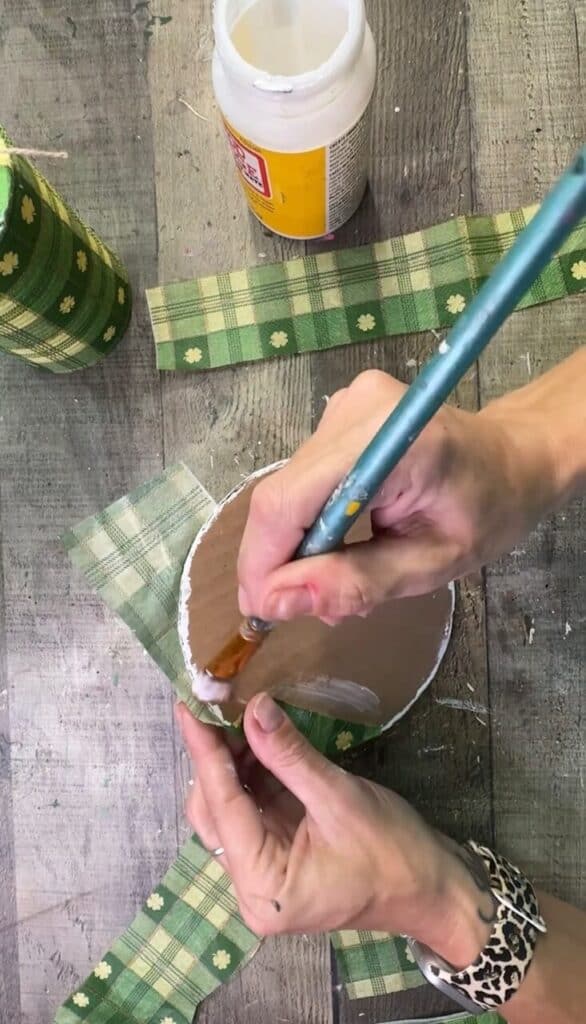
I covered the entire circle except for the center part where the tin can will cover. If you had an extra napkin you wouldn’t have to worry about doing it this way, you could just decoupage the entire cardboard circle.
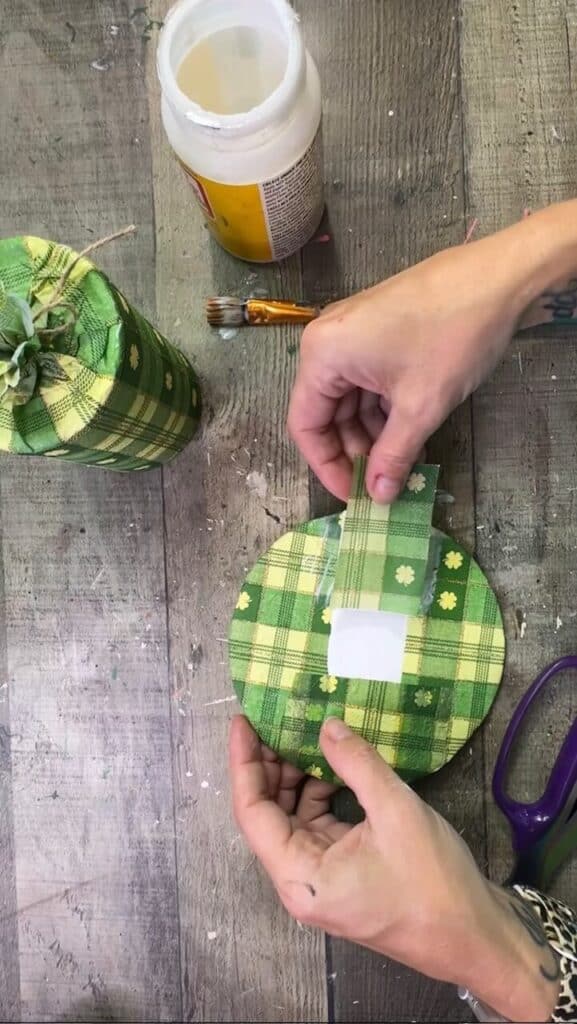
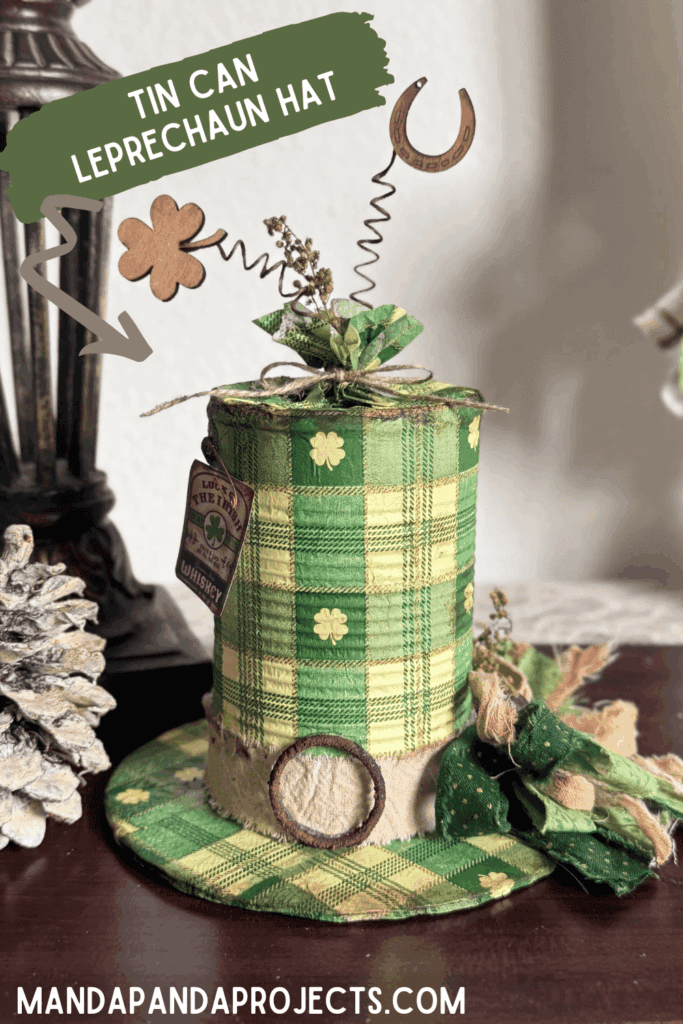
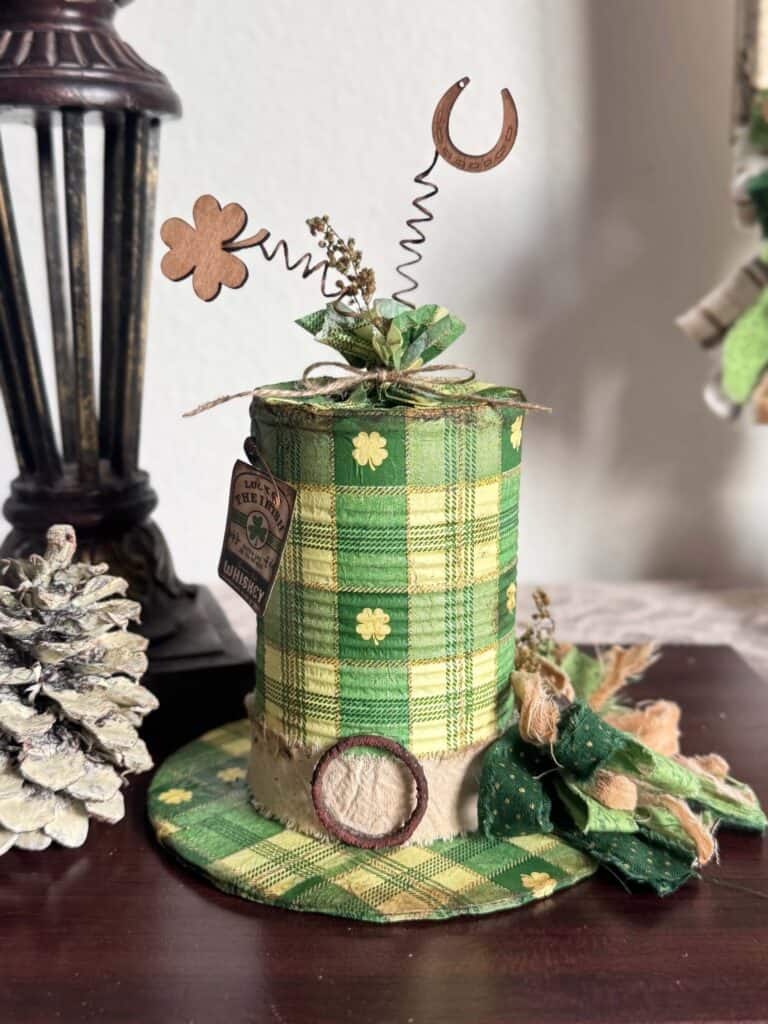
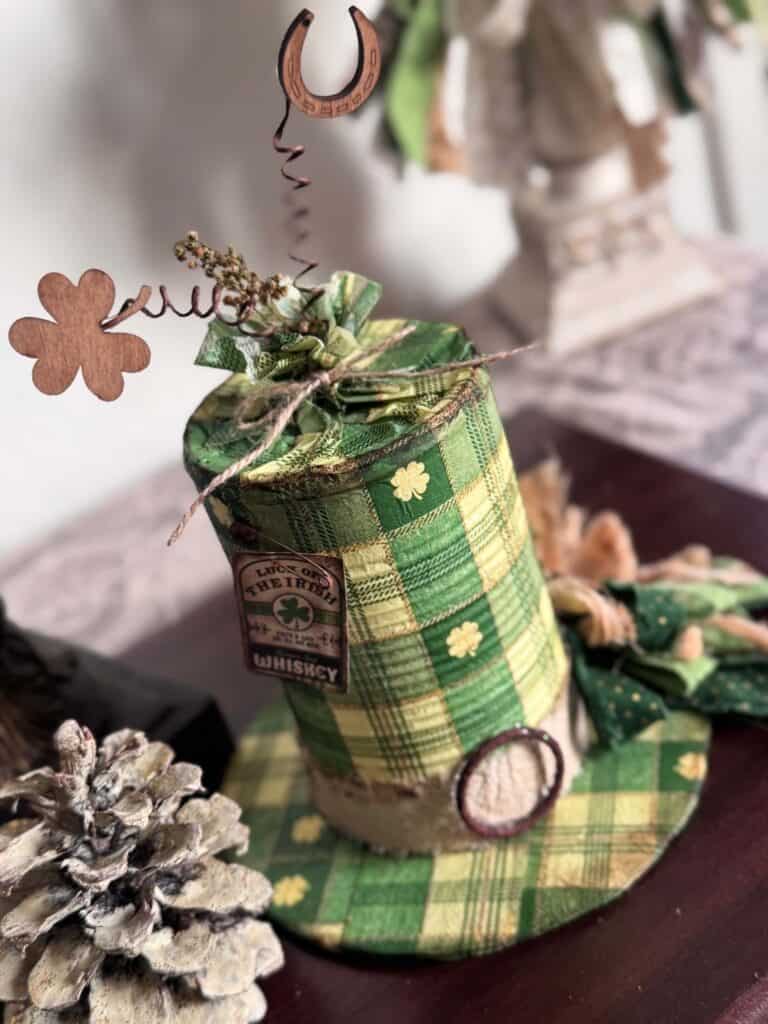
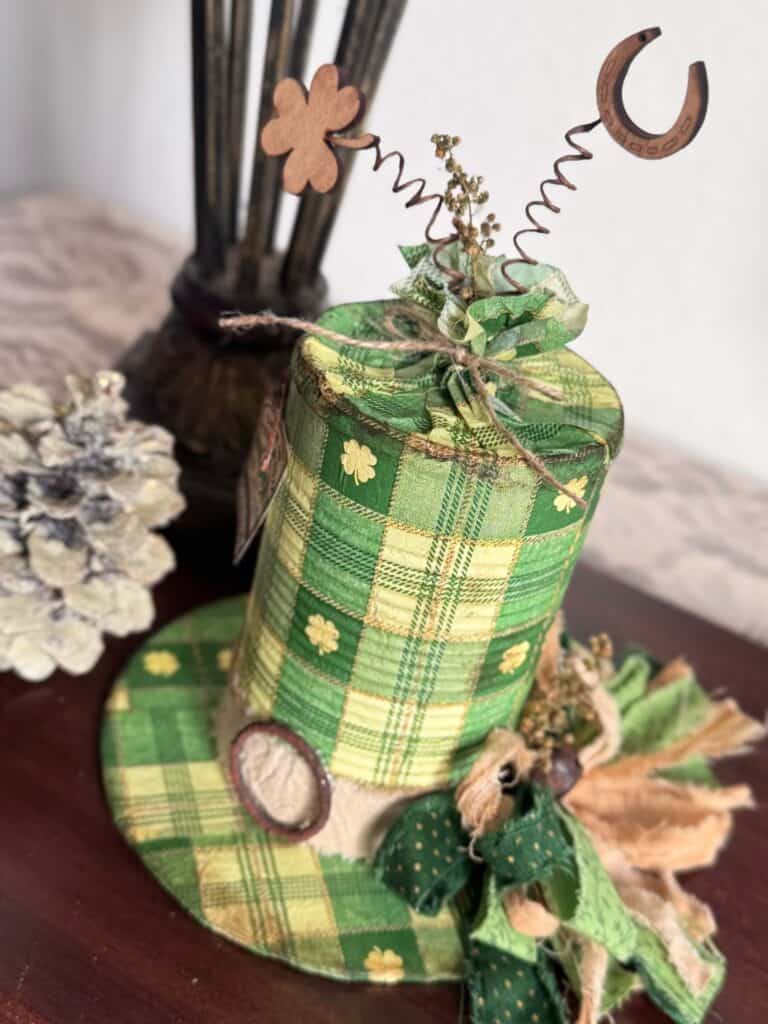
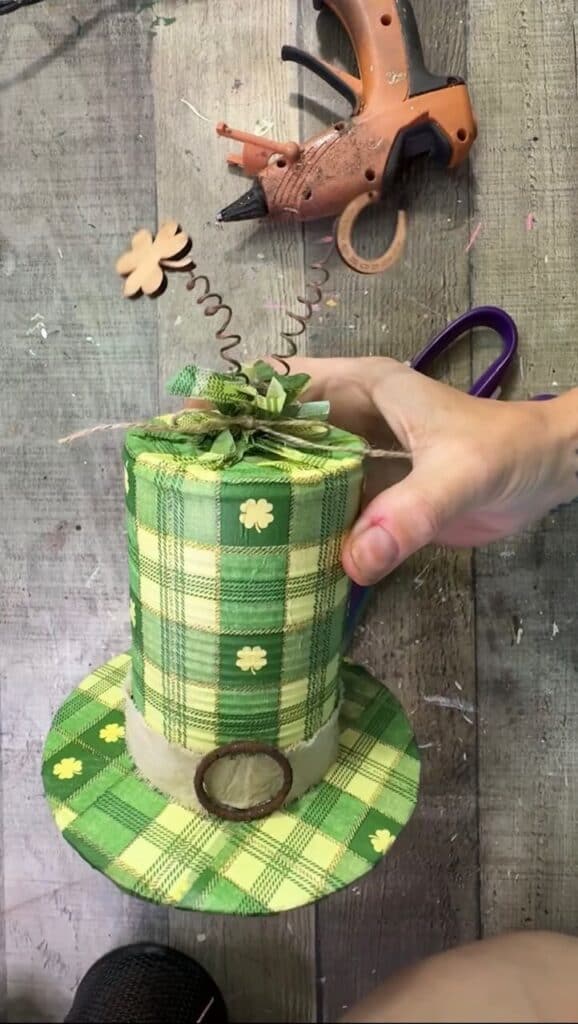
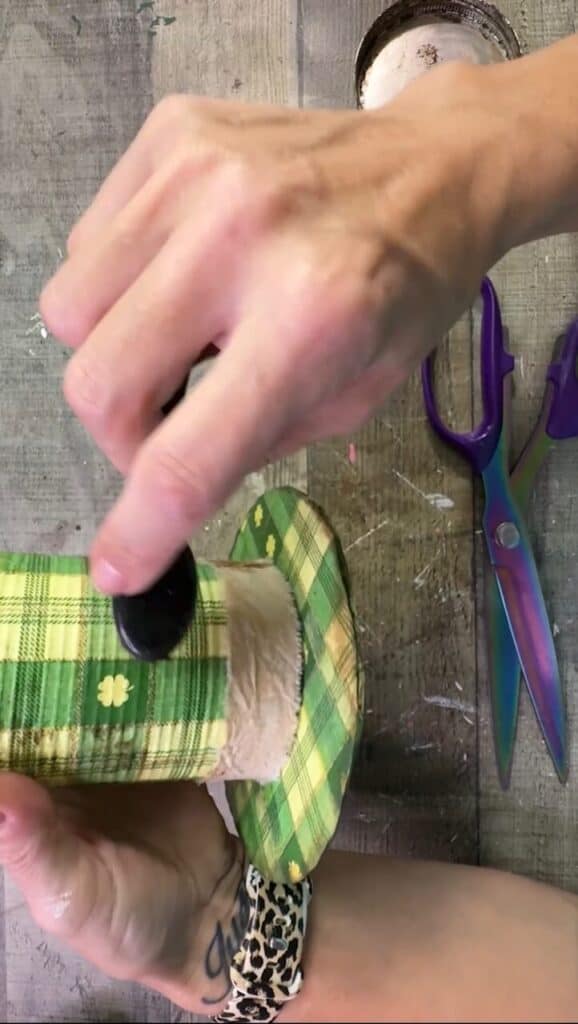
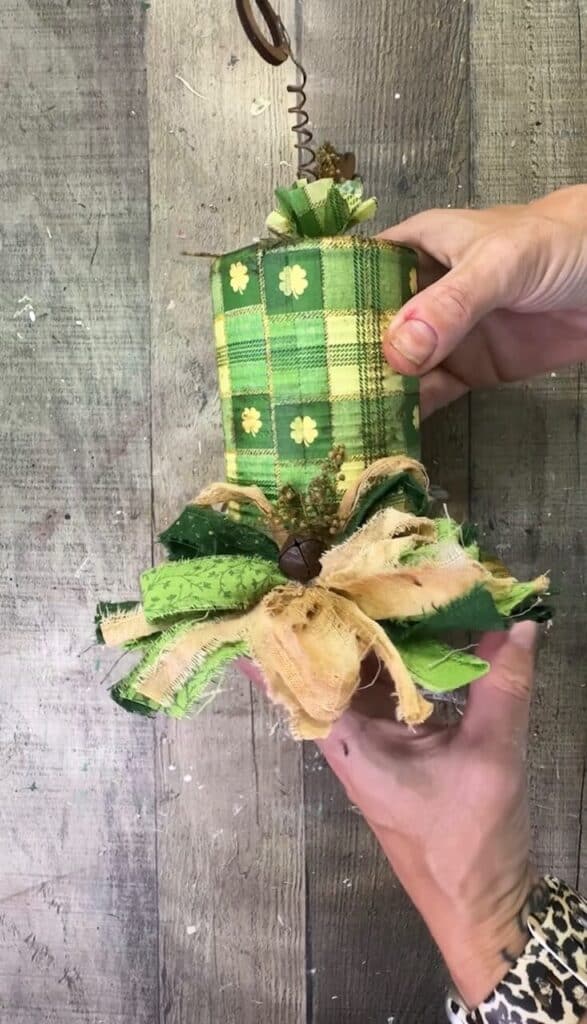
Next, I hot glued the tin can to the center of the cardboard brim. The Leprechaun Hat is coming together!
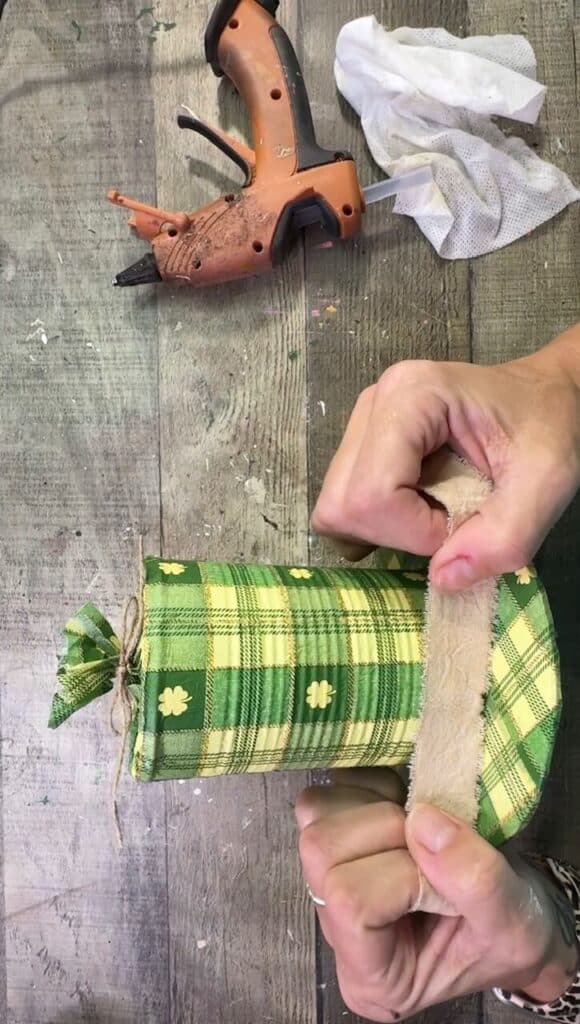
To embellish the hat, I ripped a 1″ strip of coffee stained muslin and glued it around the bottom of the tin can hat as the “belt”.
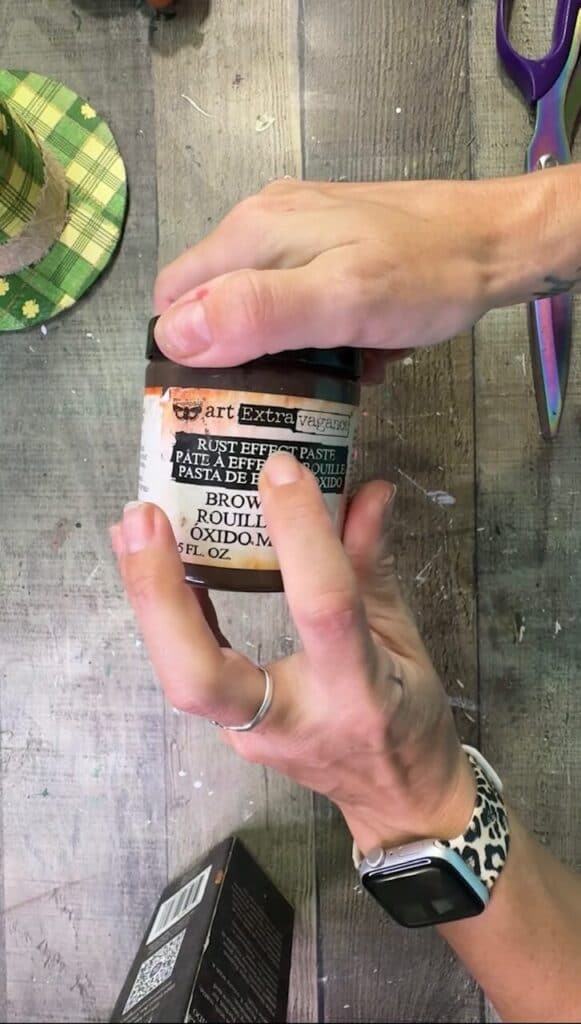
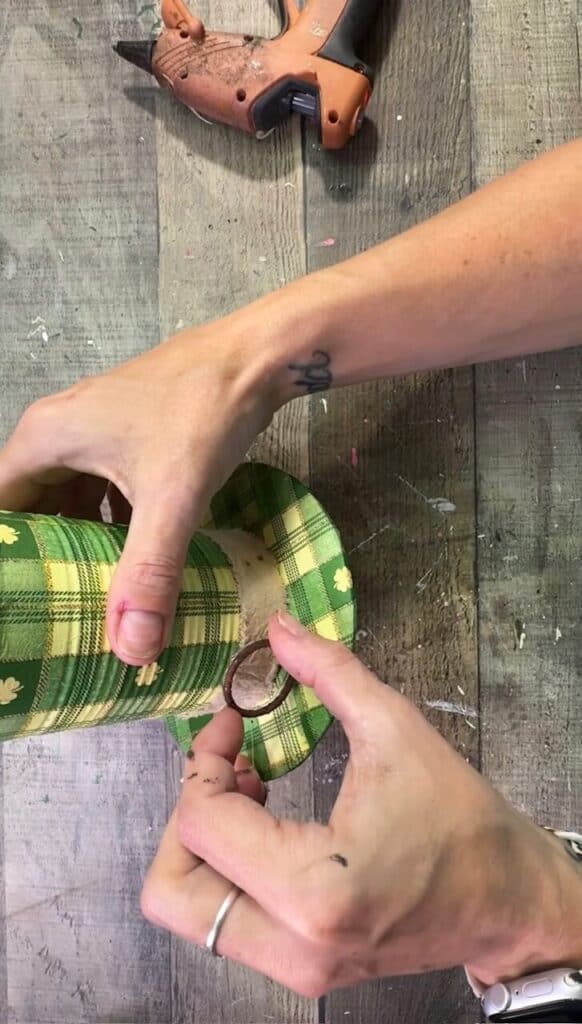
Then I used my absolute FAVE product ever…Rust Effect Paste… and rusted up a metal ring as the belt “Buckle”.
And I glued the buckle to the hat.
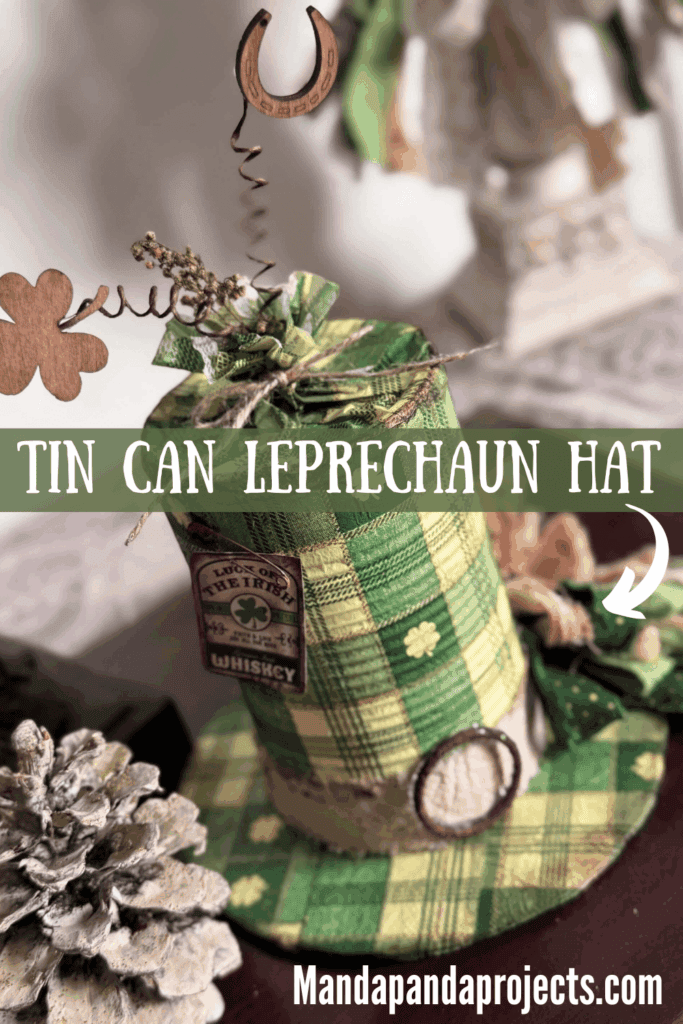
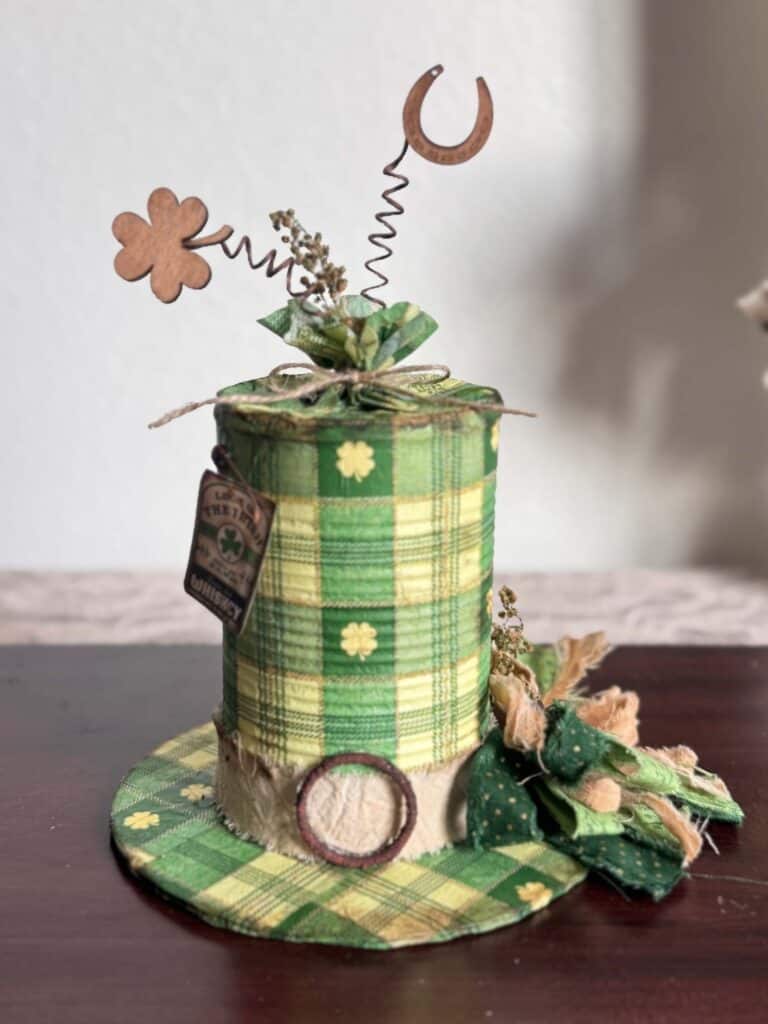
For extra cuteness, I stained a small wood shamrock and a horseshoe with Antique Wax.
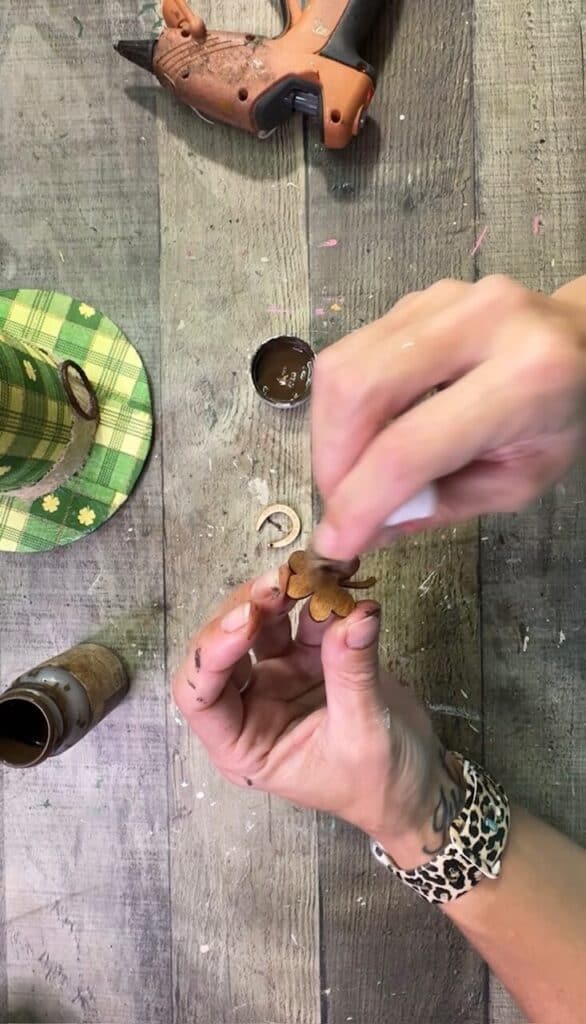
Then I took my rustic floral wire and wrapped it around a paint brush to make a couple of “springs”, so that they can spring out of the top of the hat.
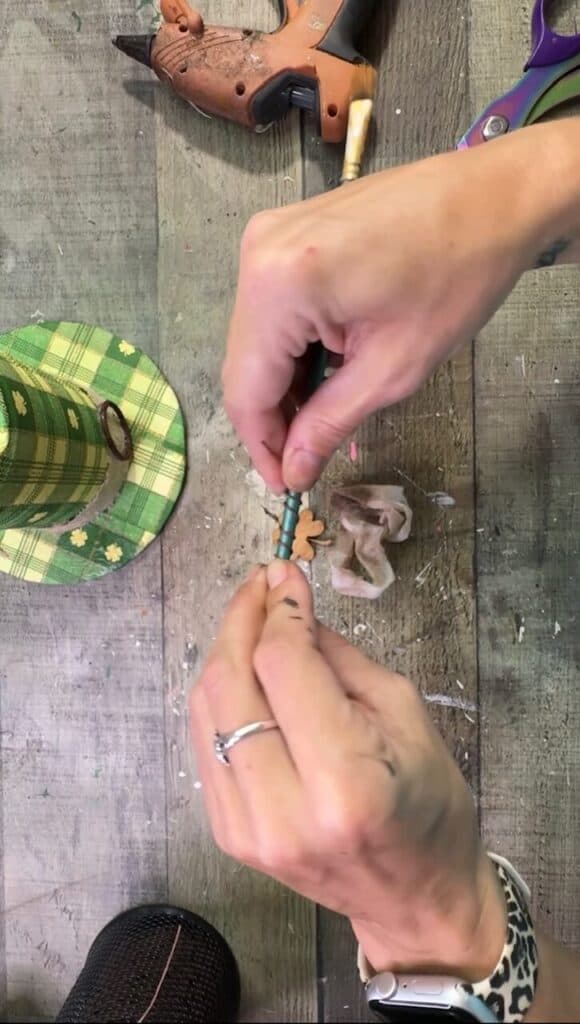
I glued the wire “springs” to the shamrock and the horseshoe….
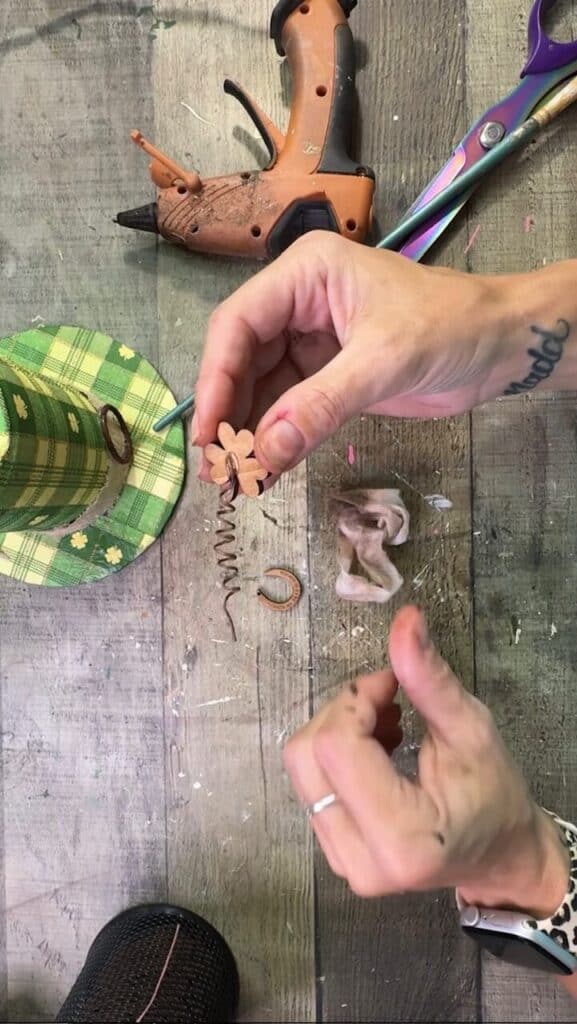
And then glued those to the top of the hat, tucking the ends down into the napkin. I added a bit of Sweet Annie coming out of the top as well.
I grunged the rest of the hat of with some Kilz Dark Wax to give it an antiqued distressed look.
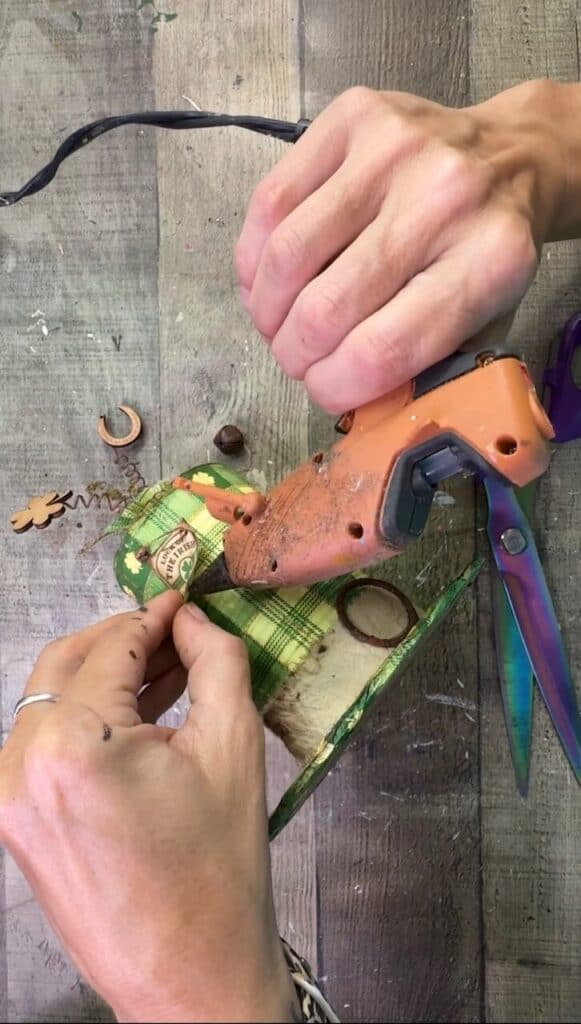
I made a small cute hangtag with a Google image, and attached it to the hat with a Rusty Safety Pin.

Since I couldn’t actually get the safety pin into the can, I used hot glue to hold it down, but it LOOKED like it was attached with the safety pin, so thats all that matters.
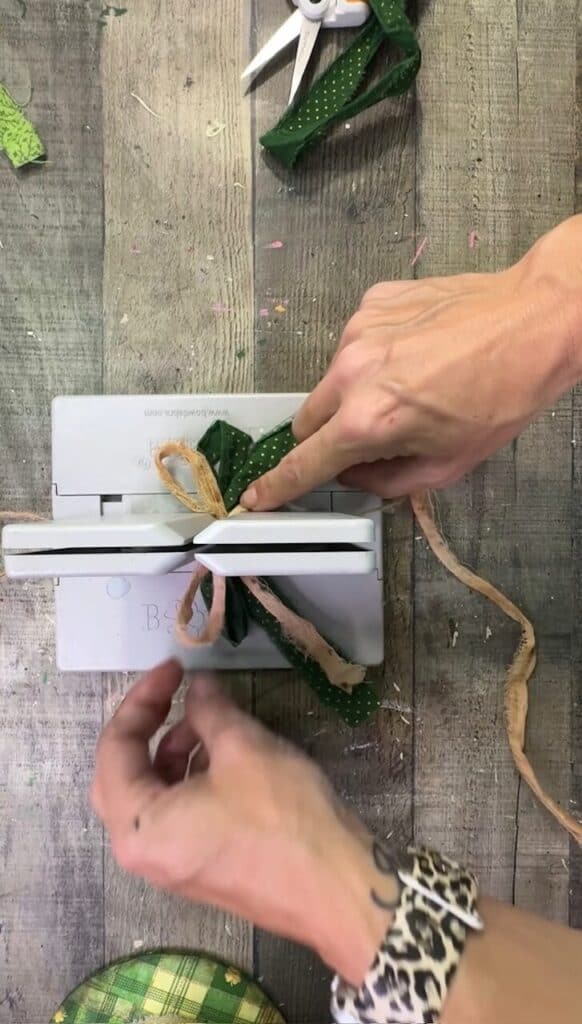
Of course, we had to make a bow with my Bowdabra!
I trimmed up the tails and then glued it to the brim of the hat.
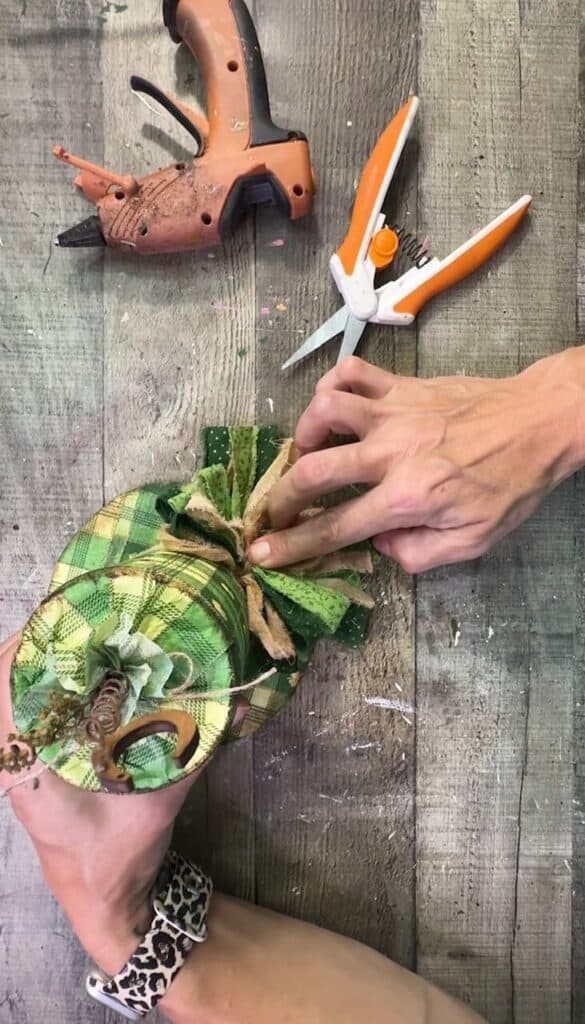
To finish it off, I added a rusty bell to the center of the bow, and a bit of Sweet Annie.
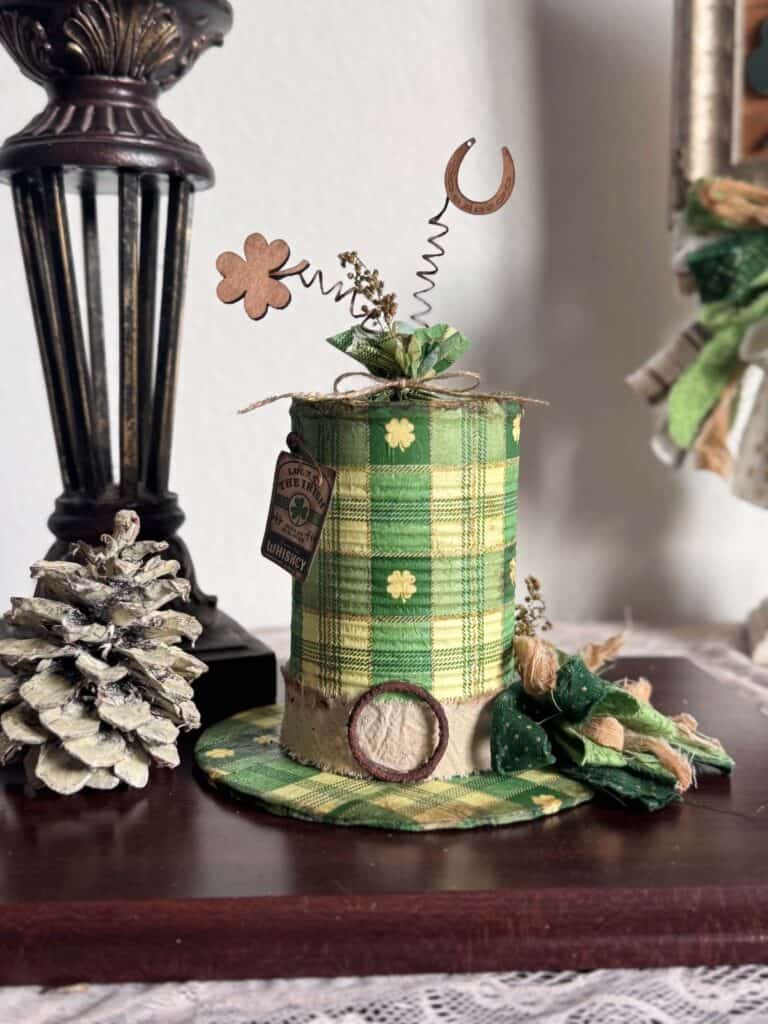
Ahhhhhhhhh here she is alllllll done! I think this is just the cutest most affordable little St. Patrick’s Day DIY!
Are you going to make a Tin Can Leprechaun Hat ? If you do, I’d love to see it! Pop on over to our free Craftspiration Facebook group, and join in on the fun by posting a pic of your Tiered Trays, DIY’s and crafts. I just love to see all your creative and crafty creations.
If you’ve got a million projects on your crafting ‘to-do’ list like I do, than you need my FREE Craft Project Planner so you can plan to make *all the things*! When you sign up for the craft planner, I’ll also send you lot’s of fun, easy, and budget friendly ideas for you to fill it up with!
Free printable Craft Project Planner
Get organized, get inspired, and get crafting, with our free Craft Project Planner!
Until Next Time…
Stay Crafty San Diego!

Love this Tin Can Leprechaun Hat? Make sure to PIN it for later!