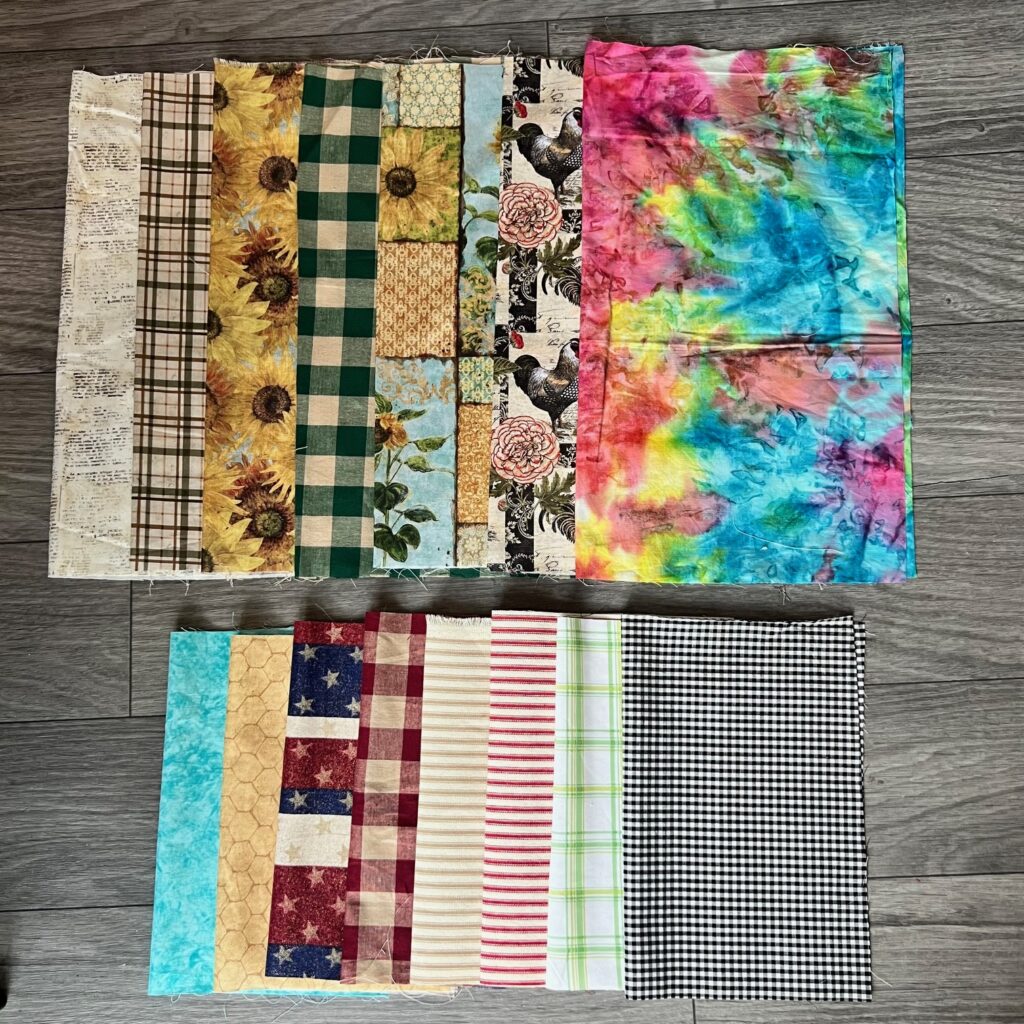
There’s nothing quite like the feeling of creating something beautiful with your own two crafty hands, especially when it’s a project that you can use and enjoy every day. Pillow covers are a prime example of this—they’re quick and easy to make, and you get to enjoy the fruits of your labor every time you snuggle up on the couch!
However, if you’re new to sewing, you might wonder where to start. If you’re looking to add a handmade touch of charm to your home, dive into these tips for creating the perfect pillow cover.
Choose the Right Fabric
The material you choose will be responsible for not only the aesthetic appeal but also the comfort and durability of your pillow. Fabrics like velvet or chenille could be your go-to for a cozy, warm feel, while cotton or linen will offer a crisp, clean finish that’s perfect for minimalistic or modern decor.

It’s also important to consider how easy washing or maintaining the fabric is, especially if it’s going to be used a lot, as opposed to just decor.
Measure Twice, Cut Once
Once you’ve chosen a fabric, your next step is to measure your pillow form from seam to seam, adding an inch to each dimension for the seam allowances. For example, if you’ve got an 18×18 inch pillow, you’ll want to cut your fabric to be 19×19 inches. This extra space will ensure your cover fits snugly over your pillow without straining the seams.
If you’re adding a zipper or other closure, don’t forget to account for the extra material needed for that as well. It’s all about precision here, and while it may seem tedious to measure twice, it’s worth the effort to avoid any mishaps or wasted fabric.
Sew the Pieces Together
Now that you’ve got your fabric cut and ready, it’s time to sew the pieces together to create your pillow cover. Don’t be intimidated—one of the main reasons why this is the perfect beginner sewing project is because it’s so easy to sew. Start by placing the two pieces of fabric with the right sides together and pin the fabric in place.

Once you’ve pinned the fabric, you can start sewing. Use a straight stitch and make sure to leave an opening on one side for the pillow form. After sewing, trim the corners to avoid any bulk and turn the pillow cover right side out.
Finish the Edges and Insert The Pillow Form
Finishing the edges of your pillow cover is an important step that adds a professional touch to your project. If your fabric is prone to fraying, you might want to consider using a zigzag stitch or overcast stitch along the edges. This will prevent the edges from fraying and add a neat, clean finish to your pillow cover. If you’re looking for a more decorative finish, consider adding piping or a ruffle trim around the edges.
Now, you can insert your pillow form and close the opening! You can add a zipper, but a hidden stitch also works perfectly if you’re looking for something simpler. Just thread your needle, knot the end, and weave it in and out of the fabric along the opening. Pull it taut so that the thread disappears, leaving a perfectly seamless finish. And there you have it—by following these tips, you’ve created the perfect pillow cover and added a handmade, personal touch to your decor!

Free printable Craft Project Planner
Get organized, get inspired, and get crafting, with our free Craft Project Planner!
Until Next Time…
Stay Crafty San Diego!


