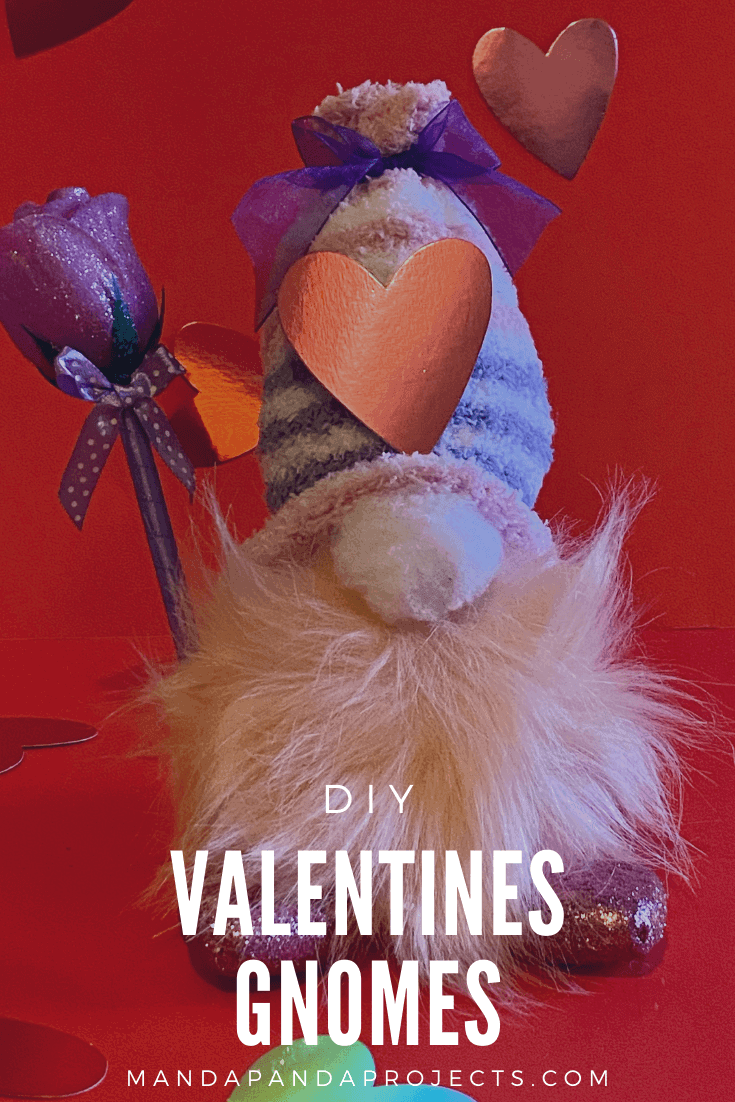
The Gnome thing took the world by storm once again for Christmas this year- now Valentine’s Gnomes?? I wanna knock it but how can I when they are THIS cute??! And THIS easy to make!
I’m gonna be honest here, I have not jumped on the Gnome wagon yet. That is until this year when I saw a few Valentines themed little guys and I thought “I just have to create and style some of these for myself!!”
They are super simple and make great gifts
I decided to make these with my Twins as gifts for their Teachers and once we started making them I couldn’t stop. They are so quick and easy to assemble that even my 8 year olds could follow along with me from start to finish.
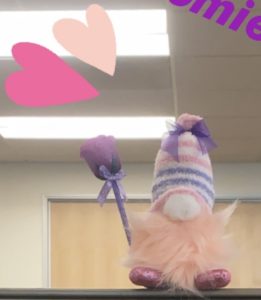
I ended up with one for each teacher, one for home, one for my desk at work, and 2 more for “extra” gifts that don’t even have a recipient at this time! Basically, they are super simple and super fun to make!
They are super cheap to make.
I was able to get everything needed to make these little dudes at the Dollar Tree (except for the glue/gun), and it came out to under $5 per Gnomie. Depending on the embellishments used, $3-4 to be exact.

I also saw adorable furry Valentines socks at Target Dollar Spot as well. Since I am chronically behind on making these sorts of things for the Holidays, I am banking on the fact that they will have quite a few St. Patty’s Day patterned socks to choose from in case your itching to make an Irish Gnome for your home.
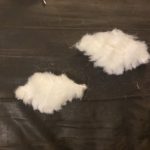
As far as the Buffalo snow goes? Don’t worry if your not the only one that has no idea that’s just a really fancy way of saying “ stuffed animal filling”.
You can get it at Walmart or on Amazon, or if your at all as frugal as me then you’ll find a stuffed animal that you’ve wanted to rid of years ago and now that you have a reason you can make it the “Sacrificial Teddy Bear”.
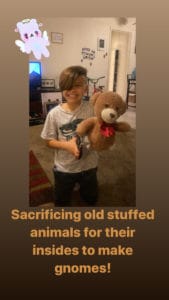
I have seen many variations of these lil’ dudes and even more tutorials, but I thought I’d share with you how I made them since I weeded out all the fancy schmancy stuff and kept it kid-friendly with just about 5 supplies and about 15 minutes!
Let’s get started!
What you’ll need:
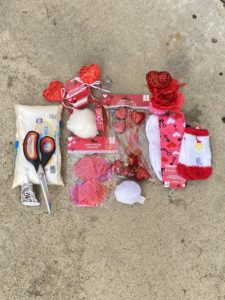
- Fuzzy slipper socks
- Mens crew socks
- Craft fur or Furry pom pom keychain (Michaels or Dollar Tree)
- Rubber bands or hair bands
- Heart picks
- Ribbon
- Scissors
- Glue Gun
- Buffalo Snow
- Rice or Cat Litter
Step 1
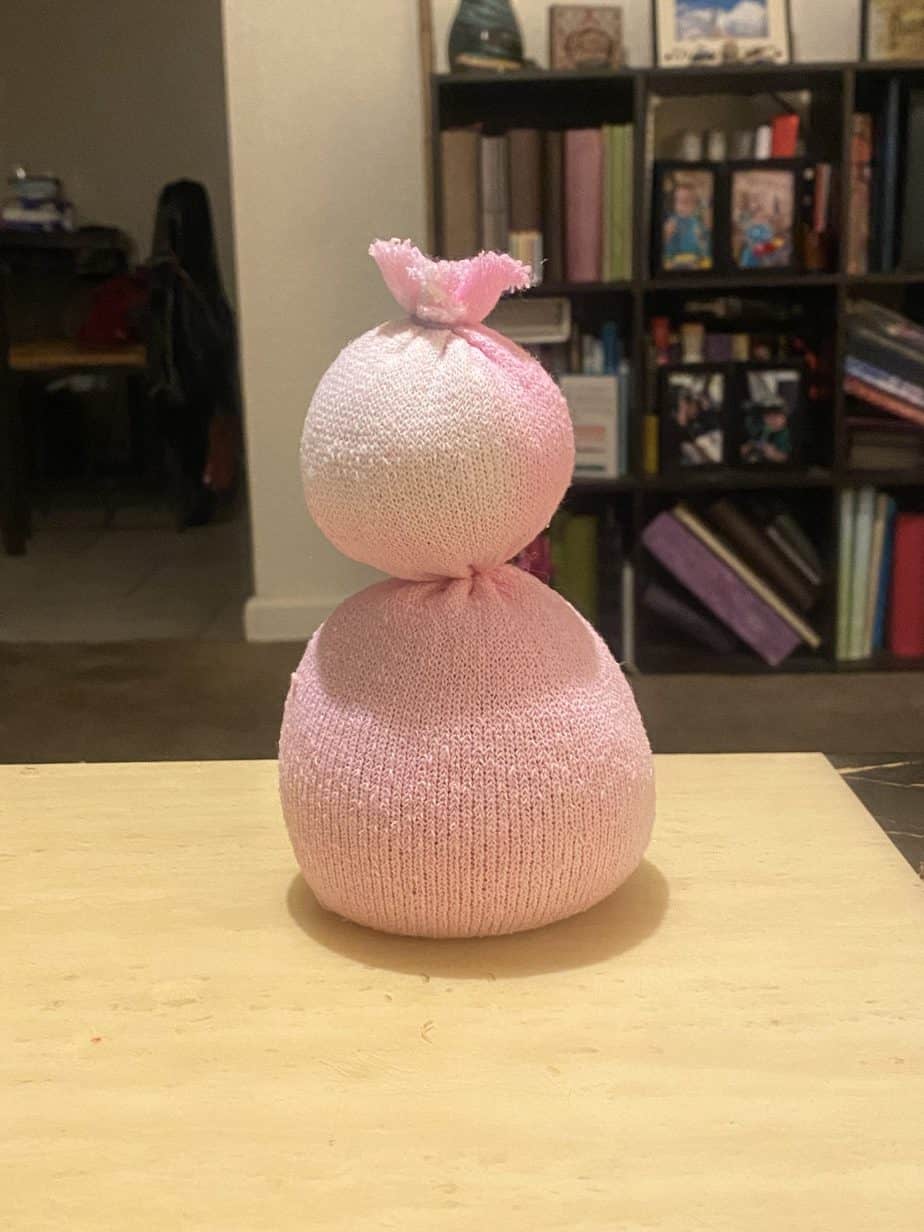
Take one of the white men's crew socks and fill about halfway with rice or litter. The amount is entirely up to you, depending how big or small you want your gnome. I cut the bottom out of a plastic cup and used it as sort of a funnel to make filling the sock easier (and less messy!) Tie off with a rubber band.

Step 2
Fill the remaining tall ribbed part of the sock with buffalo snow. Again, the amount you fill depends how tall you want your gnomes hat to stand. Tie off at the top, and cut off any extra sock material if necessary. You’ve now got what looks like a naked 2 part snowman.
Step 3
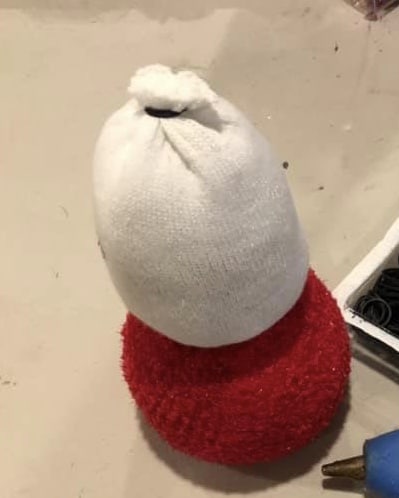
Take your fuzzy decorative sock and cut it in half at the heel. Pull the closed toe half up over the bottom half of your gnome. Put a line of glue around the rim of the sock where it was cut and glue in place at the middle of your gnome underneath the top half.
Step 4
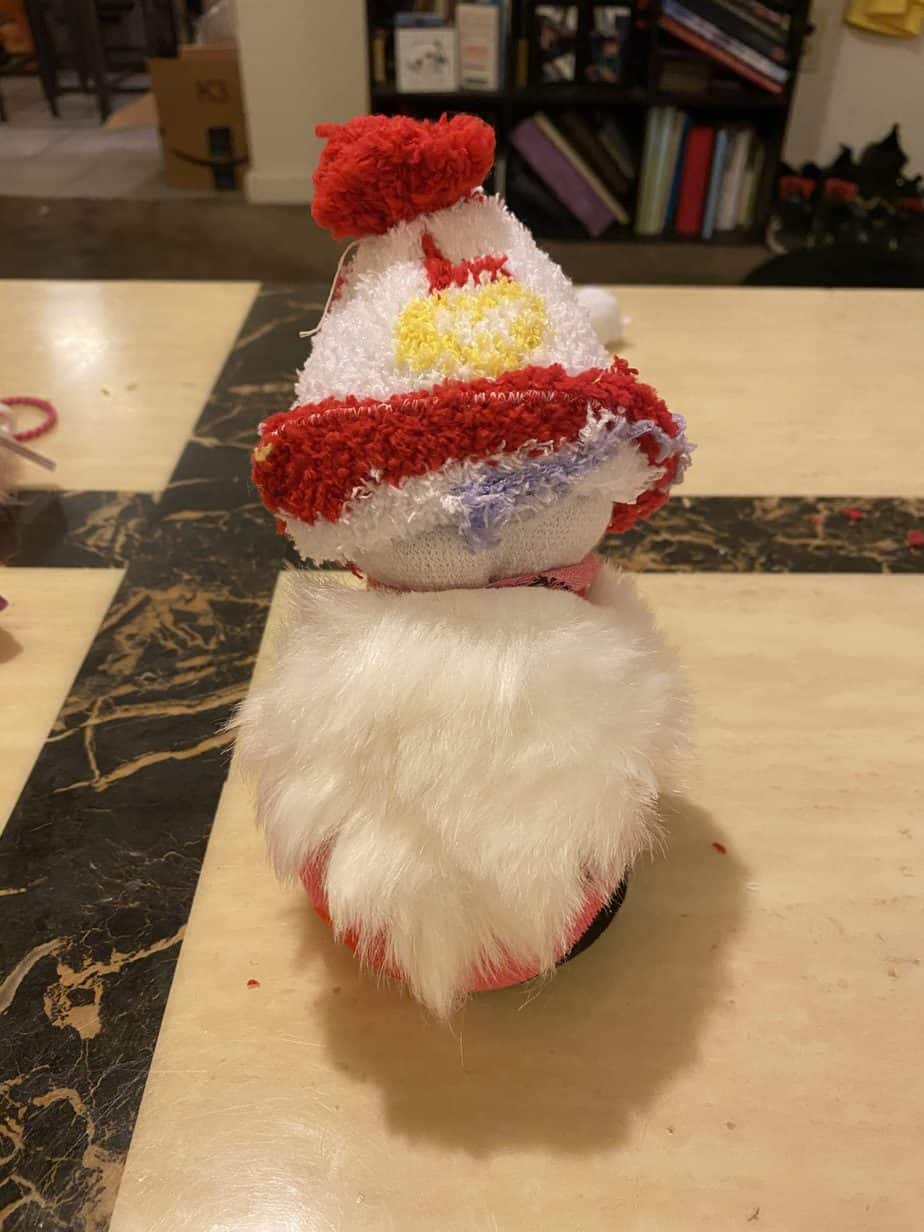
Glue on the beard. First cut the craft fur into a triangular shape. If you have the Pom Pom keychains like I did, simply cut off the keychain at the seam and the fabric will just pop open. You can cut it right in half and get 2 beards out of it. Don’t worry about your cuts being perfect. As you can see my beard was nowhere near perfect and you can’t even tell once it’s glued on. Line up the top of the beard with the middle of your gnome right where you just glued the fuzzy sock.
Step 5
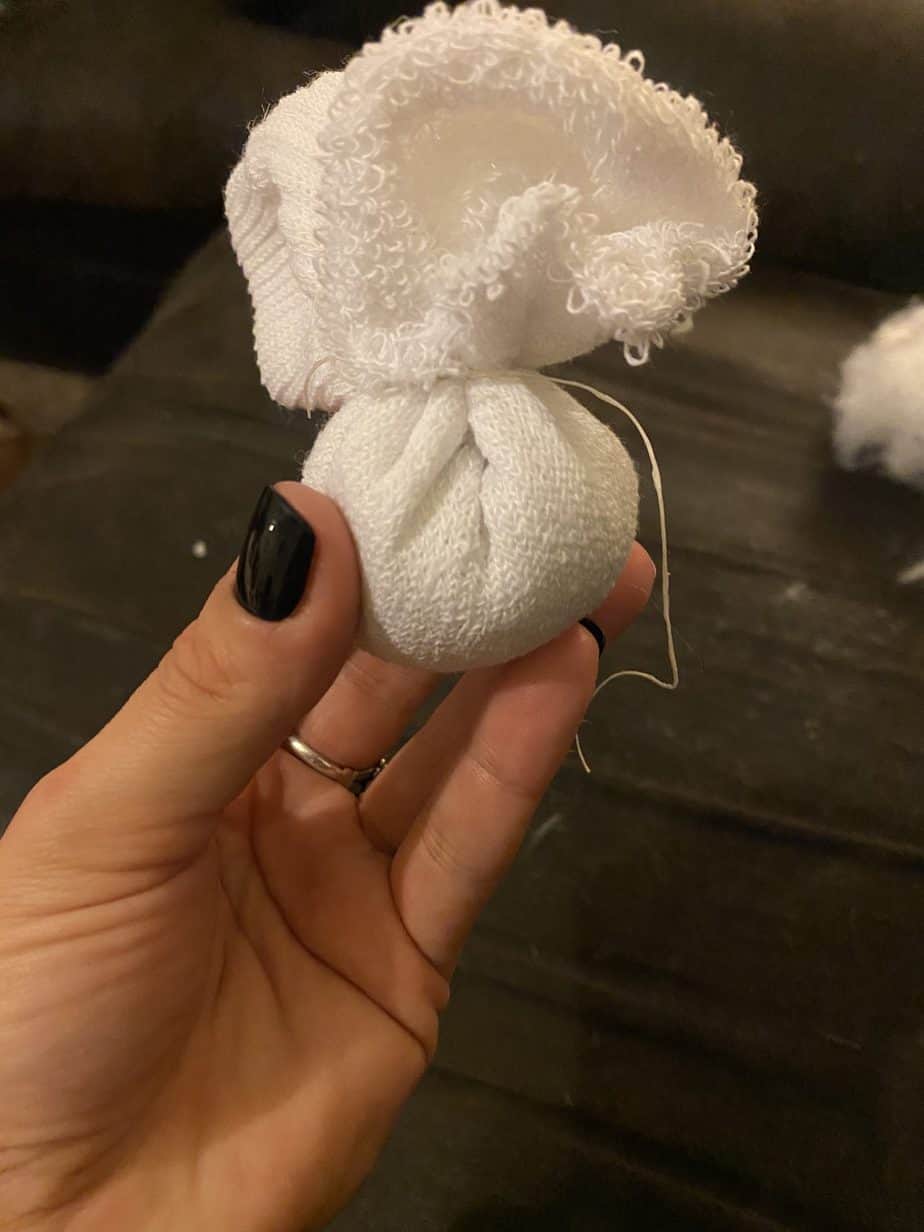
Glue on the nose. Use the extra white crew sock fabric to make the gnome nose as big or small as you like. Fill the fabric with some buffalo snow, twist and tie with a rubber band and glue the nose right in between the top and bottom half of your gnome where the rubber band ties off the rice portion from the stuffed hat portion.
Step 6
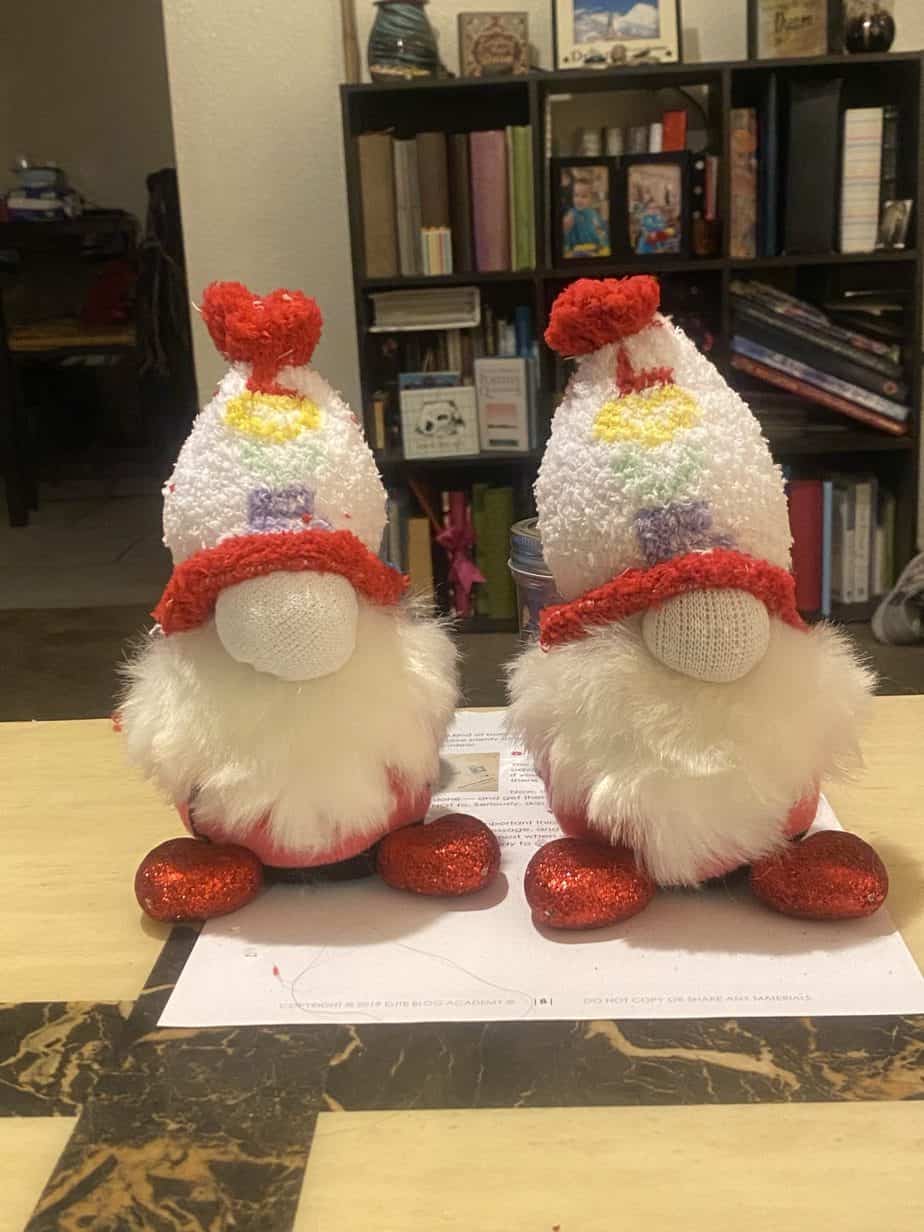
Take the other top half of the fuzzy decorative sock and pull over the top of your gnome the way you would pull a winter hat on over your little one. Leave as little bit of room at the top to tie a rubber band around the cut open portion of the sock to close your hat. Place some glue on the underside to glue the hat down around the nose.
Step 7
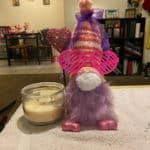
The fun part! Now let’s add the embellishments that give these little guys (or gals?) their personality! If you prefer simpler Gnomes, no problem just skip this step and be on your merry way! But if your anything like me and think more, colorful, shinier, you name it- the better, than embellish away with me. Simply glue the heart pick to the side of the gnomes body by placing a line of glue at the bottom 1-2 inches of wood. You may need to cut some length off of the wooden pick if you opted for a smaller gnome. With the same heart picks, cut about half of the wooden stick off of two of them to serve as feet. Put a line of glue on the sticks and place the gnome on top in place. For the glasses, you can glue them on, or do as I did and just set them on the nose and close the ear pieces around the gnome and they are tight enough to stay in place without glue.

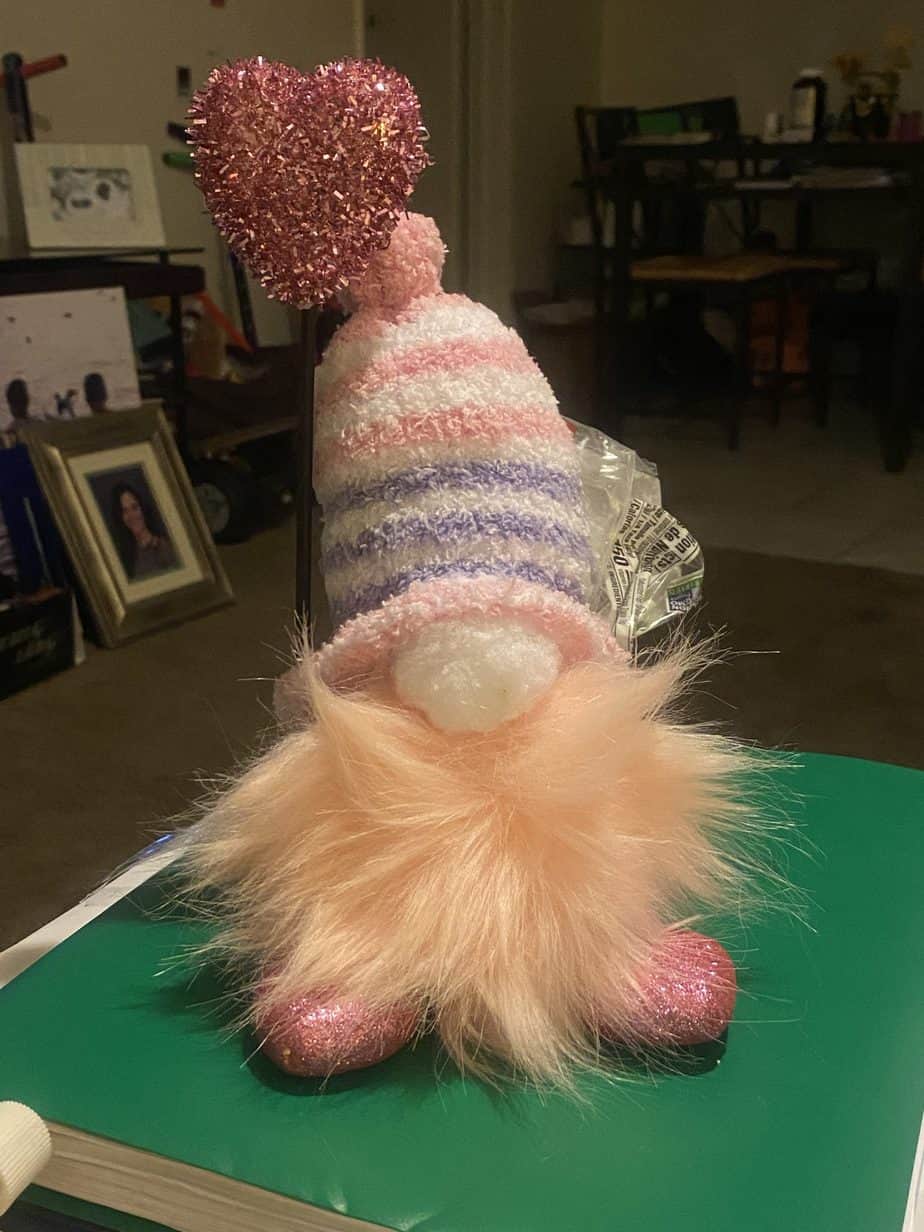

And just like that, you’ve got yourself a new Gnomie to be your Valentine!
These gnomes are so versatile! I made one for the house. Another for my desk at work, and 2 for my Twins teachers. I was on a roll and my son wanted to make more so we ended up making 2 more as gifts!
As you can tell, these Gnomes can be made for ANY holiday, theme, occasion, or just for fun. I can’t wait to make some Luck ‘o the Irish Gnomies with a Pot ‘ o gold!
Since I’m super late on the Vday Gnome post, Pin this for later to make a St. Patty’s version or better yet a bunny gnome! I’ll be sure to post my new ones ahead of time I pinky promise.
If you’ve tried these out or if you have any questions please shoot me a comment I love to hear from you all!
Until next time…
Stay Craft San Diego ~
