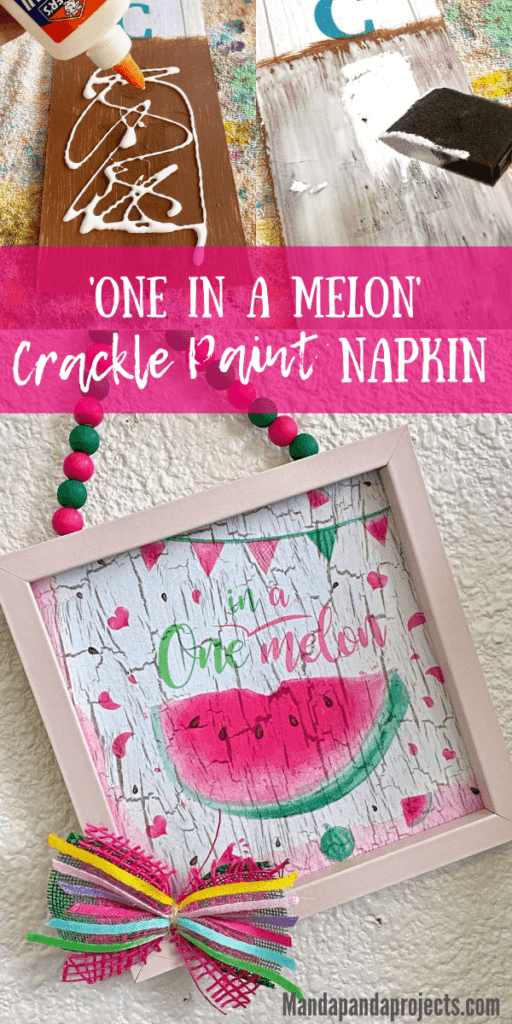
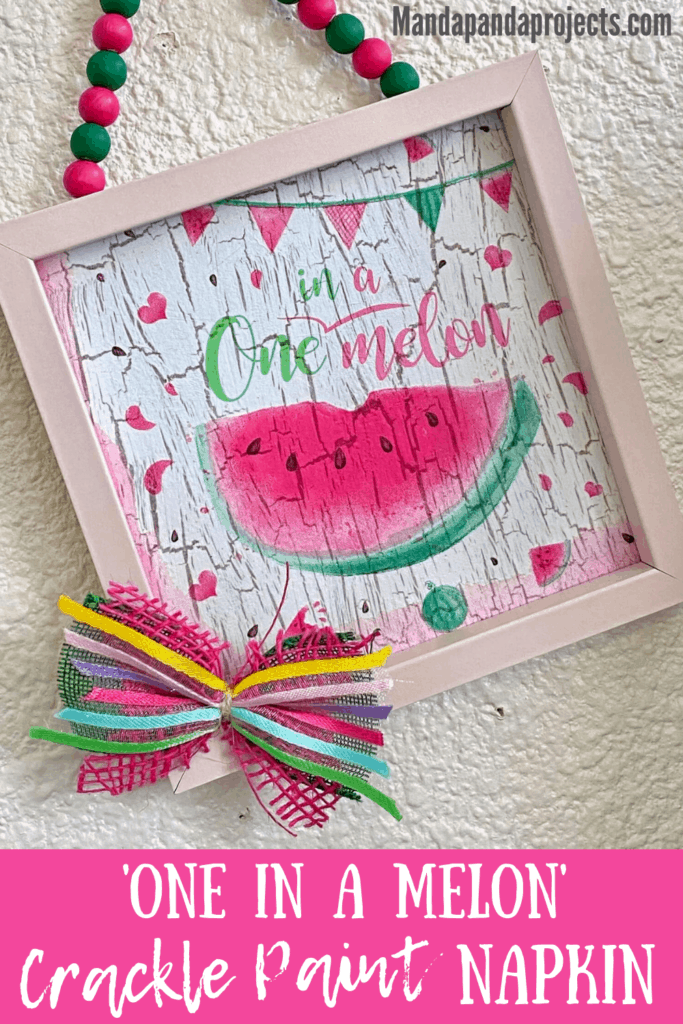
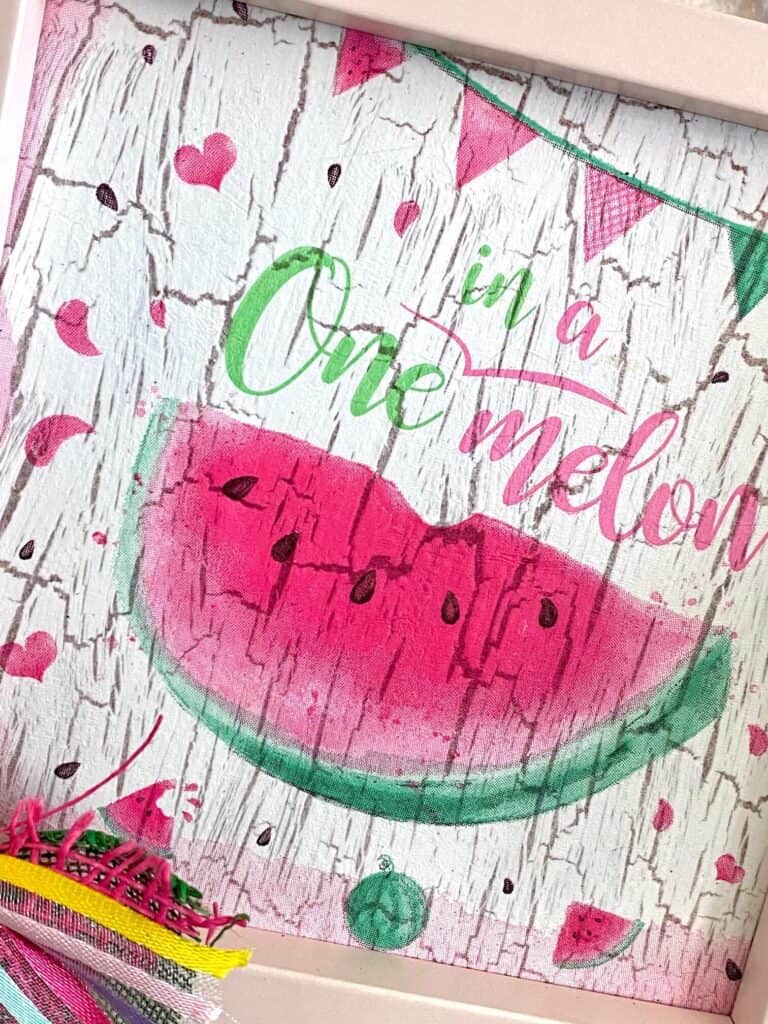
This fun, easy, and summery Dollar Tree DIY is a combo of the crackle paint technique and napkin Mod Podging, and let me tell you, the results are ‘One in a Melon’! This cutesy napkin and frame is the perfect addition to your spring or summer DIY decor.

This DIY ‘One in A Melon’ Napkin frame is just one example of how you can apply this technique to your DIY crafts and decor. Honestly, it is SO easy! It looks fantabulous, so you’d think that is a complicated and advanced project, but it’s totally not! You could Mod Podge ANY napkin on top of the crackle paint, and come up with trillions of ways to incorporate this into your DIY’s!
I walk through the steps of how to achieve the crackle paint technique in this post, but I’m also working on a separate blog post with in depth instructions and a little more detail on it, so be on the lookout for that!
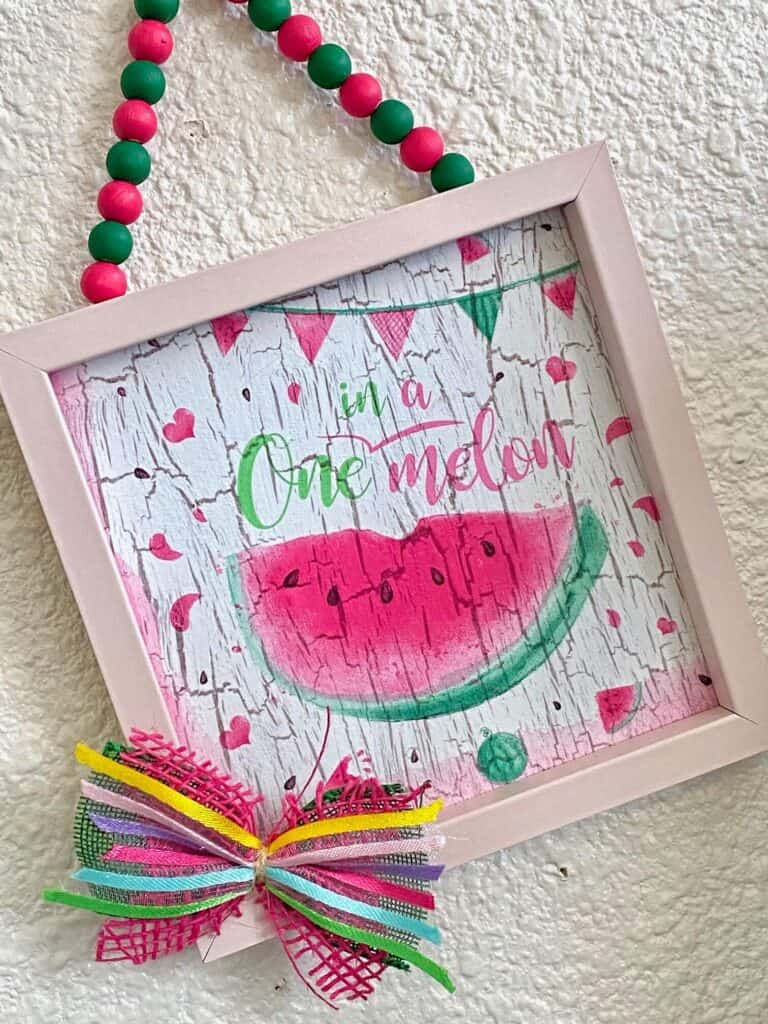
This post may contain affiliate links for your convenience (which means if you make a purchase after clicking a link I will earn a small commission but it won’t cost you a cent more!)
Supplies Needed to Make a One in A Melon Napkin Frame
- Dollar Tree pale pink frame
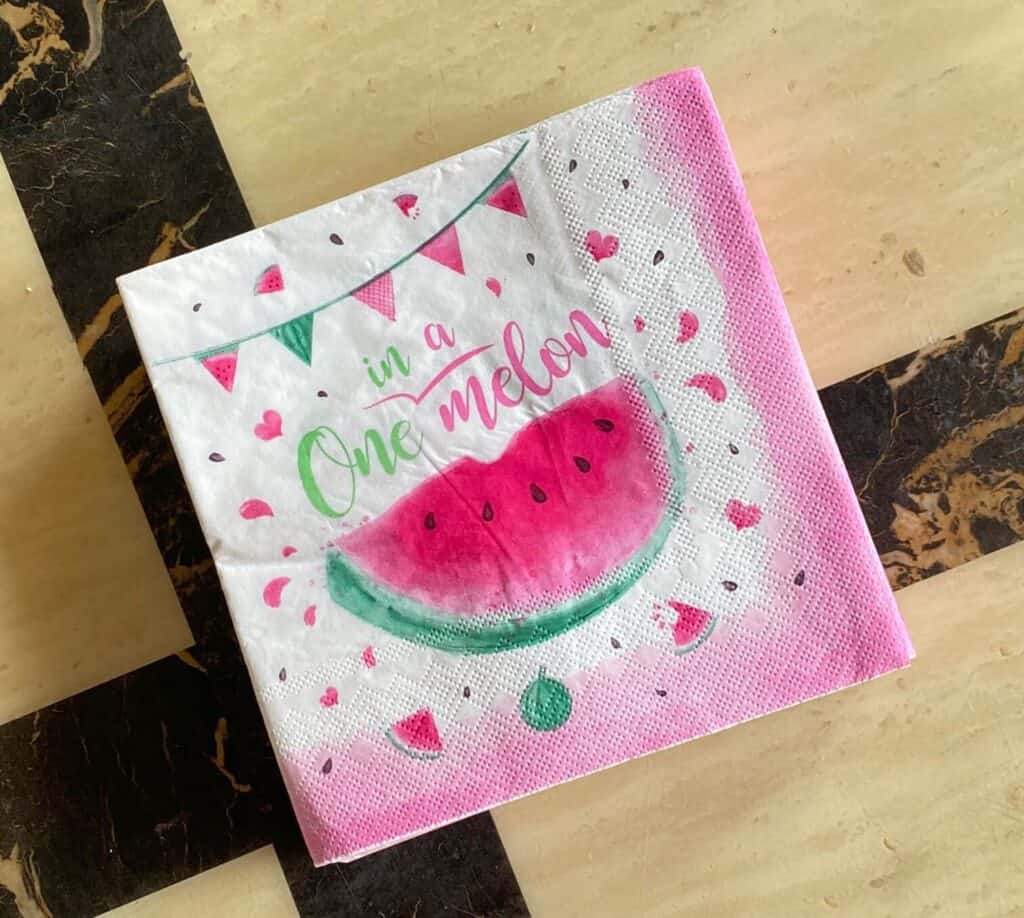
- One in a Melon Napkin (you could use any napkin you choose!)
- Mod Podge
- Elmer’s Glue
- White chalk paint
- Wood beads (20 mm)
- Magenta and green paint for beads
- Twine
- Ribbon of your choice (optional)
How to Mod Podge a Napkin on Top of Crackle Paint
Not only do I have a video of how to do this exact project, but I have one of exactly how to do the crackle paint technique too! And this video shows you 4 different ways to do it and demonstrates how the amount of paint and glue you use makes a difference in your result too! It’s totally worth the watch.
You can watch the full tutorial of exactly how I made this ‘One in A Melon’ Crackle Paint frame below.
How to Mod Podge a ‘One in a Melon’ Napkin on top of the Crackle Paint Technique
- Take the Dollar Tree frame apart, and remove the backing that we will apply the crackle paint to.
If your frame has writing on it or a ton of color, give it one coat of brown or grey paint so that nothing shows through once we do the crackles.
- Cover the surface of the backing with a generous layer of Elmer’s school glue.
The more glue you use, the thicker and deeper the crackle lines will be. The thinner the glue, the more fine and thin the lines will be. (the below pic is from another project where I was testing the crackle technique, but the same rules apply for this project!)
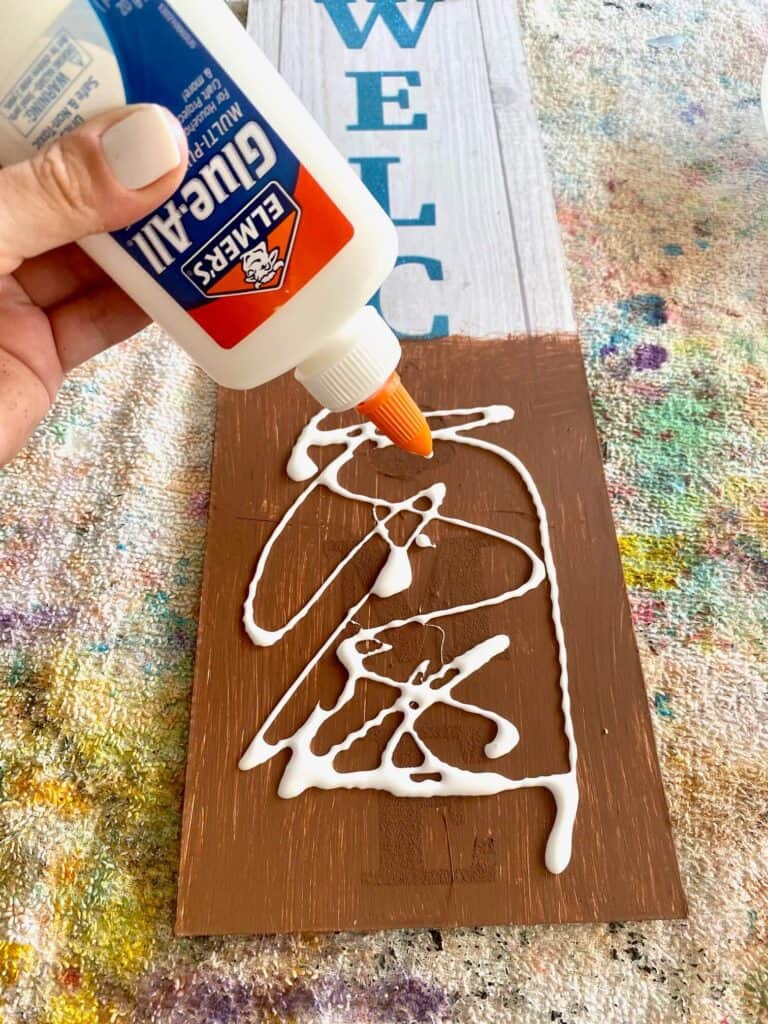
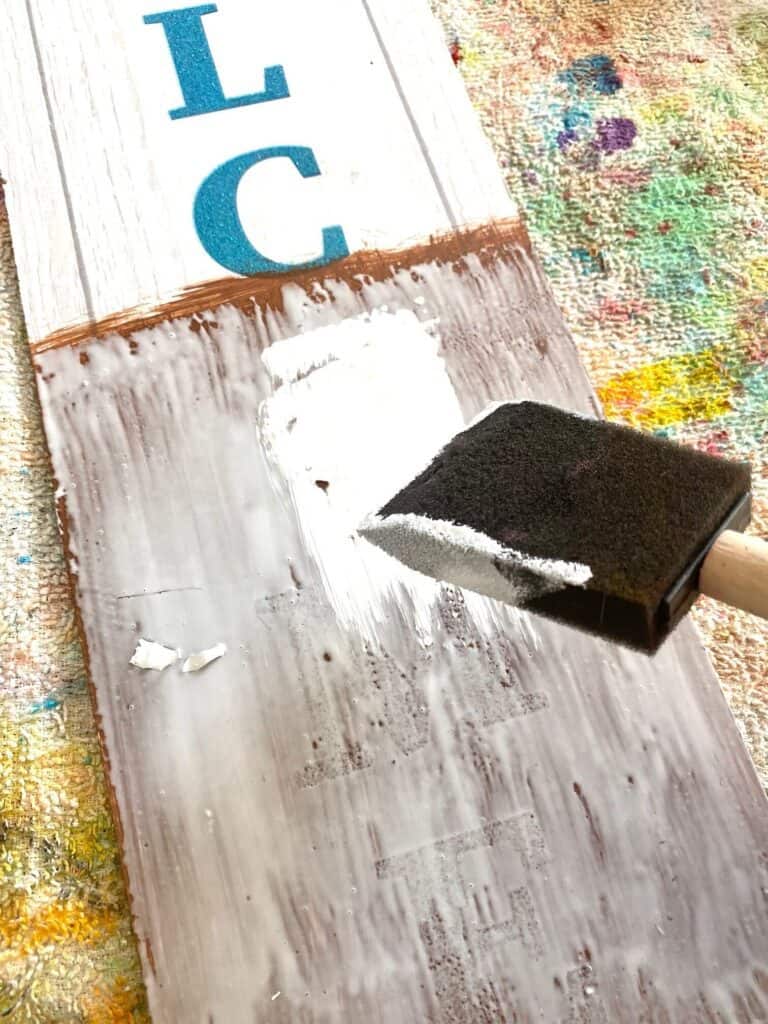
- While the glue is still wet, apply a thick layer of white chalk paint being careful not to blend the paint with the glue.
Just brush the paint right on top of the glue, so that it doesn’t mix with it. Don’t worry about it looking perfect or streaky because you won’t be able to tell once it’s crackled.
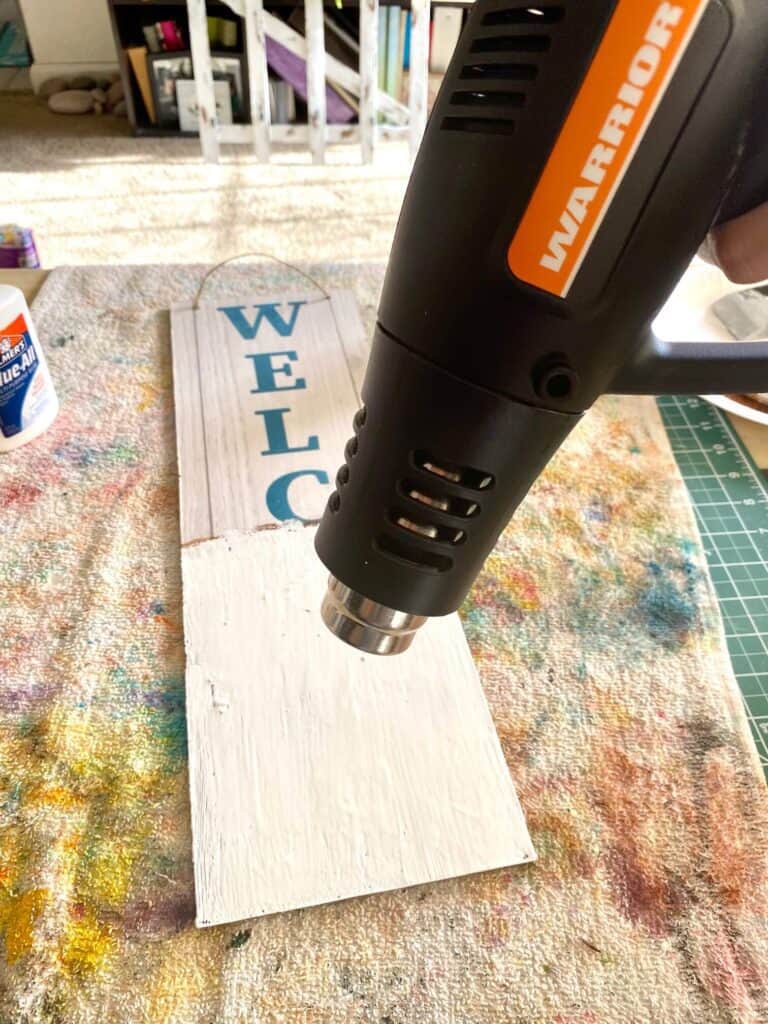
- Dry the surface with a heat gun or blow dryer and watch the magic happen!
Make sure the glue and paint is thoroughly dry before moving on to the next steps.
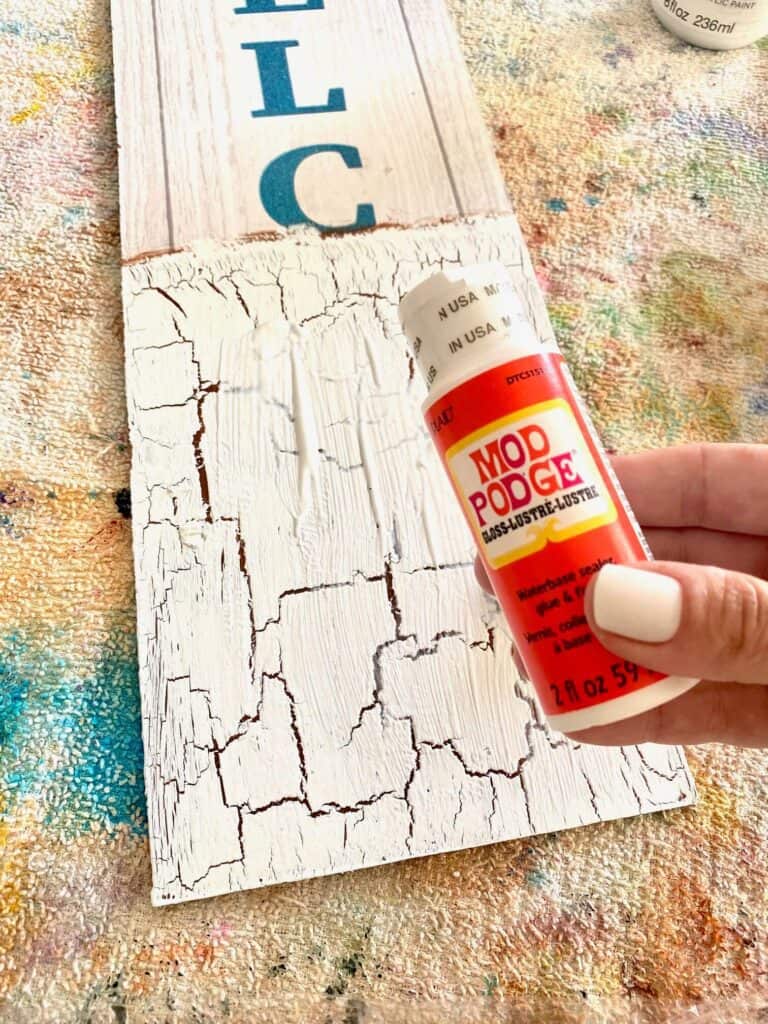
- Mod podge the napkin to the top of the crackle paint.
Peel the napkin apart so that it is one ply, with no second layer. It should be very thin. Apply a generous layer of Mod Podge to the top of the crackle paint surface, and gently lay the napkin on top. Tap lightly and smooth out the wrinkles the best you can. *Tip: You can use a piece of Saran Wrap to lay over the napkin to smooth out the wrinkles.
- Sand the edges to remove the excess napkin.
Make sure to sand in a downward direction so that you do not lift the napkin up off of the surface.
- Put the Dollar Tree frame back together.
- Make a wood bead hanger.
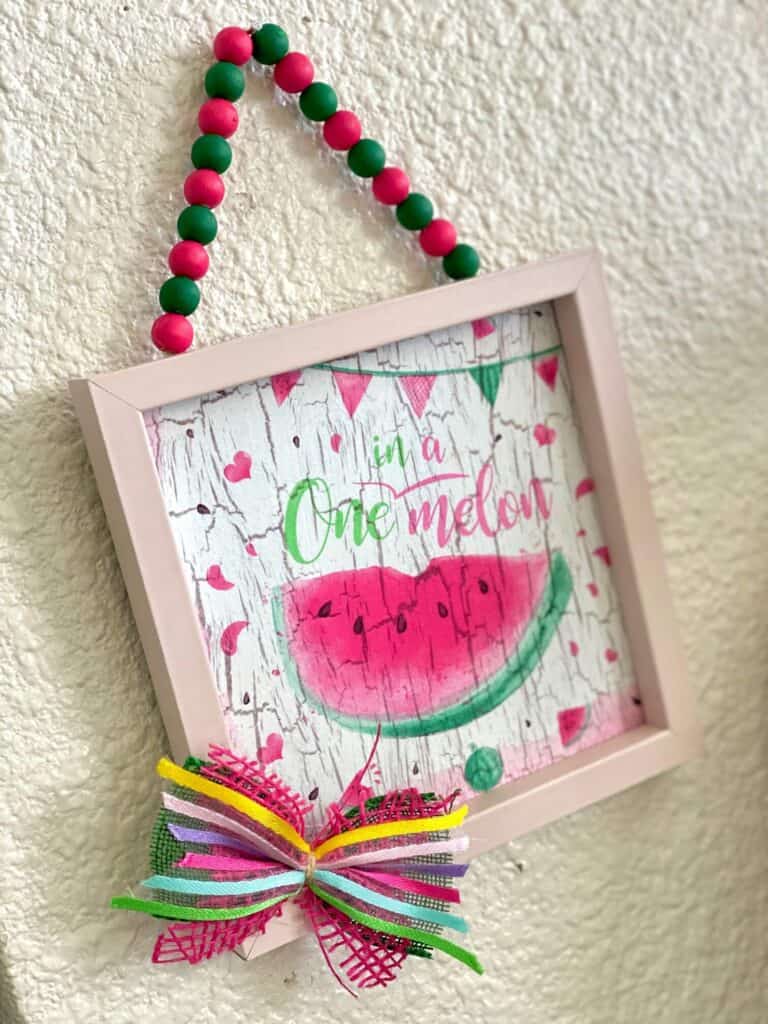
Paint some wood beads Pink and Green. String them onto a piece of twine, and glue to the back of the frame as a hanger.
- Make a mini bow for decoration (optional).
The bow I made is so easy I don’t even know if you can call it a bow! Take 2-3 pieces of coordinating ribbon about 3 inches long and dove tail the ends. Layer the strips on top of one another, and tie a piece of twine around the center. Viola! Glue the bow to the frame wherever you choose, I decided to do the bottom left hand corner.
If you like crafting with Napkins than you will love to use this technique for all sorts of DIY’s! If you want to see the in depth tutorial on exactly how to do the Crackle Paint technique, you can watch that HERE. This is definitely one you want to add to your Summer crafting list!
Are you going to make this One in a Melon Napkin Frame DIY? If you do, I’d love to see it. If you’re not part of our Craftspiration Facebook group, join in on the fun and post a pic of your completed DIY crafts, I just love to see all your creative and crafty creations!
Until Next Time…
Stay Crafty San Diego!


