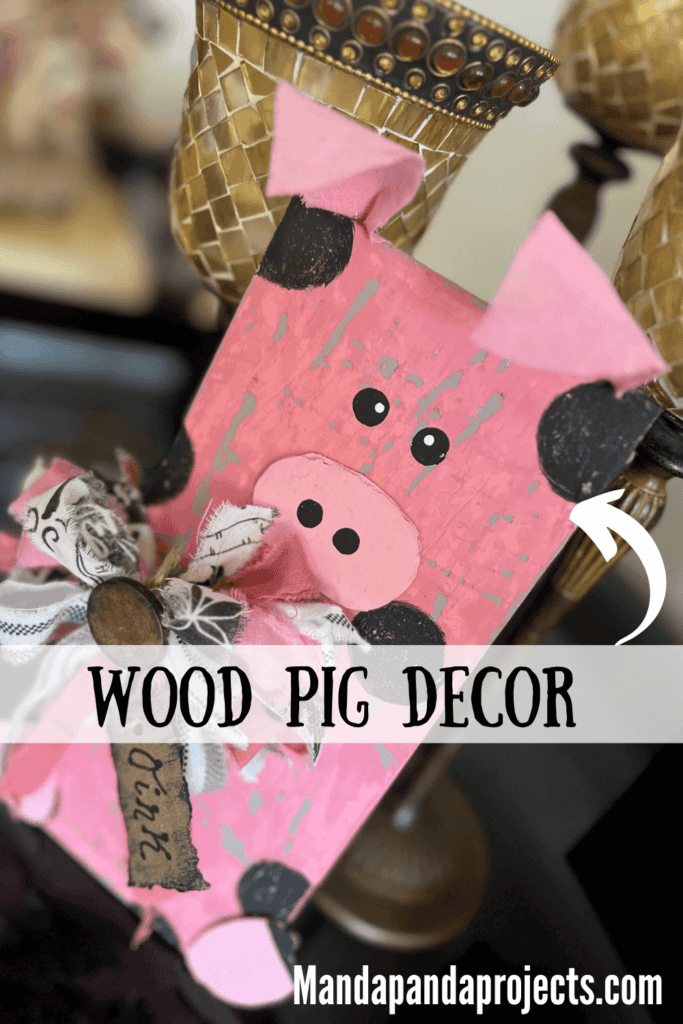
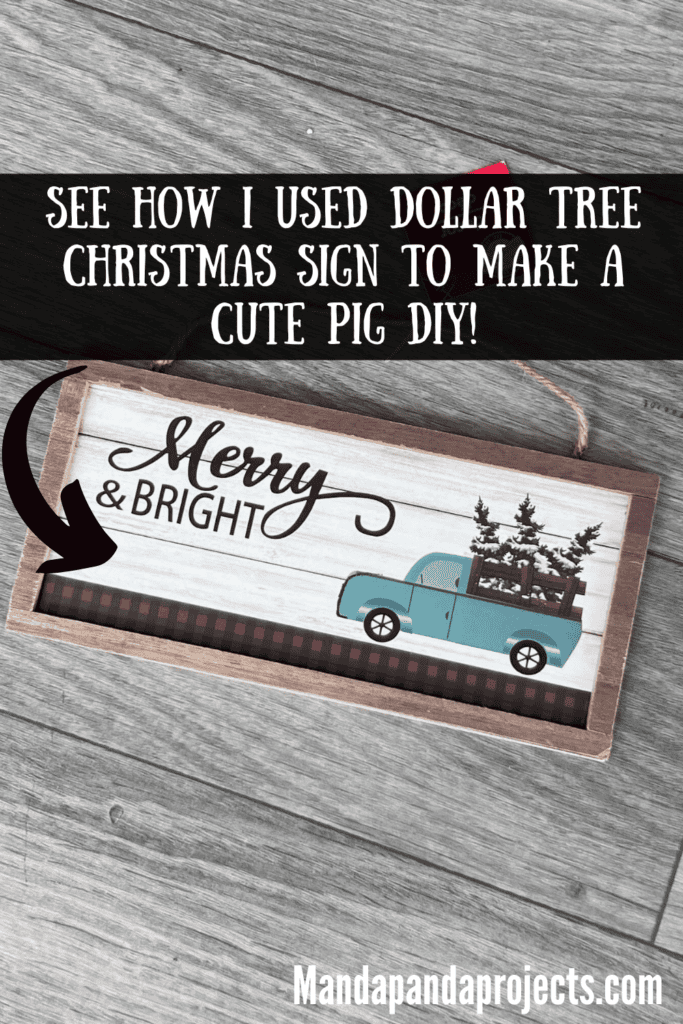
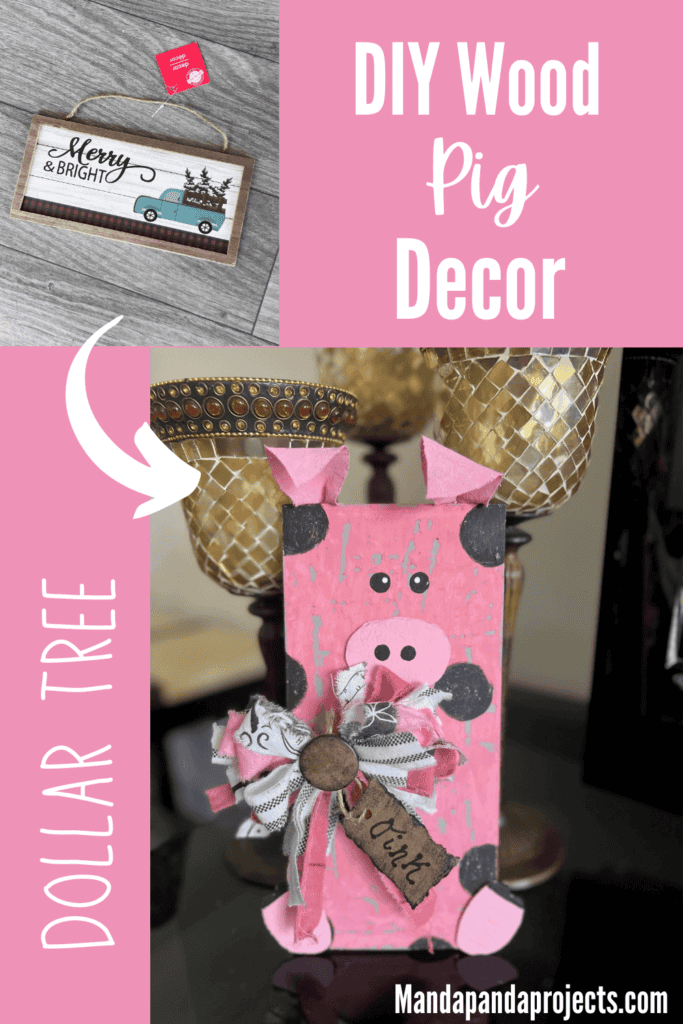
Oink! Oink! Come see how I made this adorable DIY Wood Pig Decor with just a few affordable supplies. This cutie pig with his chippy background and big messy bow is the perfect addition to your DIY farmhouse crafts and decor.
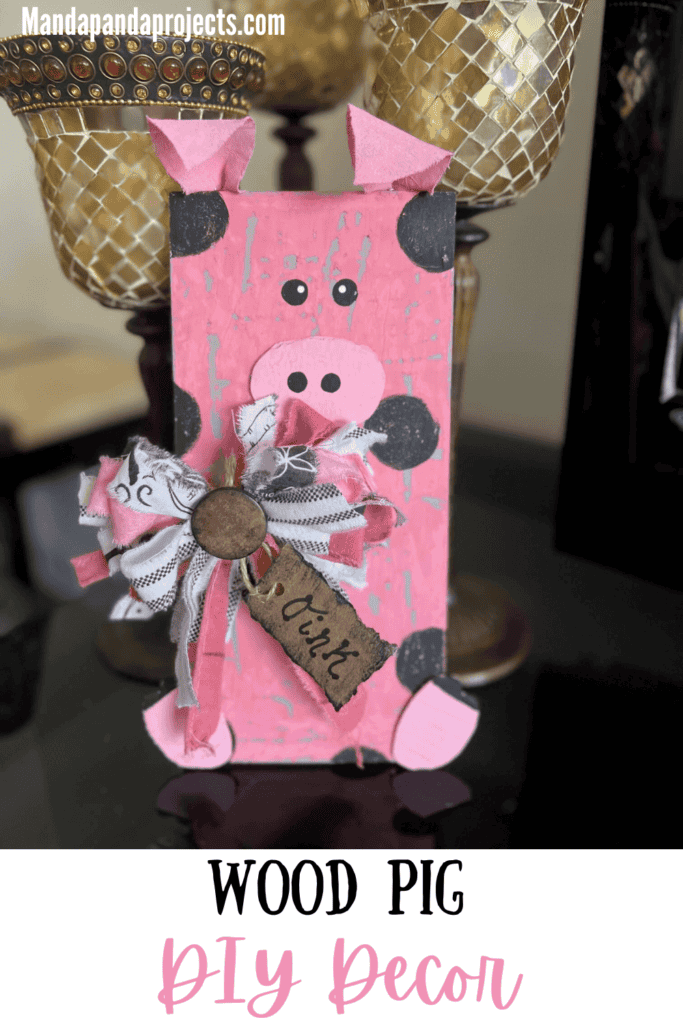
If you know me, then you know I’m not a farmhouse girlie. But this Wood Pig is just so darn cute, you can’t NOT love him.
And this lil’ Piggy can be made from the most basic of supplies. You could even use cardboard as the base if you don’t have a wood board.
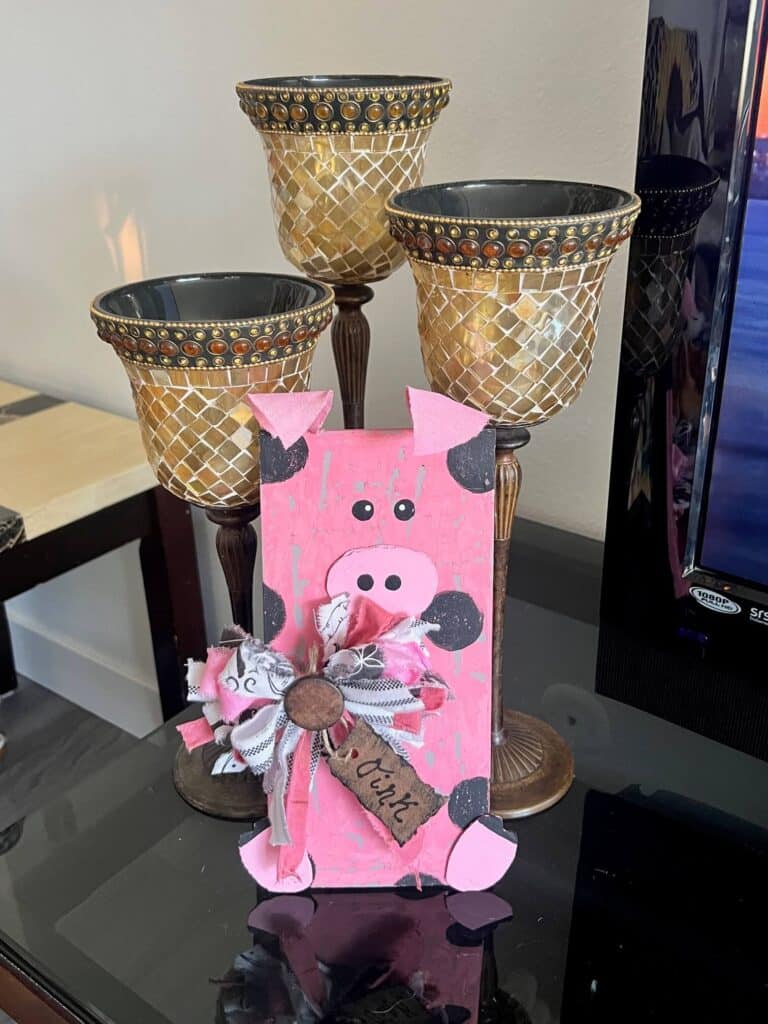
With just some paint, cardboard, and fabric (or ribbon), you’ve got what you need to make this adorable Piglet.
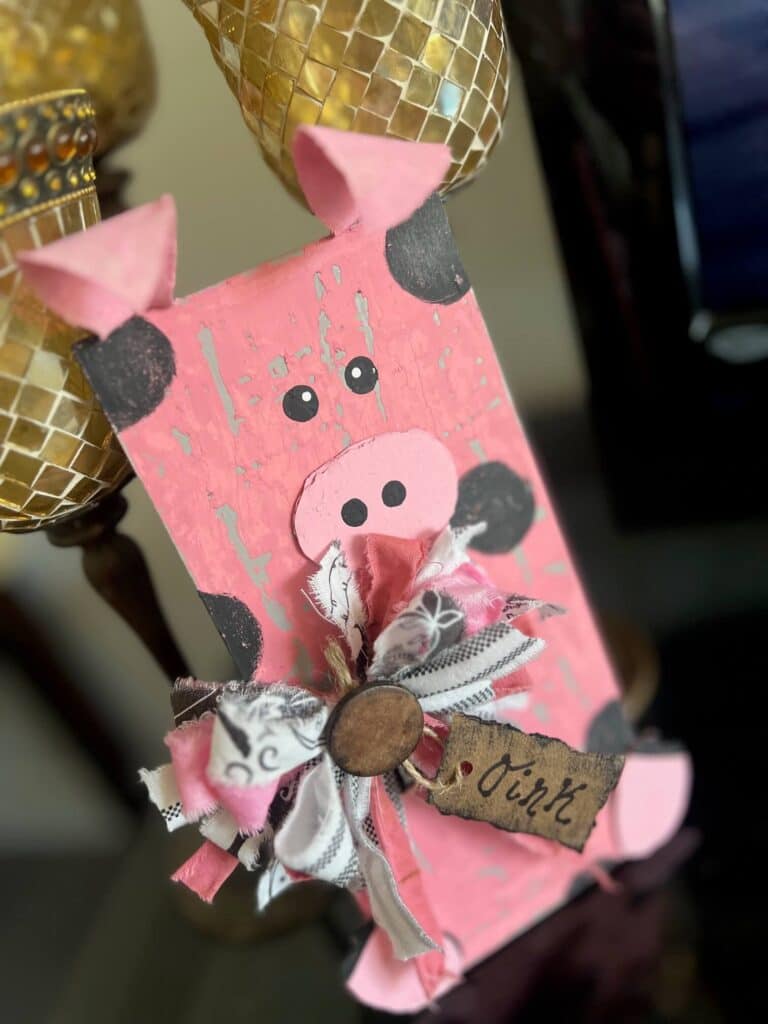
I made this bad boy after I made a Wood Cow, because I thought he needed a farmhouse friend to play with. We also made a lil’ Chickie for a craft challenge with my CRafterparty subscription group, too!
This post may contain affiliate links for your convenience (which means if you make a purchase after clicking a link I will earn a small commission but it won’t cost you a cent more!)
Supplies Needed to Make a Wood Pig Decor
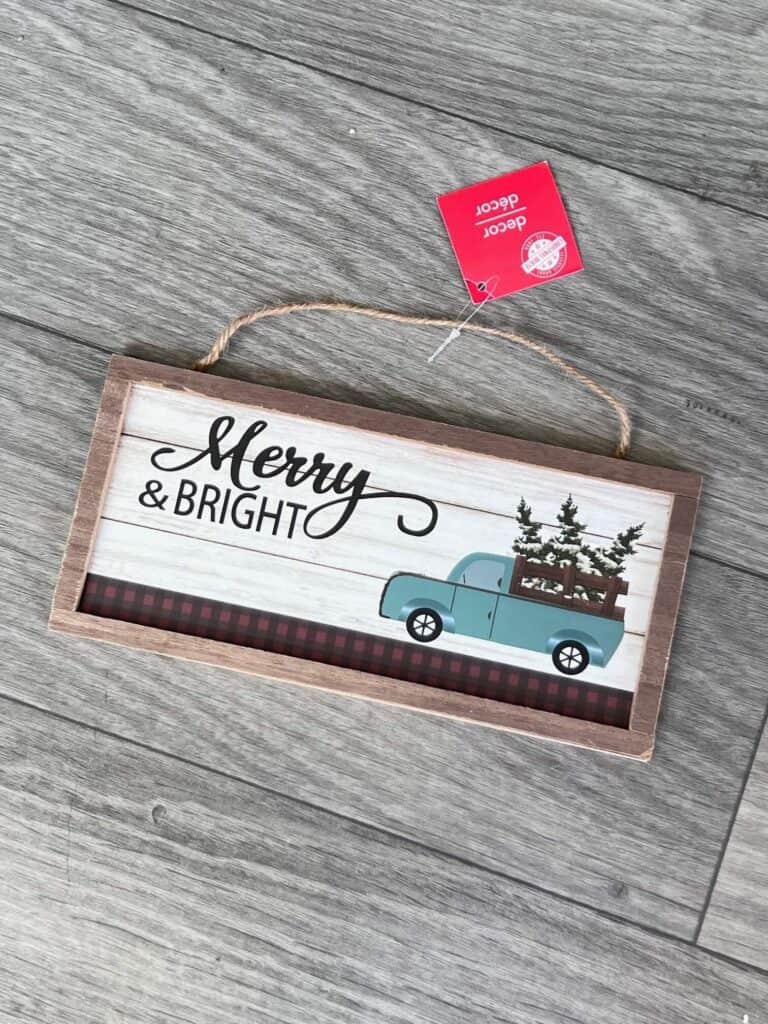
- Wood long rectangle base
- Cardboard
- Muslin
- Pink, black, and white coordinating fabric/ribbon
- Antique Wax
- Kraft paper
- Twine
- Mini Acrylic Alphabet Stamps or Black Sharpie
- Tim Holtz Distressed Ink
- Paint: Grey, Black, White, Pink
- Large button
- White candlewax
- Mod Podge
- Hot glue gun
How to Make a Wood Pig Decor
I made this Wood Pig Decor on video. So you can WATCH the tutorial by clicking below. (You can find the COW here)

First things first, paint your entire wood surface with a light grey color.
Next, to make the chippy paint background you will take white candle wax and rub it all over your wood board. The more wax you add, the more your paint will chip. The less wax you apply, the less it will chip in the next step.
Paint a nice thick coat of pink paint on top of the wax and grey base coat.
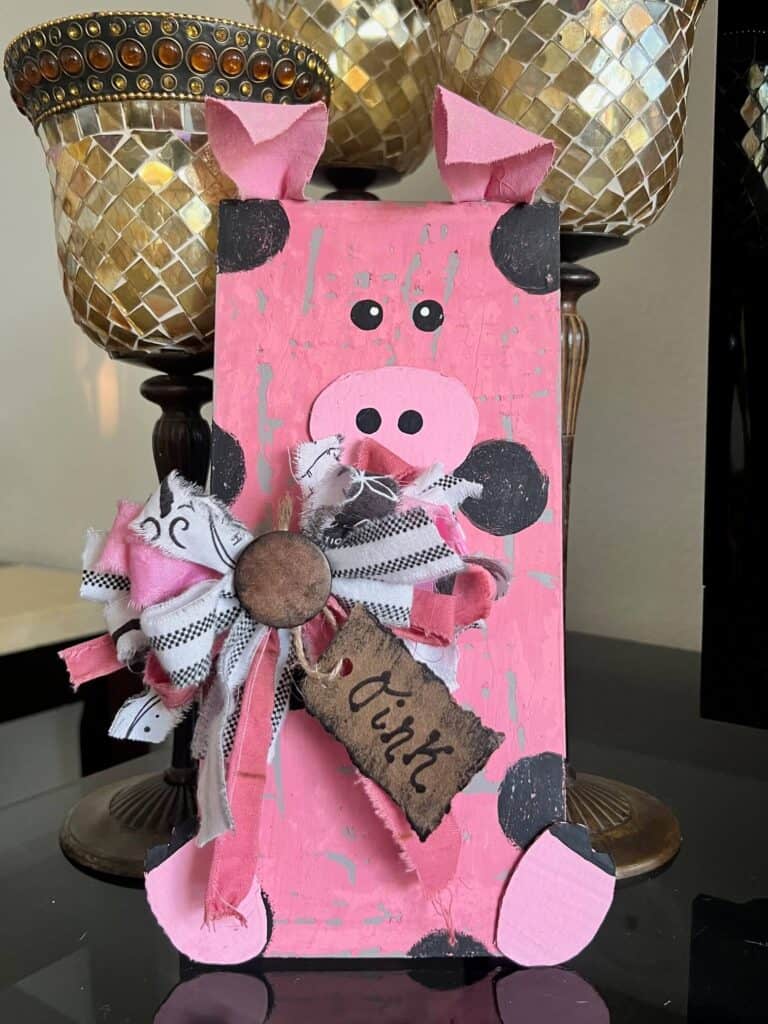
Now take a paint scraper and scrape off as much paint as you like, in as many places as you like. It should chip off fairly easily with the wax underneath.
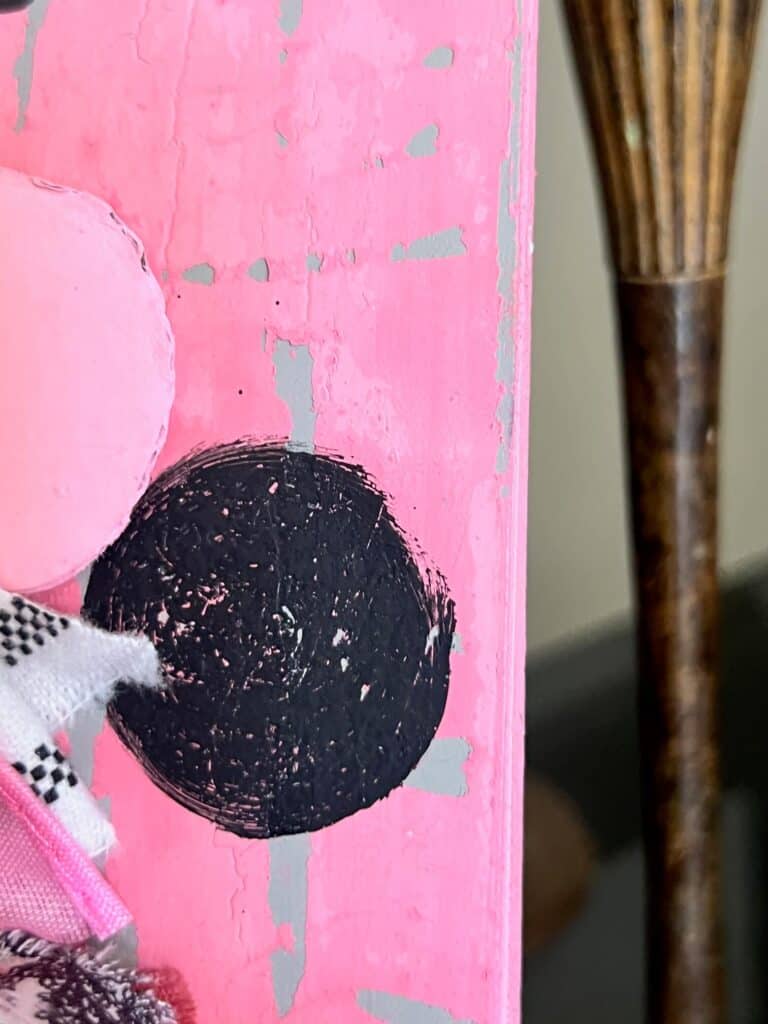
Use a black paint and a spouncer to make polka dots in random places. Don’t worry, it doesn’t have to be perfect! And these are of course, optional.
I then took a sanding block and distressed the polka dots to go along with the rest of the chippy pig vibe.
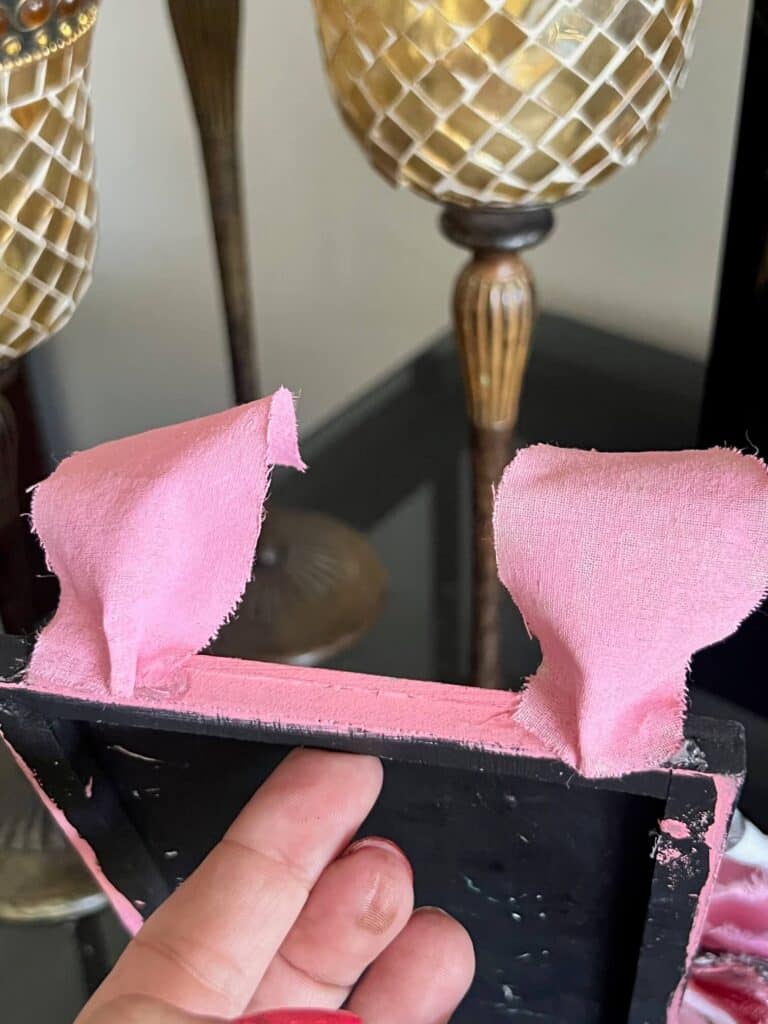
Hand draw the shape of the ear onto a piece of muslin fabric, and cut it out.
Then use the first ear as a template to trace and cut out the second ear.
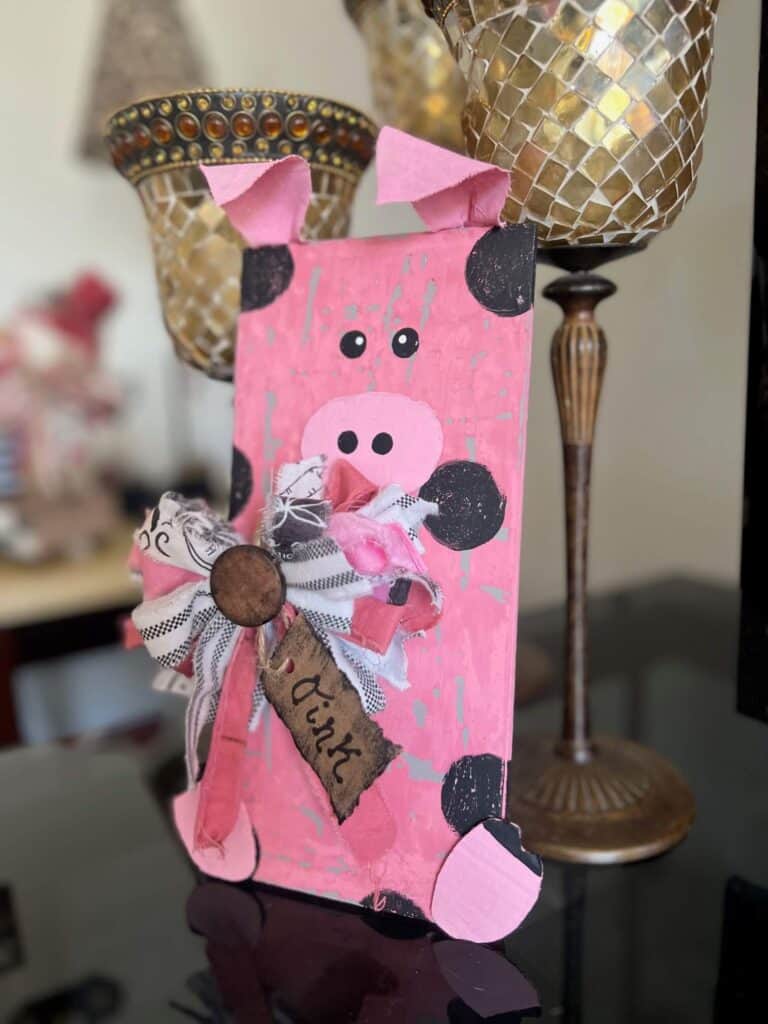
Paint the pig ears all pink, and then glue them to the top of the board by pinching the bottom together in an accordion fold manner like you see below.
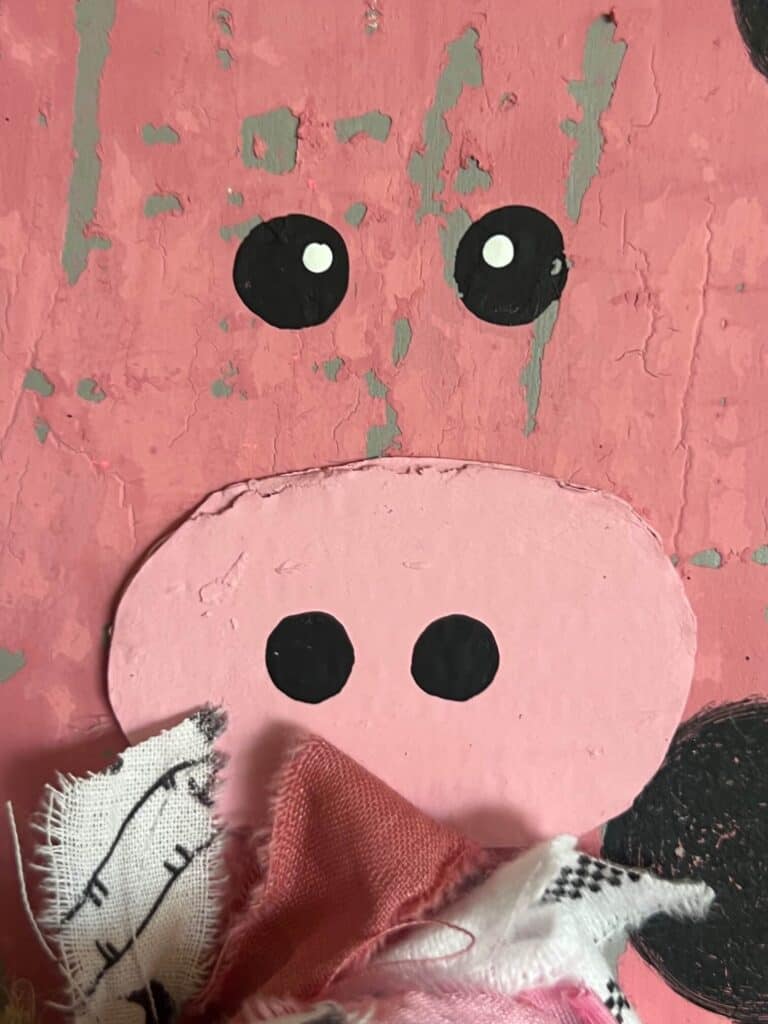
Draw the shape of the snout onto a piece of cardboard and cut that out. Paint it all pink and use the end of a foam brush to make round black nostrils.
To make the eyes, I used the round end of a larger foam brush, and dotted it into black paint and then onto the pigs face. You could easily hand paint these as well though! And then add a small white dot to the center.
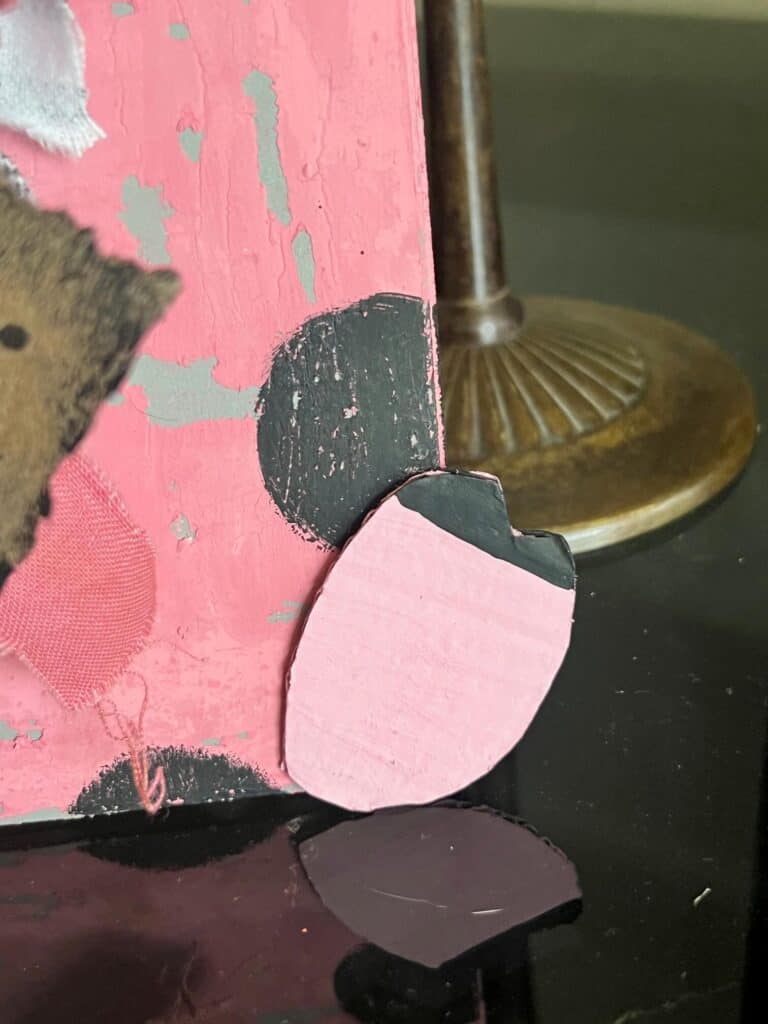
Cut the shape of the feet out of cardboard and paint the bottom pink and the top “toes” black. I also distressed these with a sanding block just a bit after gluing them onto the wood board.
Of course we have to make a bow! You can make any type of bow that you love, but my favorite is a big messy fabric bow with my Bowdabra.
You just rip a bunch of strips of coordinating fabric and then layer them on top of each other in a bow formation until it’s as big and full as you want. Then tie off the center with twine.
For the hangtag, rip a rectangle piece out of kraft paper, and then distress the edges using the Tim Holtz Distressed Ink. Just rub the ink pad all along the edges of the paper.
Use a Sharpie to write “Oink” (or whatever you want your tag to say), and then punch a hole with a hole punch.
String a piece of twine through the hole so that your tag can hang on the bow.
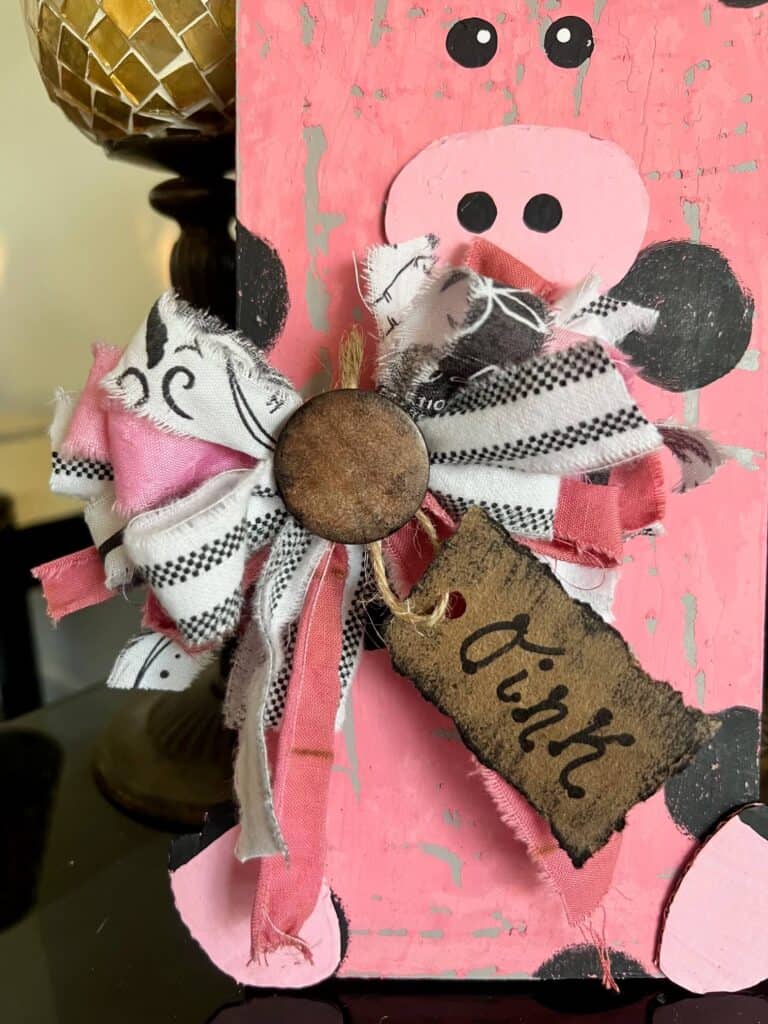
Now glue your bow to your pig to bring it all together! I glued mine on the middle left, under the mouth.
Then glue the hangtag and a large button to the center of the bow.
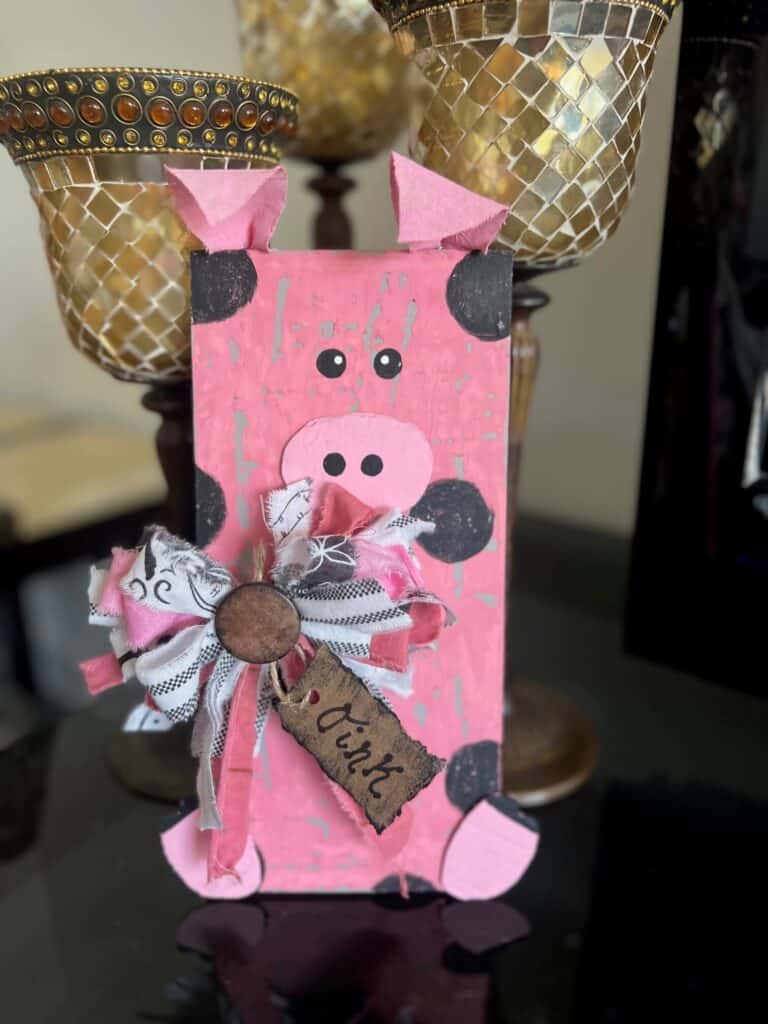
Oh.EM.GEE. I just love how this turned out!
There is also an adorable Spring Wood Chick version of this craft that we made in my subscription group, The CRafterparty! And a Wood Cow that I made too!
Are you going to make a Wood Pig DIY? If you do, I’d love to see it! Pop on over to our free Craftspiration Facebook group, and join in on the fun by posting a pic of your Tiered Trays, DIY’s and crafts. I just love to see all your creative and crafty creations.
If you’ve got a million projects on your crafting ‘to-do’ list like I do, than you need my FREE Craft Project Planner so you can plan to make *all the things*! When you sign up for the craft planner, I’ll also send you lot’s of fun, easy, and budget friendly ideas for you to fill it up with!

Free printable Craft Project Planner
Get organized, get inspired, and get crafting, with our free Craft Project Planner!
Until Next Time…
Stay Crafty San Diego!

Love this Wood Pig Decor? Make sure to PIN it for later!
