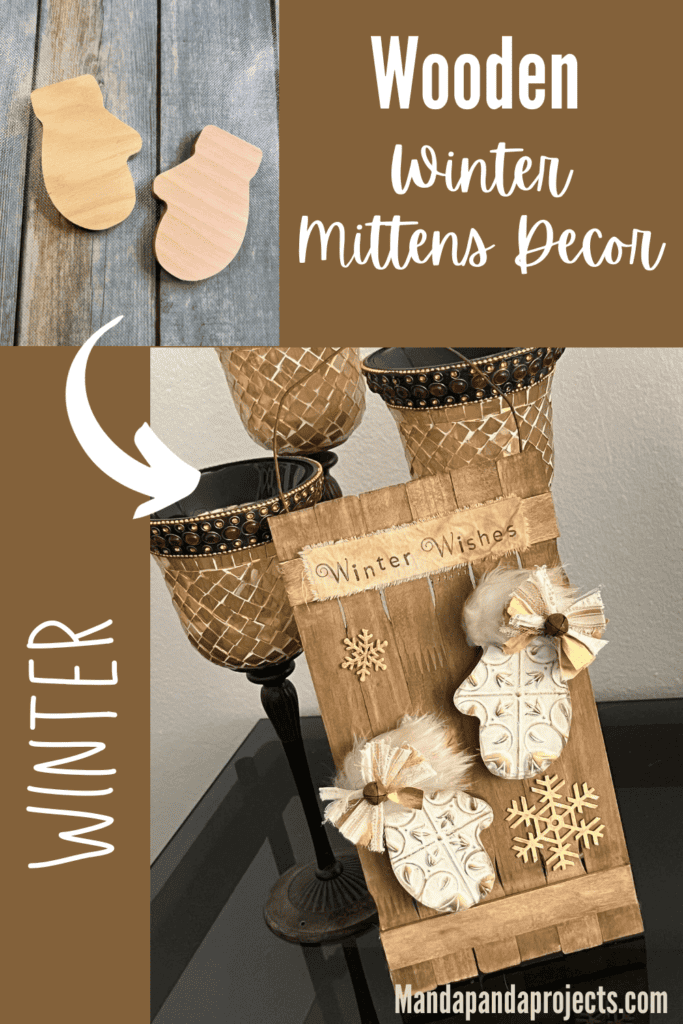
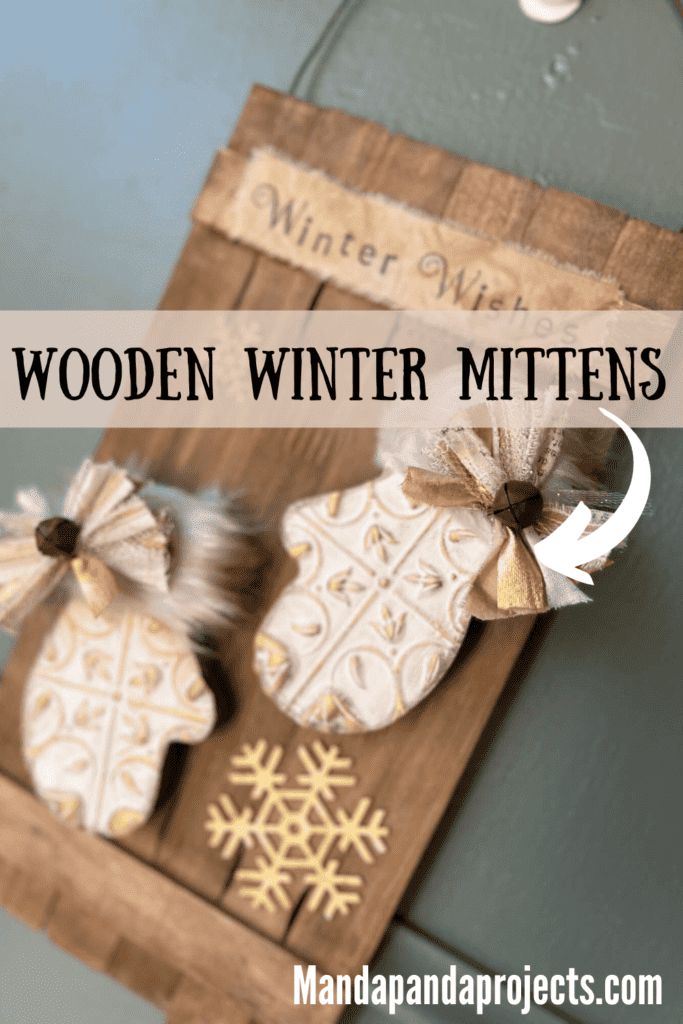
Christmas is over but Winter is still in full effect. Send warm winter wishes with this easy and adorable DIY Wooden Winter Mittens Decor! This Neutral and Gold piece is the perfect way to warm up the vibe of your home this winter.

This is my first official “Winter” craft of the season and I am in LOVE love love!!
I mean don’t get me wrong, I thoroughly enjoy all the Christmas crafts, but it comes and goes so quickly so I’m totally here for a piece we can keep up through Valentines Day.
I really stepped out of my color comfort zone this past holiday season. Starting with Fall crafts, I opted for the more neutral, gold vibe and it was a nice change of pace.
Of course, I threw in the leopard print here and there because it wouldn’t be a Manda Panda Project without it. Even though this particular craft doesn’t have any leopard it.
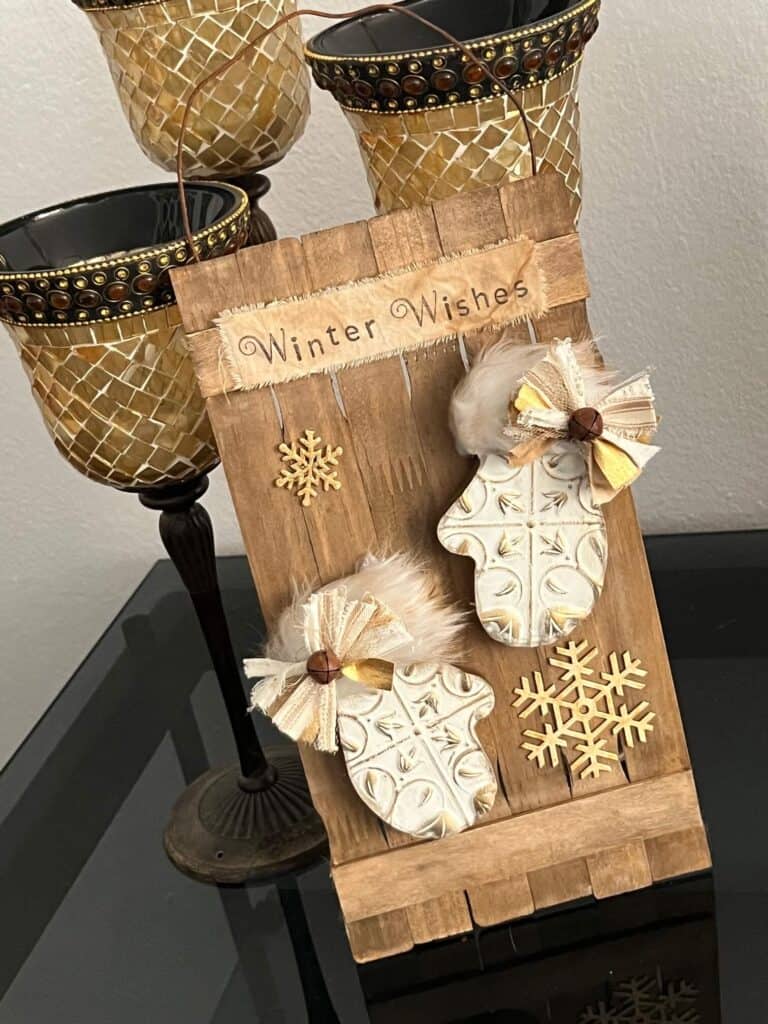
Of course you know that you could make this absolutely any colors and theme that you want to match your winter decor!
This post may contain affiliate links for your convenience (which means if you make a purchase after clicking a link I will earn a small commission but it won’t cost you a cent more!)
Supplies Needed to Make Wooden Winter Mittens Decor
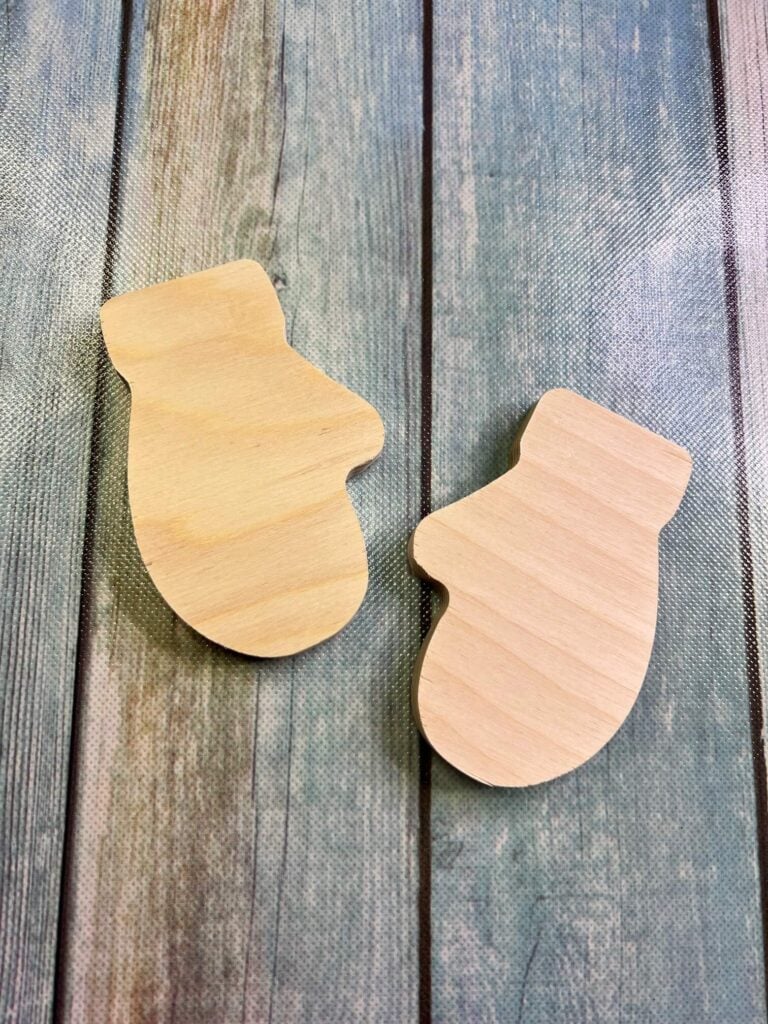
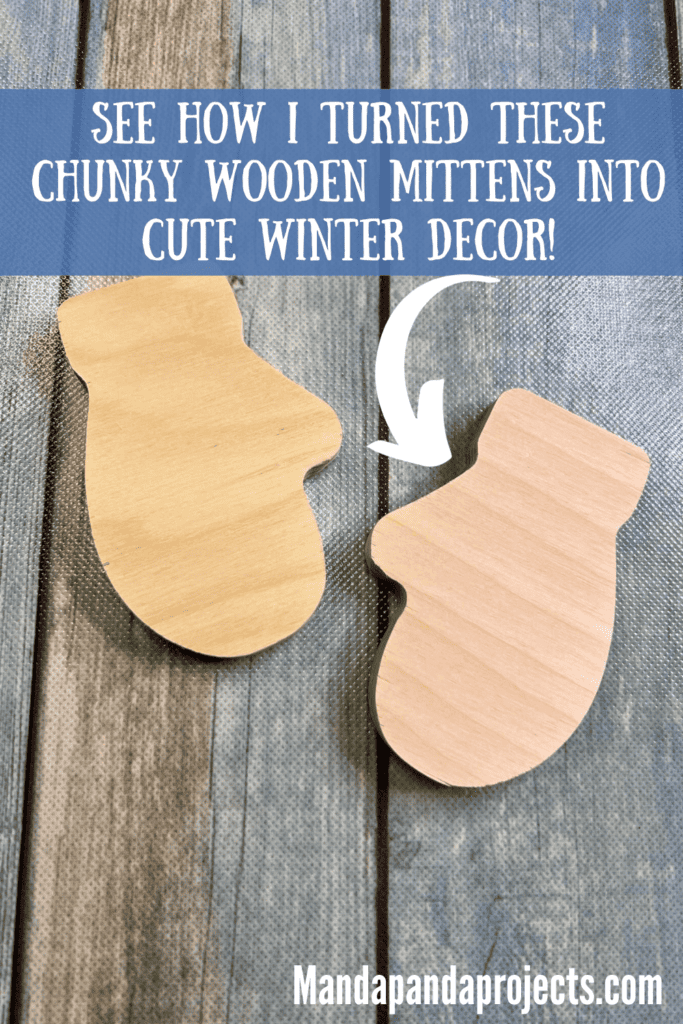
- Wood Chunky Mittens
- 6 Paint Sticks
- Faux Fur
- Muslin
- Dollar Tree Faux Tile
- Twine
- Small Rusty Bells
- Gold Leaf Rub n’ Buff
- Coordinating Fabric/Ribbon
- White paint
- Antique Wax
- Snowflake embellishments
- Alphabet Acrylic Stamp Set
- Tim Holtz Distressed Ink: Black Soot
- Primitive Rusty Wire
- Mod Podge
- Hot glue gun
How to Make Wooden Winter Mittens Decor
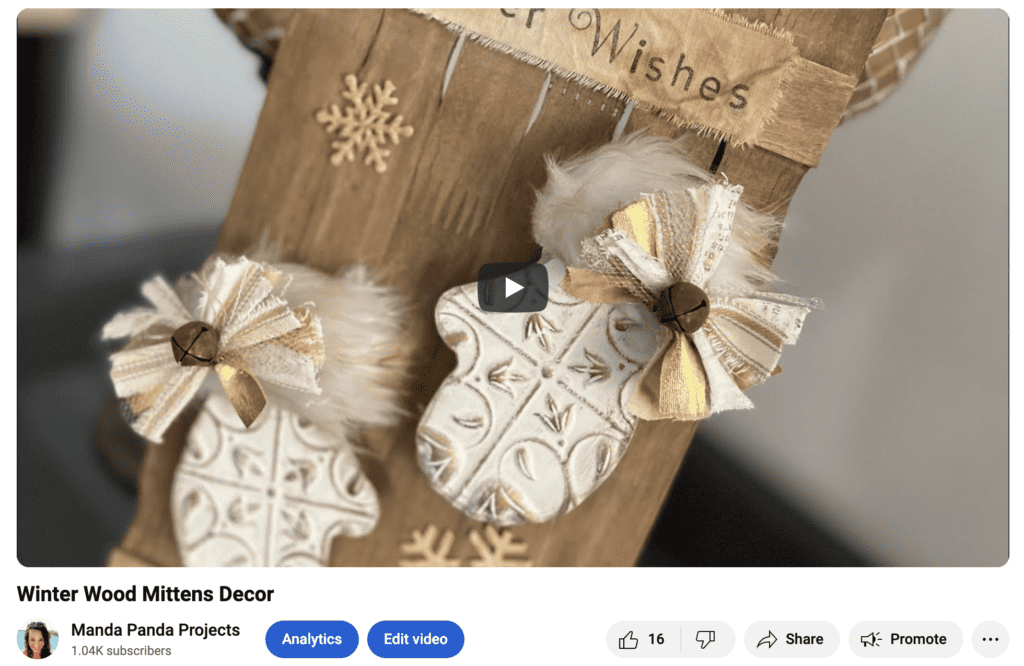
I made these Wooden Winter Mittens Decor on video. So you can WATCH the tutorial by clicking below.
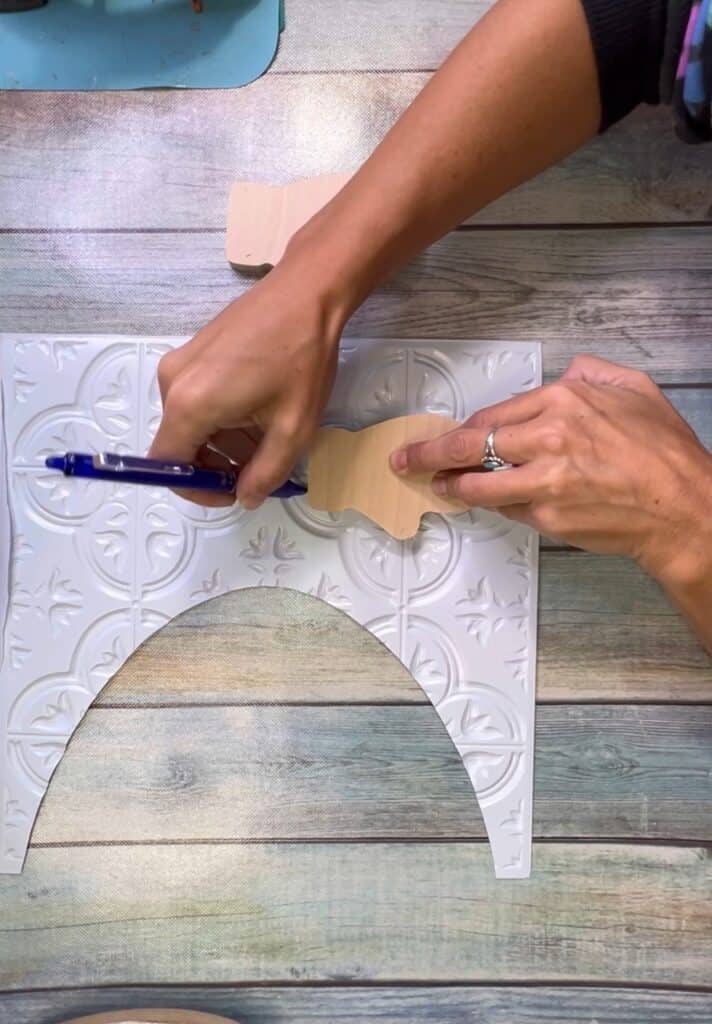
Start by tracing the chunky wooden mittens onto the Dollar Tree faux tile and cutting them out.
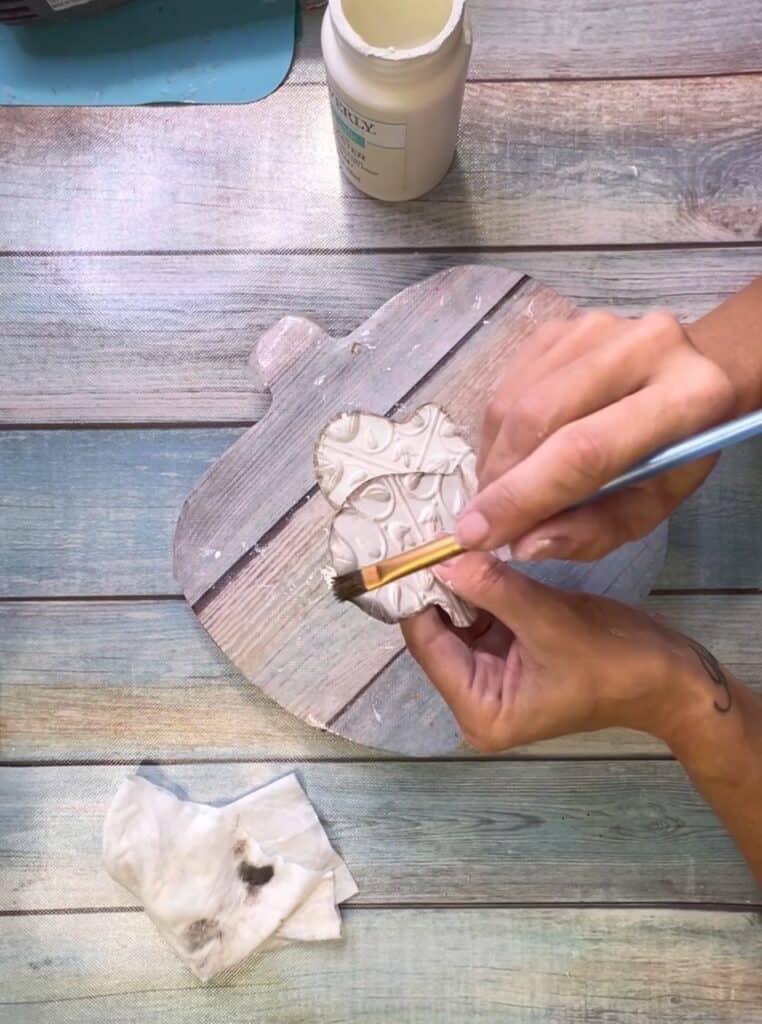
Then paint the tile mittens all white with chalk paint, and then dirty up all the edges with antique wax. Acrylic paint doesn’t work quite as well with the plastic material of the tiles.
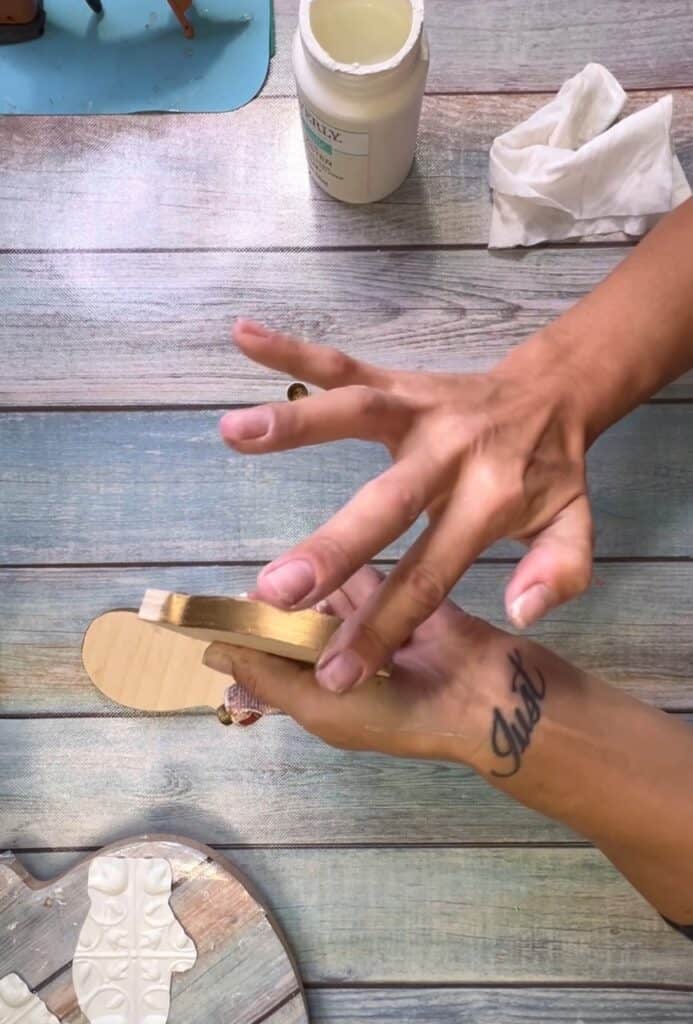
Next, take the Gold Leaf Rub n’ Buff and rub all around the edges of the chunky wood mittens. (you could paint them gold as well).
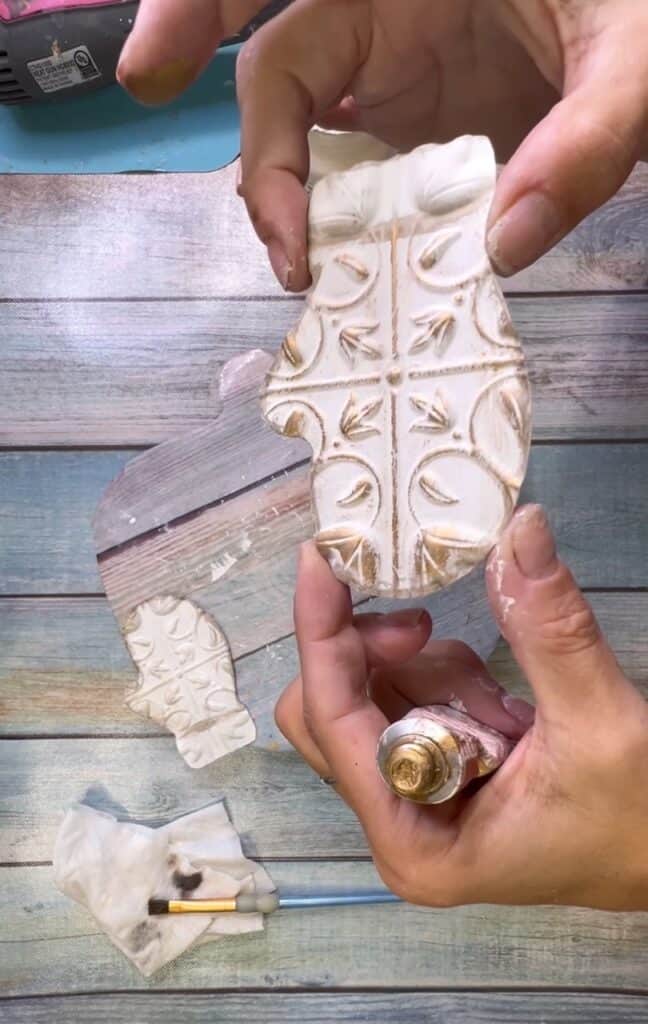
Glue the tiles to the top of the wood mittens. Then take the Rub n Buff, and using your finger rub it gently over the top of the tile mittens so only the raised portions catch the gold color.
For the fur, I have this roll of faux fur from simplicity creative group that was the perfect width, but if you have regular fur then you will need to cut it to the proper size to fit the “cuff” of the winter mittens.
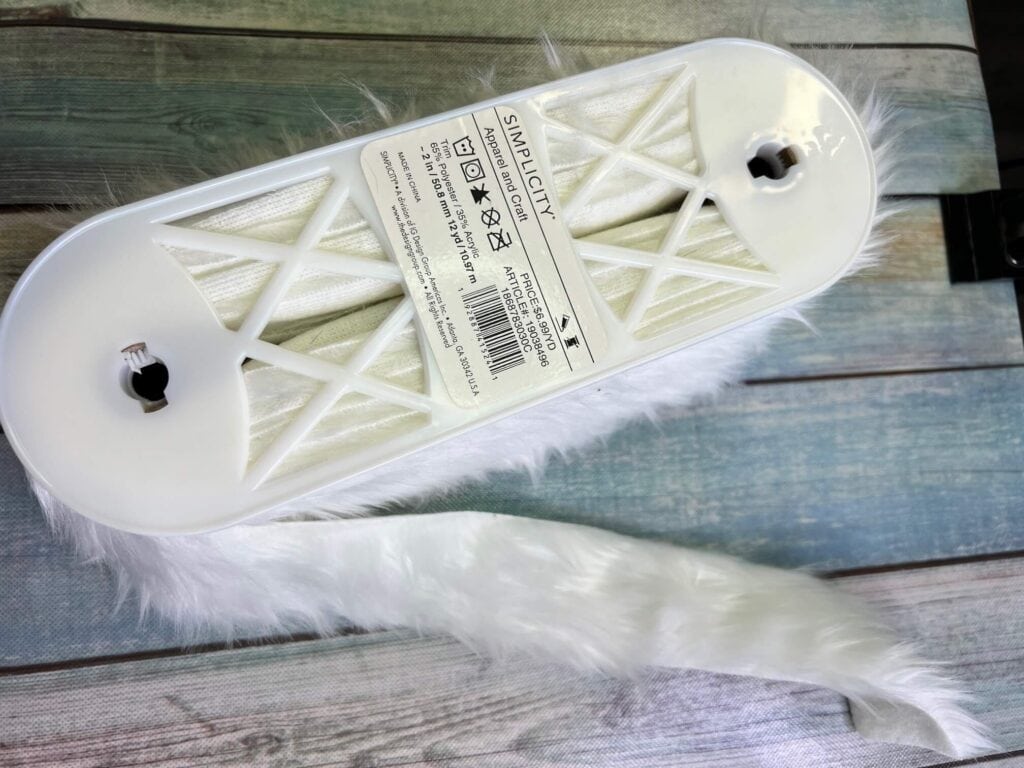
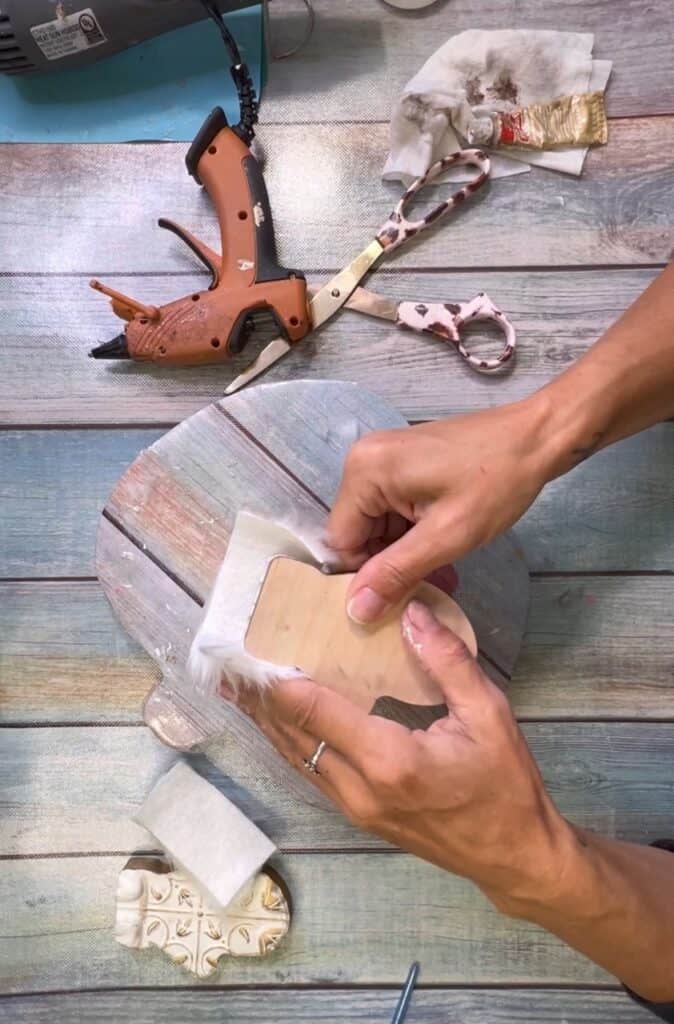
Glue the fur to the cuff, making sure to wrap it around the top and the back of the wood mittens.
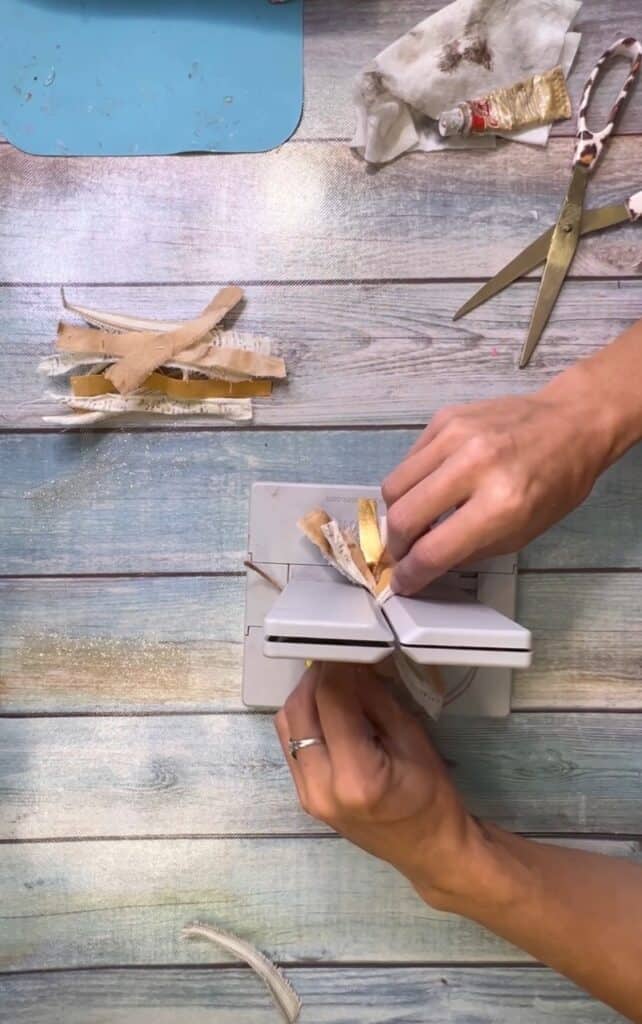
Now to make the two tiny bows, I ripped a bunch of small strips of coordinating fabric, and then used my Bowdabra to layer them in an X formation. Don’t worry if the length of the fabric is the perfect size, because we’re going to trim it up afterwards.
If you don’t have a Bowdabra, you can easily do this by just layering the pieces on the table in an X formation and then tying a piece of twine around the center.
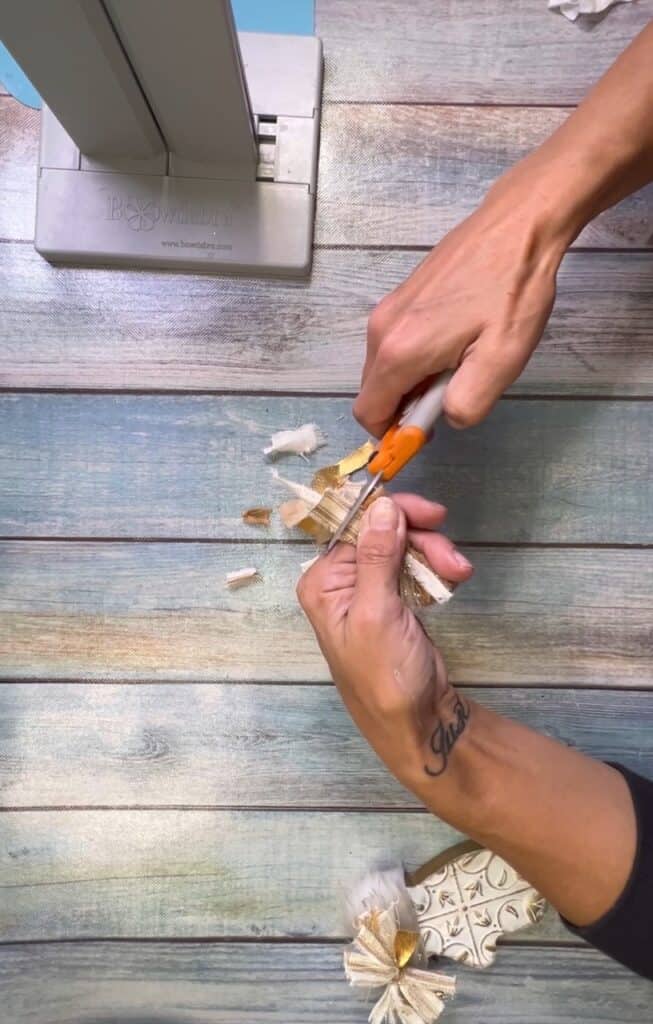
Trim the ends of the fabric to keep the bows small enough to fit on the cuffs.
Glue a small rusty bell to the center of each bow, and then glue the bows to the cuff of the wooden winter mittens, slightly off center.
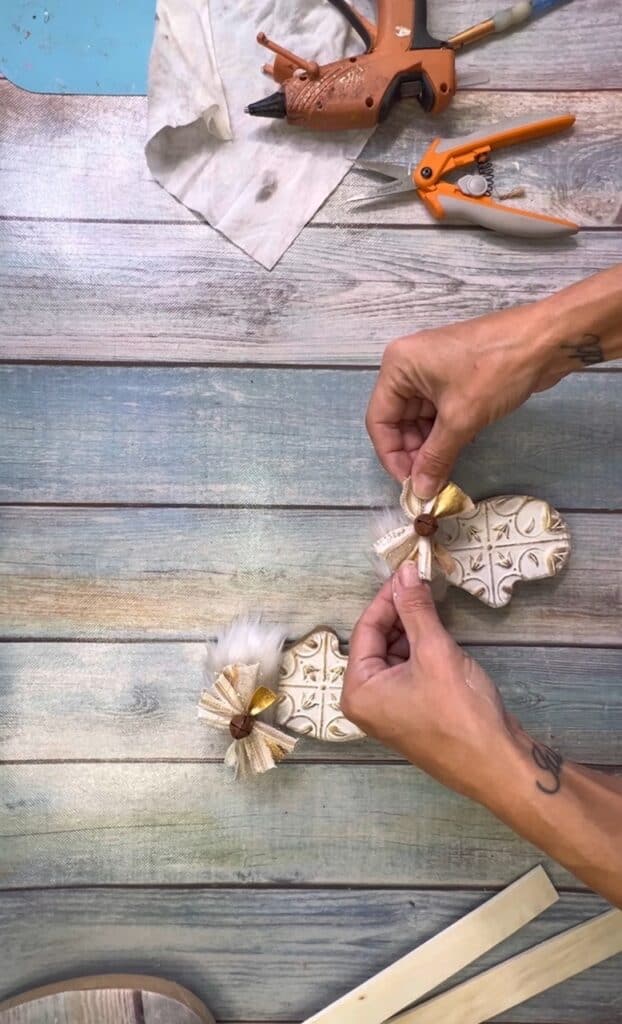
For the background, line up 6 paint sticks, alternating the handle ends. Cut 4 other paint sticks to use as a “brace” to hold the background together. They should be long enough to go across the 6 paint sticks without hanging over the edge.
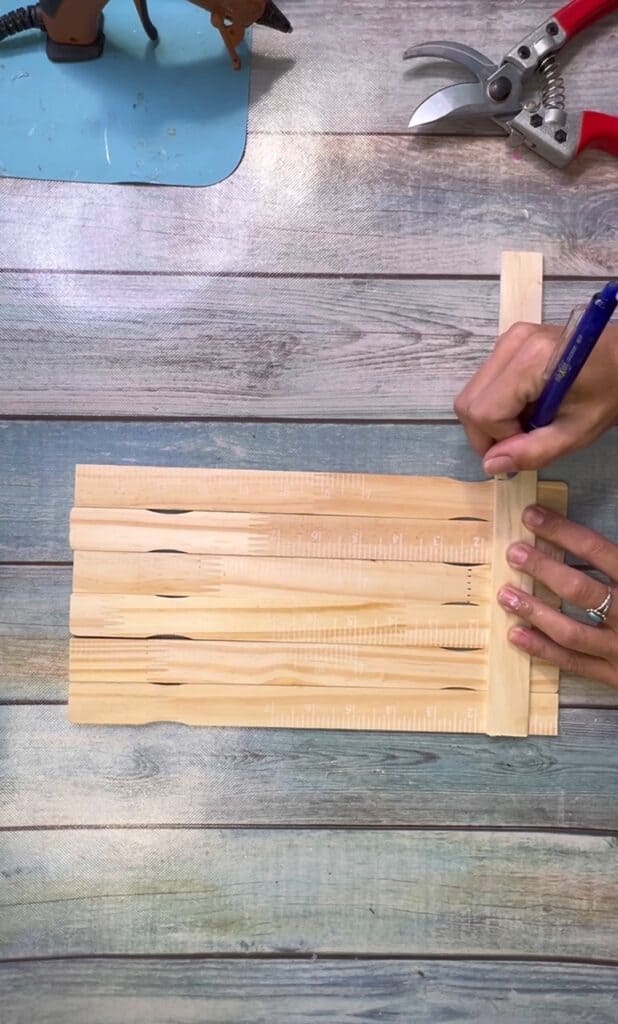
Glue two of them across the back in the middle.
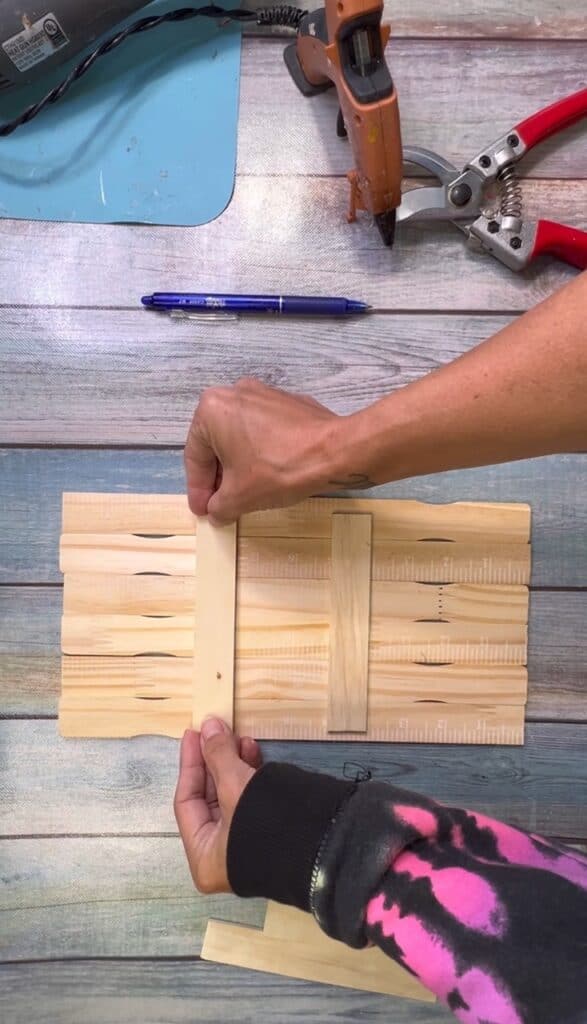
And then glue the other two on the top and bottom of the front to add to the look of the background.
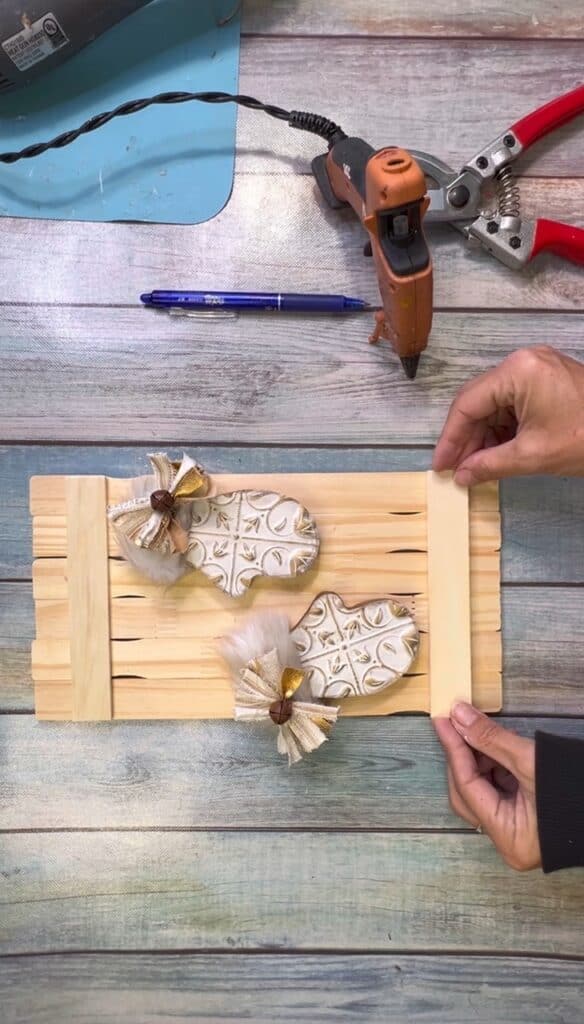
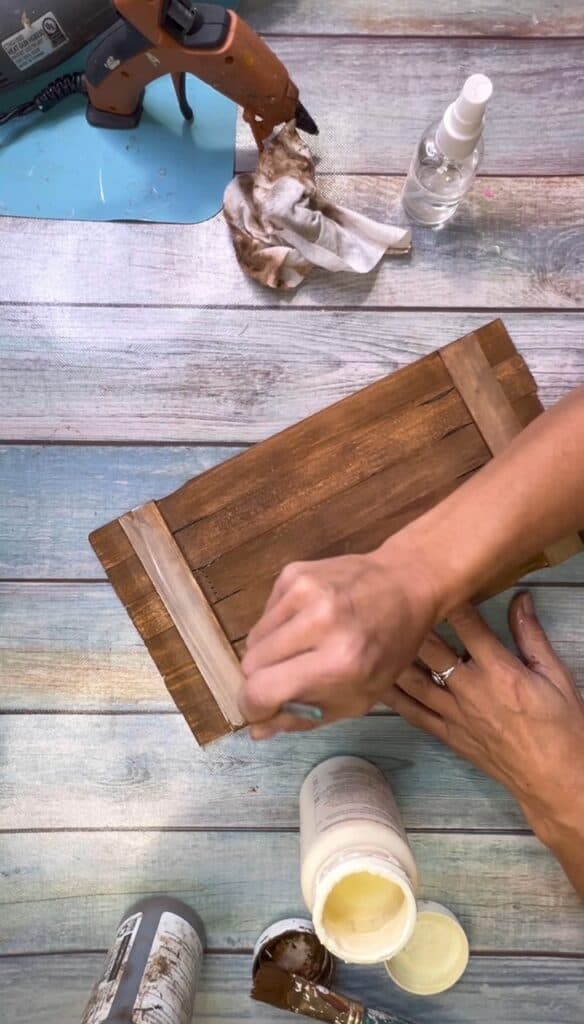
Stain the entire background with Antique Wax and wipe the remaining stain off with a baby wipe.
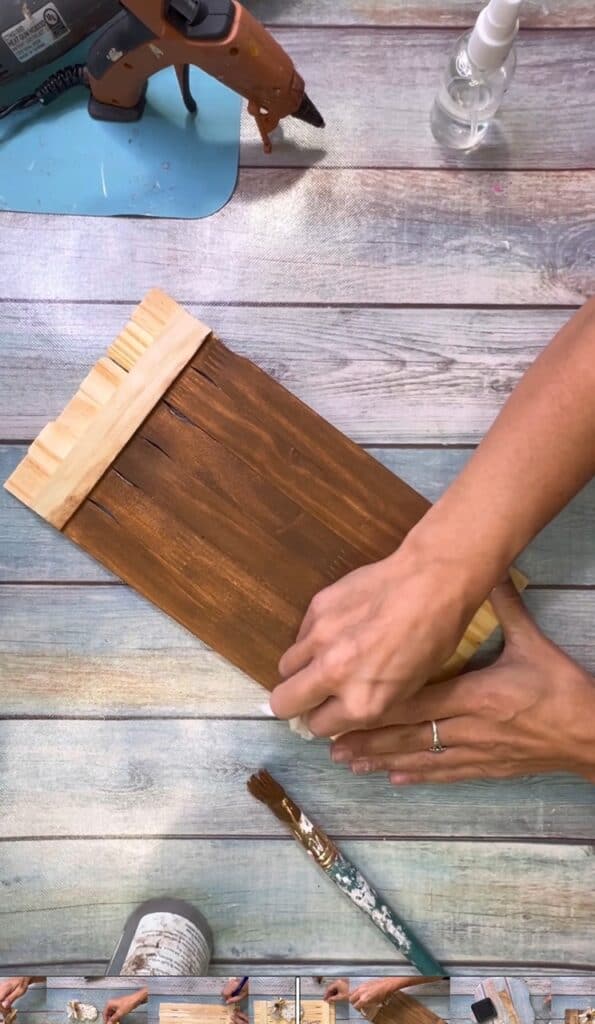
I decided to give it an extra wintery look by adding white wax over the top of the antique and then wiping that with a baby wipe as well.
Cut a strip of coffee stained muslin to use as the banner at the top, and then stamp “Warm Winter Wishes” with the Acrylic Stamp set.
Glue the banner to the top of the Wooden Winter Mittens Decor.
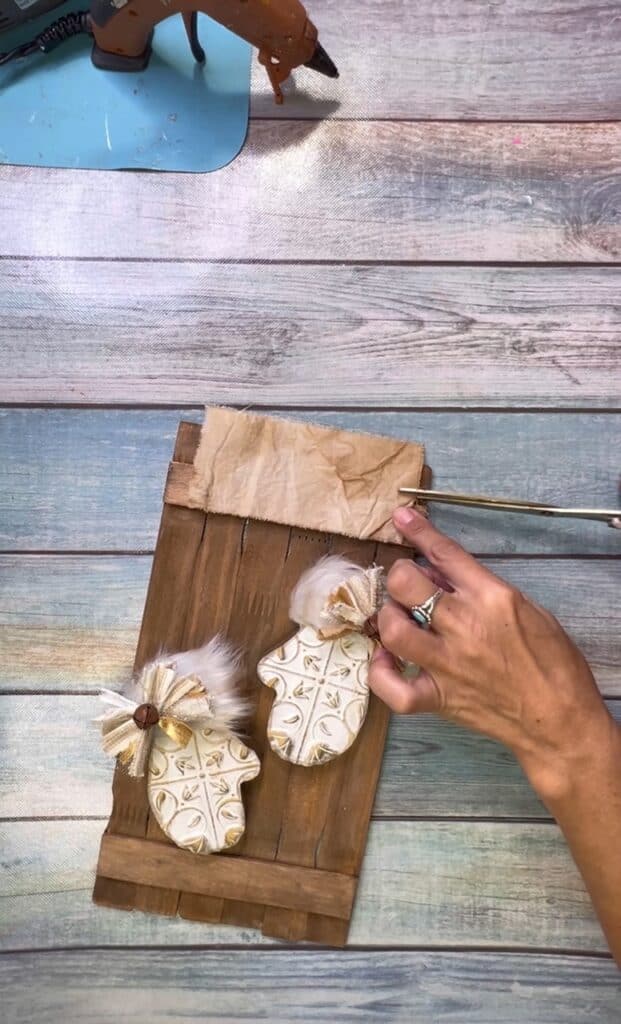
Glue the wood mittens to the front of the background.
Paint a few snowflakes with gold paint and then glue them around the mittens.
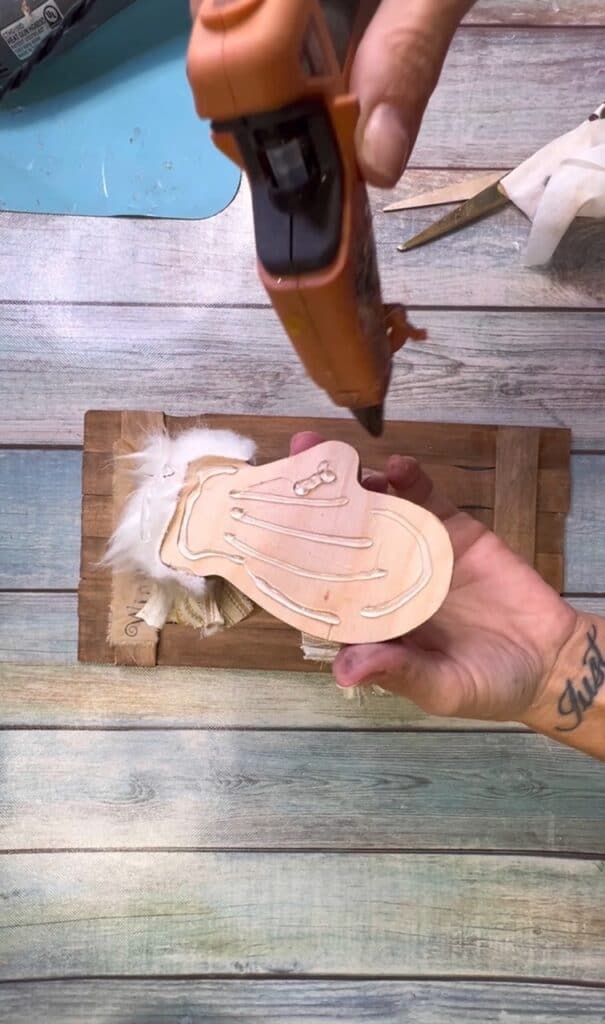
Last but not least is the hanger! Cut some rusty with sheers and then glue to the top back using E6000 and then some hot glue. The E6000 will hold it permanently and the hot glue will hold it in place until the E6000 has a chance to cure.
Be careful not to mix the two glues together.
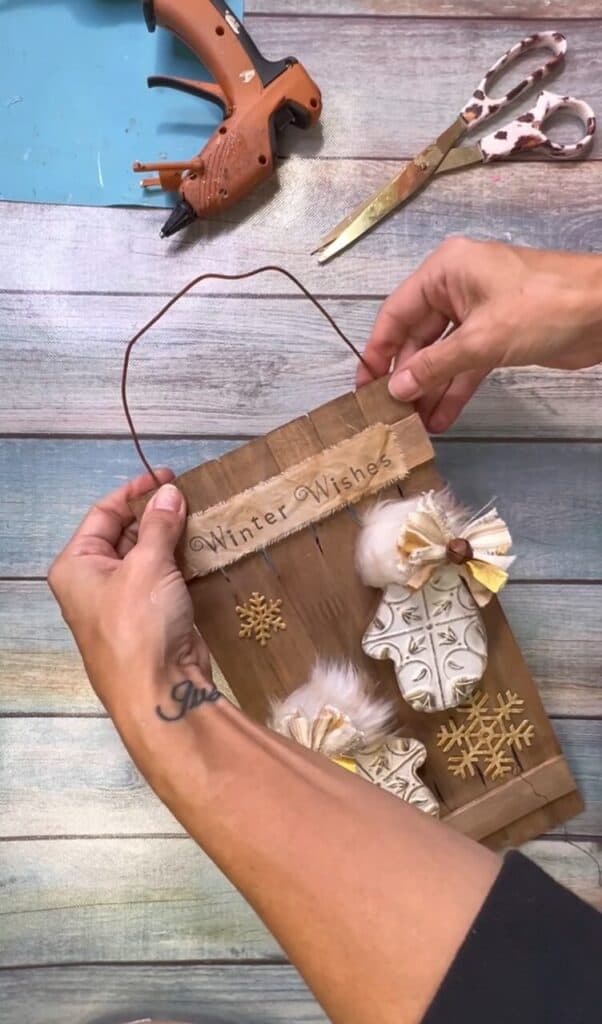
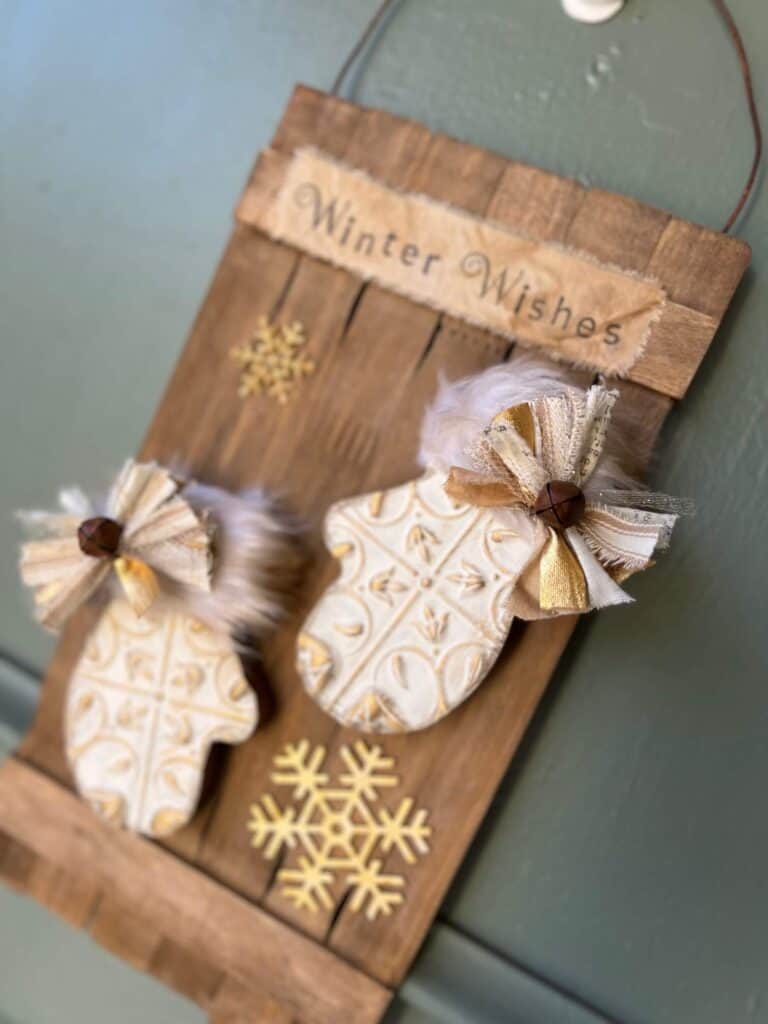
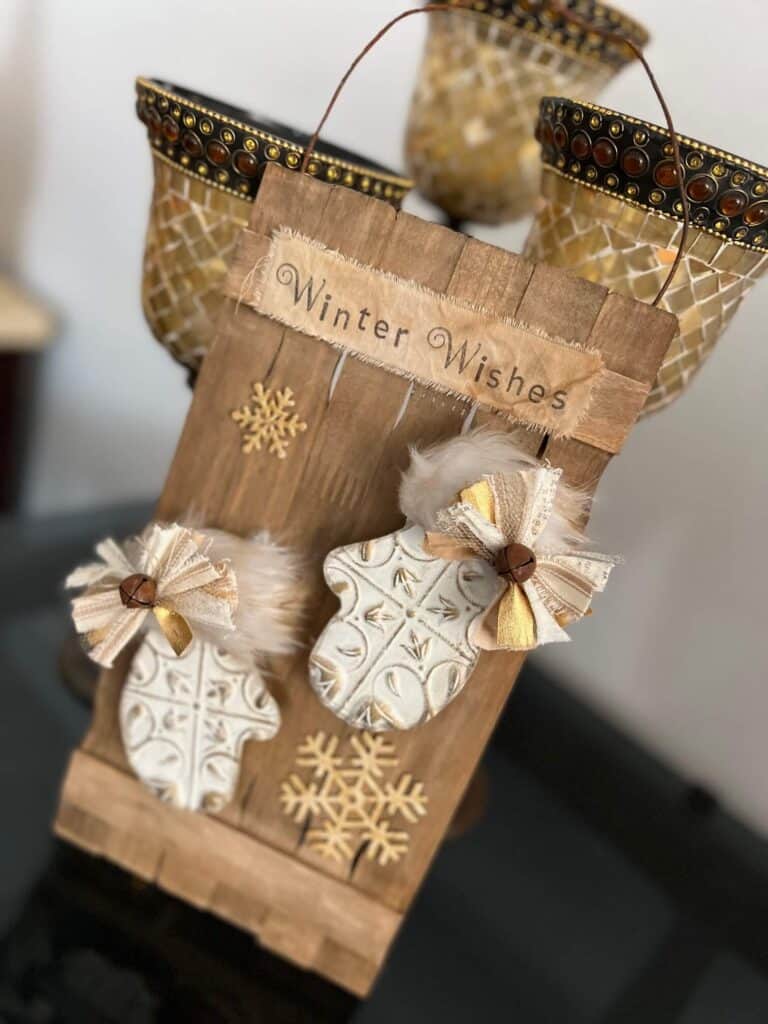
Here it is all said and done!
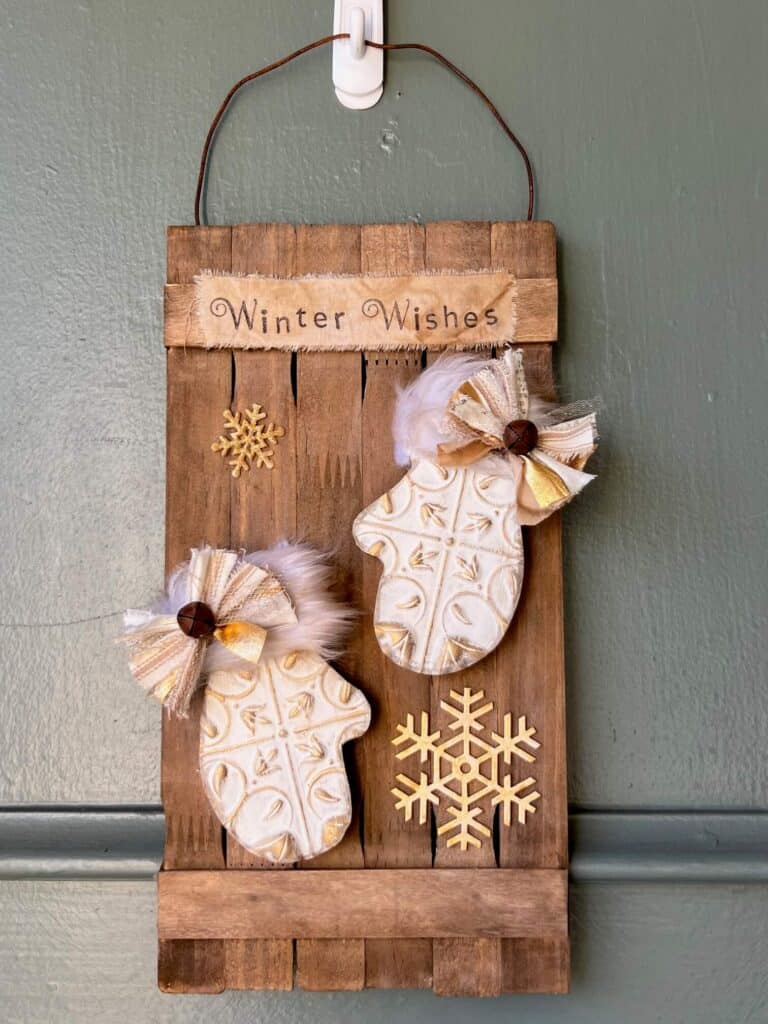
How darn cute are these Wooden Winter Mittens? Stay warm my friend, I’m sending you lots of Warm Winter Wishes!
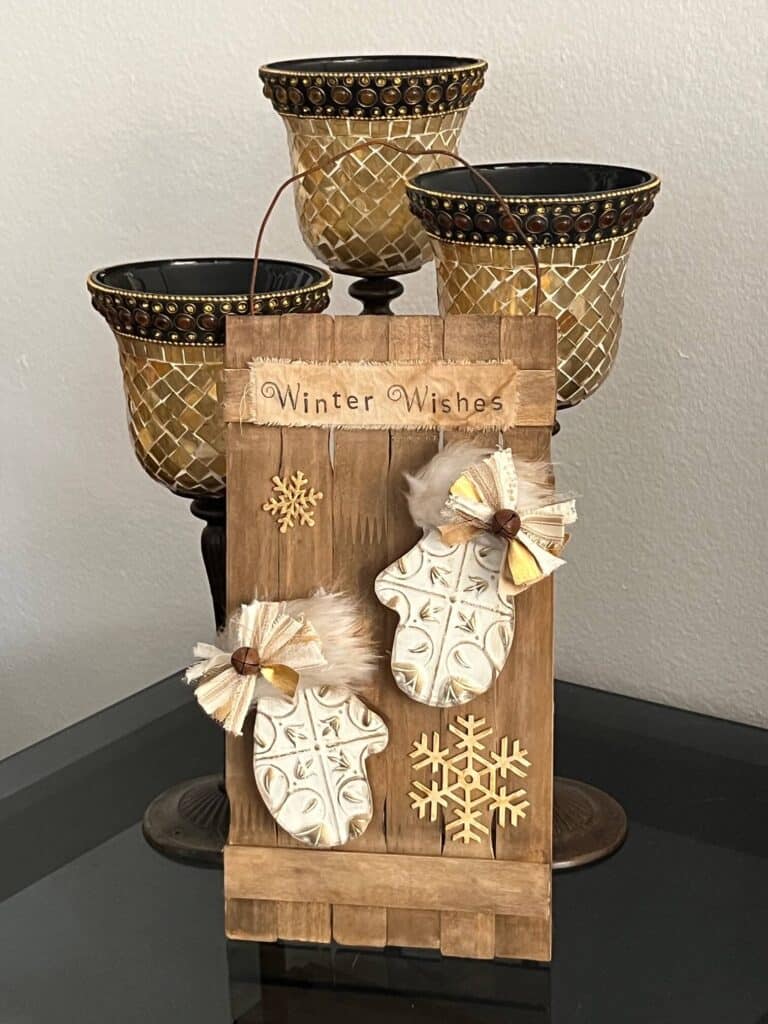
Are you going to make these Wooden Winter Mittens Decor? If you do, I’d love to see it! Pop on over to our free Craftspiration Facebook group, and join in on the fun by posting a pic of your Tiered Trays, DIY’s and crafts. I just love to see all your creative and crafty creations.
If you’ve got a million projects on your crafting ‘to-do’ list like I do, than you need my FREE Craft Project Planner so you can plan to make *all the things*! When you sign up for the craft planner, I’ll also send you lot’s of fun, easy, and budget friendly ideas for you to fill it up with!

Free printable Craft Project Planner
Get organized, get inspired, and get crafting, with our free Craft Project Planner!
Until Next Time…
Stay Crafty San Diego!

Love these Wooden Winter Mittens Decor? Make sure to PIN it for later!
