The Grinch Who Stole Christmas is an infamous figure come the Holiday season, but have you seen the Pine Cone Who Stole Christmas? This nature inspired “Grinch Hand” is a fast, fun, and easy craft for the kiddos and the grown ups alike!
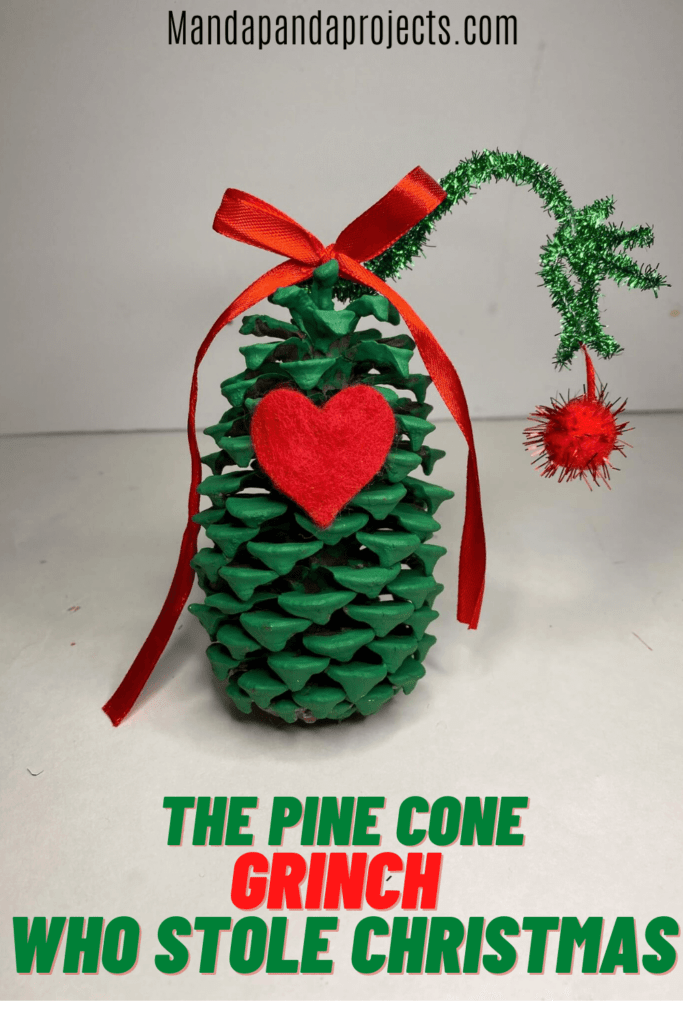
We have officially made it to the second to last day of our first ever Pine Cone Countdown to Christmas *cue air claps*!!! Today, we bring you the Pine Cone Who Stole Christmas. And let me tell ya, he was a hit over on the Gram!
This Pine Cone Santa Village has been SO much fun to create, I’m kind of sad there’s only one day left in the countdown. Santa Cone is the last on our list so make sure to check back Christmas Day when the Jolly ole man makes his debut.
Pine Cones are SO much fun to craft with, especially around the Holidays (although we use them year round ’round here!). Just remember, if you’re crafting with pine cones you collected yourself from outdoors, make sure to thoroughly clean and prepare them first. That is, unless you’d like to host a sleepover for a family of Daddy Long Legs! We get ours from a local park and they come filled with dirt and debris and BUGS, so it’s important to bake those bugs out so you don’t end up with spiders in your pine cone crafts, eeeeek! If you don’t live in an area that has pine cones in nature, you can always buy them on Amazon or even Etsy.

Free printable Craft Project Planner
Get organized, get inspired, and get crafting, with our free Craft Project Planner!
This post may contain affiliate links for your convenience (which means if you make a purchase after clicking a link I will earn a small commission but it won’t cost you a cent more!)
Supplies needed to make a Pine Cone Grinch Hand Craft
- Pine cones (cleaned and prepared or store bought)
- Green Paint
- Stiff craft felt – Red
- Red Ribbon
- Red Craft pom pom
- Green tinsel pipe cleaners
- Glue (we used a kids glue gun that we LOVE and highly recommend)
How to Turn a Pine Cone into the Grinch Who Stole Christmas
Clean and prepare the pine cones for crafting
If you bought your pine cones rather than collecting them from nature you can skip this step. Otherwise, make sure you thoroughly clean them to get rid of all of the dirt and debris, and bake the bugs out.
Paint the pine cone green to make the Grinch’s’ body
Allow the paint to dry fully. By the time you complete the next 2 steps, it should be good to go.
Make the Grinch heart
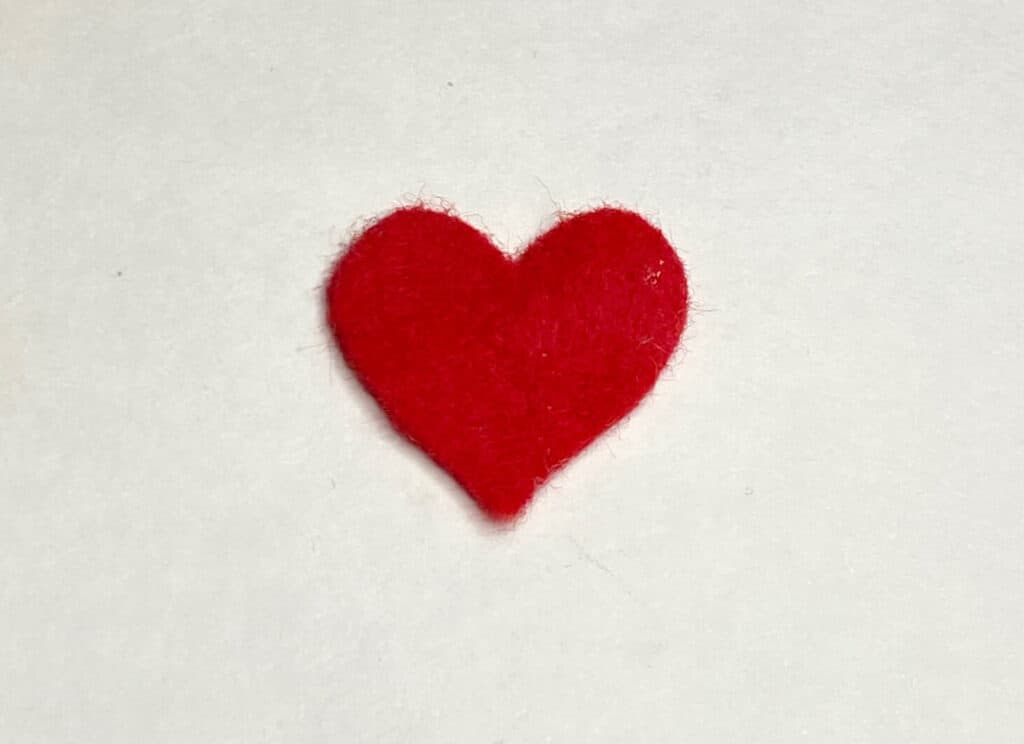
Trace the heart shape onto red felt, and cut it out. You can easily do this freehand by folding the piece of red felt in half and drawing the half heart shape on the edge and then cutting that out so its symmetrical.
Make the Pipe Cleaner Grinch Hand
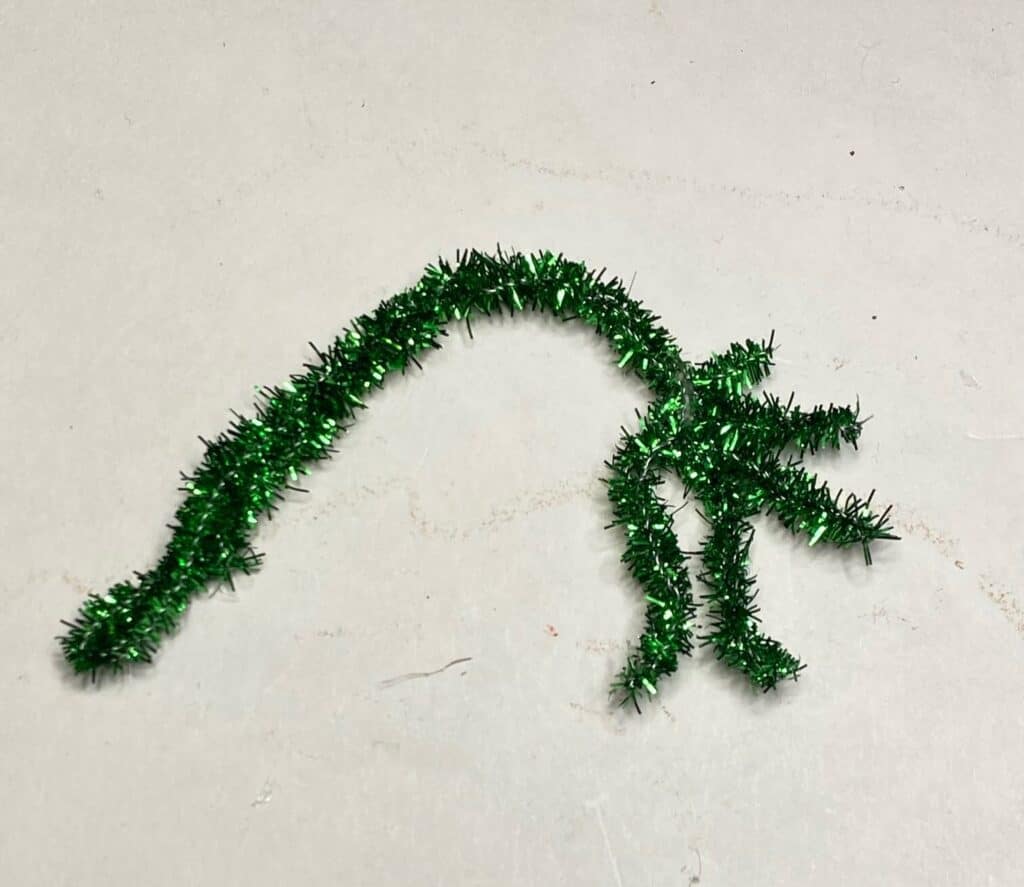
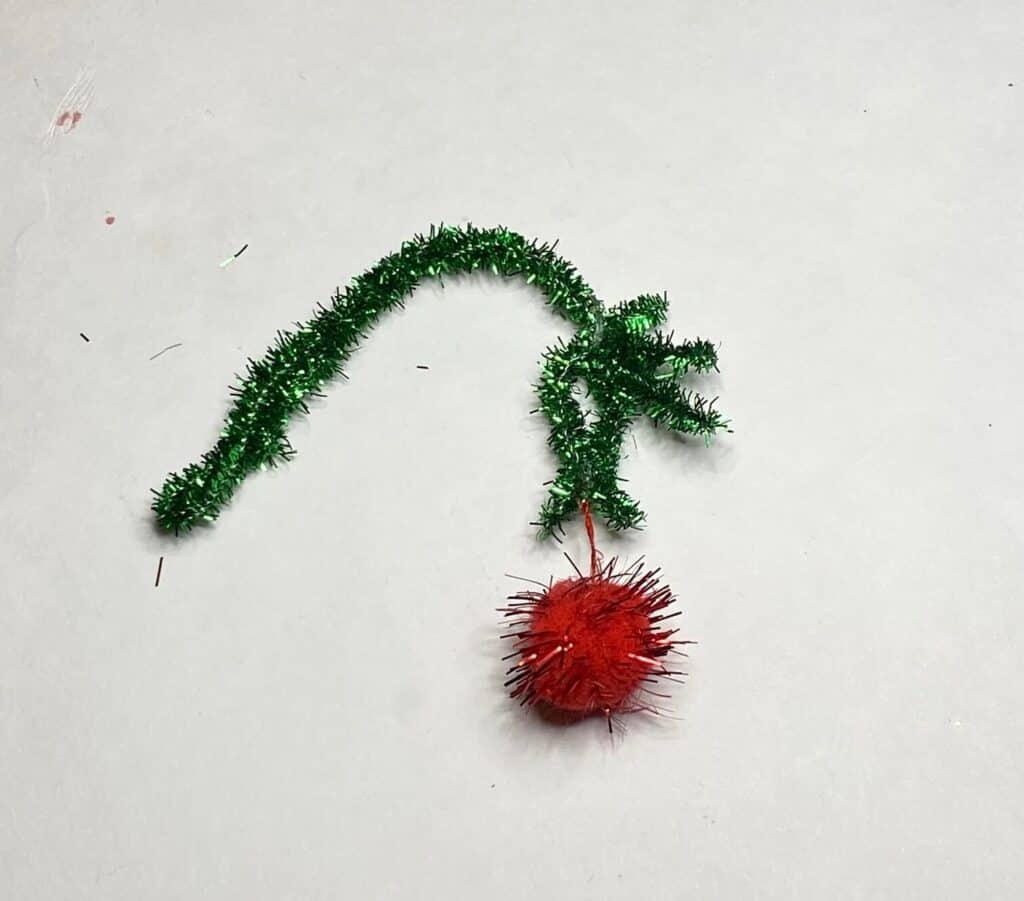
I don’t have a specific step-by-step for this other than twist and shape a pipe cleaner into the shape of the famous “Grinch Hand”. Ours took 2 pipe cleaners to make. The first one made his hand with the 3 “fingers”, and the second one formed his “arm”.
Next, cut a small piece of red ribbon, and glue a small red craft pom pom to the end of the it to make the bulb ornament.
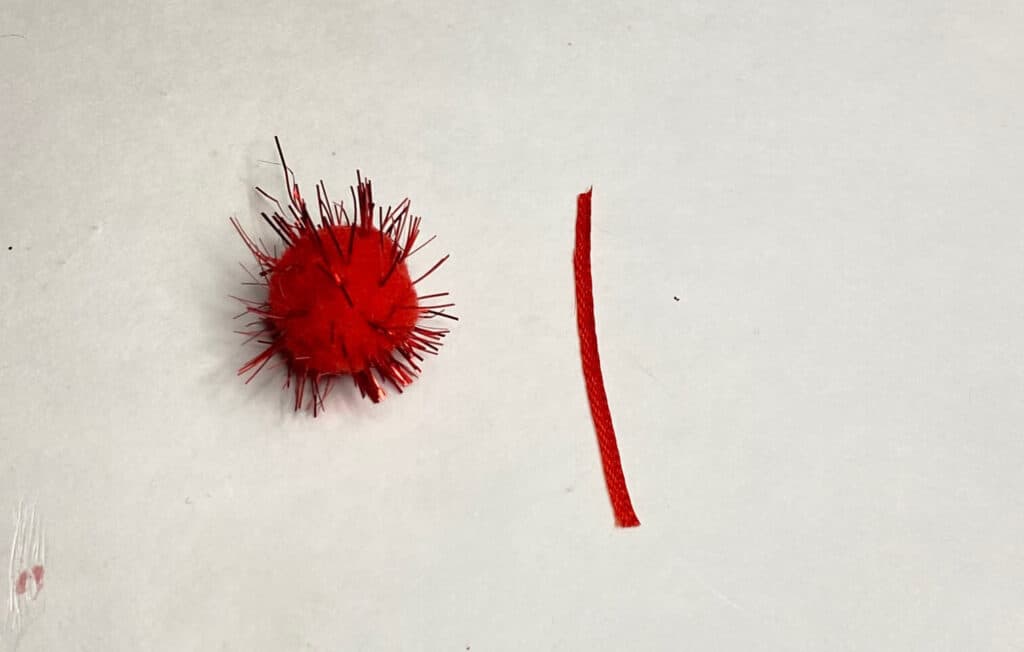
Glue the end of the ribbon between the Grinch fingers so it looks as if he is holding the end.
Put the finishing touches on the Pine Cone Grinch
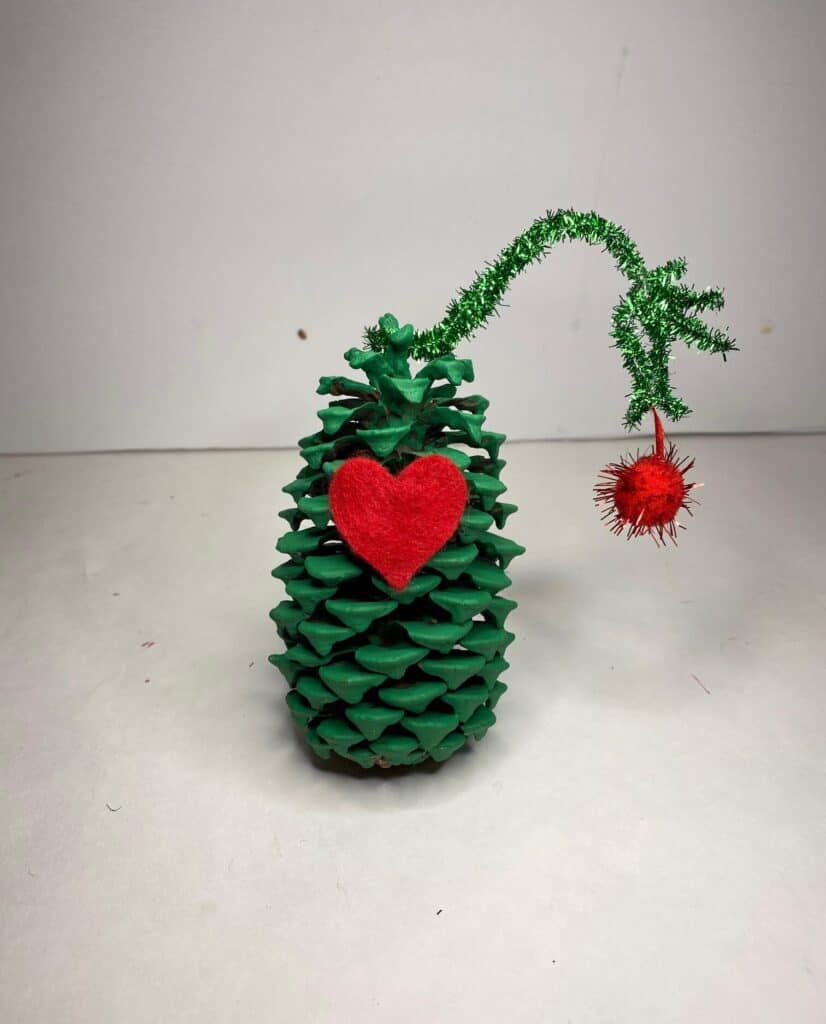
Glue the green pipe cleaner to the top of the painted pine cone. Tie a small red shoelace bow, and glue that over the top as well.
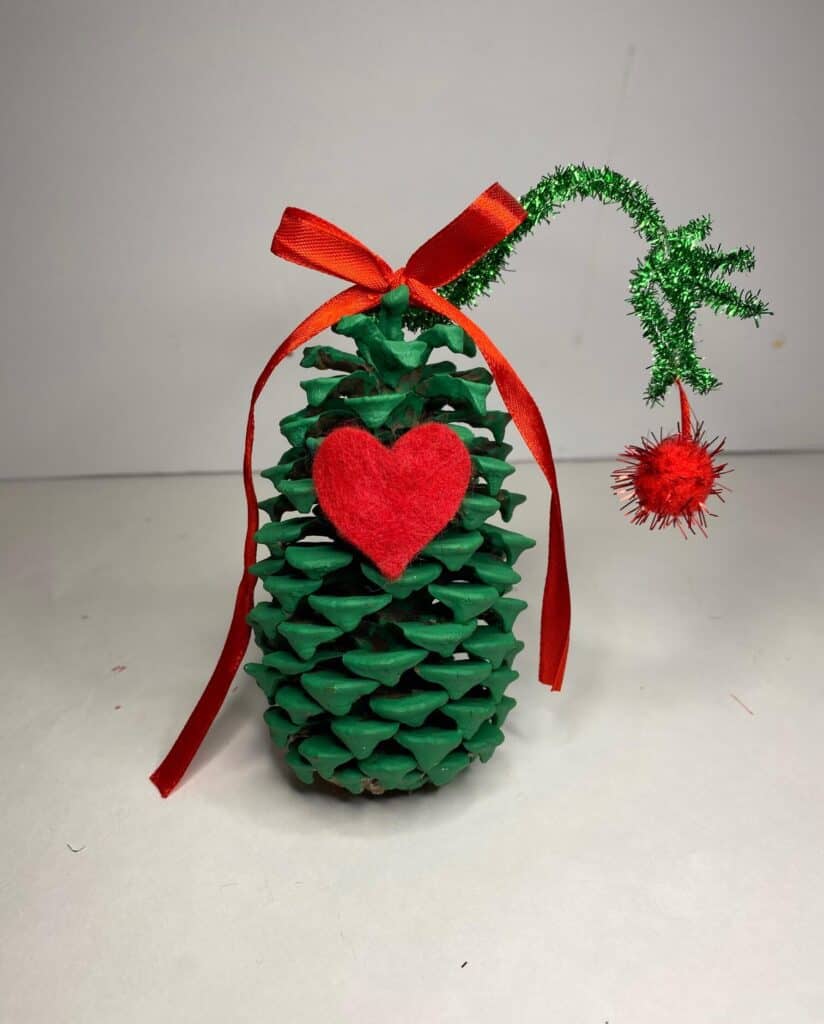
The Pine Cone Who Stole Christmas was a total hit in our Pine Cone Countdown to Christmas, but I’m not sure which one has been my favorite so far. If you haven’t been following, make sure to go back and check out the Pine-guin, Frosty the Snowcone, the Gingerpine Man, and Rudolph the Red-Nosed Pine Cone! Even those names make me LOL!

Free printable Craft Project Planner
Get organized, get inspired, and get crafting, with our free Craft Project Planner!
If you’re not part of our Craftspiration Facebook group, join in on the fun and post a pic of your completed Grinch Pine Cone project. I just love to see all your crafts!
Until Next Time…
Stay Crafty San Diego!

Love this Pine Cone Grinch Who Stole Christmas? Make sure to PIN it to your Christmas Craft Board!


