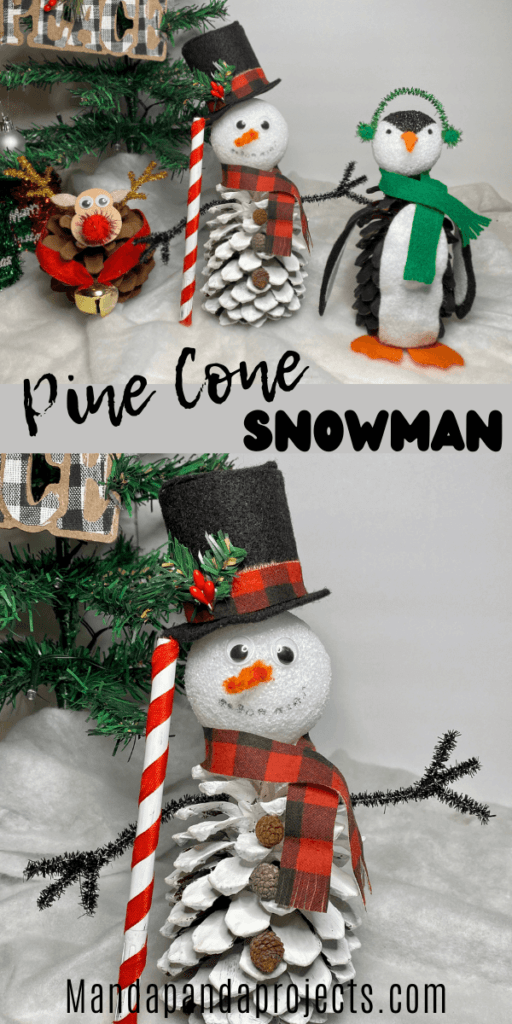
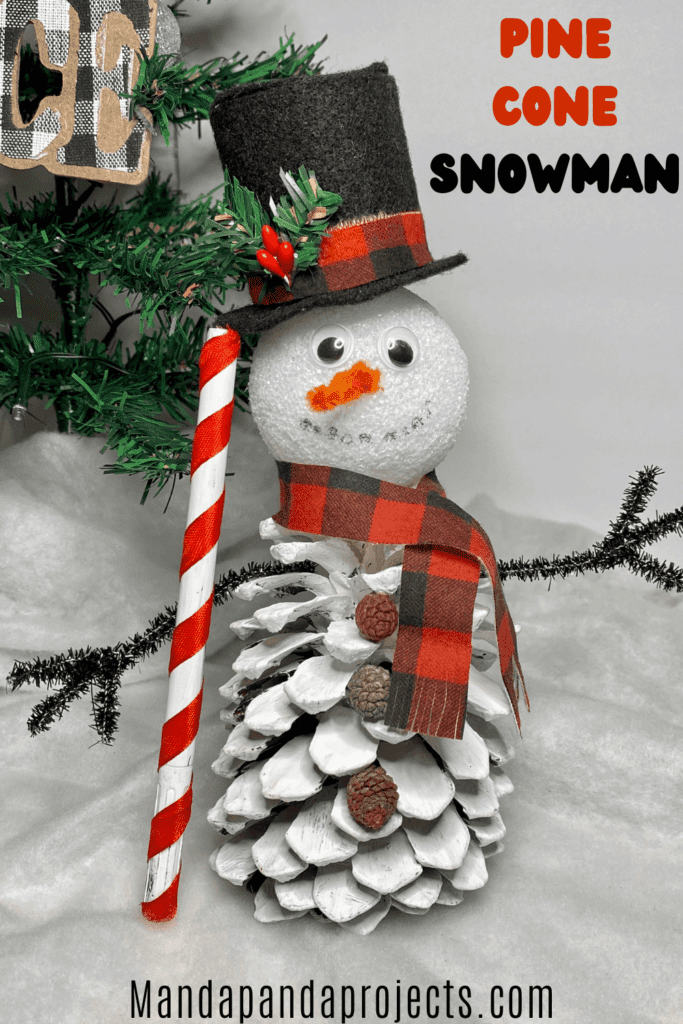
Nothing says Christmas like a cute pine cone craft, and this Pine Cone Snowman is no exception! This nature inspired Frosty craft is easy enough for kids to make, and fun for the grown ups to. But the best part is that you only need a few supplies. Grab a pine cone, some paint, felt, and pipe cleaners and get to building your Pine Cone Snowman!
Share the Love!
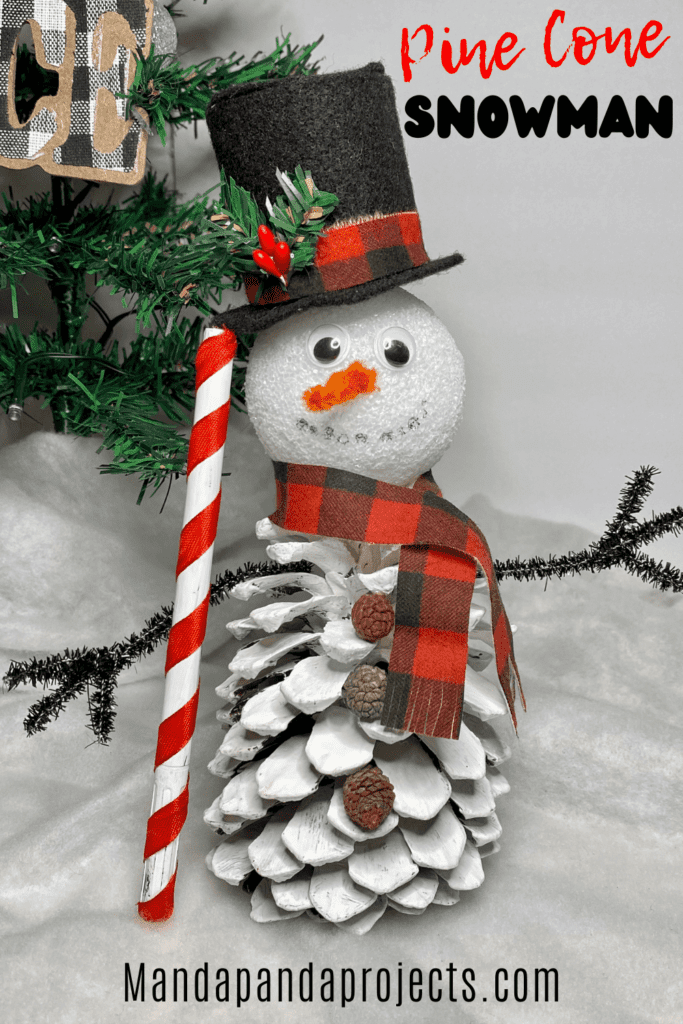
The Pine Cone Countdown to Christmas continues with this absolutely adorable Pine Cone Snowman, who prefers to go by “Frosty the Snowcone”. If you missed the Pine Cone Penguin we shared last week you’ll definitely want to go back and check him out! He is darling and now he has a Pine Cone Snowman friend to keep him company.
Pine Cones are SO much fun to craft with, especially around the Holidays (although we use them year round ’round here!). Just remember, if you’re crafting with pine cones you collected yourself from outdoors, make sure to thoroughly clean and prepare them first. That is, unless you’d like to host a sleepover for a family of Daddy Long Legs!
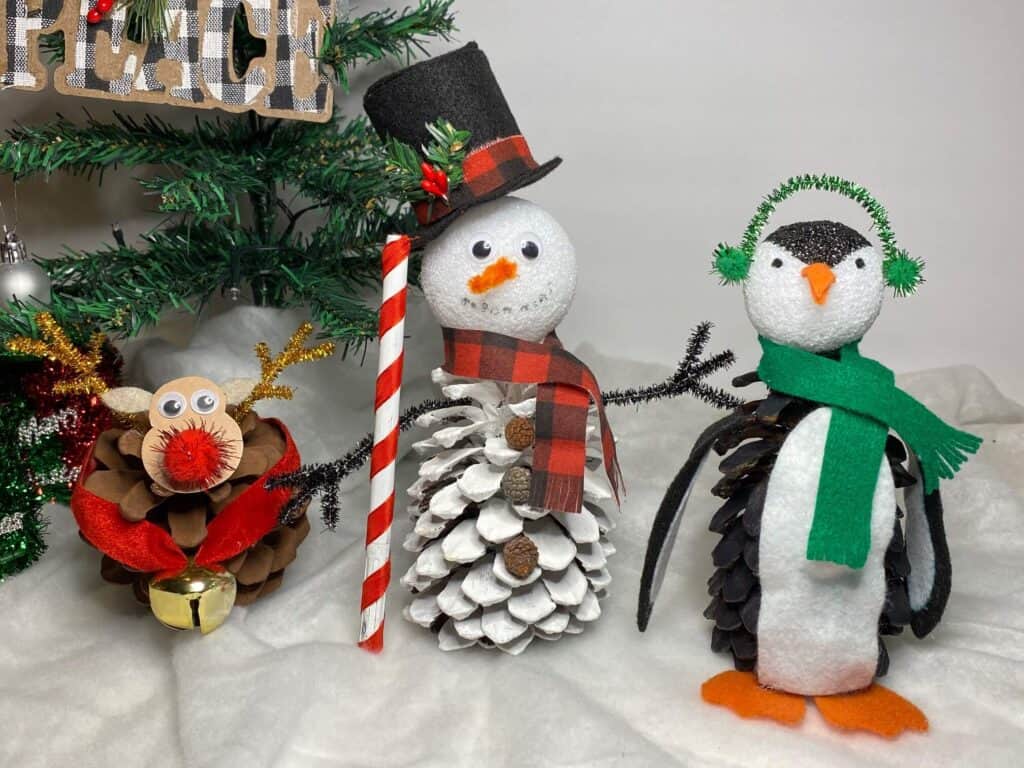
Make sure to check back next week when as we continue our Pine Cone Countdown to Christmas!

Free printable Craft Project Planner
Get organized, get inspired, and get crafting, with our free Craft Project Planner!
This post may contain affiliate links for your convenience (which means if you make a purchase after clicking a link I will earn a small commission but it won’t cost you a cent more!)
Supplies needed to make a Pine Cone Snowman Craft
- Pine Cone – Cleaned and prepared or store bought
- White paint
- Black felt
- Red and black buffalo check fabric or ribbon (you could also use plain red felt)
- Orange and black pipe cleaners
- Empty toilet paper roll
- Holly and berry sprig (you could also cut one out of felt)
- Black marker
- Googly eyes
How to turn a Pine Cone into a Frosty the Snow Cone
Follow the below easy steps to make an adorable Pine Cone Frosty the Snowman!
Clean and prepare the pine cones for crafting.
If you have store bought pine cones rather than ones you collected from nature, you may skip this step. Other wise, you can read the full instructions on how I clean them and bake the bugs out.
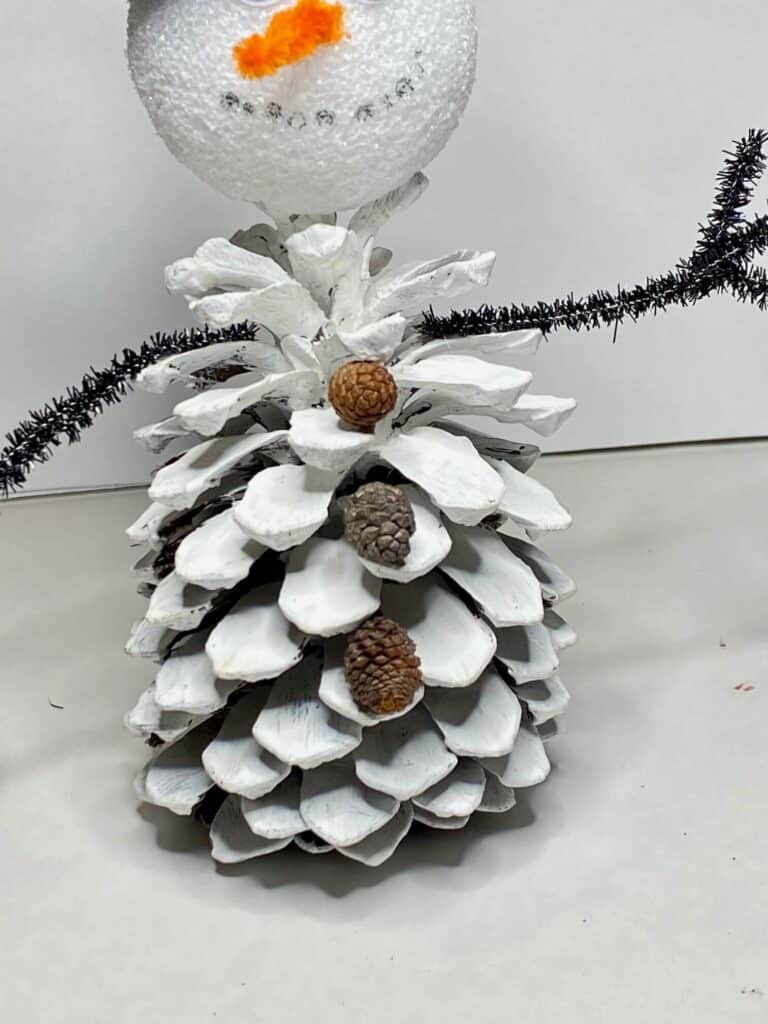
Paint the entire pine cone white.
Once the paint has dried completely, glue the styrofoam ball to the top of the pine cone.
Make the Pine Cone Snowman’s top hat.
Cut a toilet paper roll in half and paint it black.
You can skip painting it black since we are covering it with black felt, but I painted it just to be safe in case the felt did not cover the roll perfectly you wouldn’t be able to see the brown through.
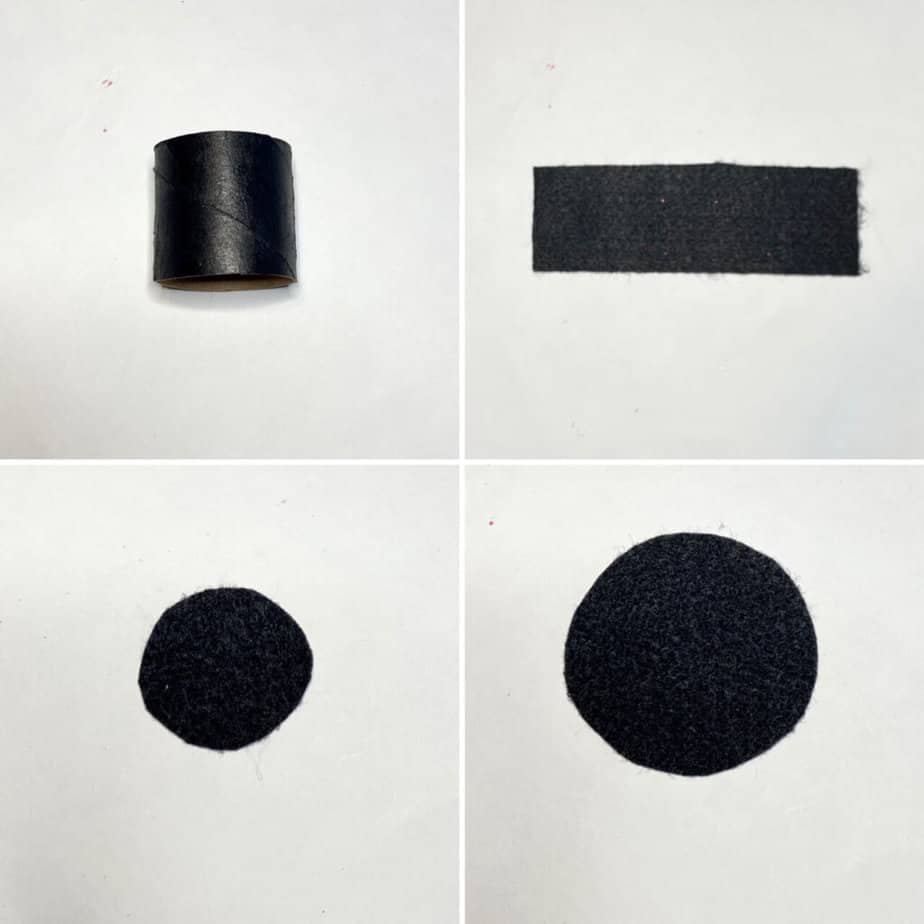
Cut a circle out of black felt to cover the top of the hat. You can use the toilet paper roll to trace the circle outline and cut it out.
Cut out another circle that is slightly larger than the toilet roll for the brim. You can use anything around the household to trace the circle, we used a regular cup.
Cut a strip of black felt that is as tall as the the half roll, and long enough to wrap entirely around it. Mine was approximately 2″x 6″.
Glue the black felt strip around the paper roll, and glue the small felt circle to the top and large circle to the bottom to form the Top Hat.
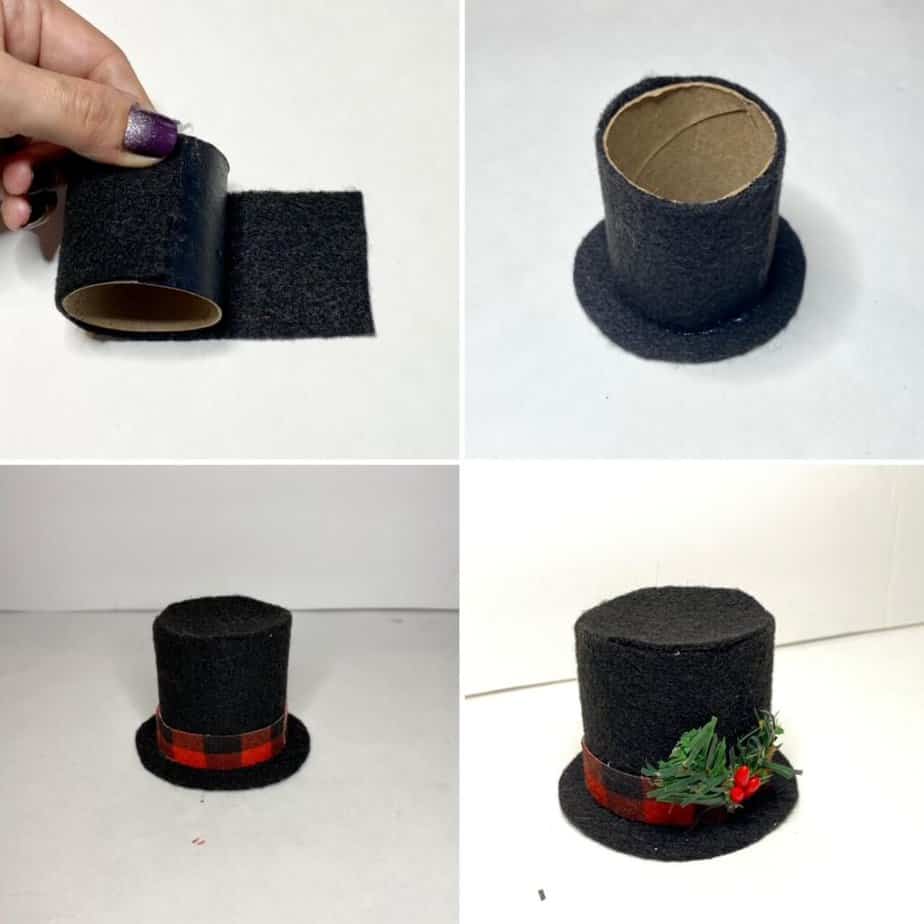
Cut a thin strip of red and black buffalo check fabric (or red felt), to glue around the bottom of the hat above the brim.
Glue a few pieces of pine/holly or berry to the hat.
Make the Pine Cone Snowman’s arms and carrot nose.
For each arm, take one black pipe cleaner and bend it into the shape of a “stick arm”.
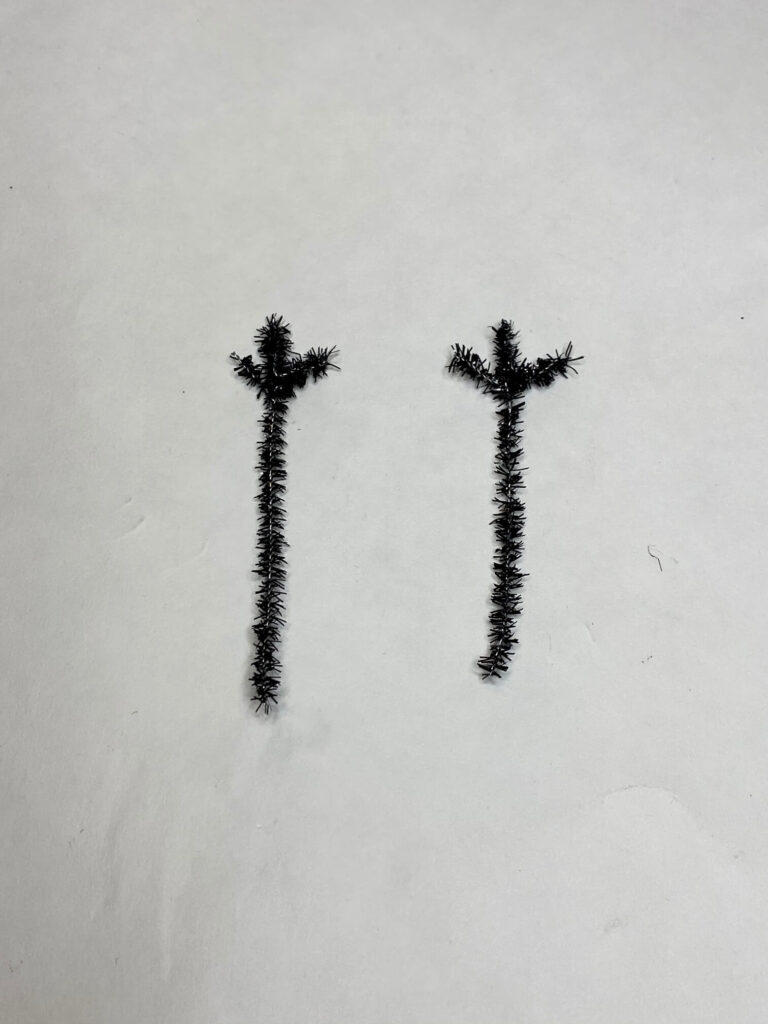
Snip off a small piece of orange pipe cleaner, and twist slightly to look like a carrot.
Do you want to build a snowman? (sorry I couldn’t resist)
Glue his arms to the side of his pine cone body. Then glue on some googly eyes, the pipe cleaner carrot nose, and use a black marker to make several dots to form his mouth.
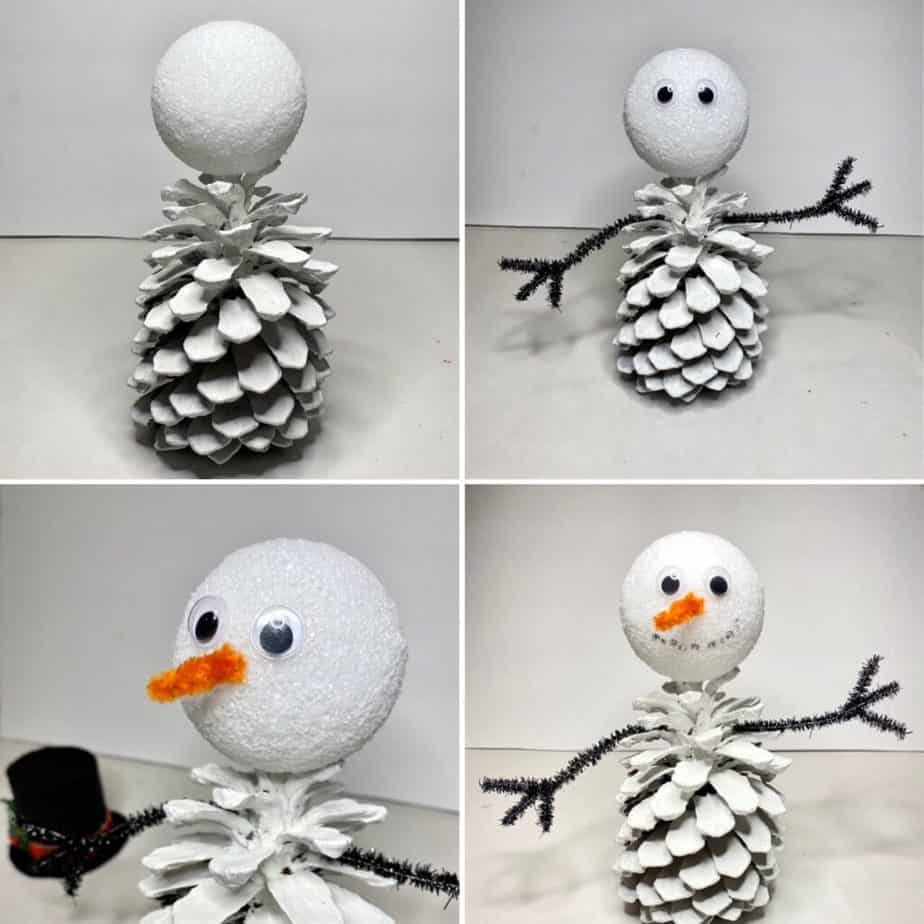
Glue the buttons onto the front of the painted pine cone body. We used mini pine cones, but I know these are not necessarily easy to find so you could use real buttons, or even cut black circles out of felt. Get creative and use whatever you have.
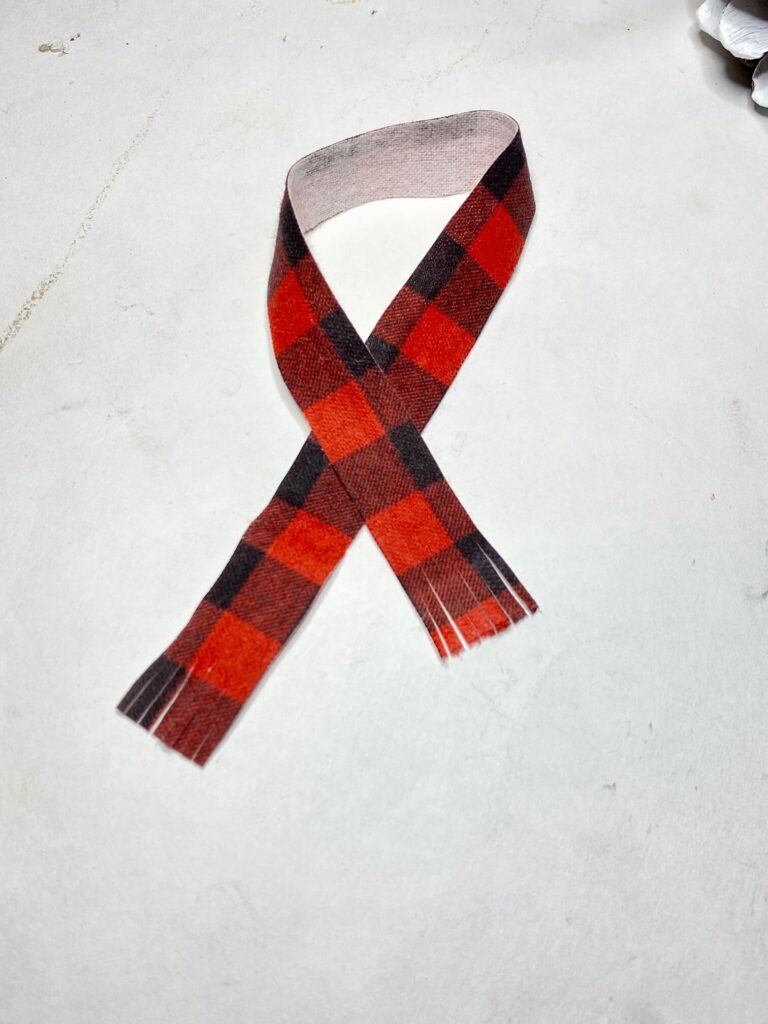
Make the scarf out of fabric or felt
Cut a thin strip of the fabric or felt long enough to wrap around his neck, with a bit leftover. Ours was about 7″. Then cut little clits on each end to make the fringe.
Put the finishing touches on the Pine Cone Snowman
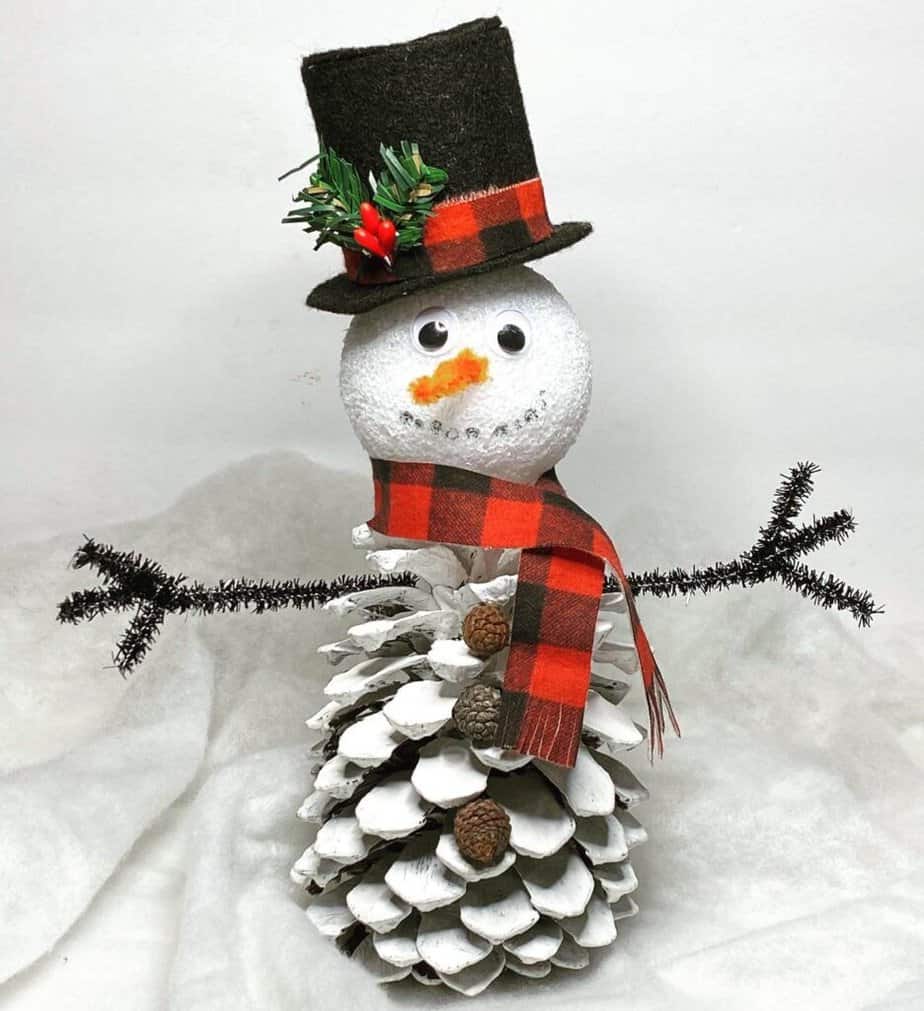
Glue the hat on top of the styrofoam head, and wrap the scarf around his neck.
Make sure to check back next week for the next character on our Pine Cone Countdown to Christmas! Who will be next?
What are you making this Christmas? Make sure to post your creations in my Craftastic Facebook group and tag me @mandapandaprojects so I can see how you’re getting crafty this Holiday Season!
Until Next Time…
Stay Crafty San Diego!

If you love this Pine Cone Snowman idea, make sure to PIN it for later!

