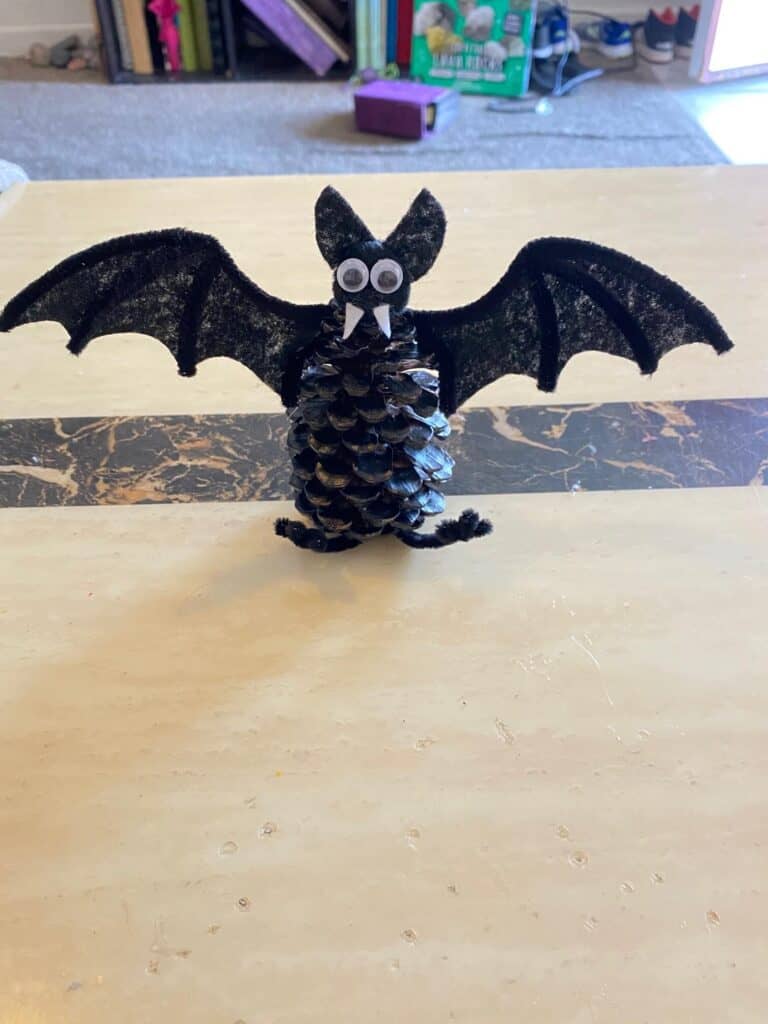
The kids will go just batty over this Halloween nature craft. This Pine Cone Bat is a perfect DIY Halloween decoration that is just as much fun, as it is easy to make. Grab some pine cones from your back yard, and make this lil’ guy to scare all the other Ghosts and Goblins away!
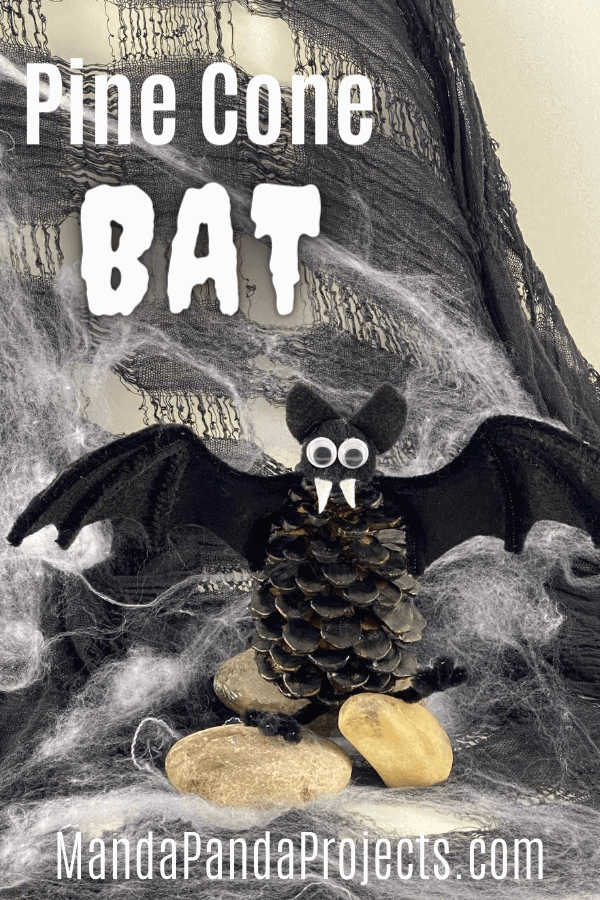
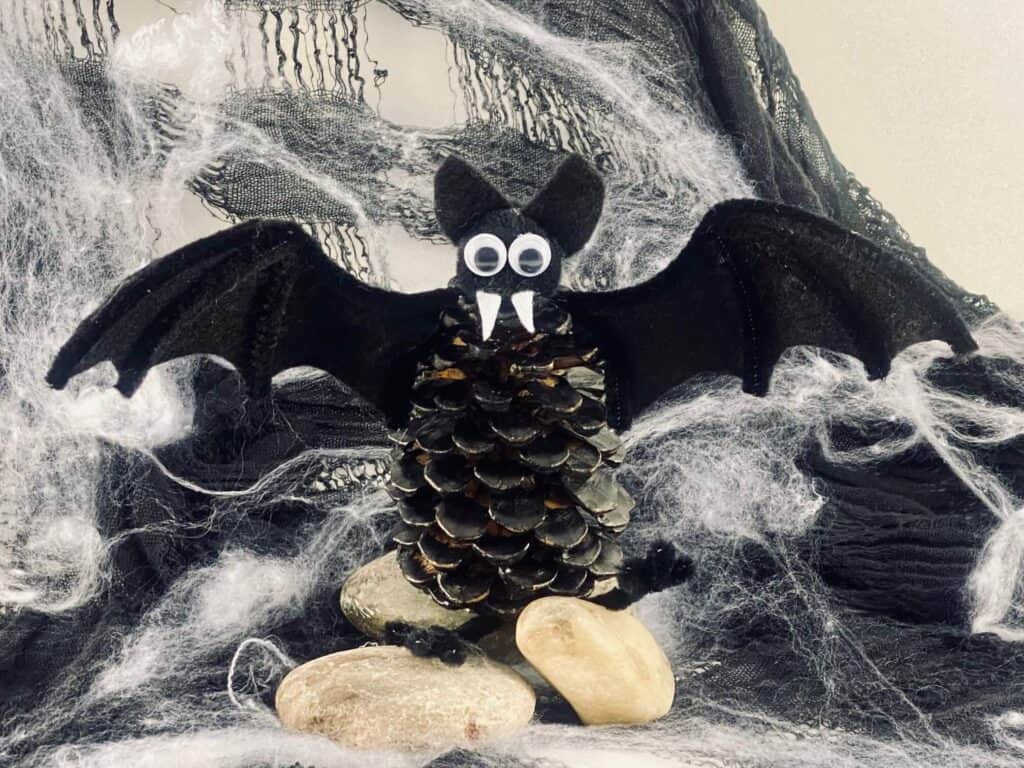
This Pine Cone Bat – AKA ‘The Dark Bite’ – is the 4th post in our Pine Cone spOOktakular series and I think he is my fave so far! If not my fave, then definitely a close second to our Pine Cone Mummy. If you missed the first few posts in this series, you should totally go back and check out that Mummy as well as the Pine Cone Ghost and Pumpkin we created.
We love crafting with pine cones in this house, so we learned the hard way that you have to clean and prepare your pine cones before turning them into cute and pretty little projects. So if you’re making this Pine Cone Bat with pine cones you’ve found in your own backyard, make sure to check out this post with the exact steps I take to clean them, bake the bugs out, and as an added bonus leave you with beautifully bloomed cones. That is, unless you like spiders in your crafts? It is after all a Halloween craft…!
If you aren’t lucky enough to live in an area where you can collect pine cones right in your own backyard, don’t worry you can buy them on Etsy, or even good ‘ol Amazon.
This post may contain affiliate links for your convenience (which means if you make a purchase after clicking a link I will earn a small commission but it won’t cost you a cent more!)
Supplies Needed to Make a Pine Cone Bat
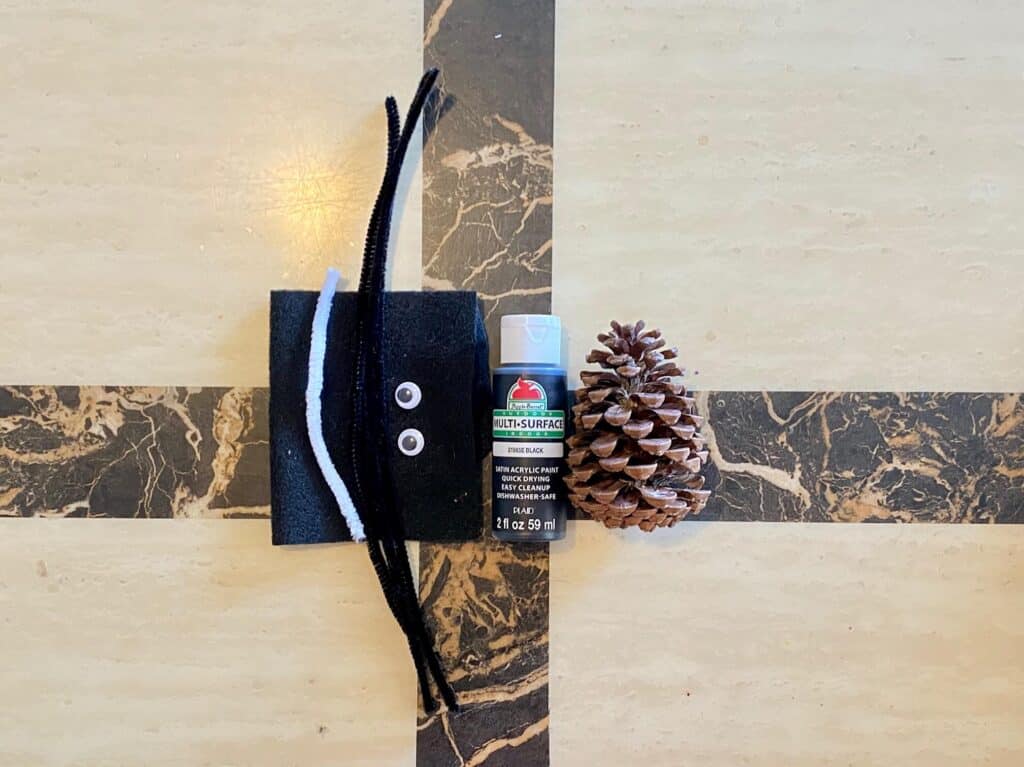
- Pine Cone – Cleaned and prepared or store bought
- Black and white felt
- Black paint
- Black pipe cleaner
- Black craft pom pom
- Google eyes
- Glue
How to Make a Pine Cone Bat for Halloween
Follow the below easy steps to make a little bat that’s so ugly, he’s cute!
Clean and prepare your pine cone
If you bought your pine cones, you can skip this step. If not, I already stressed the importance of baking those bugs out! You can find the steps to thoroughly clean and prepare your pine cones here.
Paint the pine cone black
We used acrylic paint and hand painted this little guy, but only because that is what we happened to have on hand. You could also spray paint it, which is much quicker, but it does require you to be in a well ventilated (and well protected) area. Hand painting is much better, and way more fun for the kiddos. We spray painted our Pine Cone Ghost, and it came out just as good. So either way works, the choice is yours.
Cut the bat wings out of the black felt
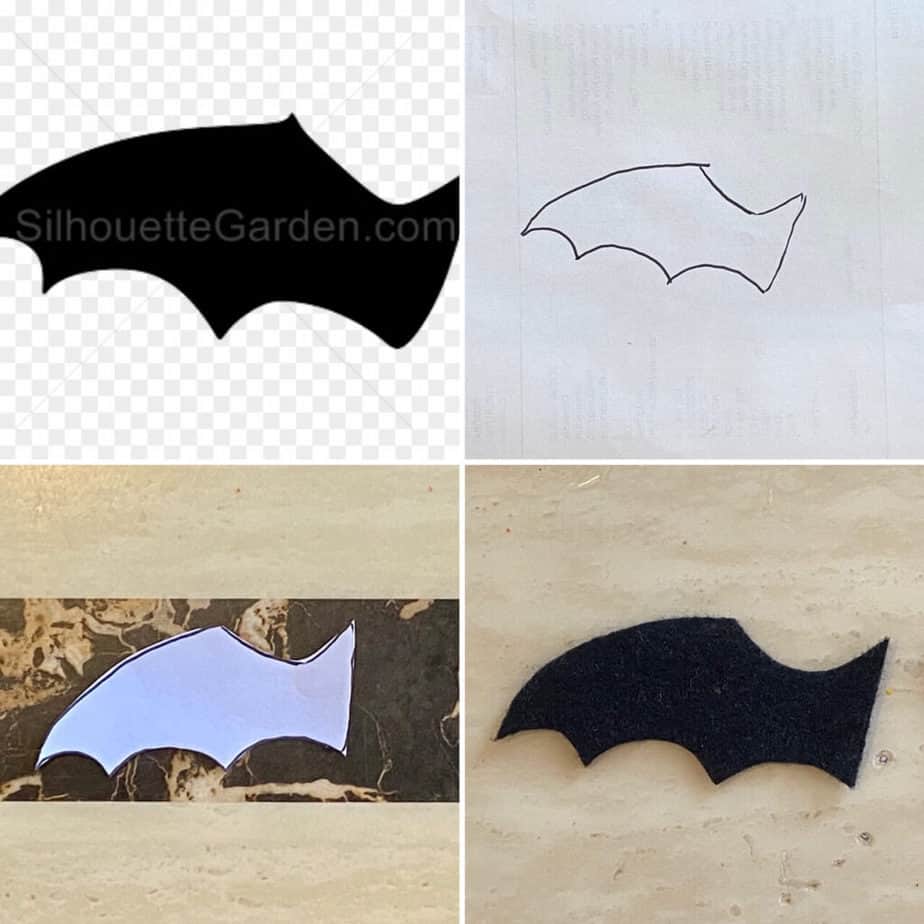
If you have any drawing skills whatsoever (unlike myself), you can draw the bats wing outline onto the felt freehand and cut it out. Otherwise, there are many google images you can trace onto white paper and use as a stencil. Just pull up the image on your phone/computer, place white paper over the screen, and gently trace the shape. Cut it out, and draw the outline onto the black felt 2 times, one for each wing, and then cut them out. If you click on the above pic, it will take you to the exact Bat Wing that we used to trace ours.
Add the “veins” to the bats wings
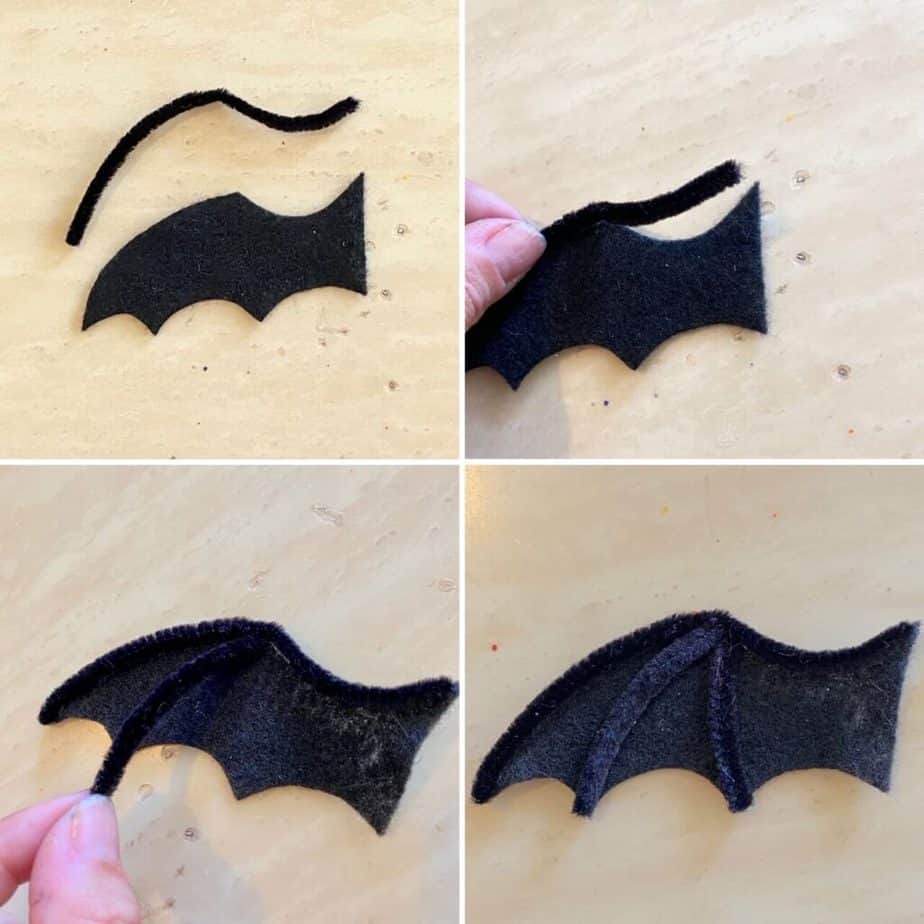
Take a black pipe cleaner and bend/shape it to fit the top edge of each of the bats wings. Once they are shaped, trim off any excess pipe cleaner and glue it in place. Cut and glue 2 smaller pipe cleaner pieces to run from the top, down to the point of each wing like the picture above. Last, glue a small piece down the inner edge of each wing.
Cut the bat ears out of the black felt
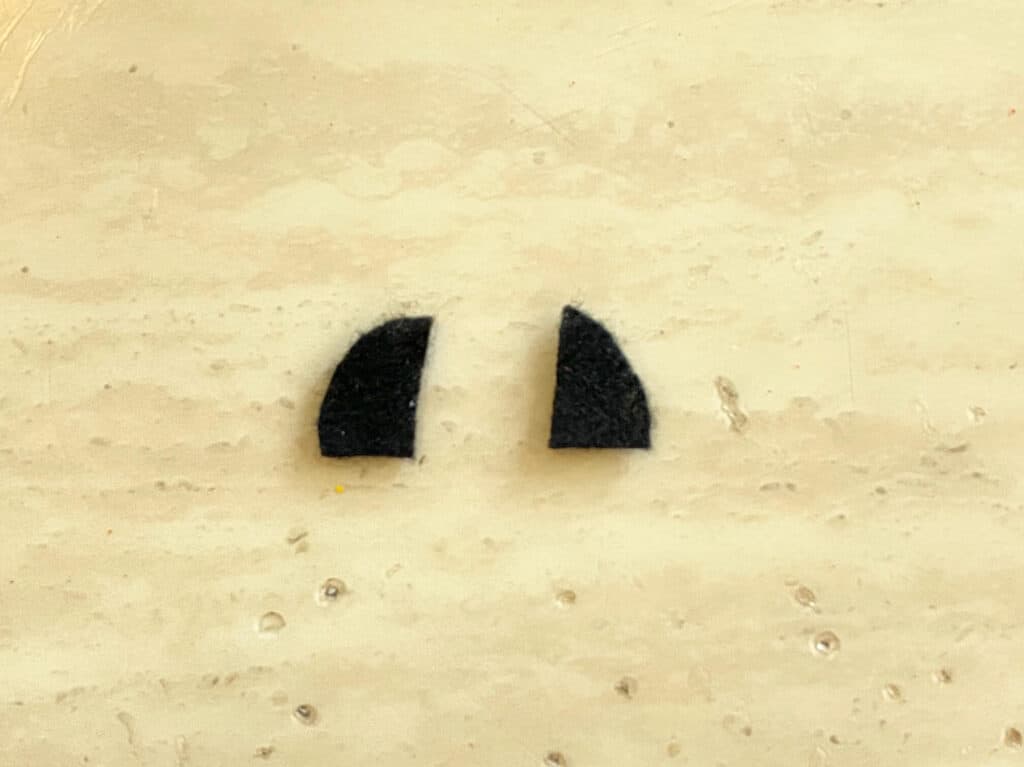
You can definitely freehand this, and it doesn’t have to be perfect. Cut out 2 half circle shapes, and once they are glued to the bat’s head, you won’t even be able to tell the difference.
Cut the bats fangs out of white felt
Freehand cut 2 small triangle fangs. You can make his fangs as big or as small as you’d like (just how scary do you want him to be?)
Glue the black craft pom pom to the top of the black painted pine cone
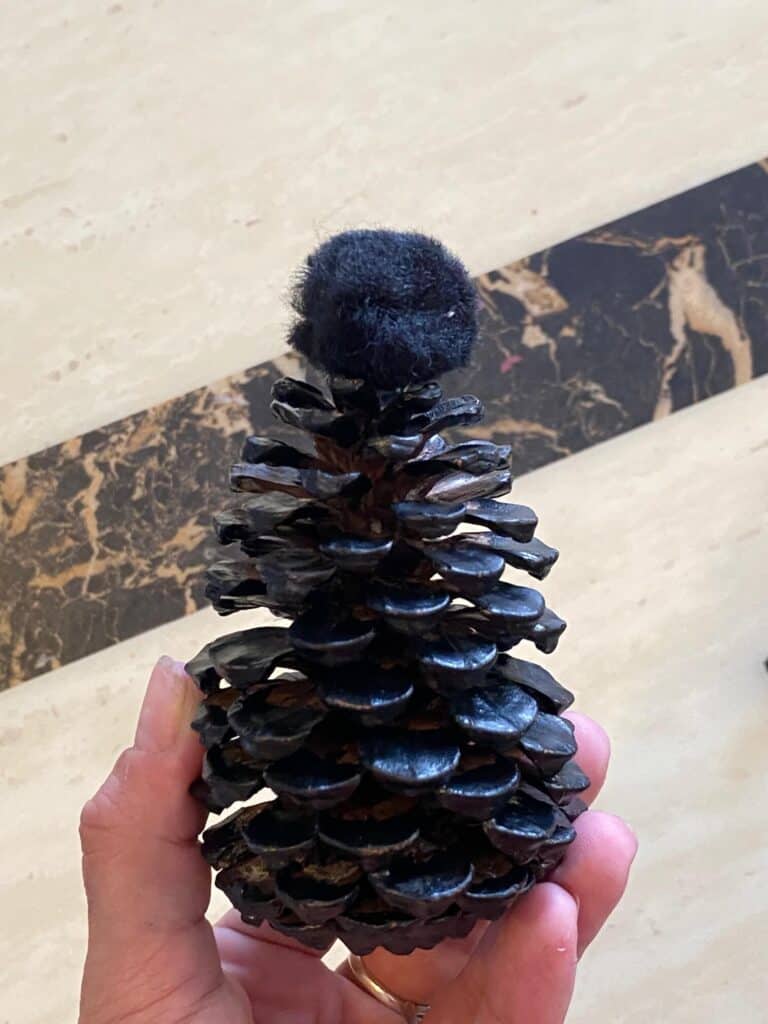
Your pine cone should be fully dry by now, but in case it’s not, allow it to fully dry before moving on. Once it’s dry, you can glue the Bats head on.
Glue the googly eyes, fangs, and the ears in place on the bats head
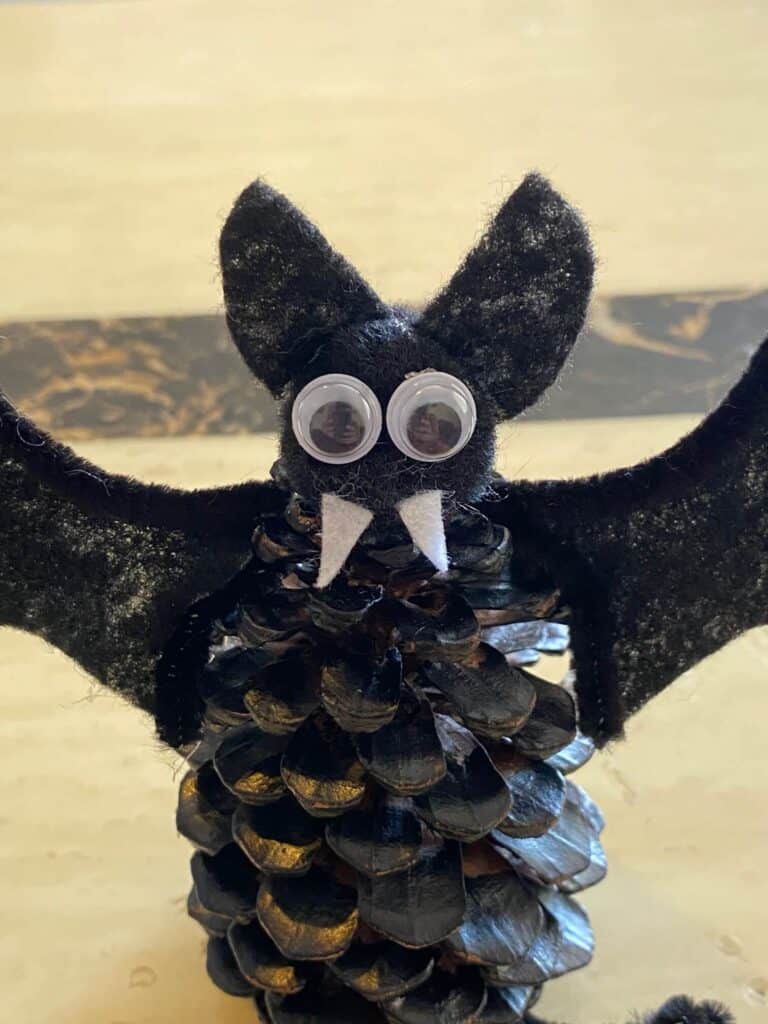
Glue the bats wings to each side of the pine cone
Make the bats feet out of a black pipe cleaner
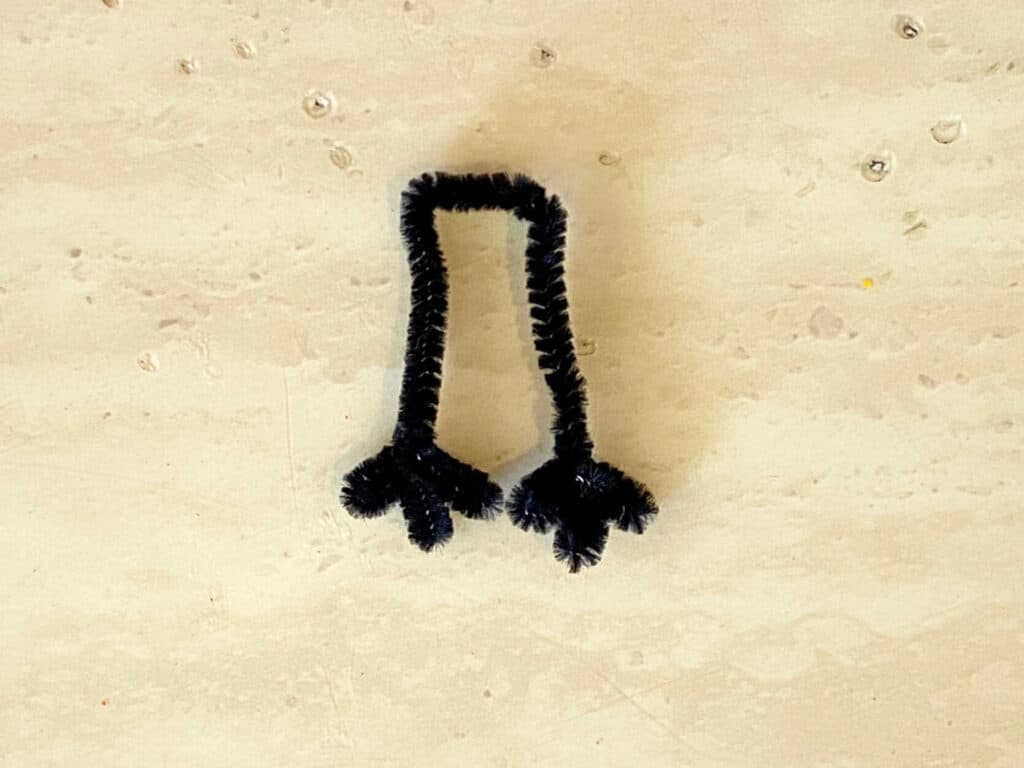
Bend a black pipe cleaner in half. Bend and zig zag each end to form the 3 “toes” and twist to hold. They should look somewhat like the picture above, but don’t worry if it’s not perfect! Glue them to the bottom of the pine cone bats body.
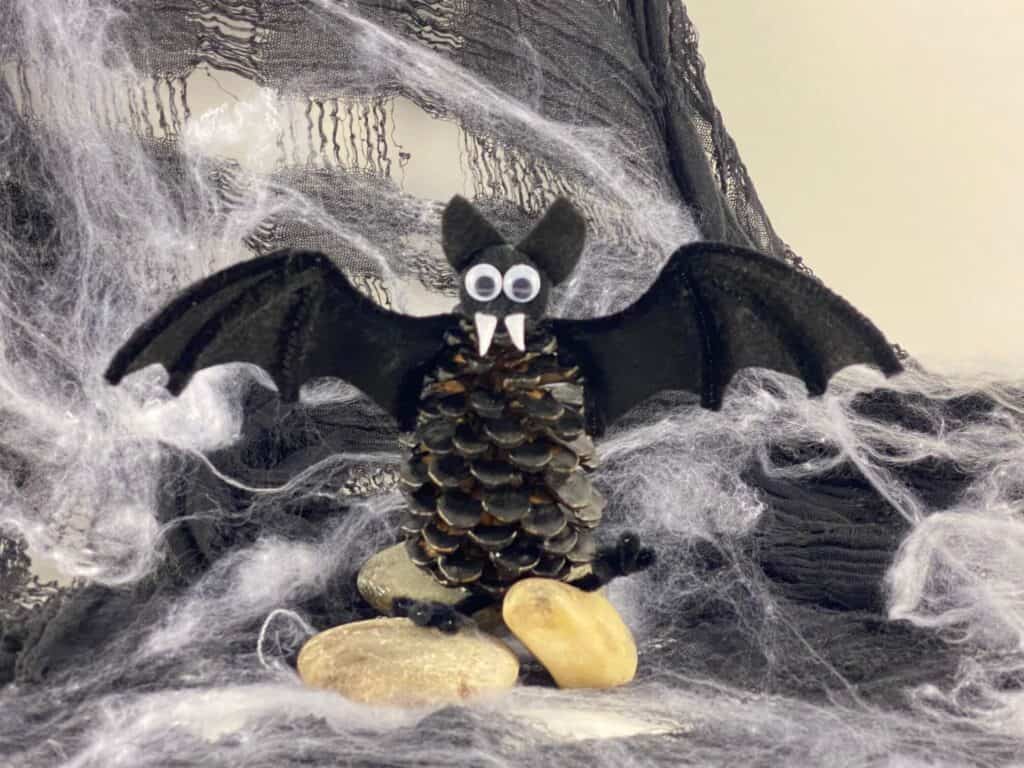
I vant to suck yo’ blooooood! This Pine Cone bat isn’t nearly as scary as the typical Halloween Dracula Vampire. I’d say he airs on the side of friendly, not freaky. In fact, he’s downright cute!
This cute lil’ guy was definitely the most detailed one in the Pine Cone spOOktakular so far. The Pine Cone Mummy, Ghost, and Pumpkin were all pretty simple, so we took it up a notch this week. Just wait to see what we have in store for next weeks Halloween Pine Cone Series!
What are you making this Halloween? Make sure to post your creations in my Craftastic Facebook group and tag me @mandapandaprojects so I can see how you’re getting crafty this Halloween!
Until Next Time…
Stay Crafty San Diego!

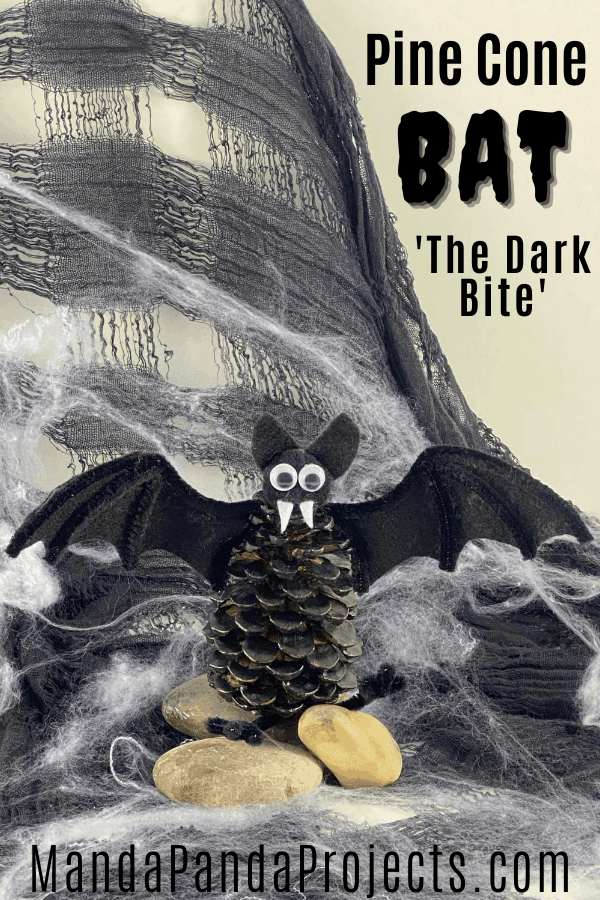
Love this Halloween Pine Cone Bat idea? PIN it for later!



August 23, 2020 @ 3:32 pm
Your pinecone bat is just delightful. I love the idea and the design. We will have so much fun with this.
August 23, 2020 @ 6:49 pm
Thank you! Crafting with pine cones is blast, so happy you liked the Bat!
Pine Cone Scarecrow: The Pine-Crow
September 11, 2020 @ 5:39 am
[…] gone a little Pine Cone Crazy this year making everything from a Mummy, to a Witch, to a Bat, and everything in between! Now, the Pine Cone Scarecrow makes the perfect addition to the Fall […]