Don’t let this DIY nature craft Put a Spell on You this Halloween! This Pine Cone Witch is a fun and easy kids craft that can be made with just a few supplies, one of which you may have in your own backyard. The kiddos will have this Witch crafted up before you can even say “Hocus Pocus”!

This super cute Pine Cone Witch is the last Halloween character (unless I do a bonus cone?!) in this Pine Cone SpOOktakular series. We had such a blast making the whole pine cone crew, that I’m not quite ready for it to end (hence the possible bonus….)! If you missed the first 5 Halloween Pine Cones, you should totally go back and check them out. The Pine Cone Mummy is my fave…no wait The Bat. I can’t decide and you shouldn’t have to either, but we also made a Ghost, Pumpkin, and Spider too!
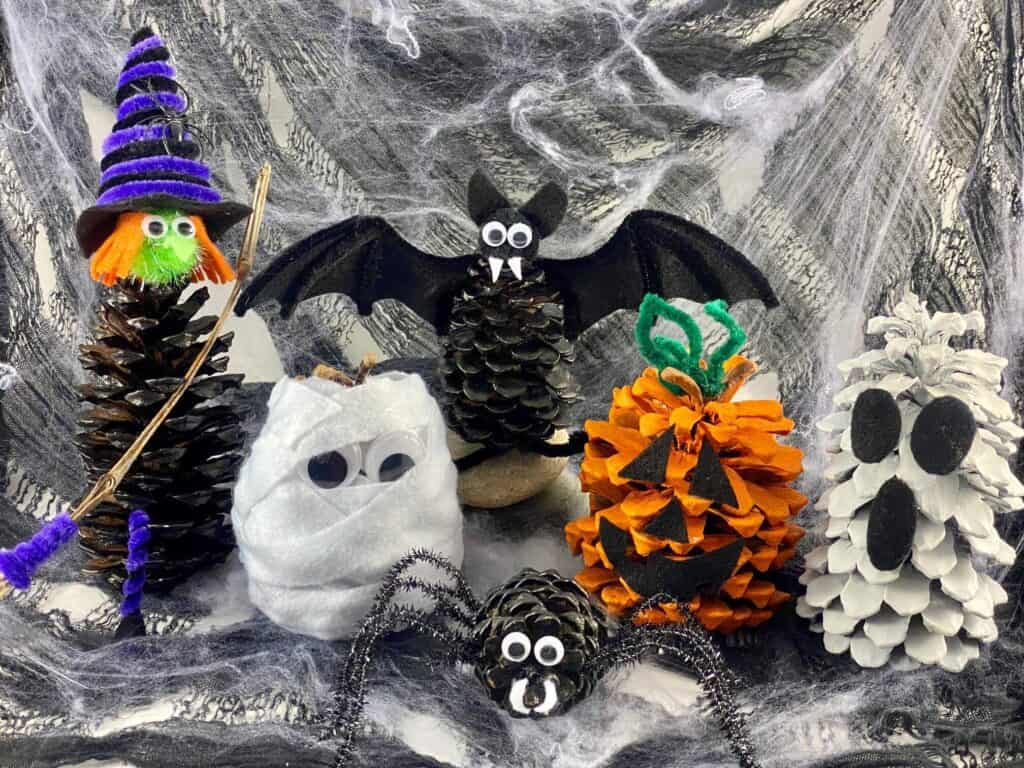
We love crafting with Pine Cones in this house, so Halloween is no exception. Many people associate Pine Cones with Christmas, but they are good for SOO much more. Case in point...The Pine Cone Witch. This nature craft makes the perfect DIY Halloween decorations that can be made with supplies found in your own backyard.
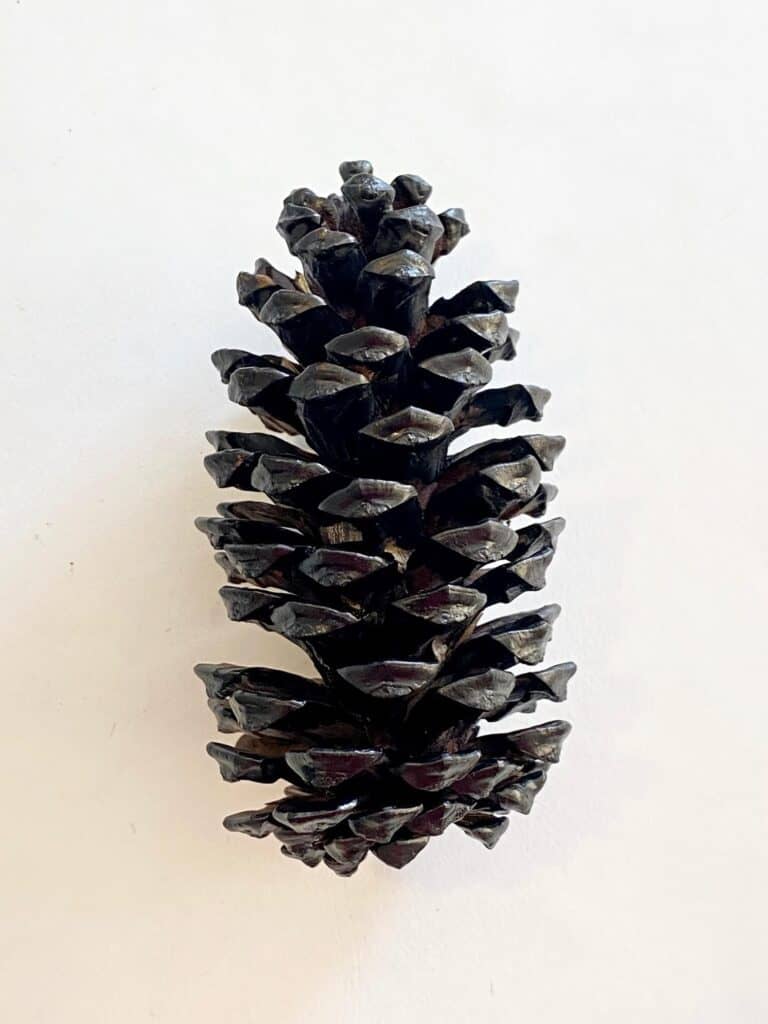
Now, if you do find your Pine Cones in the great outdoors, I don’t have to tell you to clean and prepare them first before crafting do I? We learned the hard way when we had a literal family of Daddy Long legs creep out of our Pine Cone Christmas Trees one year! EEk! So unless you want to make this Halloween Craft truly creepy, follow these steps to bake the bugs out first!
If you aren’t lucky enough to live in an area where you can collect pine cones right in your own backyard, don’t worry you can buy them on Etsy, or even good ‘ol Amazon.
This post may contain affiliate links for your convenience (which means if you make a purchase after clicking a link I will earn a small commission but it won’t cost you a cent more!)
Supplies Needed for a Pine Cone Witch
- Pine cone – Cleaned and prepared or store bought
- Black paint
- Black, Green, and Orange felt
- Purple and black pipe cleaners
- Green craft pom pom
- Google eyes
- Stick or twig
- Toothpicks
- Fake spider (optional)
- Glue
How to Make a Pine Cone Witch for Halloween
Follow the below easy steps to make a Pine Cone Witch craft!
Paint the whole Pine Cone Black
We used acrylic paint and hand painted this one, but only because that is what we happened to have on hand. You could also spray paint it, which is much quicker, but it does require you to be in a well ventilated (and well protected) area. Hand painting is much better, and way more fun for the kiddos. We spray painted our Pine Cone Ghost, and it came out just as good. So either way works, the choice is yours.
Now, let’s make the Witches Hat
Cut a square out of the black felt, 2-3 inches on each side. The bigger your square, the bigger the Witches Hat!
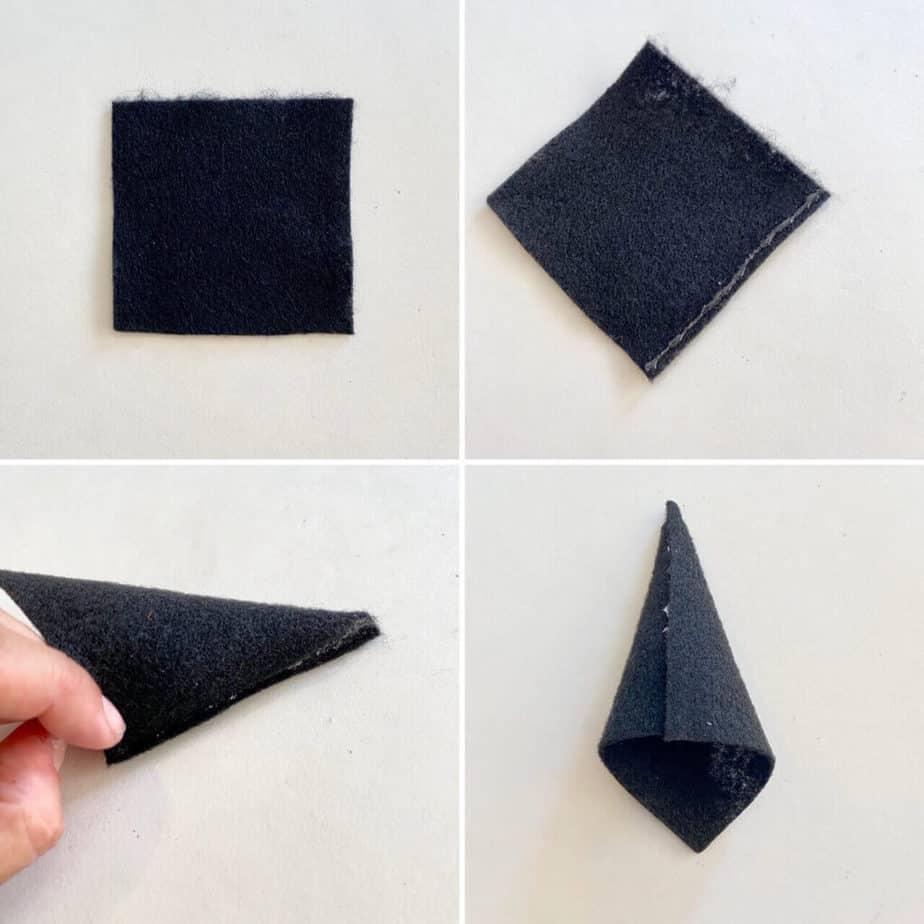
Put a strip of glue along one edge, and roll the felt over to make a cone shape, glue in place.
Cut the excess felt off of the bottom.
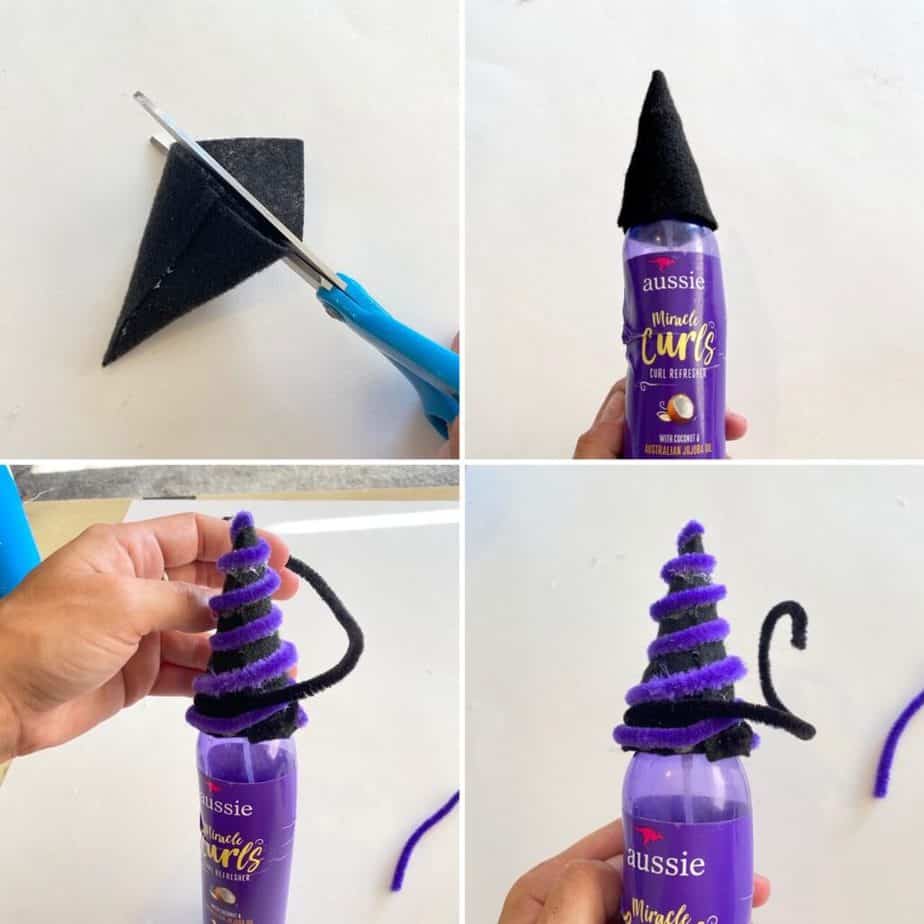
Wrap and glue black and purple alternating pipe cleaners around the hat in a spiral fashion.
We put the hat on a hair gel container to hold it in place, and than started by gluing a purple pipe cleaner around it in a spiral. It reminds me of a cartoon where a little train is driving around and around up the mountain. Make sure to leave a space in between for a black pipe cleaner. Next, glue the black pipe cleaner around to fill the spaces. Cut off any extra pipe cleaner.
Next, make all the parts of the Witches head and face
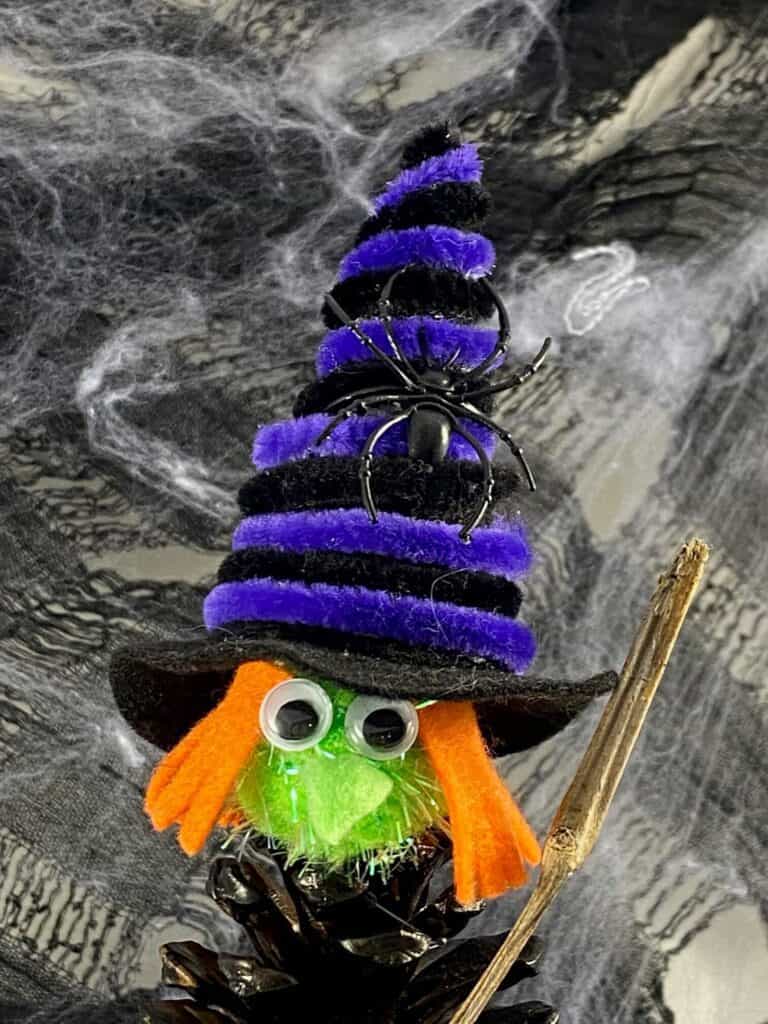
Cut out a small long and pointy strip of green felt to make the Witches crooked nose. Glue the green pom pom to the top of the painted pine cone body (your pine cone should be dry by now), and glue on the crooked felt nose.
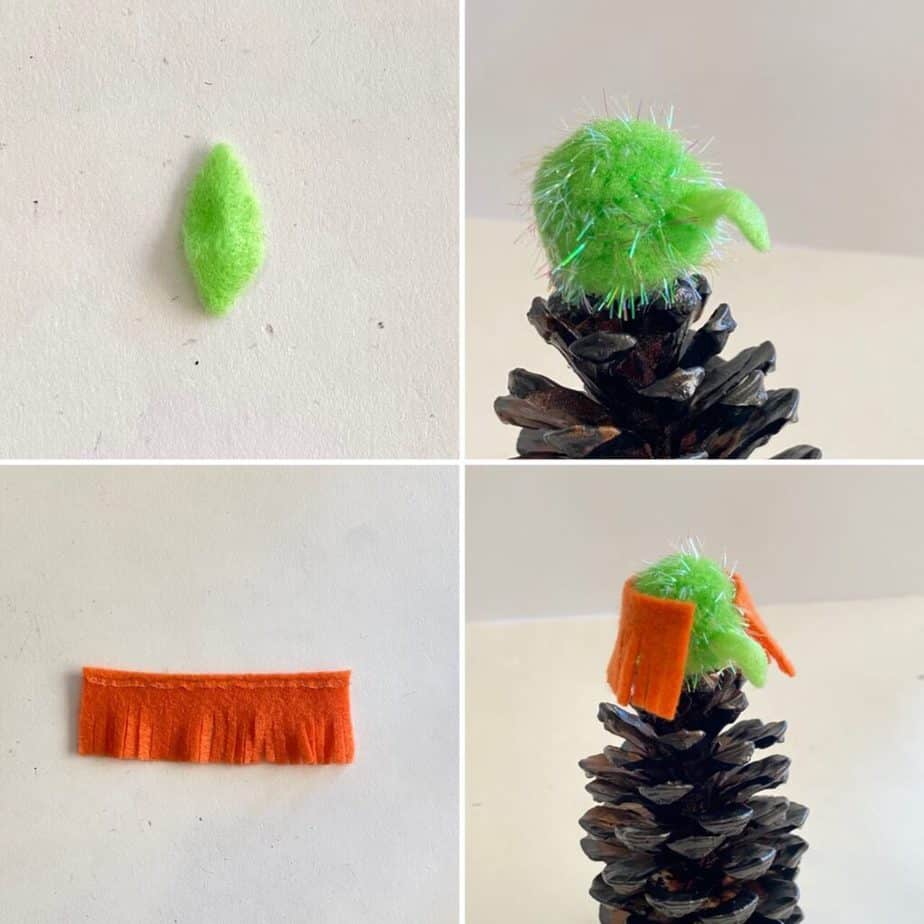
Cut a long rectangular strip of orange felt to make the Witches hair. Cut small slits to look like strands of hair, being careful not to cut all the way to the top.
Glue the orange hair around the Witches head, don’t worry about the top being bald, her Hat will cover that up!
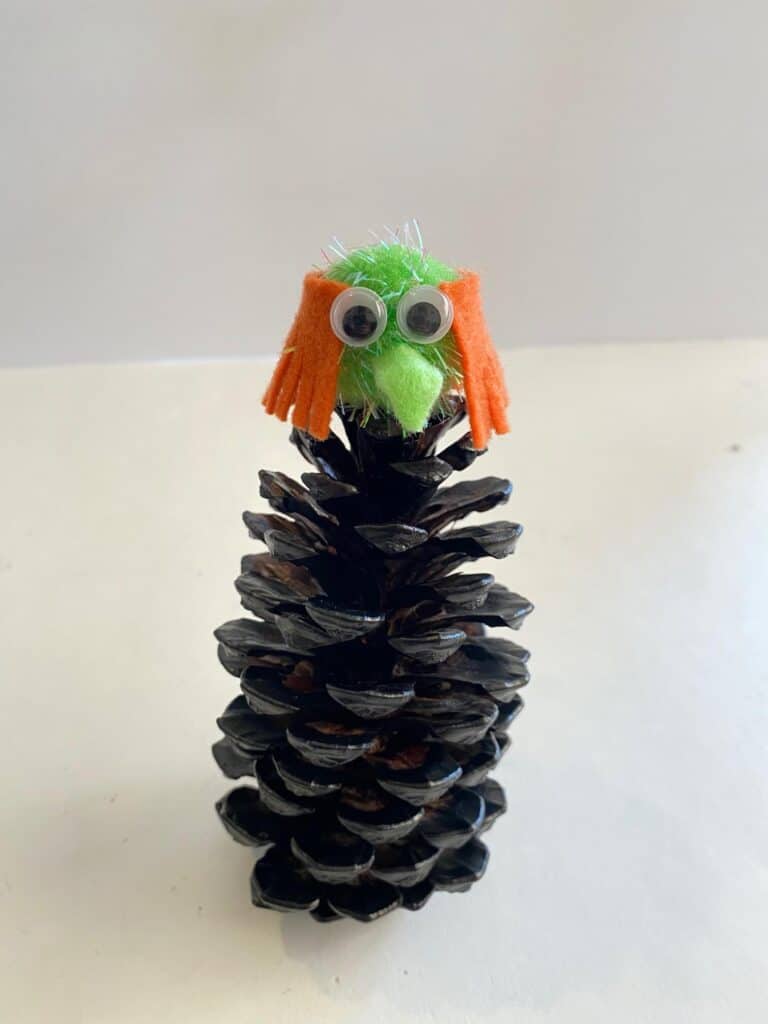
Glue on the googly eyes. She’s starting to look spooky!
Cut a black circle out of the felt to make the brim of the Witches Hat.
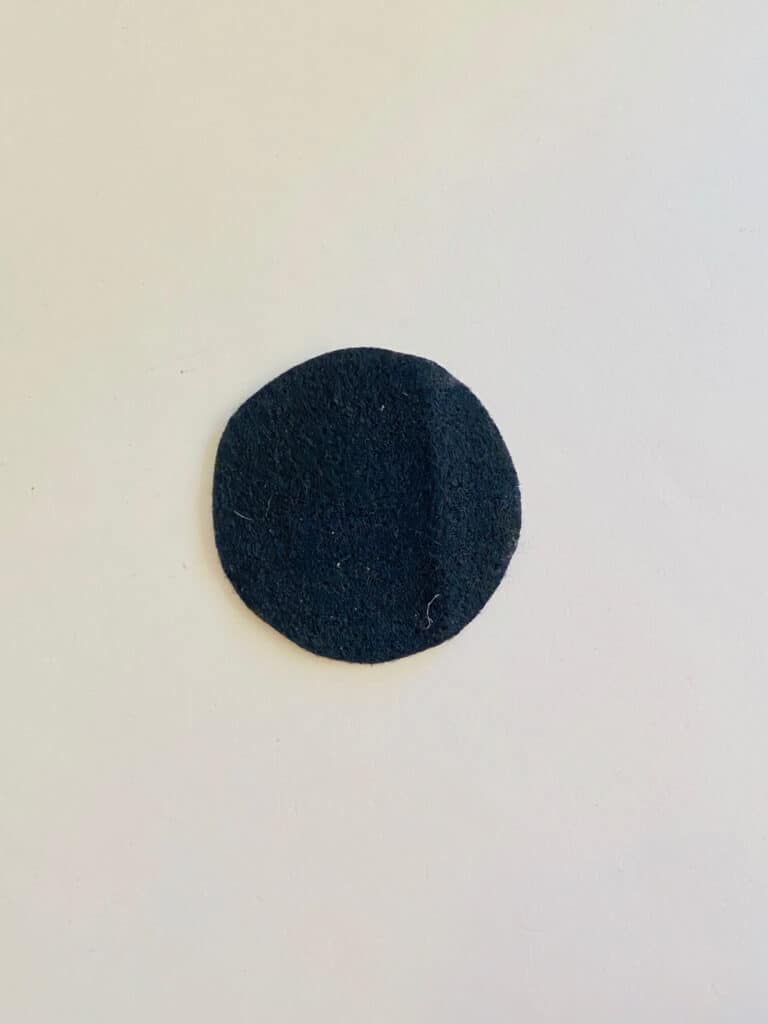
Glue the Hat to the brim and the glue the whole thing on top of the Witches head.
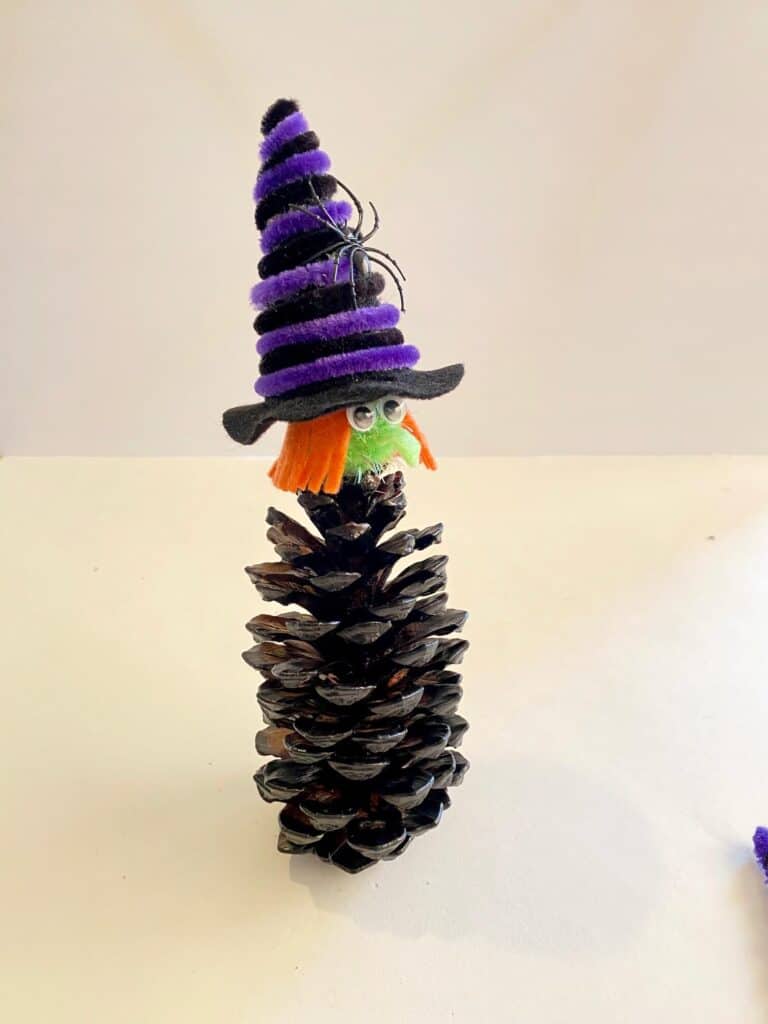
Don’t forget to add the fake spider for extra creepiness!
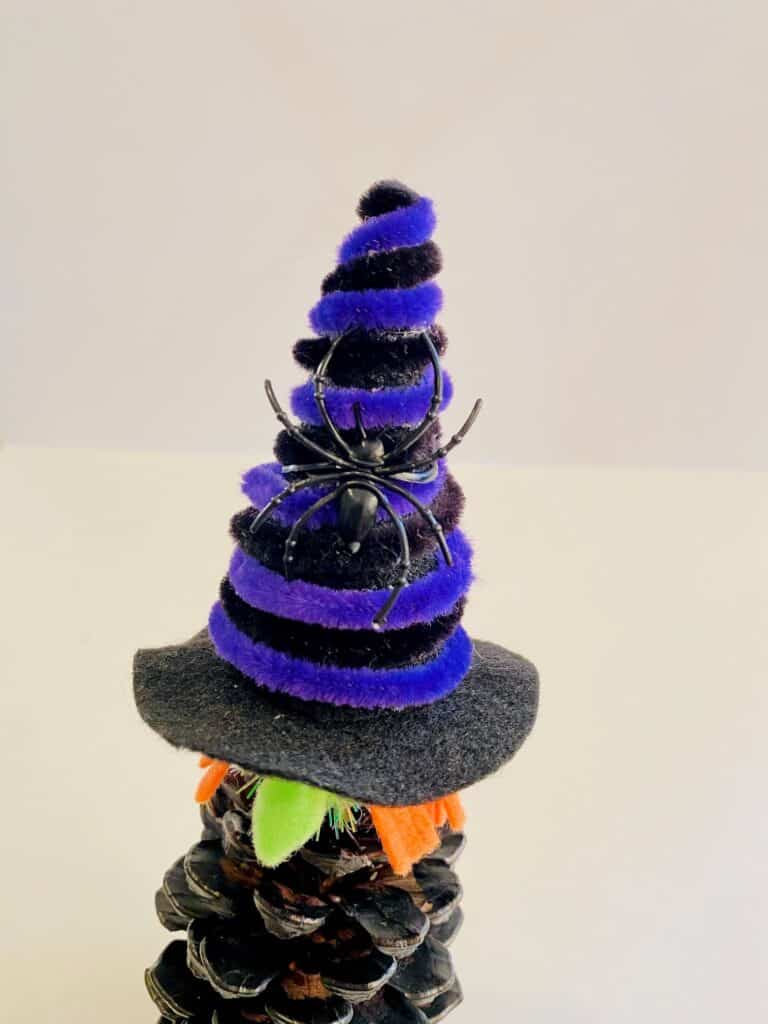
Make the Witches legs
Bend both a black and purple pipe cleaner each in half. Twist one around the other to make them look like striped Witches tights. Cut a black “boot” out of felt. We just cut a round piece that comes to a point so that it looks like she has a pointy toe.
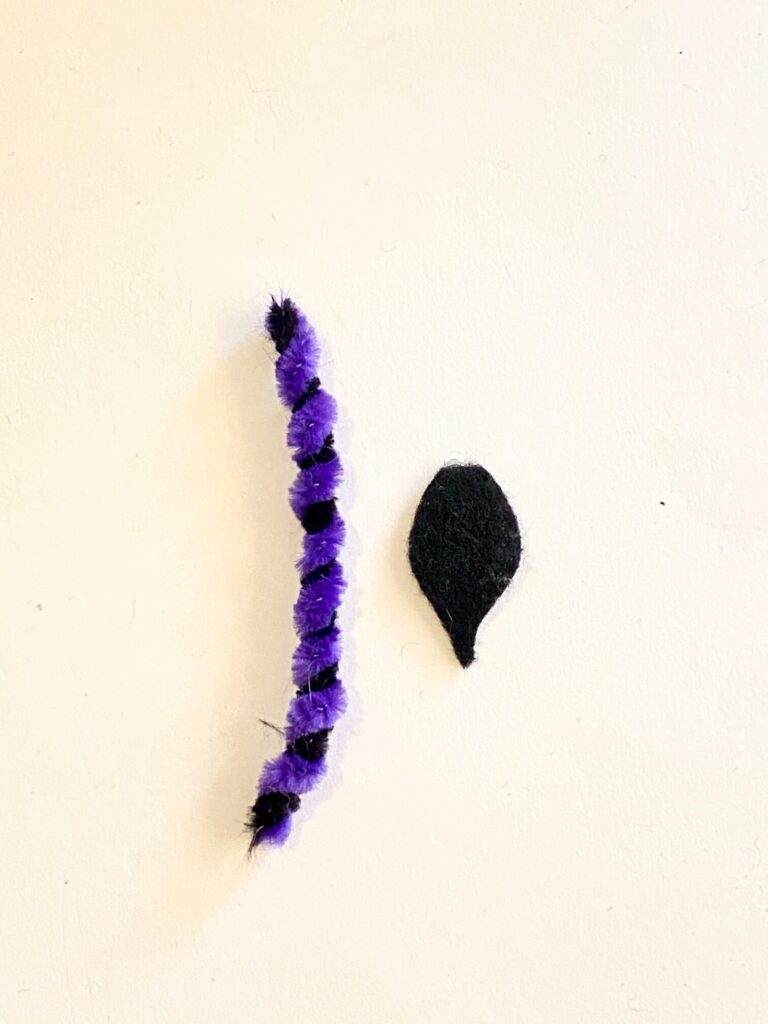
Glue the pipe cleaner legs to the bottom of the pine cone witch.
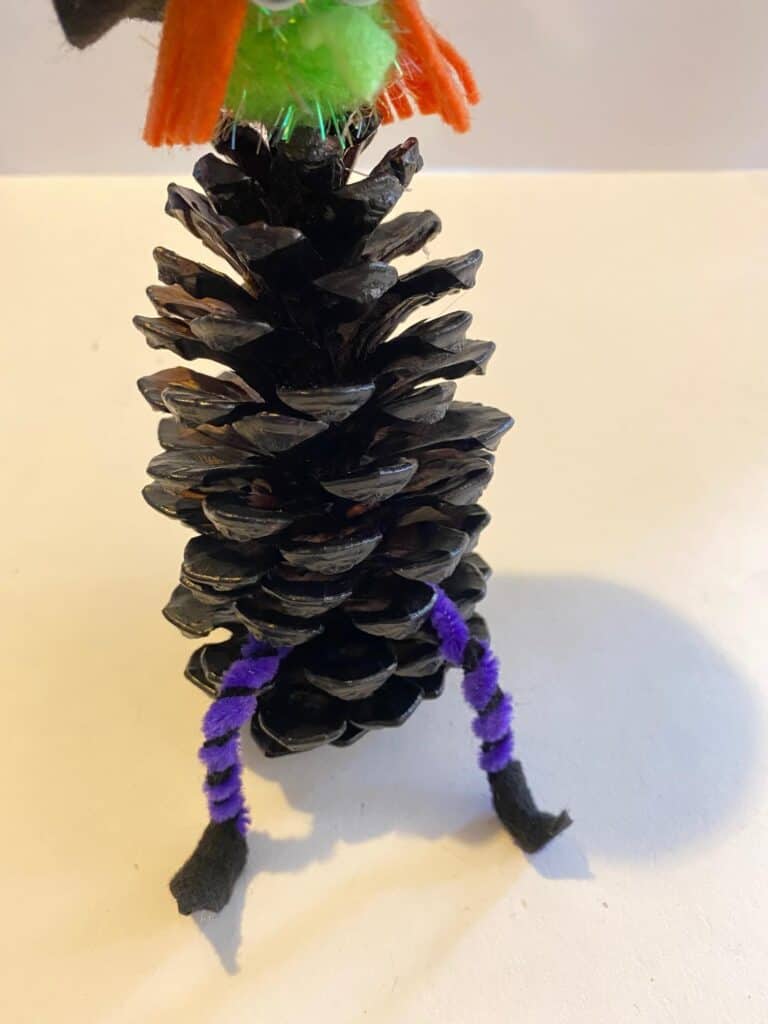
We kind of stuffed the pipe cleaners into the crevices of the pine cone and glued them in.
Make the Witches Broom
Break a handful of toothpicks in half, and glue them to the end of a small stick or twig.
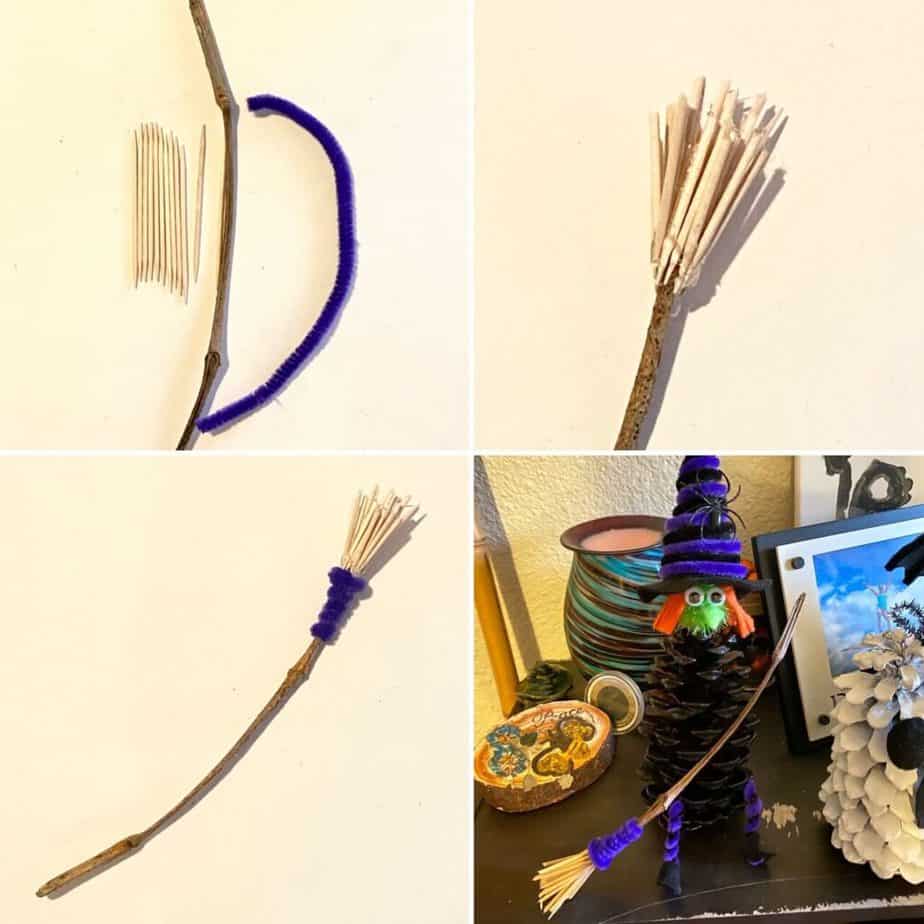
Wrap a purple (or whatever color you like) pipe cleaner around the part where the stick meets the toothpicks so that you don’t see the glue. Now glue the Witches Broom to her Pine Cone body!
And there you have it…..A Pine Cone Witch to go along with the rest of your Pine Cone Halloween Crew!
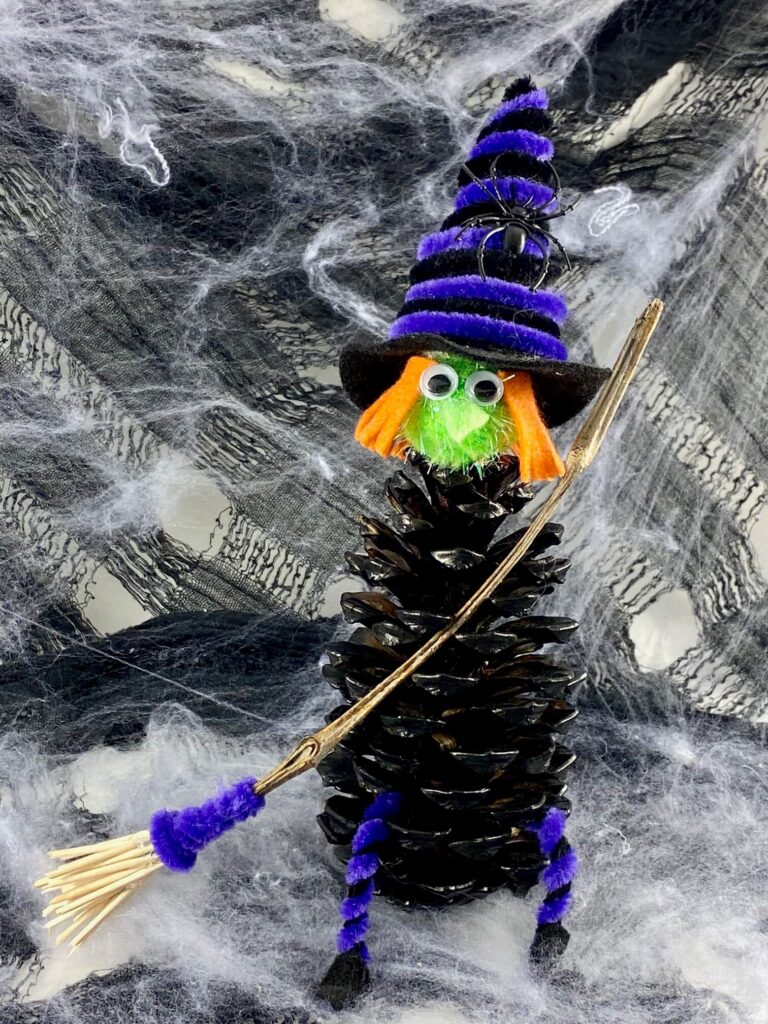
This pine cone Halloween craft was by far of the most fun DIY decorations we have made to date! You can set the Pine Cone Witch in a windowsill to cast spells over anyone who comes to close, or you can set them out on a Front Porch to scare all the other ghosts and goblins away!
Hocus PineConas!!
If you want to make the whole Pine Cone Crew like we did, make sure to check out our final post with the entire Pine Cone SpOOktakular series! And if you do, make sure to post your them in my Craftastic Facebook group and tag me @mandapandaprojects so I can see how you’re getting crafty this Halloween!
Until Next Time…
Stay Crafty San Diego!

Love this Halloween Pine Cone Witch Craft? Make sure to PIN it for later!


