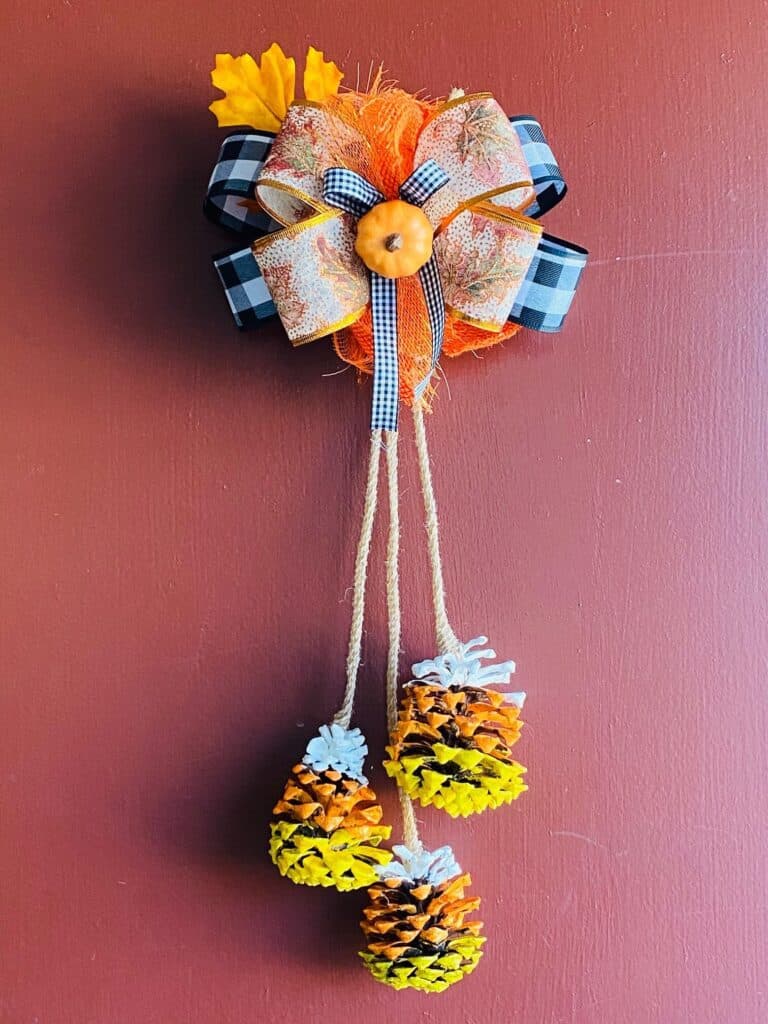
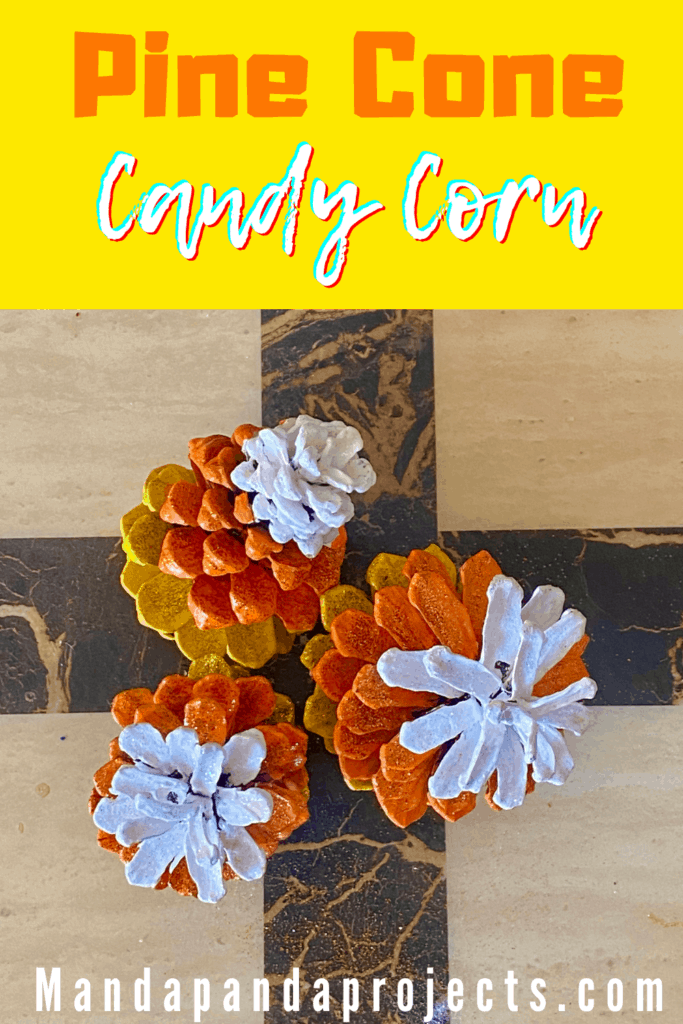
Candy Corn may not be the tastiest of the Fall and Halloween treats, but it sure is fun to craft and decorate with! The orange, yellow , and white painted pine cones make the perfect DIY decor for this time of year. You can set these Pine Cone Candy Corn in a decorative bowl, make them into a wreath, or string them into a fall garland for your front porch. The possibilities are endless.
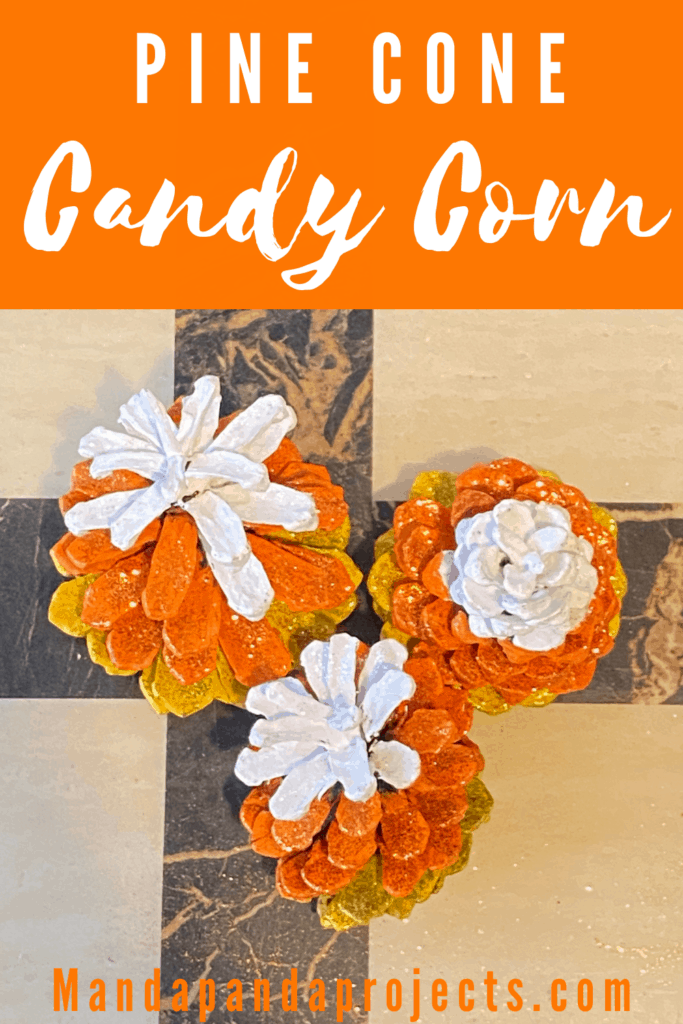
Candy Corn are meant to be no more than a decoration in my eyes, because seriously, who actually eats them?! Did you know that they make Candy Corn for other holidays too? Yup, there’s a red, white and green “Reindeer Corn”, and a Pastel “Bunny Corn”. No thanks, I’ll stick with the traditional Yellow, Orange, and White since they make such great fall crafting colors!
Although we stay crafting with pine cones year round in this house, many people don’t think to use them until the Holidays come around. I’m surprised I even made it this far in life without ever making a Pine Cone Candy Corn! Or should we call it a Candy Cone? No, a Pine Corn?! Either way, I’ve got all sorts of things I want to do with them, but not enough pine cones to go around.
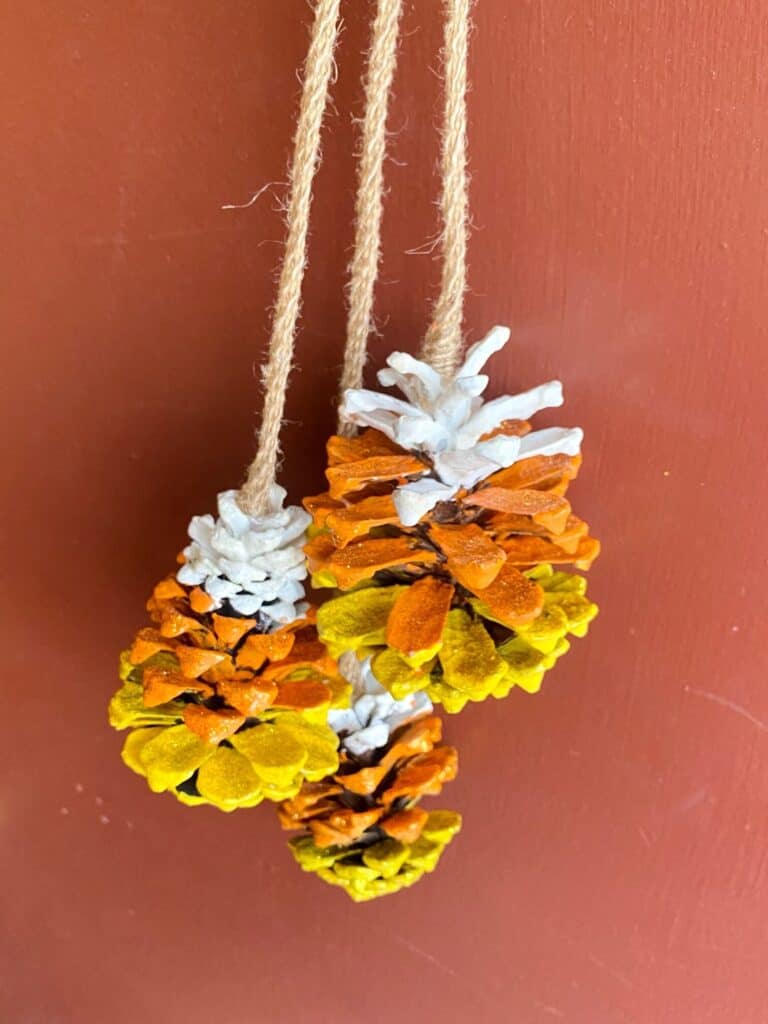
These Pine Cone Candy Corn would make a super cute addition to a Fall/Halloween wreath, or even strung into some sort of garland for the front porch. You could also make them into a cute door hanger (that’s what I did), or even set a bunch in a decorative bowl with your other fall decor.
Whatever you choose to do with them, make sure that you clean and prepare your pine cones first! If you collect your pine cones straight from nature, they come equipped with dirt, bugs, mold, and god knows what else. But if you don’t live an area where Pine Cones roam free, don’t worry you can always buy them on Etsy, or even good ‘ol Amazon.
This post may contain affiliate links for your convenience (which means if you make a purchase after clicking a link I will earn a small commission but it won’t cost you a cent more!)
Supplies Needed to Make Pine Cone Candy Corn
- Pine cone – Cleaned and prepared or store bought
- Paint – Orange, white, and yellow (you could also use spray paint, but we chose to hand paint them with acrylics)
- Glitter – Orange, gold, white (optional)
- Mod Podge – (You only need this if you’re adding glitter)
- Acrylic Sealer – (Optional if you want to seal in the glitter, or if you are going to display them outdoors to protect them)
- Paint brushes – (I’d suggest using cheap or old brushes because getting in the crevices will ruin them)
How to Make Pine Cone Candy Corn
Pine Cone Candy Corn are super easy to make, just follow the steps below!
Clean and prepare your pine cone for crafting
If you bought your pine cones, you can skip this step. If not, I already stressed the importance of baking those bugs out! You can find the steps to thoroughly clean and prepare your pine cones here.
Paint the bottom (larger) third of the pine cone yellow
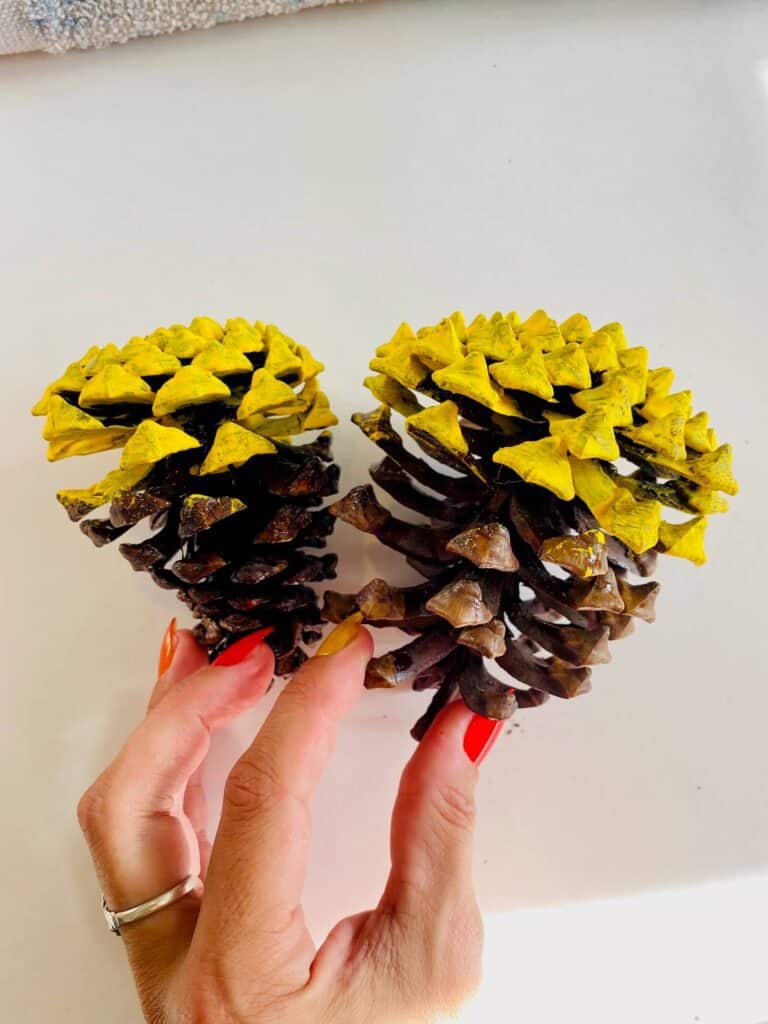
Make sure to get all up in the nooks and crannies! The better it’s covered with color, the better the Pine Cone Candy Corn turn out in the end. Make sure to get UNDER the petals too!
Paint the middle third of the pine cone orange
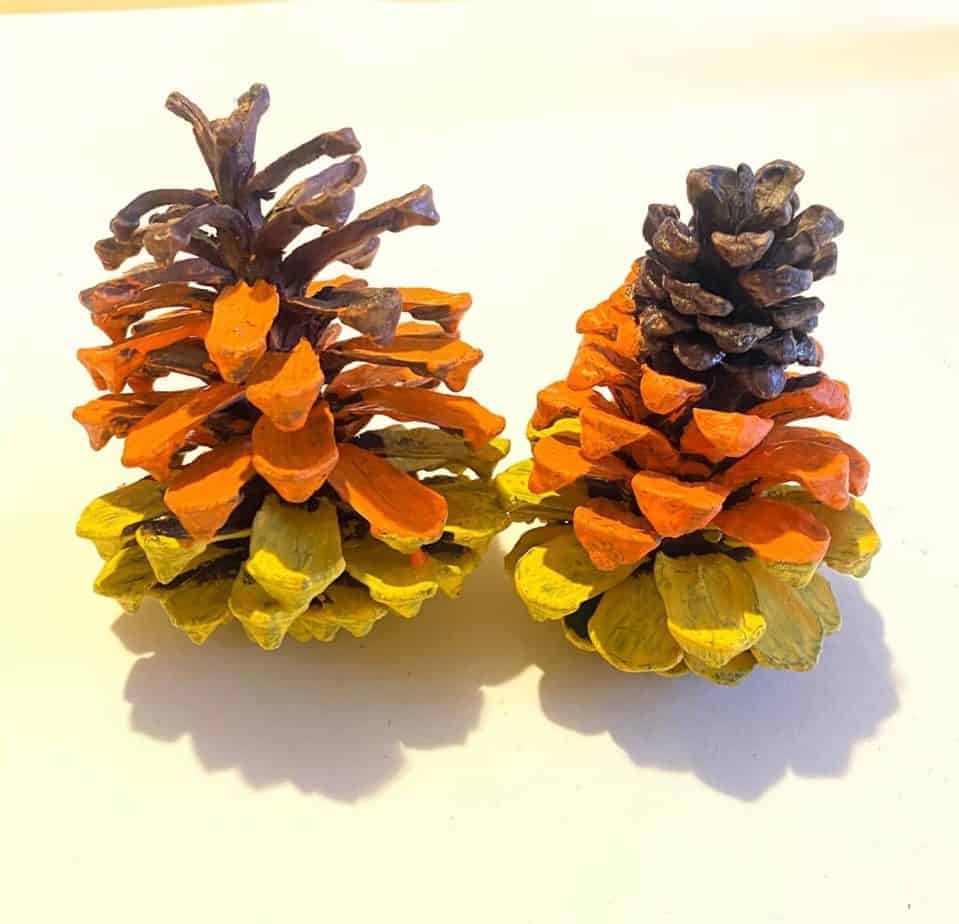
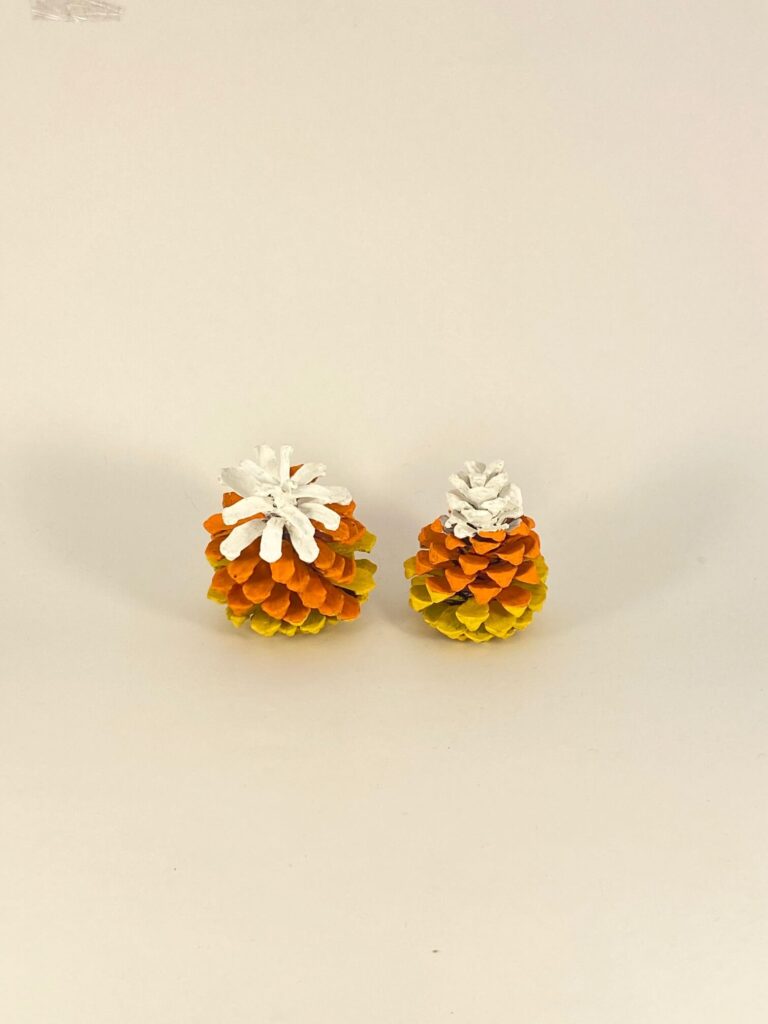
Paint the tip top of the pine cone white
Make the candy corn pretty with glitter
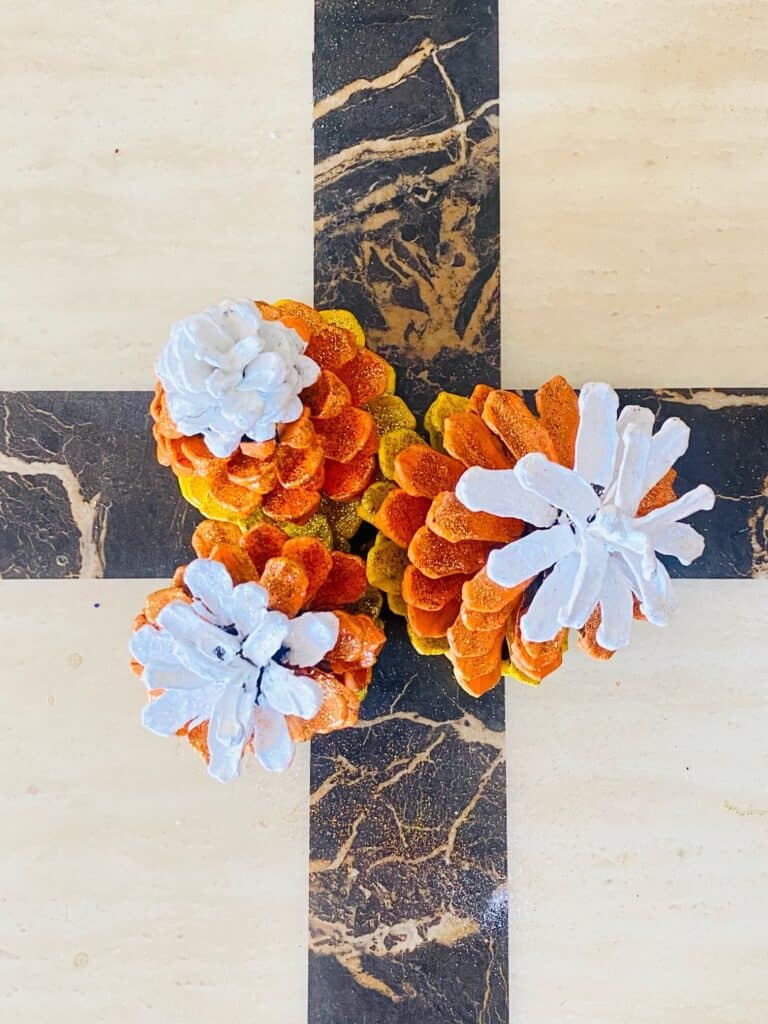
Once the paint is fully dry, add a layer of Mod Podge to the top and outer petals of the pine cone, one color section at a time. Then pour the corresponding glitter color over it. So, we covered the orange third with Brownish/Orangish glitter, the yellow with gold glitter, and the white with white/silver glitter. You can add as much or as little as you’d like. If glitter isn’t your thing, you can totally skip this step.
Spray the Painted Pine Cone with Acrylic Sealer
Follow the directions on the back of the can, and make sure to use in a well ventilated area. Hold the can about 6-12″ from the Pine Cone Candy Corn, and cover with a thin layer of sealer. It is better to do a couple of thin coats, allowing to dry in between, than it is to do one thick coat. You can skip this if you are not adding glitter, or if you are not going to be displaying the Pine Cones outside, but I do like the nice glossy finish that it gives either way.
There are so many fun and creative things you can do with your Painted Pine Cone Candy Corns, and I bet you can come up with things I haven’t even thought of. Here are just a few:
- Set in a decorative bowl
- Add to a fall or Halloween wreath
- Paint a bunch and make an entire Pine Cone Candy Corn wreath
- String together to make a garland for your porch
- String together to make a decoration for the mantel
- Glue them to a stick or wooden skewer and make Pine Cone Candy Corn “flowers”
- Glue rope or twine to the ends of a bunch and make a pine cone door hanger
- Make them into ornaments for your fall/Halloween tree
What do you plan to do with your Pine Cone Candy Corn? Post a pic over in my Craftastic FB group and let us see your Candy Corn Creations!
Until Next Time…
Stay Crafty San Diego!

Love these Painted Pine Cone Candy Corn? Make sure to PIN them to your Favorite Fall Craft Board!

