Next time your looking to put those Pine Cones you found to good use, try making these simple Christmas Trees that are sure to WOW anyone who sees them! This Christmas Craft is easy, kid approved, and can be made with supplies you most likely already have in the house. Read on to see how I turned this parking lot find into a memorable Christmas Decoration that will last for years to come!
Christmas has always been my favorite crafting season. Despite the fact that The Pine Cone is famously known for it’s versatility, especially during Christmas, I have not partook in any Pine Cone related crafts that I can think of.
I could swear that I have never seen pine cones laying around here in San Diego, until a few weeks ago me and my Twinsies came upon a gang of them in a Dollar Tree parking lot. My first thought was that we could totally make some cool things with them, so obvi we grabbed what we could carry and took them home.
After a quick Pinterest search of “Pine cone crafts”, I immediately regretted not getting more of these little gems!

There were at least 7 projects calling my name and about 4 more ideas popping in my head that I couldn’t wait to try with these lil’ guys. I decided to turn them into our own little Christmas Trees because we can’t get our tree until late this year. I’ve got a work conference next week and won’t be home, so to get a tree before then would be certain death. (Yes, I get a real tree and that is absolutely the only option).
I figured this way we still get to decorate our own little trees and enjoy them all month long!! And what do ya know, not even 3 days after scoring these, Justice spots another jackpot of HUUGGEEEE pine cones at a Holiday Fest we were at.
I guess I’ll get to try out the 2,345,765 projects after all!!
Follow these very lax and simple instructions if your looking for an adorable way to turn some Pine cones into Christmas decoration that you can enjoy for years to come!
What you’ll need:
1. Pine cones – You can buy them at any craft store or keep an eye out in random parking lots and you may find your own
2. Acrylic Paint – I used Artist Lofts Deep Green
3. Glue – Mod Podge works great
4. Glitter – Colors of your choice
5. Acrylic Sealer – I’ve only ever used Aleenes and it works amaze
6. Beads, pom poms, puff paint, glow in the dark paint, anything you can imagine to “decorate” your tree
7. Cotton Balls – If you feel like getting super fancy and putting “snow” around underneath
Once you’ve got all your materials, pour yourself a much deserved glass of Xmas Vino and get to crafting!
If you bought your pine cones rather than being the hunter gatherer that I was, you can go ahead and skip to step 3. Otherwise, you definitely don’t want to be in the middle of this project and have a creepy crawly come out at ya!! So start here…
Step 1. Prepare Pine Cones (Bake The Bugs Out)
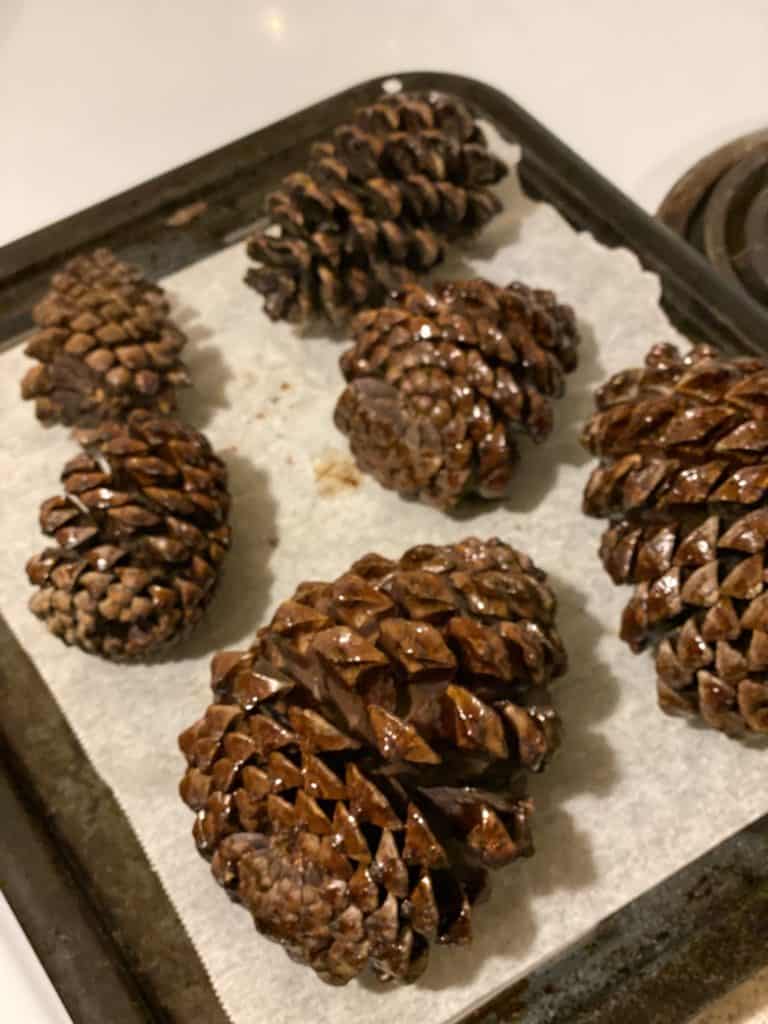
This step is of course necessary to clean and kill off anything with a heartbeat (do bugs have hearts?), but almost as important, it helps the pine cones to bloom and take on a nice full even shape. If you want to see exactly how I prepared these you can get the steps on my post here.
Step 2. Paint the “Tree”
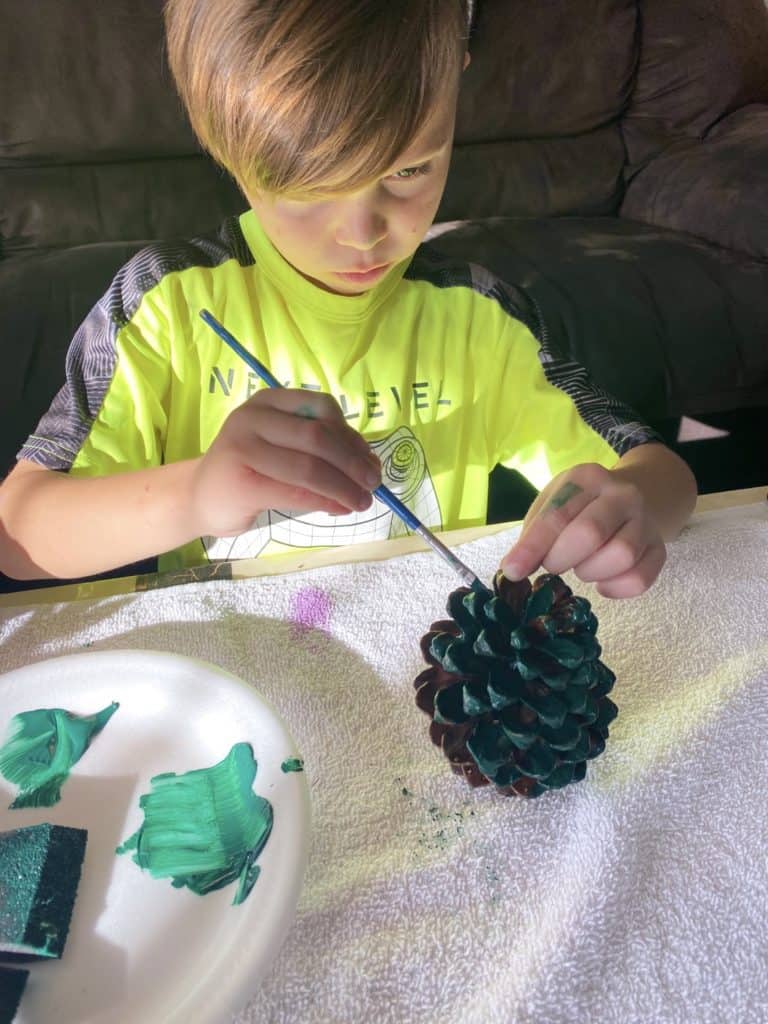
Using dark green acrylic paint, cover your pine cone from head to toe. Now, this part can honestly get a little tricky for some kids because getting inside and all up and under the “branches” takes a bit of time and patience. But guess what??? You don’t have to get every nook and cranny! Once it’s decorated you won’t even know the difference.
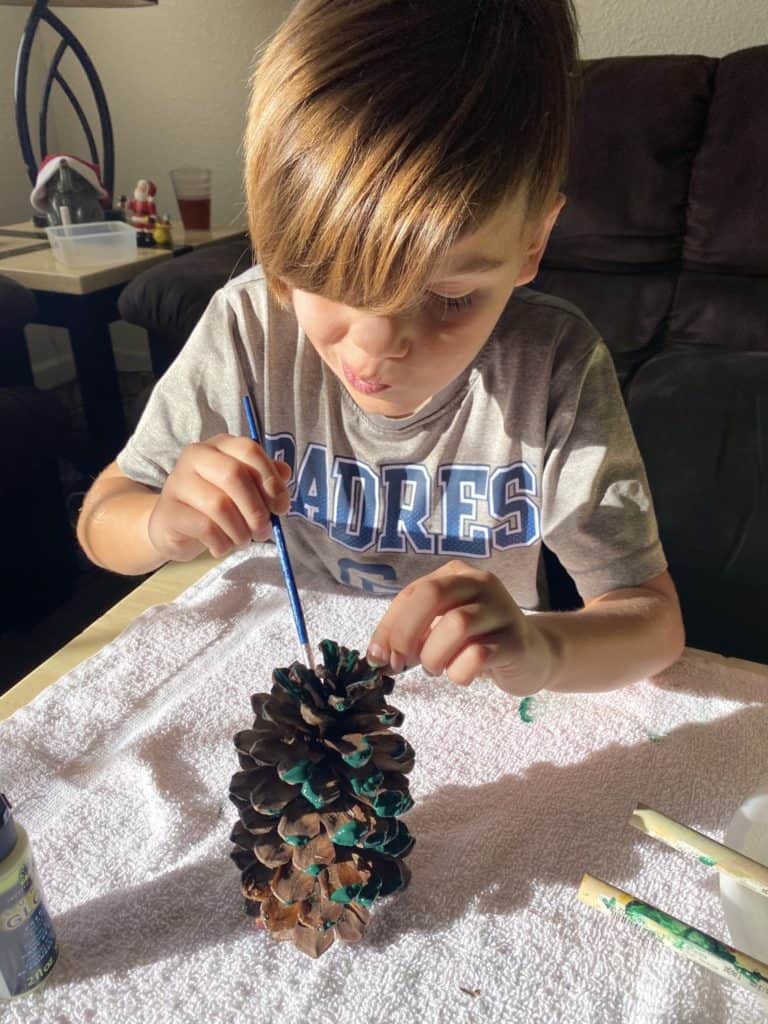
Step 3. Glitter Time
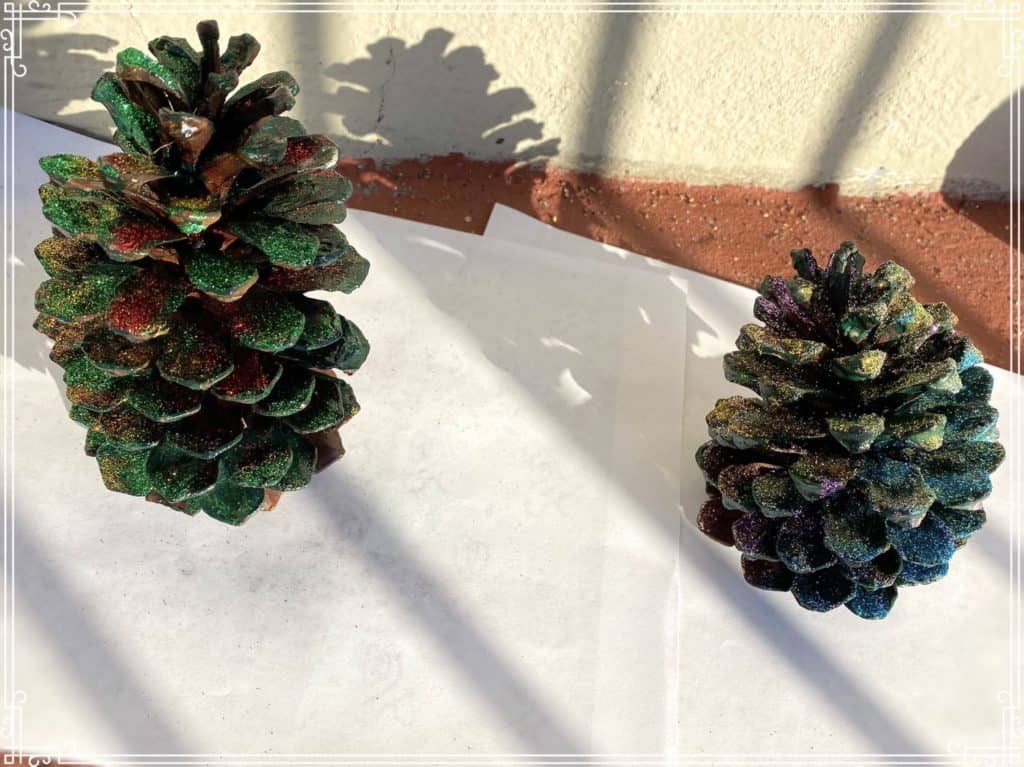
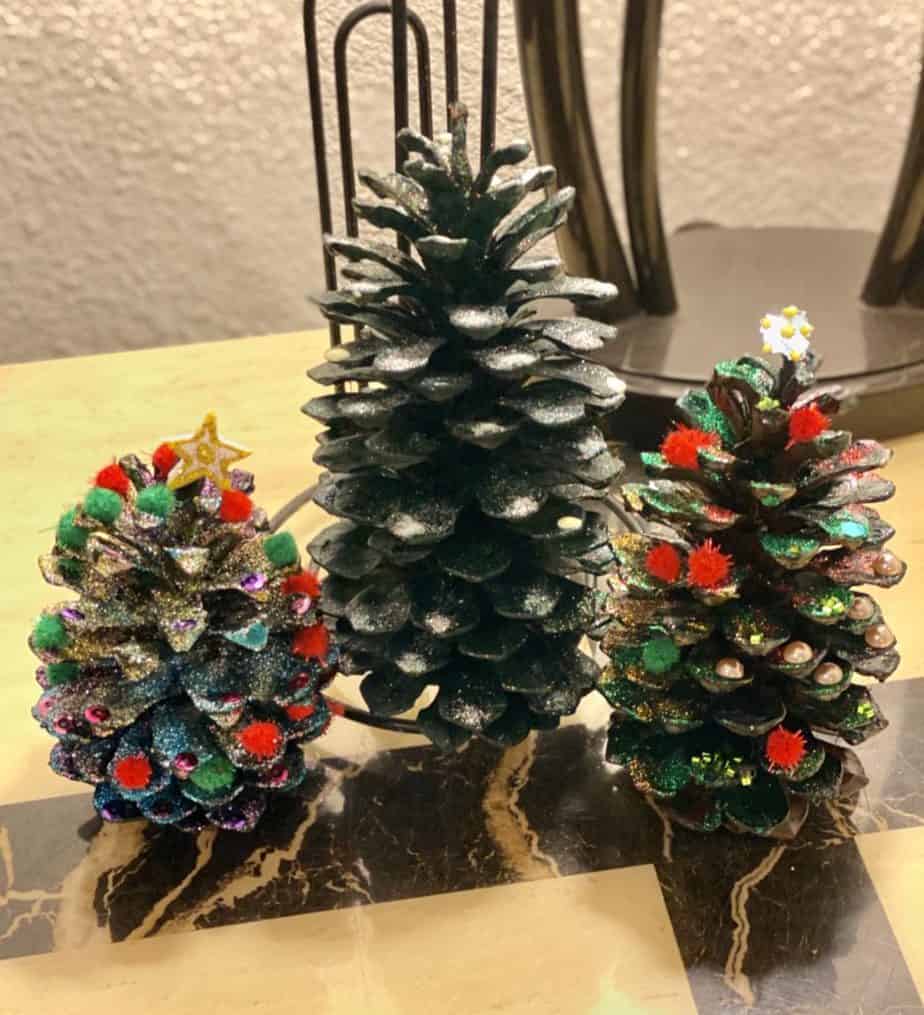
While the paint is still wet (or you could use a spray adhesive) generously apply glitter allover or anywhere on the tree you’d like. You can go big or you can stay simple on this step, it’s up to you. My kids chose to almost completely cover the pine cone in glitter while I opted to do a light dusting with heavy white on the tips for “snow”. If you only apply a light dusting you may not even need to seal it in.
Step 4. Seal Glitter
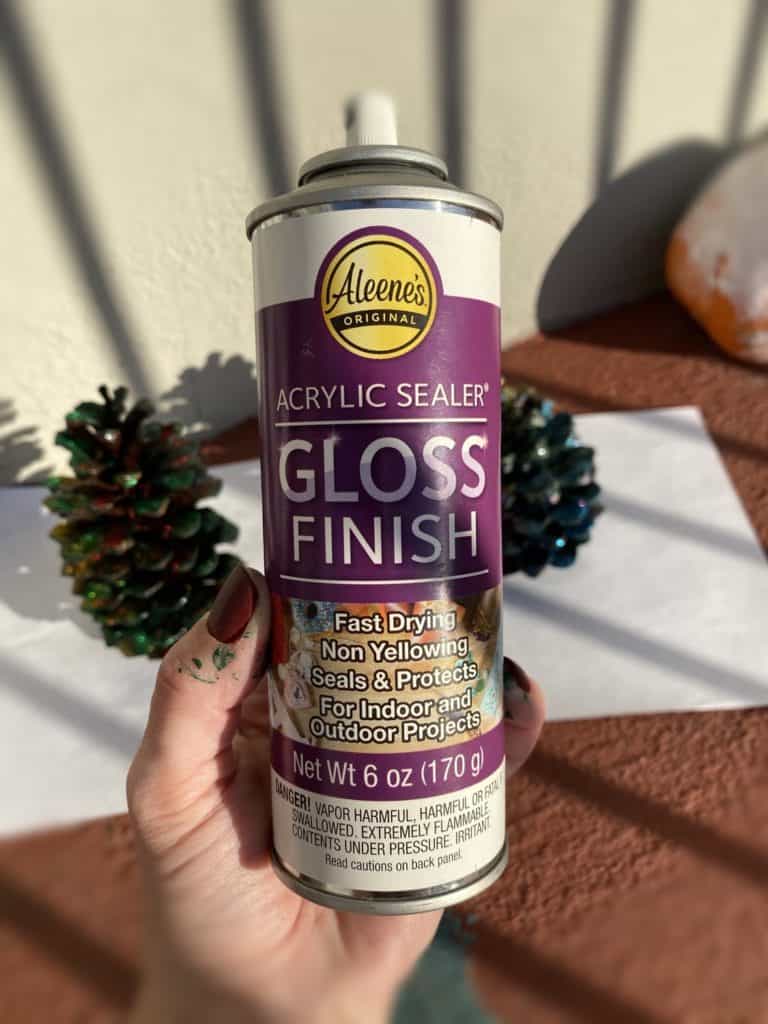
This step needs to be done outdoors in a well ventilated area and always under adult supervision!! Follow the instructions on the back of the Acrylic Sealer can, which say to spray the item with a light coating while holding the can approximately 6 inches away. The look comes out much better by applying multiple thin coats while allowing drying time in between, rather than one or two heavy coats. TRUST ME. Make sure the sealant has fully dried before moving on to the final step.
Step 5. Time to Decorate!
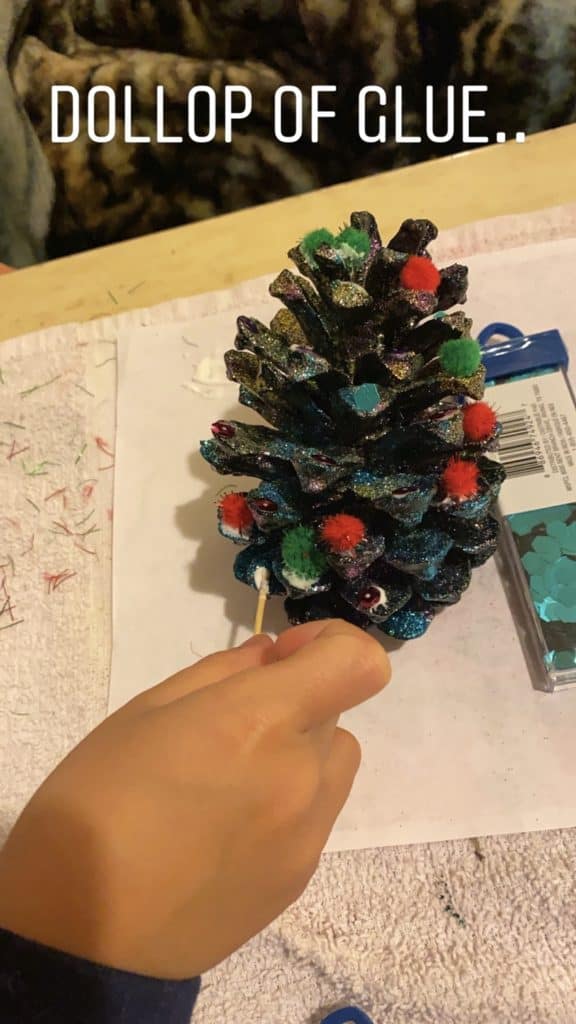
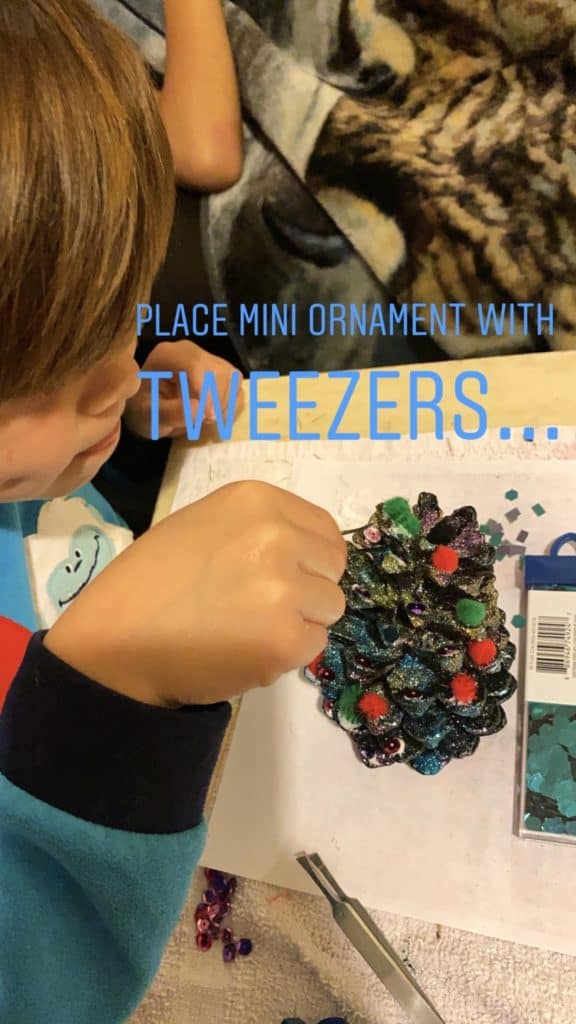
Alright, your tree is ready for your own personal touch. Use the glue to secure whatever “ornaments” you’d like all around the tree. Glue some sequins to the tips or some pom poms on the branches and don’t forget to put the star on top!! ⭐️
Almost done…..
For more inspiration, follow me on Pinterest at: MandaPandaProjects
You can catch me on social at the following:
IG: @mandapandaprojects
If you wanna take the easy way out and browse some of my Crafty little inventions, I’m always adding new projects to my Etsy store!
Until next time- Stay Crafty San Diego
~Manda




January 20, 2020 @ 7:37 am
These could be easily modified for winter wedding decorations!
I see your blog is new. Best of luck. (BTW, found you via @heykristiehill 🙂 )
January 23, 2020 @ 1:21 pm
Hi Bobette! I totally agree, pine cones are super versatile and I still have a ton left to play with! Yes, the blog is BRAND new, I have a bunch of posts that I am moving over from my old site to here and it is proving to be much more labor intensive than I planned on but I’ll get there!