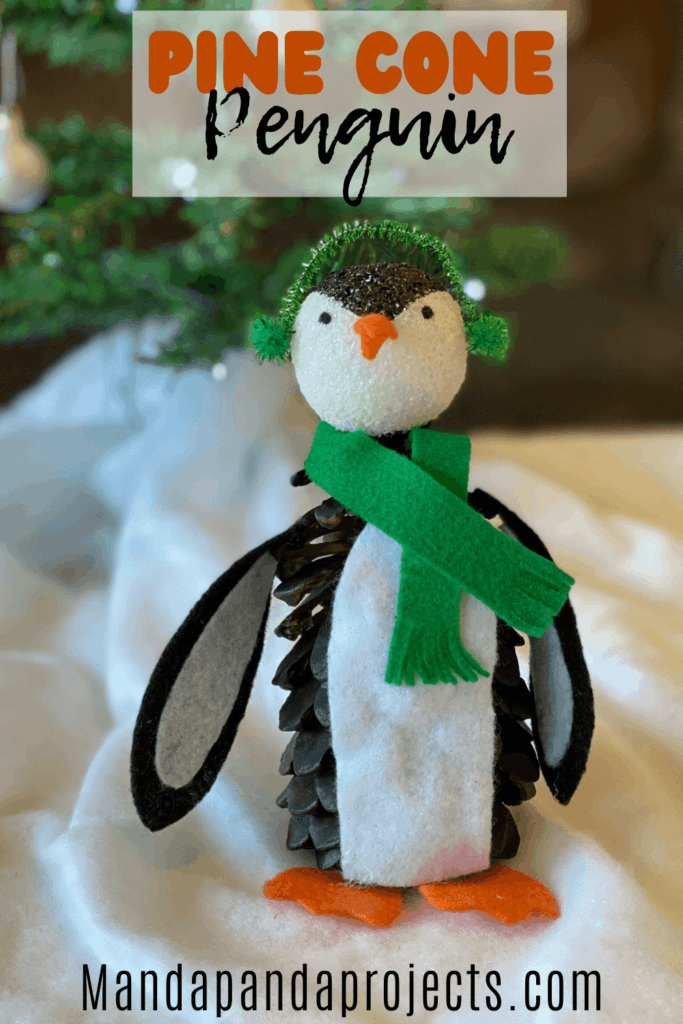
The kids will just love to turn an ordinary pine cone into an adorable Pine Cone Penguin! This easy nature craft is fun to make year round, but craft this Pine-guin some earmuffs and a scarf, and it transforms into the perfect Christmas craft for kids!
Pine Cone Countdown to Christmas
If you’ve been around here for a little while, you may remember our Pine Cone Spooktakular we did for Halloween this year. Well, they were such a hit that we just had to do a series for Christmas, so I’m calling it the Pine Cone Countdown to Christmas! First up in the countdown is the Pine Cone Penguin.
For this series, we’ll be making our version of Santa’s Village, but entirely made out of pine cones! Twice a week until Christmas, I’ll post a new addition to our Pine Cone Santa Village, starting with this adorable Pine Cone Penguin. When Santa Cone (or Pine Claus?), makes his debut, it will finally be Christmas.

Free printable Craft Project Planner
Get organized, get inspired, and get crafting, with our free Craft Project Planner!
This post may contain affiliate links for your convenience (which means if you make a purchase after clicking a link I will earn a small commission but it won’t cost you a cent more!)
The kiddos just loved making this adorable Pine Cone Penguin, but I must caution you. If you’re collecting pine cones straight from mother nature, make sure to clean and prepare them first before crafting! We get ours from a local park and they come filled with dirt and debris and BUGS, so it’s important to bake those bugs out so you don’t end up with spiders in your pine cone crafts, eeeeek! If you don’t live in an area that has pine cones in nature, you can always buy them on Amazon or even Etsy.
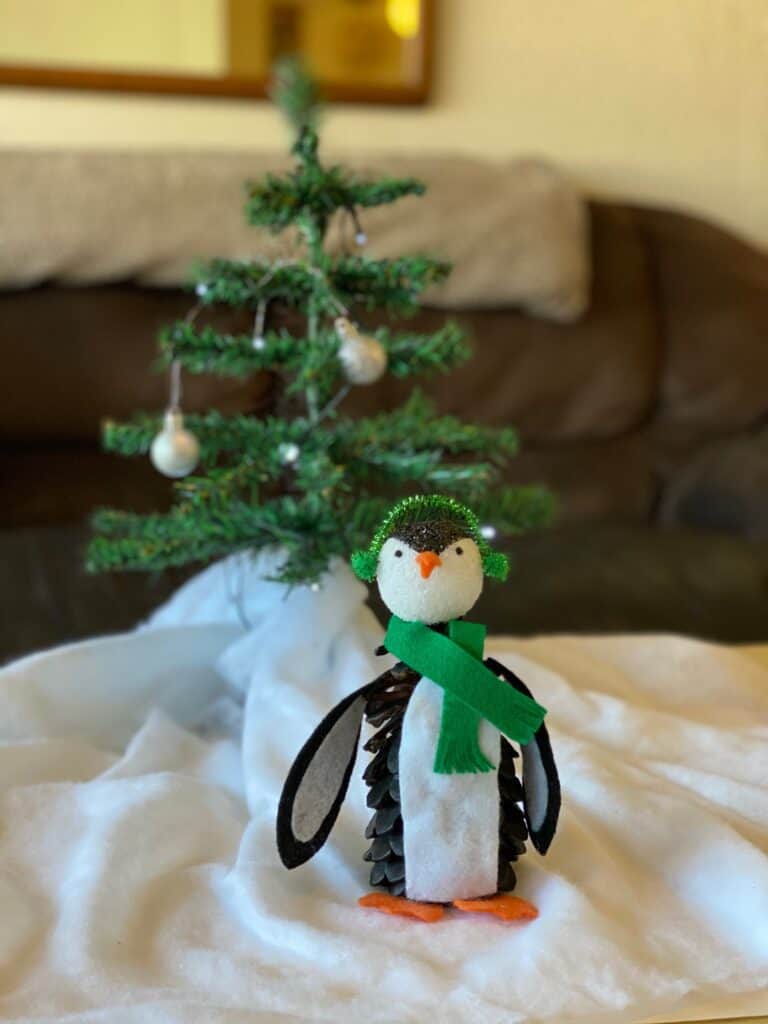
Make sure to check back every Friday and Sunday until Christmas to see which Pine Cone Character will be the next addition to Santa’s Village. If you prefer, you could also make these pine cones into Christmas ornaments for tree instead. Whatever you choose to do with them, they will beloved by all!
Supplies needed to make Pine Cone Penguin Kids Christmas Craft
- Pine cones (cleaned and prepared or store bought)
- Black paint
- Stiff craft felt (you’ll need black, white, yellow or orange, green)
- White Styrofoam ball
- Black marker
- Glue (we used a kids glue gun that we LOVE and highly recommend)
How to turn a Pine Cone into a Cute Penguin a.k.a Pine-Guin
Follow the below easy steps to make a Pine Cone Penguin this Christmas with the kids!
Clean and prepare the pine cones for crafting.
If you bought your pine cones rather than collecting them from nature you can skip this step. Otherwise, make sure you thoroughly clean them to get rid of all of the dirt and debris, and bake the bugs out.
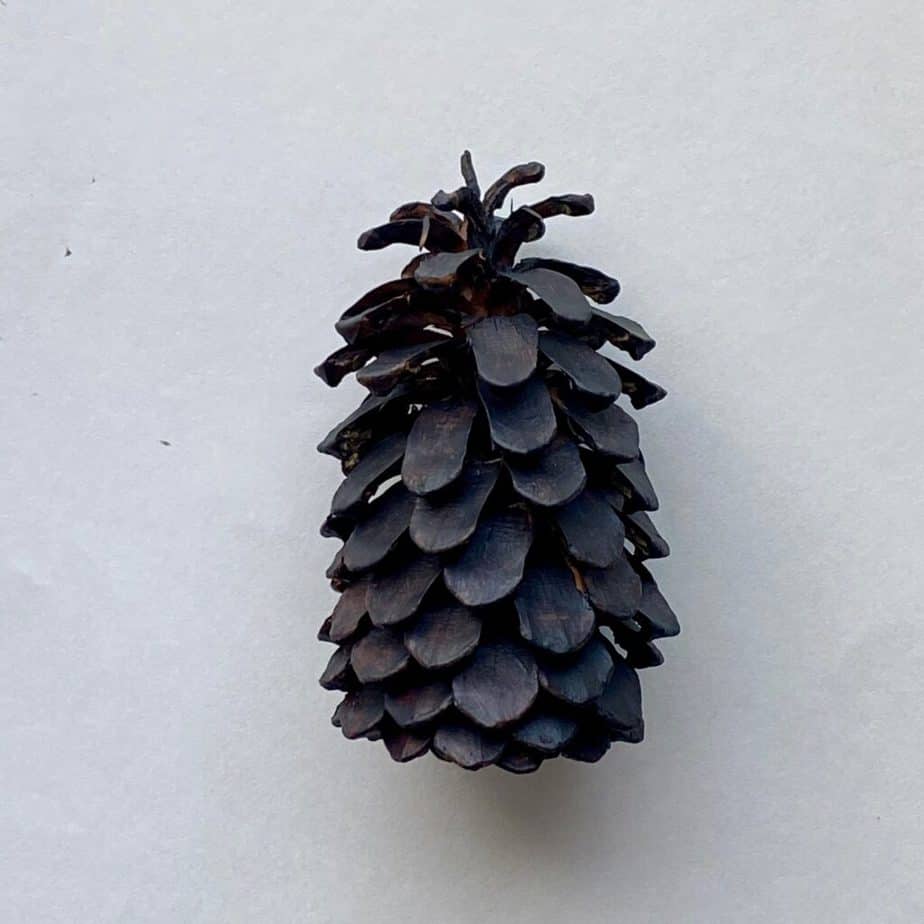
Paint the pine cones black to make the Penguins body
Make the Pine Cone Penguins body parts
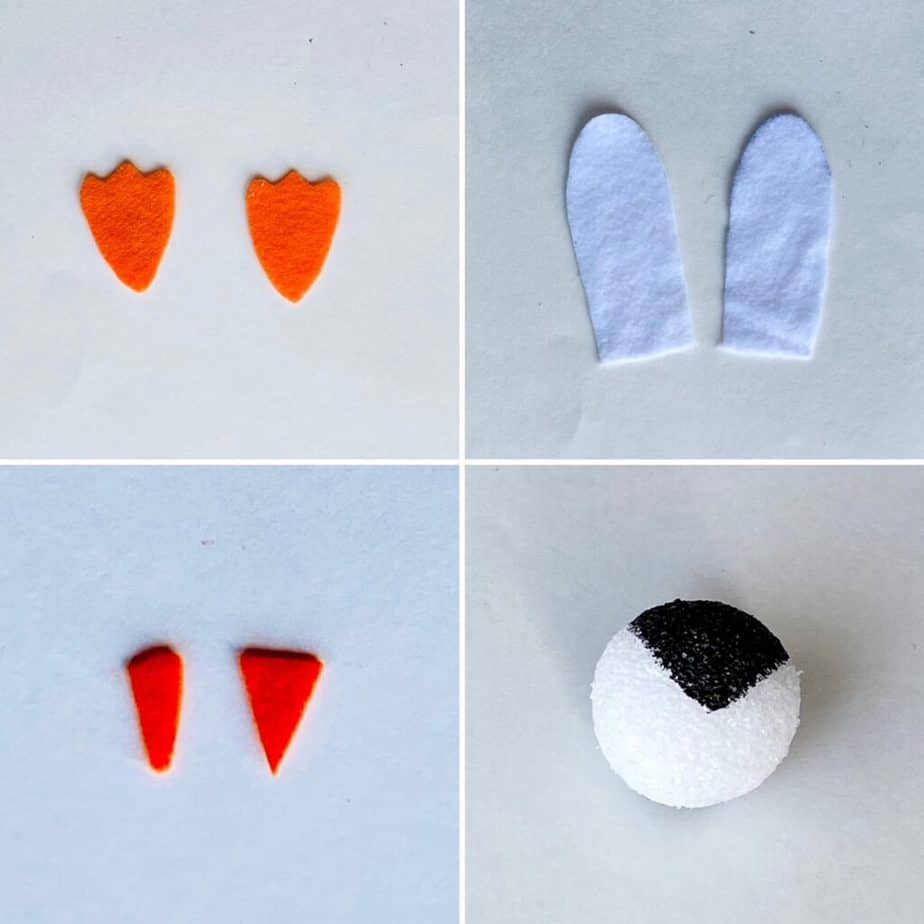
- Feet- With orange felt. cut out the feet shape like in the picture below. Don’t worry about it being perfect, you won’t be able to even tell once they are glued to his body. If you need a template to trace, you can find plenty here on Google.
- Cut out a tall long oval shape with a flat bottom for the Pine Cone Penguins belly. We cut out 2 pieces and glued them together, because the white felt was very see through and we wanted his belly pure white. The size of your white belly will depend on how tall your pine cone is, so just measure approximately using your fingers as a “ruler”.
- Cut out a small orange triangle to make the penguins beak, like in the 3rd pic below. You could stop there, or if you want to get extra fancy and make it so that his beak looks like it’s slightly opened, cut out a second triangle, but this one a bit more rounded. Glue the end of the pointed triangle on top of the other one to make a complete beak like we did.
- Paint the top part of the styrofoam ball black, coming to a point in the front to make the penguins head. You could also use the black marker to color it if that is easier.
Make the Pine Cone Penguins Wings
Similar to the shape of the Pine-guins belly, cut out 2 long oval shapes out of black felt, but the tips should be more pointed then rounded. Again, it doesn’t have to be perfect and you can find penguin wing templates on Google.
Cut out 2 of the exact shame shape, but slightly smaller in white felt to make the inside of the penguins wings. Glue the white ovals to the inside of the black ovals to complete the wings.
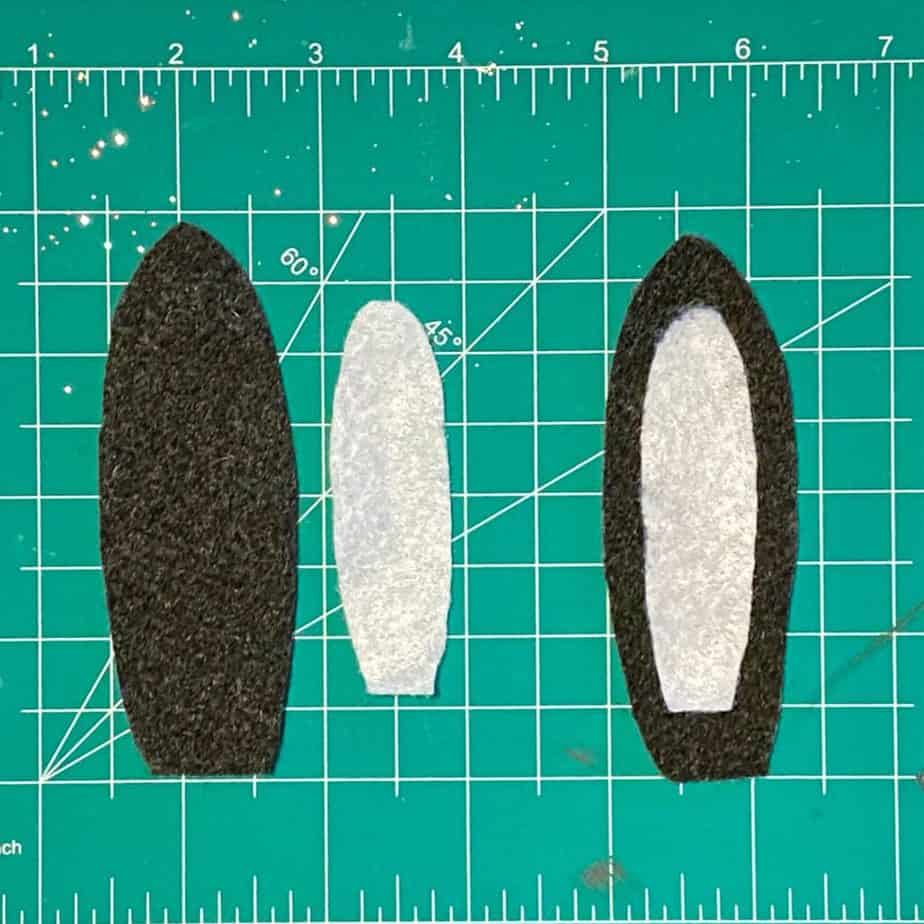
Now it’s time to glue the Pine-guins body together.
Glue the orange feet to the bottom of the pine cone.
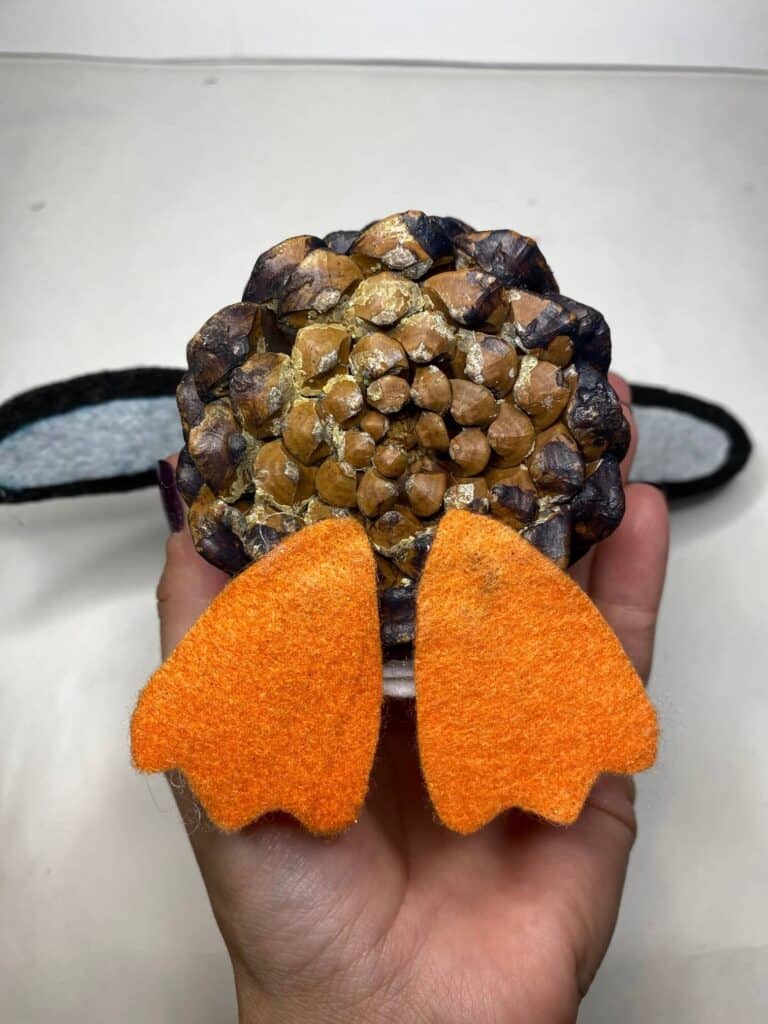
Glue the white felt belly onto the front, just above his feet.
Glue the felt wings to each side of the painted pine cone body.
Glue the painted styrofoam ball to the top of the pine cone.
Let’s make the Penguins face.
Using a black marker, make 2 tiny dots for the penguins eyes, and glue the orange felt beak underneath.
Make earmuffs and a scarf from the green felt and pipe cleaners.
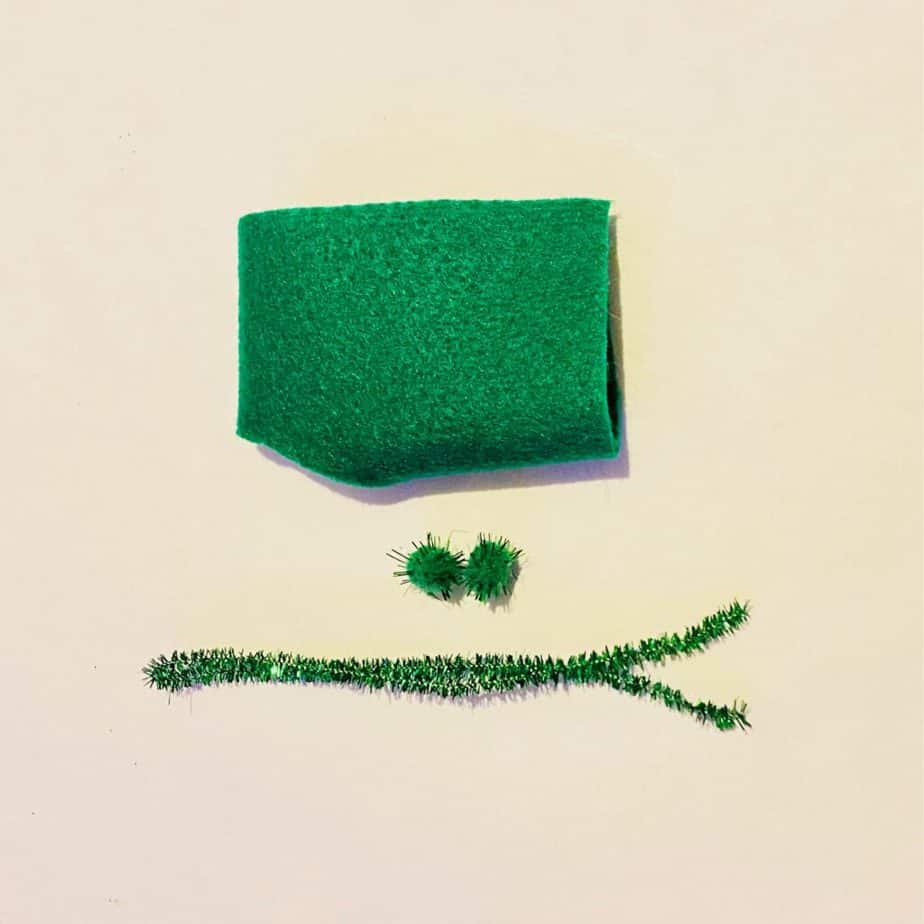
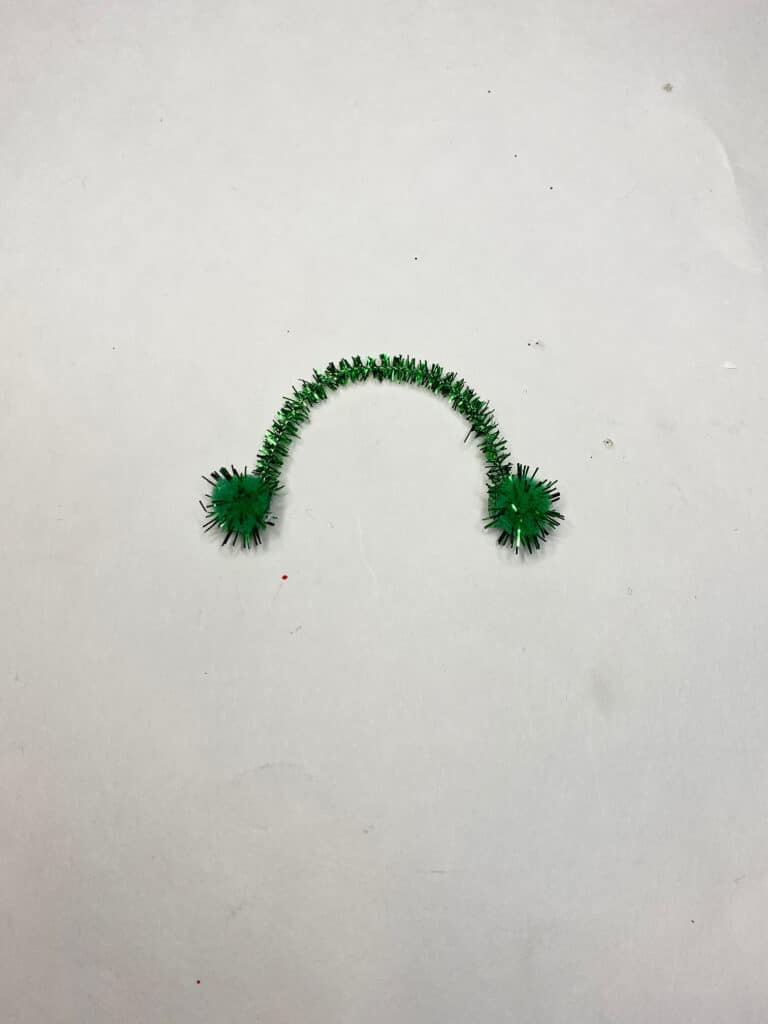
To make the earmuffs, cut a small piece of the pipe cleaner long enough to fit around the top of the styrofoam ball, and glue a small craft pom pom to each end.
To make the scarf, cut a strip of felt about 8″ long and 1/2″ wide, and then cut some little fringe on each end.
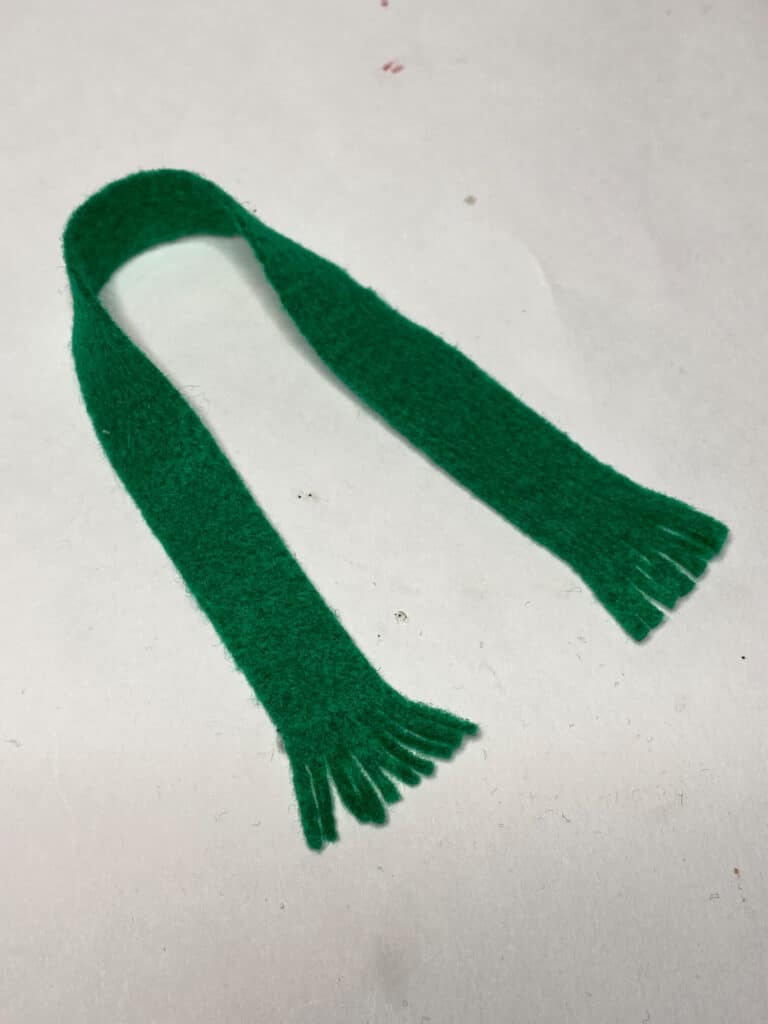
Put the earmuffs on top of the Penguins head, wrap the scarf around his neck, and you have the cutest little Pine Cone Christmas Penguin you ever did see!
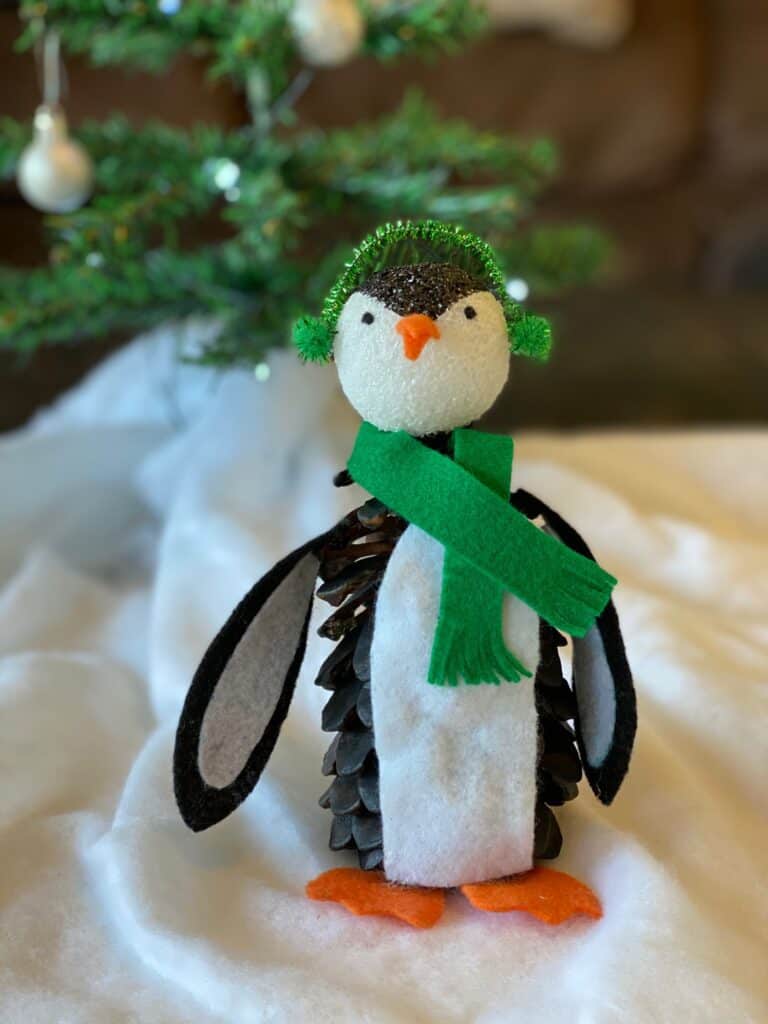
This Pine-guin was the perfect way to kick off our Pine Cone Countdown to Christmas! I hope you and your kiddos have as much fun turning natures crafts supplies into an adorable Santa’s Village as we did.
If you’re not part of our Craftspiration Facebook group, join in on the fun and post a pic of your completed Pine Cone Penguin project. I just love to see all your crafts!
Until Next Time…
Stay Crafty San Diego!

Love this Pine-Guin Kids Craft? Make sure to PIN it to your Christmas Craft Board!


