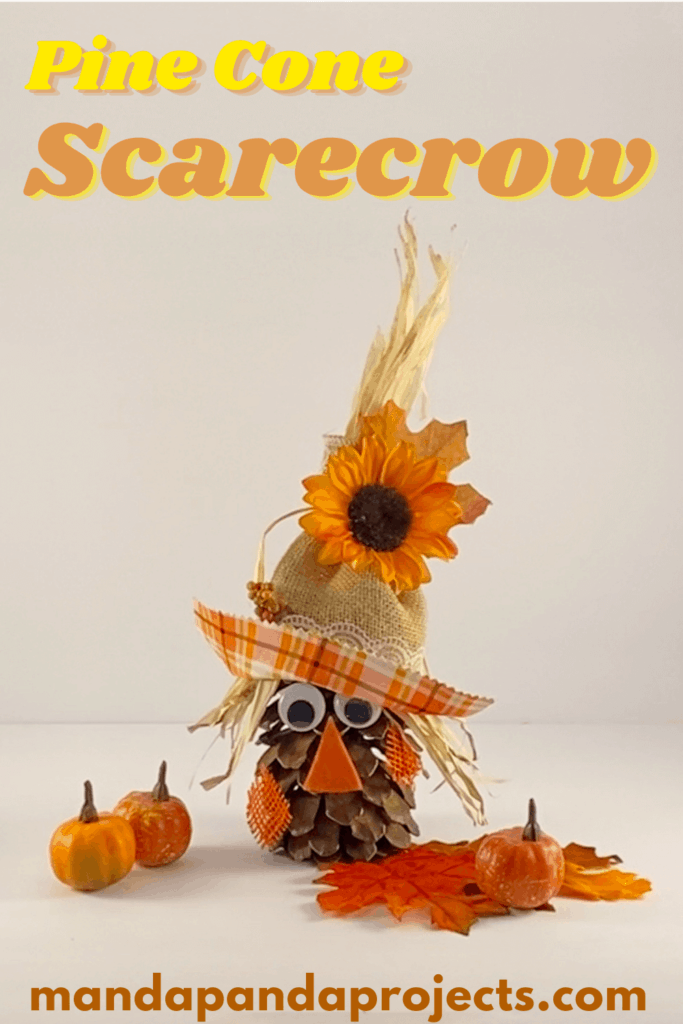
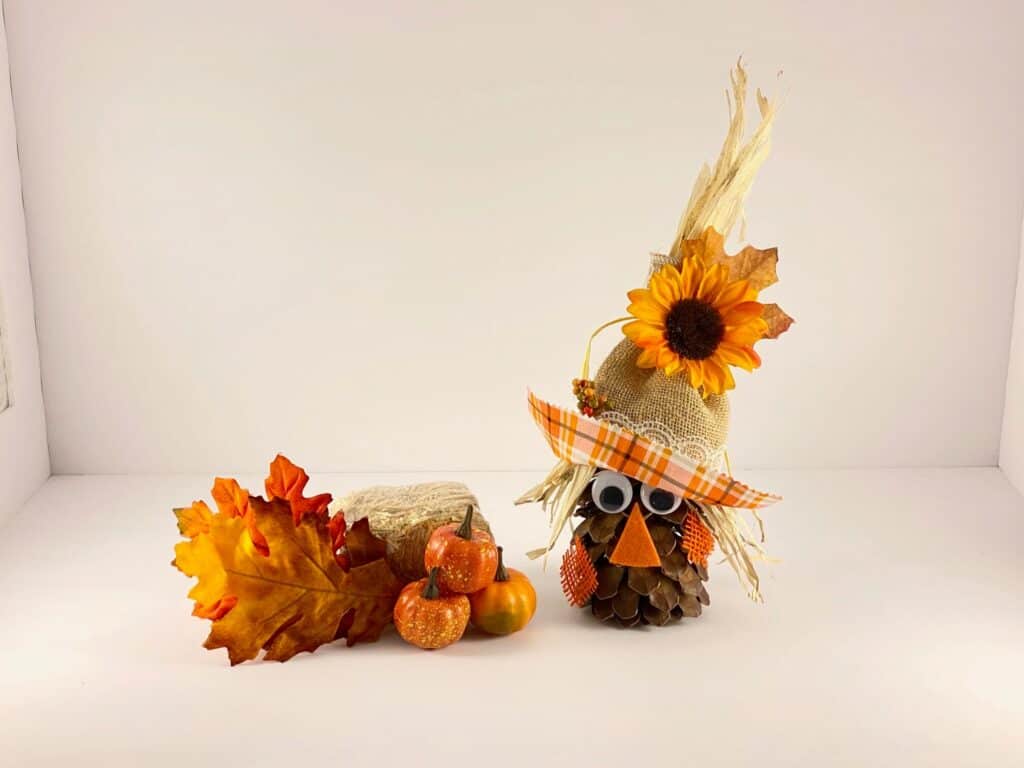
Nothing screams “Fall Craft” quite as well as this Pine Cone Scarecrow does! This fun and easy pine cone craft is an adorable way to add some nature into your fall decor this year. With some burlap, rafia, felt, and of course a Sunflower, you can turn a pine cone into a scarecrow in no time!
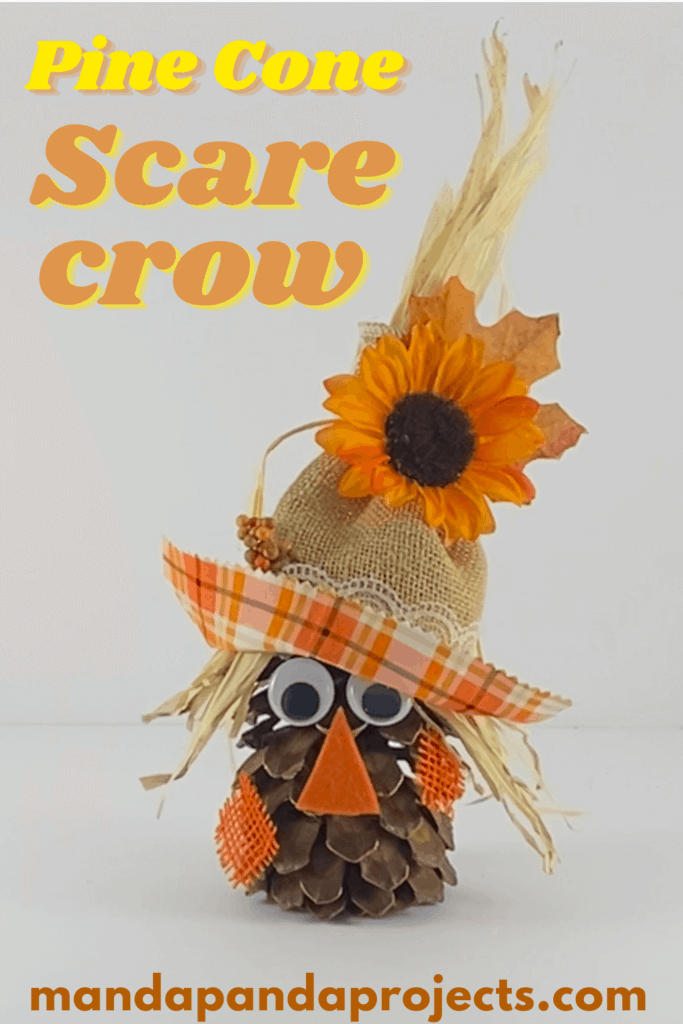
Pine Cone crafts are our absolute favorite in this house, so when it comes to fall crafting I really break out the big dogs. Just when I thought I had made every pine cone craft under the sun for this time of year, it hit me. I don’t have a Pine Cone Scarecrow! And the Pine Crow (Scare-Cone?) was born.
I put this fall pine cone craft together with 100% scraps from some other crafts we had made, and whatever was in my stash. Of course, I threw a Sunflower on his hat and I’m super happy with how he turned out considering he wasn’t even planned!
After making this Pine Cone Scarecrow, I officially have a reason to go out and collect more pine cones for my stash since I’m almost out. I was becoming a bit of a pine cone hoarder for a minute there, but I’m proud to say I crafted them all into the amazing pine cones that they are today!
If you’re making this Scarecrow with pine cones you’ve collected from the great outdoors, make sure to clean and prepare them first before crafting. If you didn’t even know that was a thing, and you don’t prefer your crafts with a side of spiders, you can go here to read exactly how I bake the bugs out!
If you’re not as lucky as me to live in an area where pine cones are plentiful, don’t worry, you can buy them on Etsy, or even good ‘ol Amazon.
This post may contain affiliate links for your convenience (which means if you make a purchase after clicking a link I will earn a small commission but it won’t cost you a cent more!)
Supplies Needed to make a Pine Cone Scarecrow
As I mentioned, I was able to concoct this guy with all recycled craft scraps, and most of those were from the Dollar Tree. I’ve linked to the closest item on Amazon for each below, but it of course will not be quite as affordable as crafting with your stash!
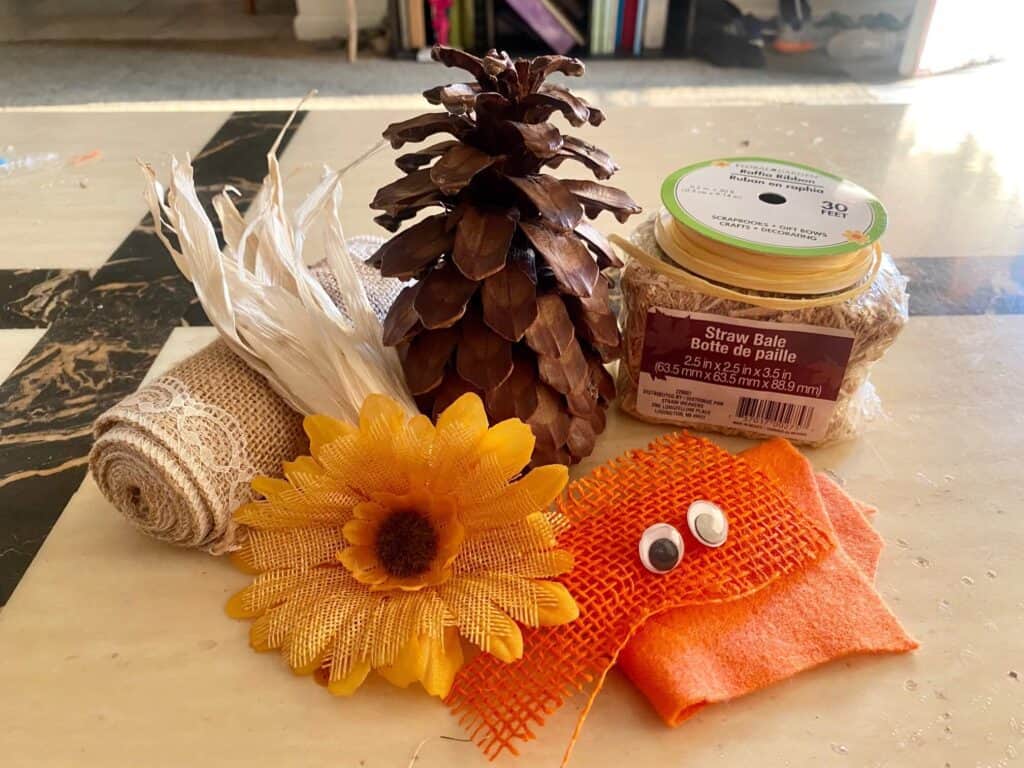
- Pine Cones – Cleaned and prepared or store bought
- Orange felt
- Orange burlap
- Traditional burlap with lace (could use any type but we used the 6″ long ribbon)
- Rafia
- Sunflower and fall leaf embellishment
- Fall colored plaid fabric (you could use any ribbon or felt if you don’t have fabric on hand)
- Googly eyes
- Glue
How to Turn a Pine Cone into a Cute Scarecrow
Follow the below easy steps to make a Pine Cone Scarecrow fall craft.
Clean and prepare your pine cone
If you bought your pine cones, you can skip this step. If not, I already stressed the importance of baking those bugs out! You can find the steps to thoroughly clean and prepare your pine cones here.
Make the Scarecrows burlap hat
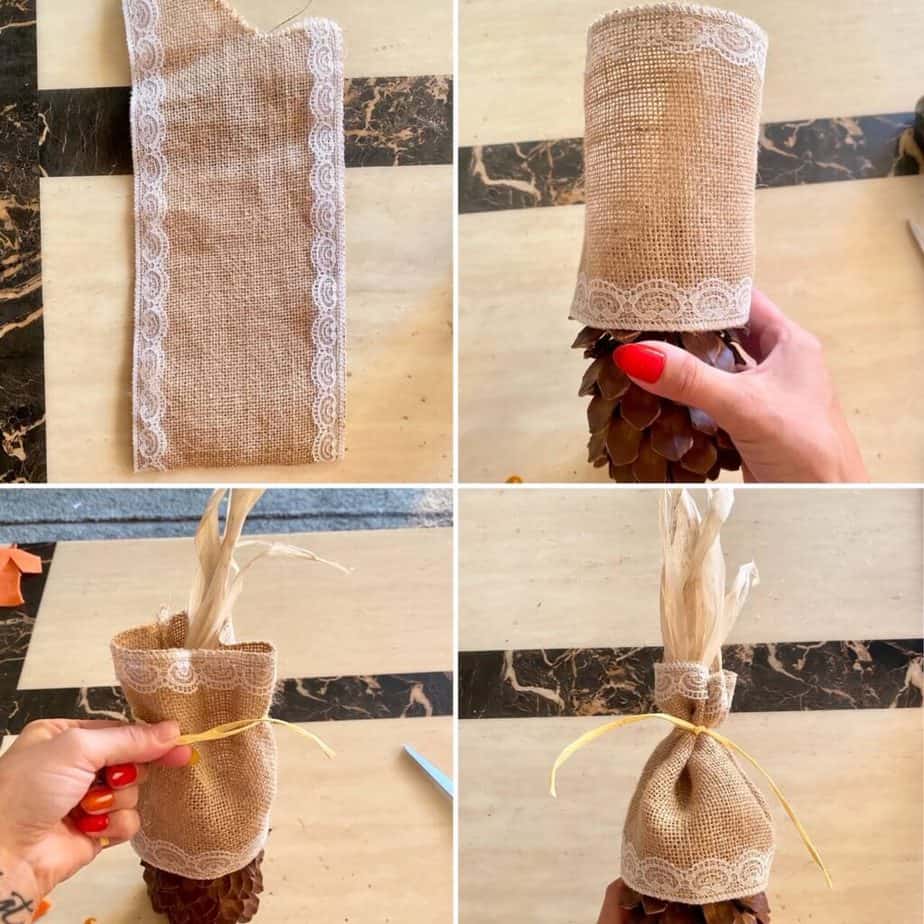
Cut a piece of the burlap ribbon about 10 or so inches long. The ribbon we used was 6″ wide, so if you are working with a large piece of burlap you’ll want to cut it to be about 6″ x 10″.
Wrap the burlap piece around the top of the pine cone, and glue the ends together in the back, overlapping slightly. Careful not to glue the hat to the pine cone itself, because you will need to take it off to add the plaid fabric “brim”.
Stick some long rafia into the open top of the burlap, and tie a small piece or rafia/ribbon around it about an inch from the top, so that the “straw” is sticking out of the top of the scarecrows hat.
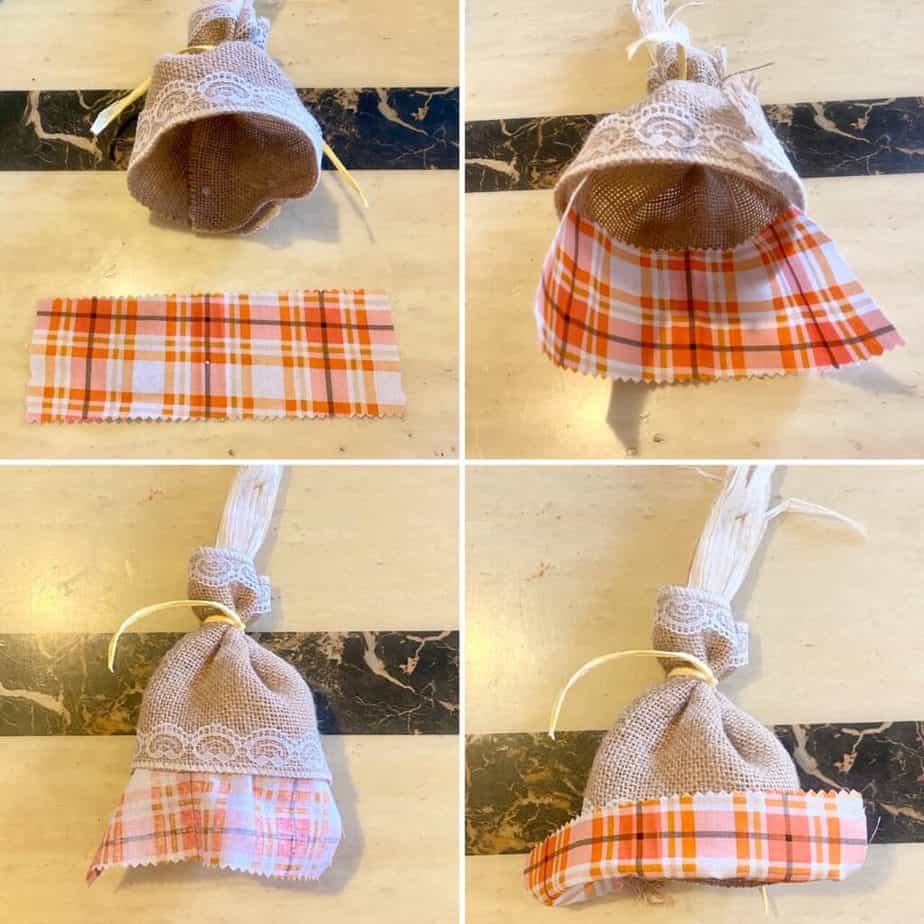
Cut a piece of fabric in your choice of color/pattern to make the “brim” of the hat. We used an orange plaid fabric, and cut the piece to be about 2″ x 6″. Glue the fabric to the inside of the burlap hat, with the patterned side facing inward so that you can see it when you flip the “brim” up.
Now you can flip the brim up, shaping it however you like. I made it on an angle, higher on the one side and lower on the other, just like a disheveled little scarecrow.
Put the Pine Cone Scarecrow together and make his face
Cut a long/tall triangle out of orange felt to make his nose.
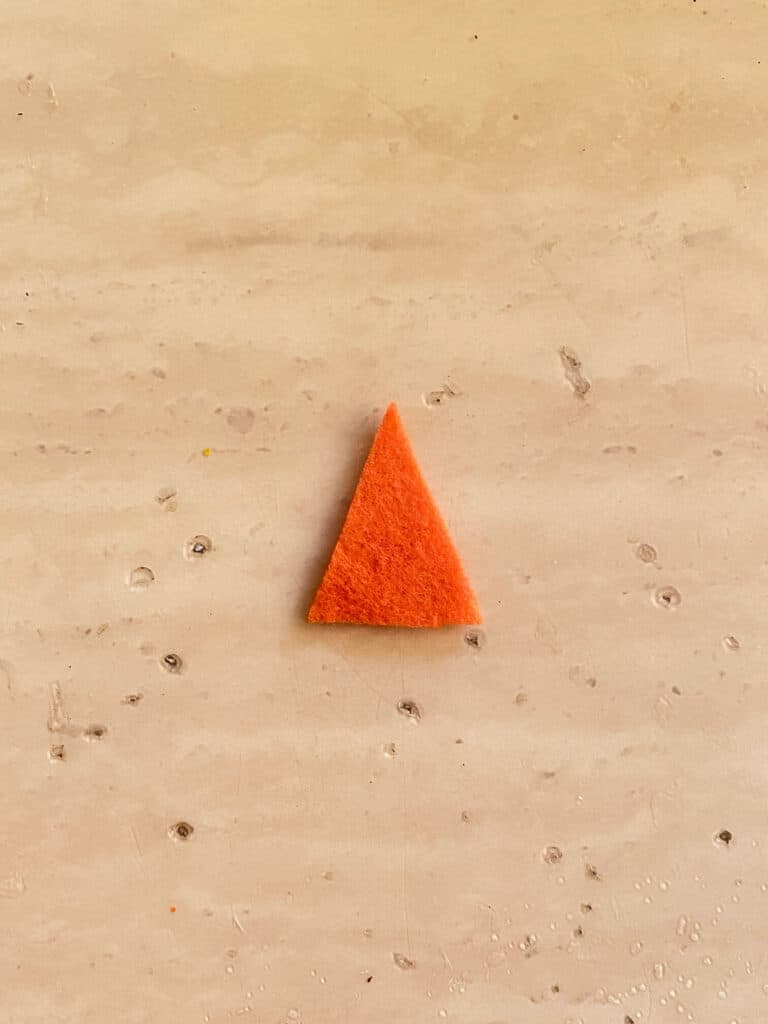
Glue the large googly eyes and the felt nose to the pine cone. Make sure to position the eyes pretty close together and then put the top of the nose right up in between them to give it that “scarecrow look”.
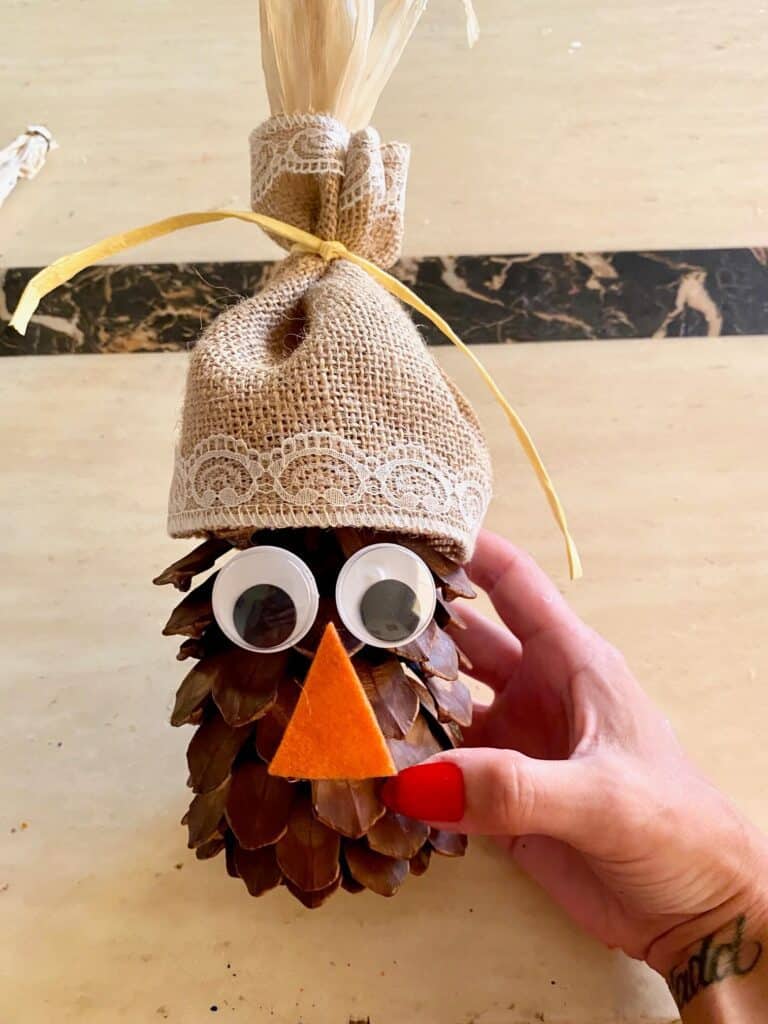
Put the finished burlap hat on top of the pine cone.
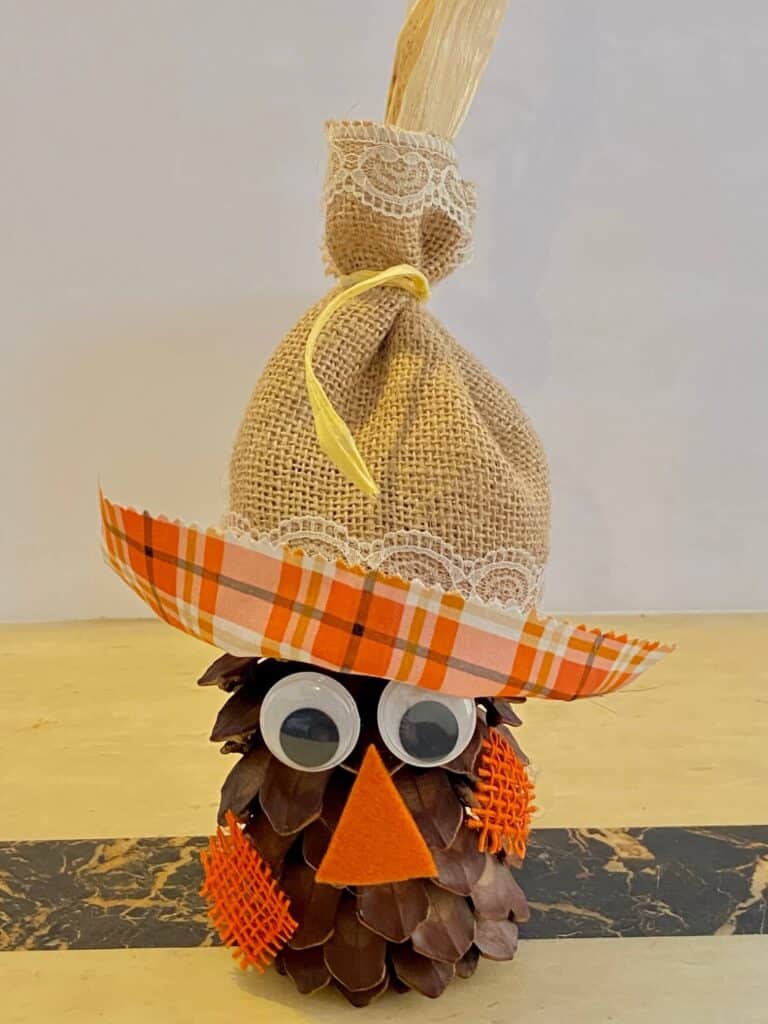
Glue some rafia under the hat, sticking out from the bottom on each side. Add some glue to secure the burlap hat to the pine cone itself.
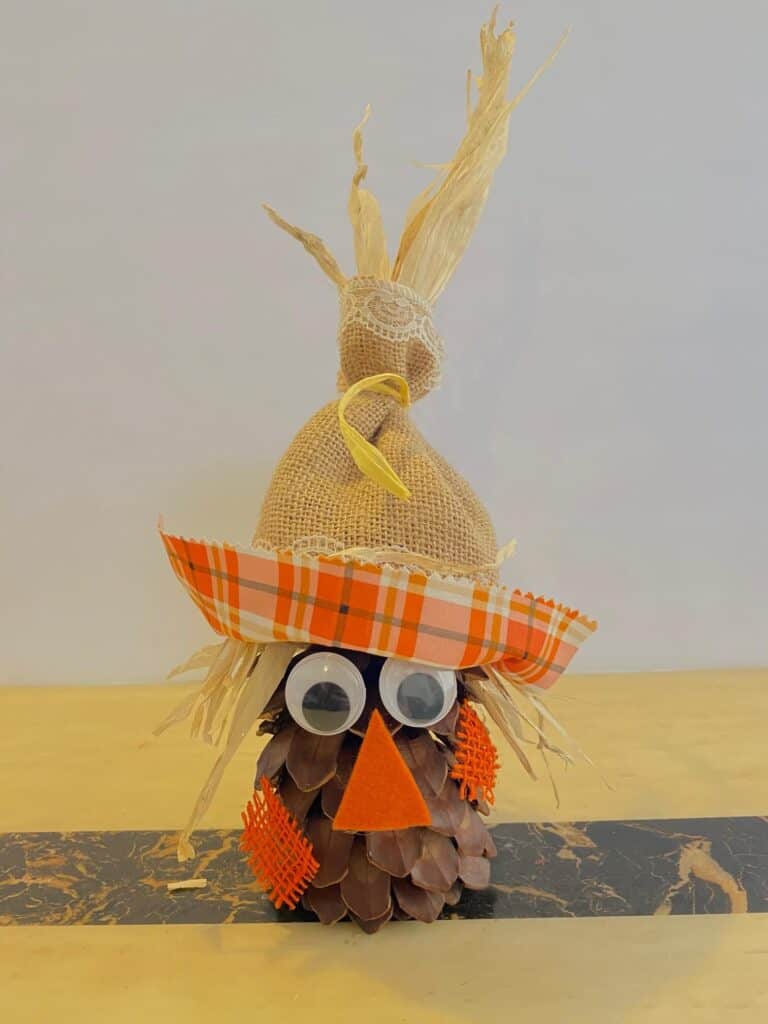
Add the Scarecrow embellishments
Cut 2 small squares out of orange burlap to make “patches”, and glue them onto the pine cone haphazardly. We glued them in a diamond shape on each side of the scarecrows face.
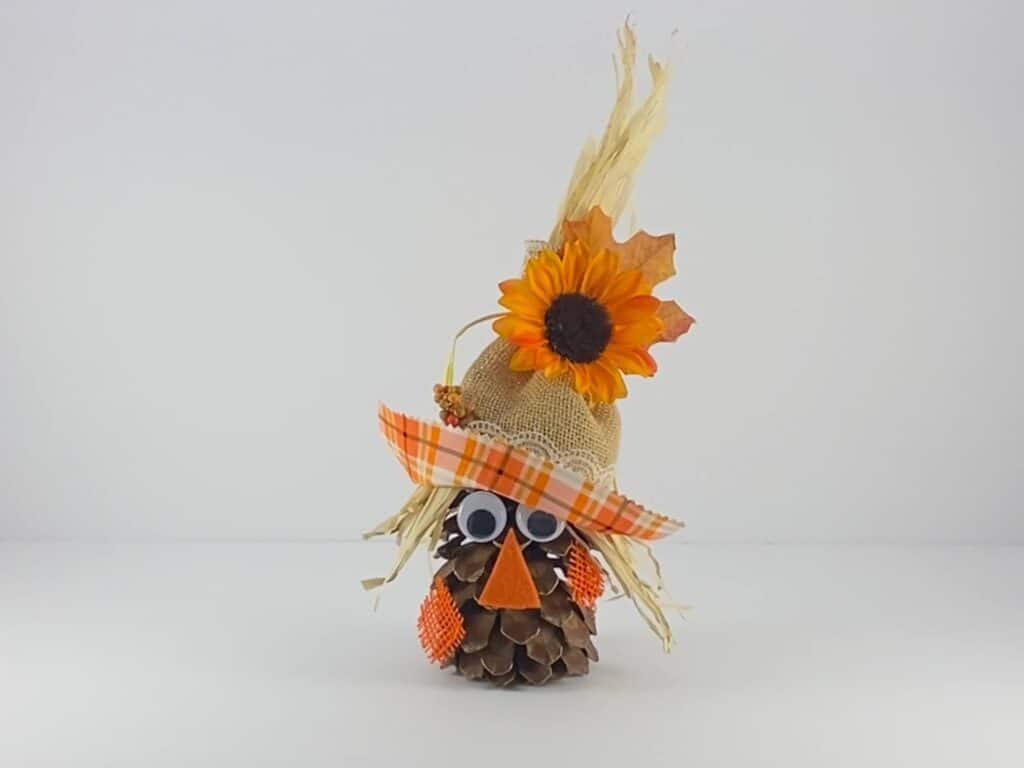
Glue a sunflower and/or leaf to the top of the burlap hat.
Isn’t he just The.Cutest.Thing.Ever.
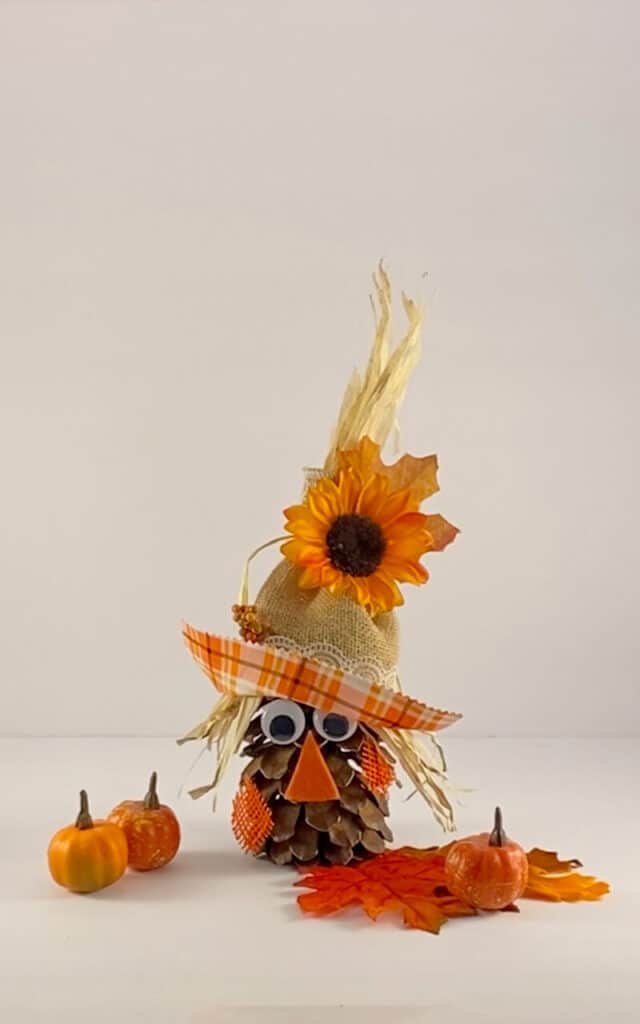
We’ve gone a little Pine Cone Crazy this year making everything from a Mummy, to a Witch, to a Bat, and everything in between! Now, the Pine Cone Scarecrow makes the perfect addition to the Fall side of things. Set him out with some decor pumpkins, light up the pumpkin spice candle, and bask in the feeling of Fall and all it’s glory!
Have you started crafting for fall yet? If you make this cute little Pine Cone Scarecrow, or any other fun fall crafts, make sure to post a pic in my Craftastic Facebook group and tag me @mandapandaprojects so I can see all your creations!
Until Next Time…
Stay Crafty San Diego!

Love this Pine Cone Scarecrow craft idea? PIN it for later!
