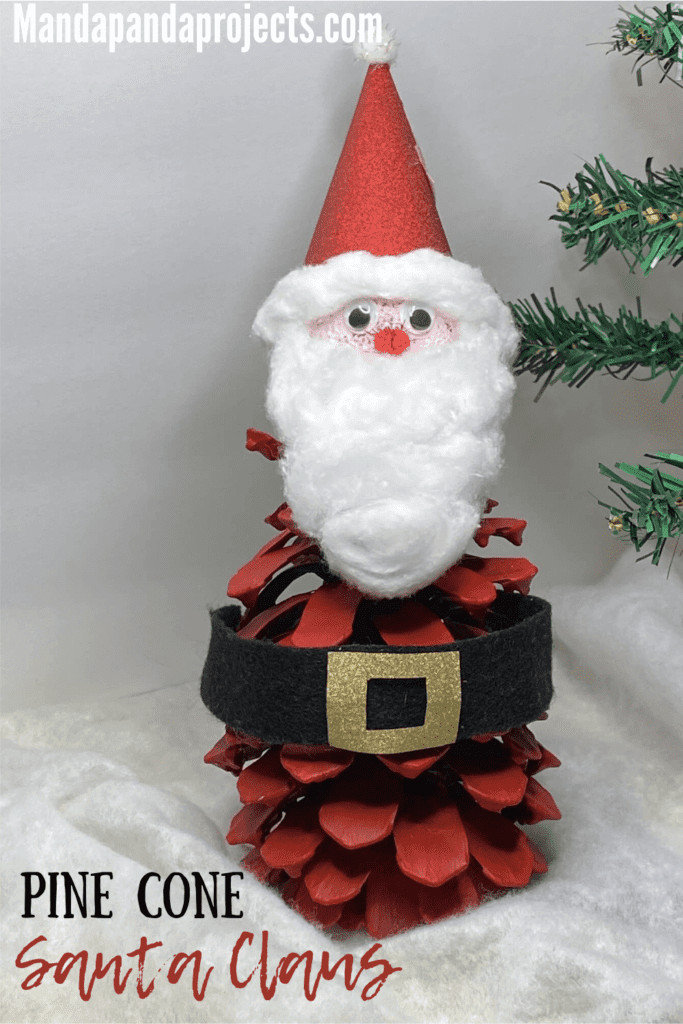
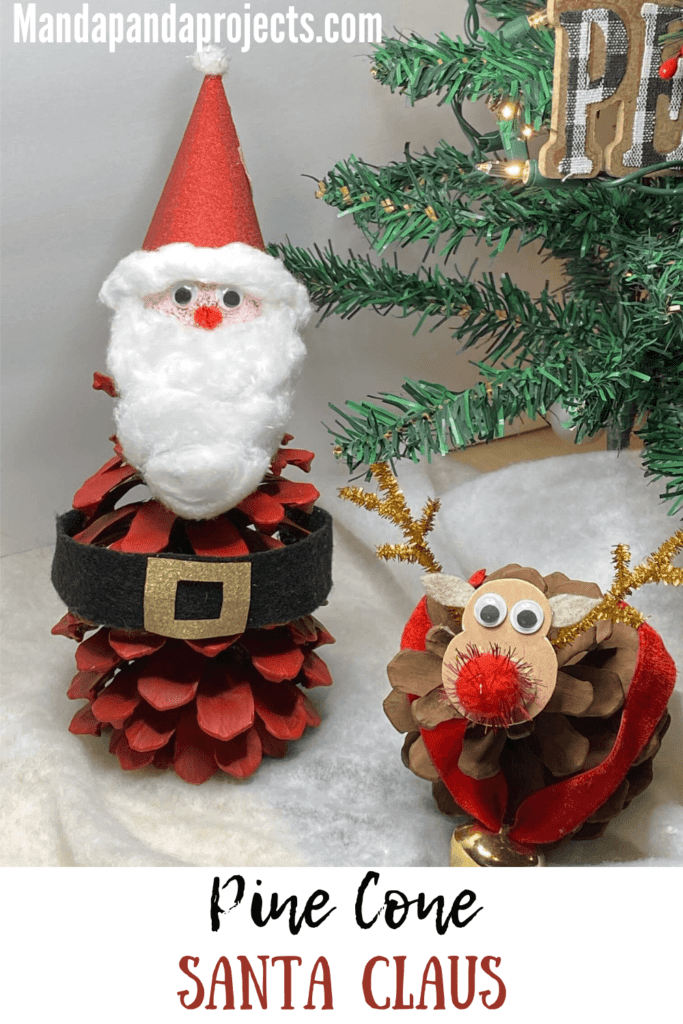
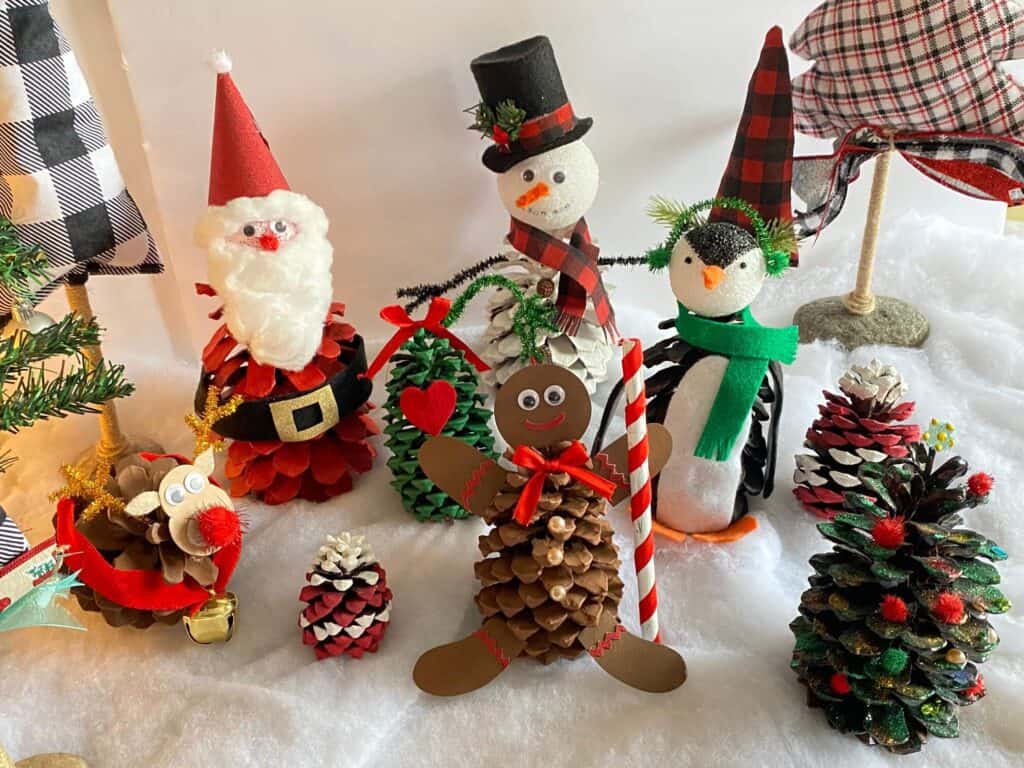
The kids will just love to turn an ordinary pine cone into a Holly Jolly Santa Cone! These easy nature crafts are fun to make year round, but turn it into a Old St. Nick and it makes the perfect Christmas crafts for kids
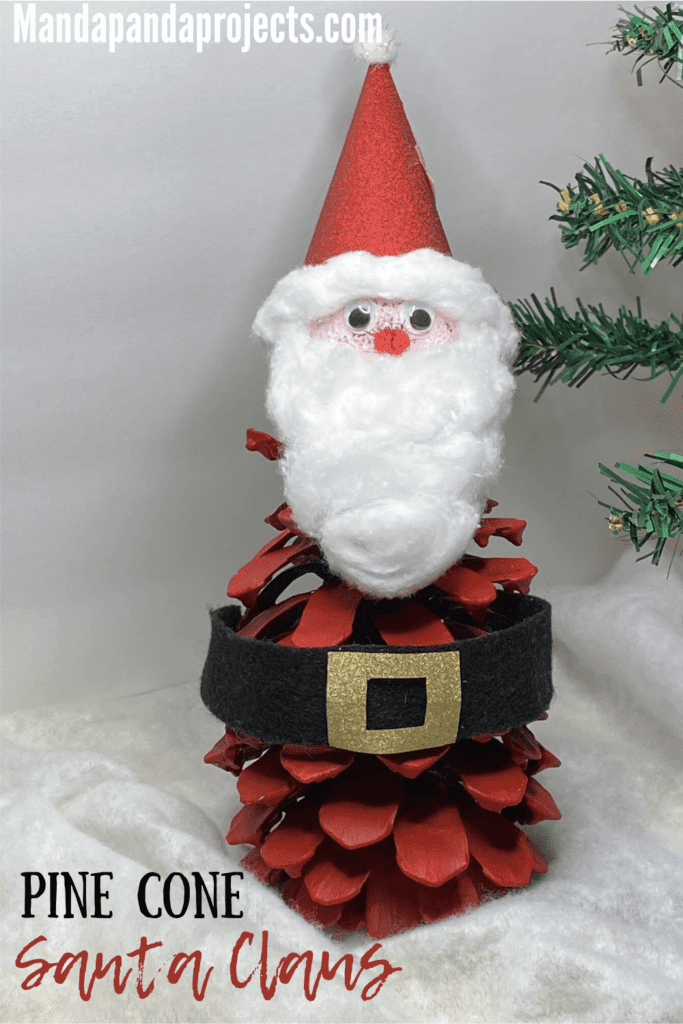
The kiddos just loved making this adorable Pine Cone Santa Claus, but I must caution you. If you’re collecting pine cones straight from mother nature, make sure to clean and prepare them first before crafting! We get ours from a local park and they come filled with dirt and debris and BUGS, so it’s important to bake those bugs out so you don’t end up with spiders in your pine cone crafts, eeeeek! If you don’t live in an area that has pine cones in nature, you can always buy them on Amazon or even Etsy.
This post may contain affiliate links for your convenience (which means if you make a purchase after clicking a link I will earn a small commission but it won’t cost you a cent more!)
Supplies needed to make a Pine Cone Santa Claus Kids Craft
- Pine cones (cleaned and prepared or store bought)
- Red Paint
- Stiff craft felt (black and red)
- Red and gold glitter paper (you could use felt or cardstock if you have it)
- Cotton balls
- Googly eyes
- White Styrofoam ball
- White craft pom pom (small)
- Glue (we used a kids glue gun that we LOVE and highly recommend)
How to Turn a Pine Cone into Santa Claus for Christmas
Clean and prepare the pine cones for crafting.
If you bought your pine cones instead of collecting them outside, you can skip this step. Otherwise, make sure to thoroughly clean them and to be safe, bake the bugs out.
If you bought your pine cones rather than collecting them from nature you can skip this step. Otherwise, make sure you thoroughly clean them to get rid of all of the dirt and debris, and bake the bugs out.
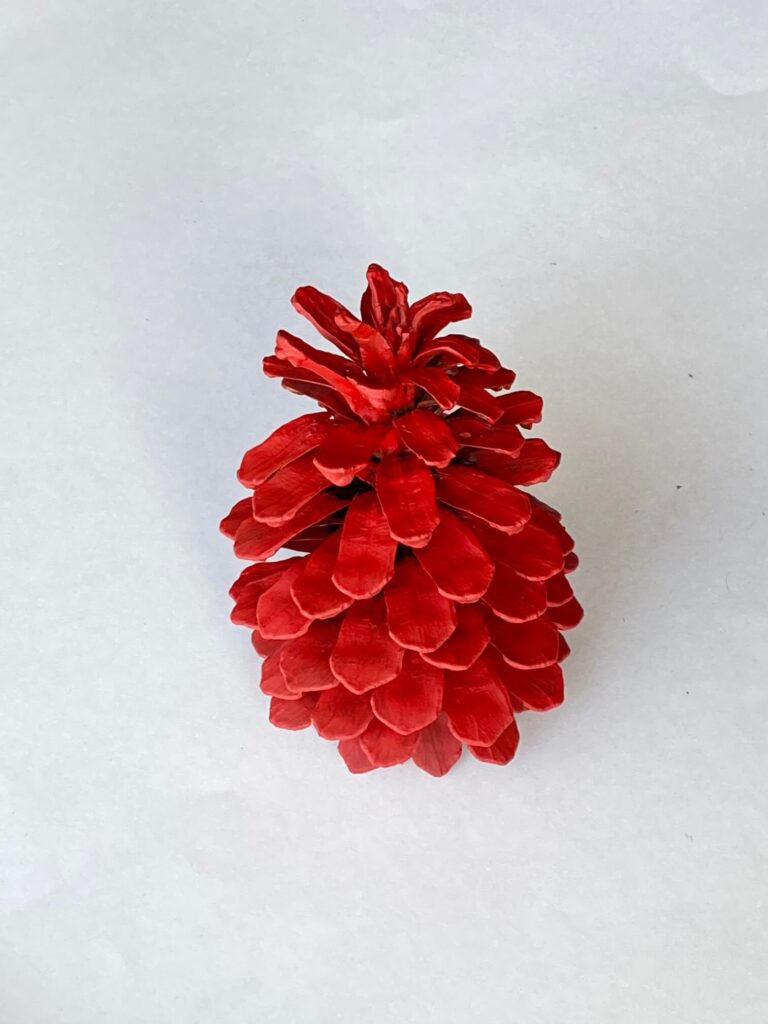
Paint the Pine Cone Red
Make the Pine Cone Santa’s Belt
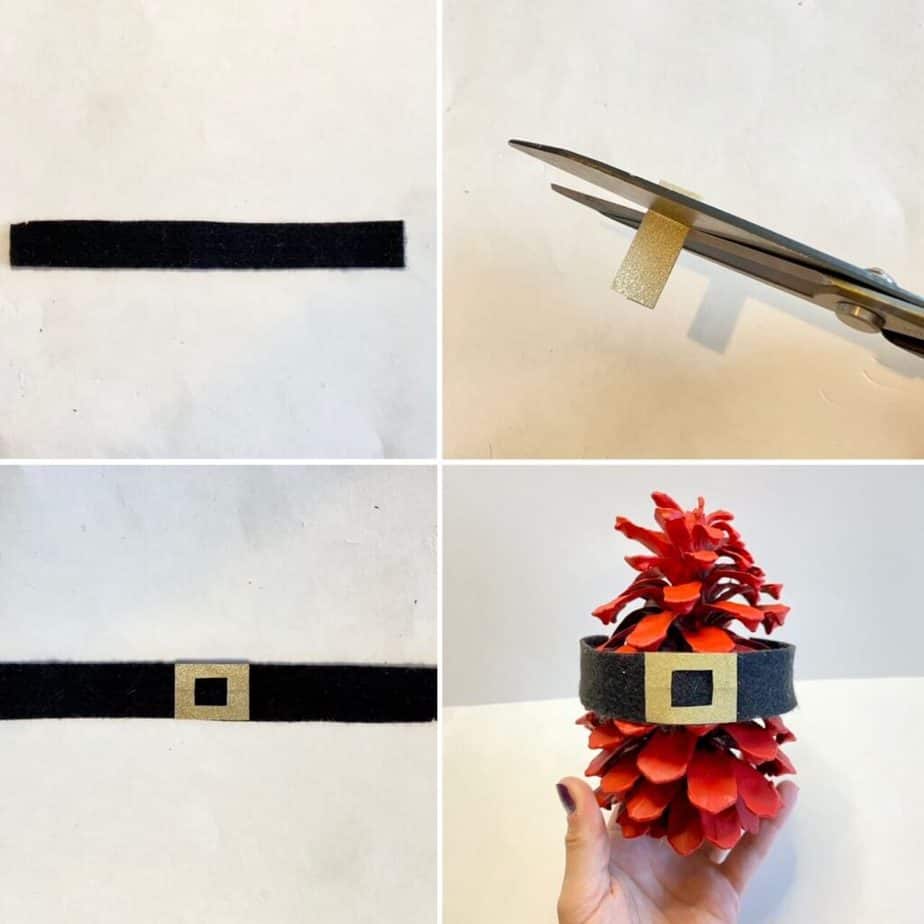
- Cut a strip of of black felt about 1 inch wide, and long enough to wrap entirely around the fattest part of the Pine Cone.
- Cut a square out of the gold glitter paper (or yellow felt or whatever you are using as the belt buckle).
- Fold the square in half and cut a small square out of the center to form the belt buckle.
- Glue the gold buckle to the center of black felt strip and glue the belt around the fattest part of the Pine Cone Santa’s belly.
Make the Pine Cone Santas Face and Head
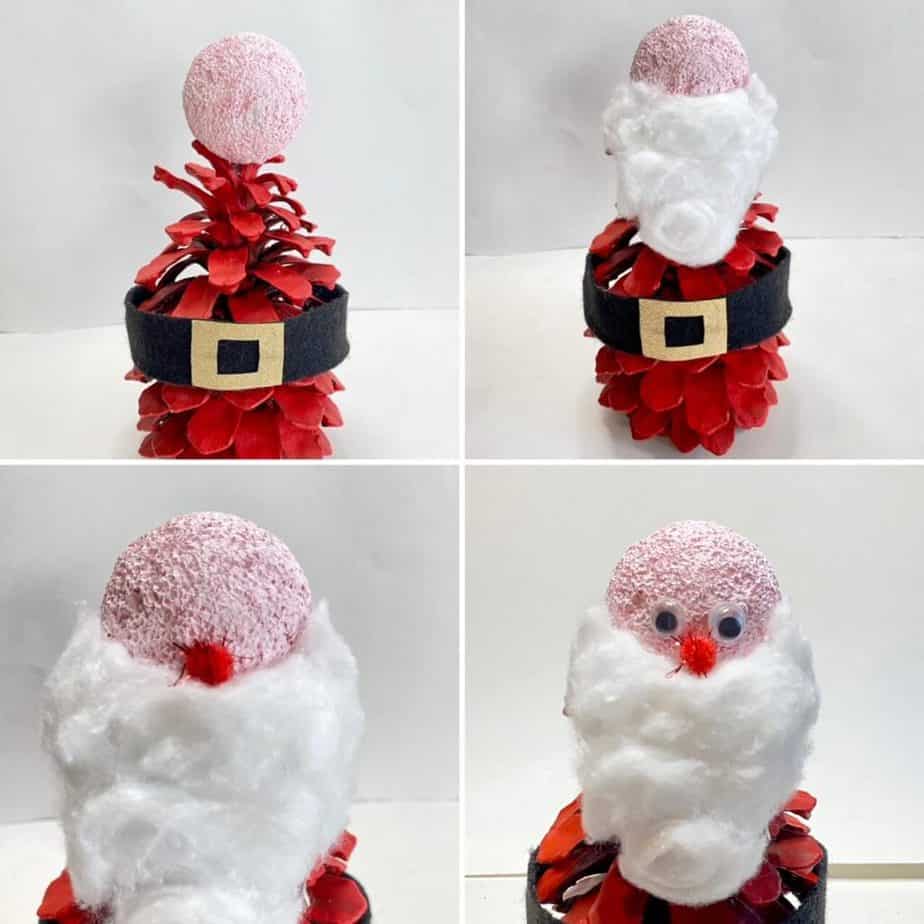
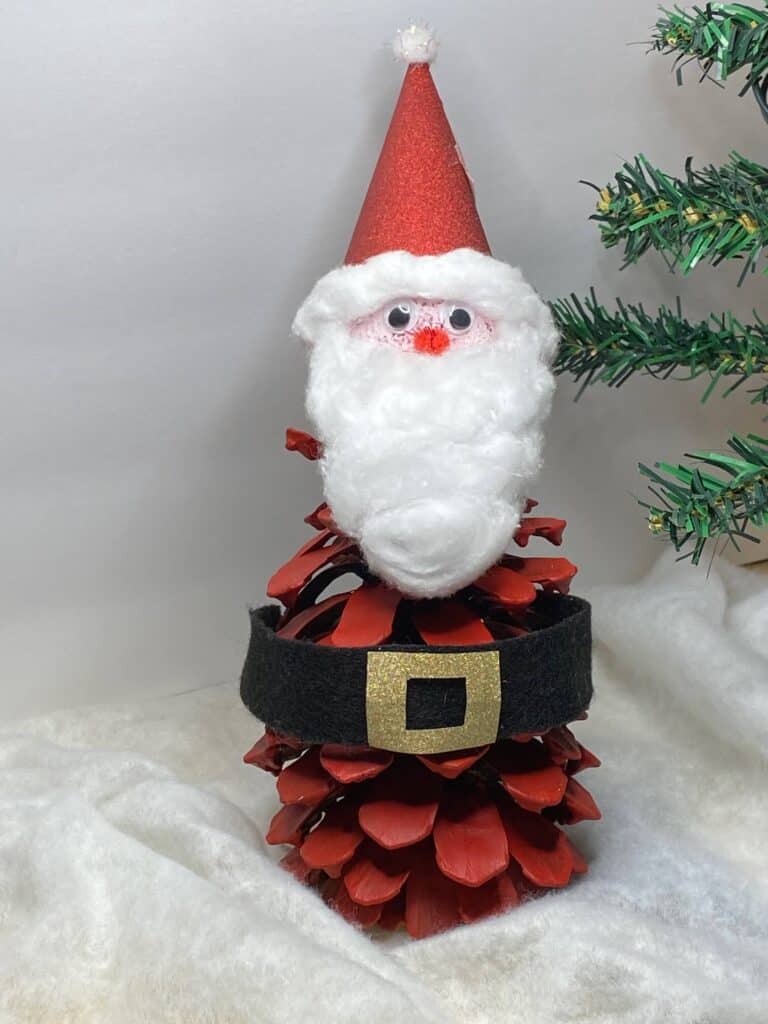
- Paint the styrofoam ball a pink/peach color and glue it to the top of the red painted pine cone body.
- Rip and fluff a cotton ball and glue it to the Styrofoam ball as Santa’s beard.
- Glue a red pom pom nose.
- Glue on the googly eyes.
Make the Santa Hat
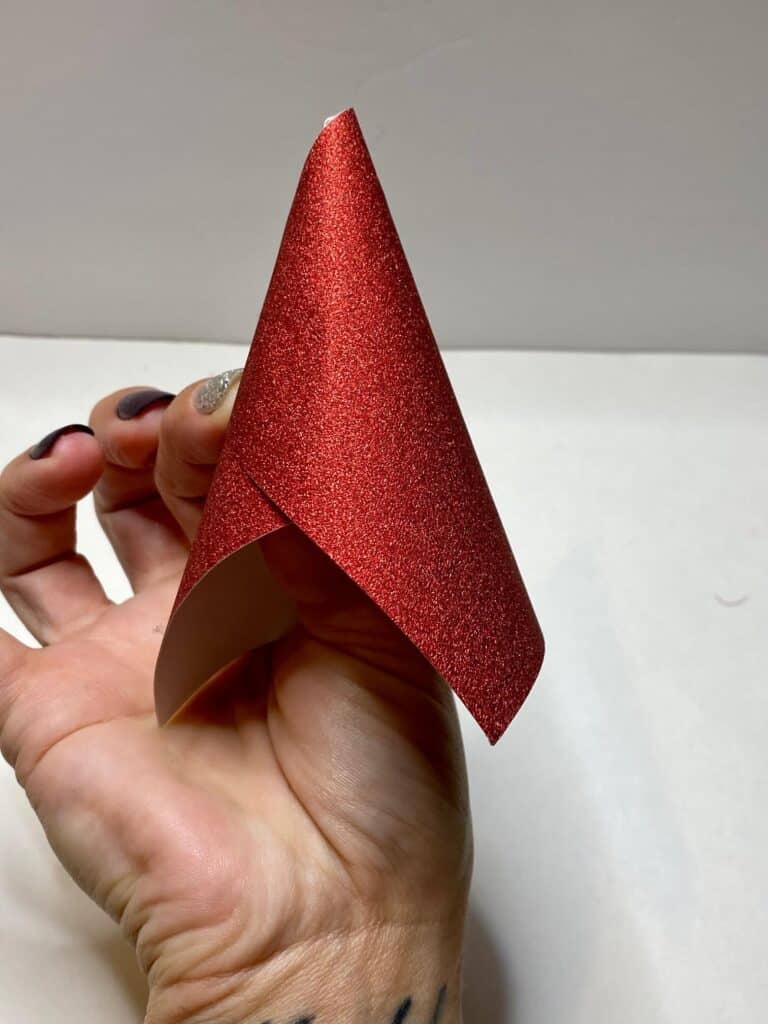
- Roll a square of red glitter paper into a cone, and cut the bottom overhang off.
- Glue a white pom pom to the tip of the cone, and glue on top of the Styrofoam ball.
You have yourself an adorable Pine Cone Christmas craft to add to the rest of your Pine Cone Village!
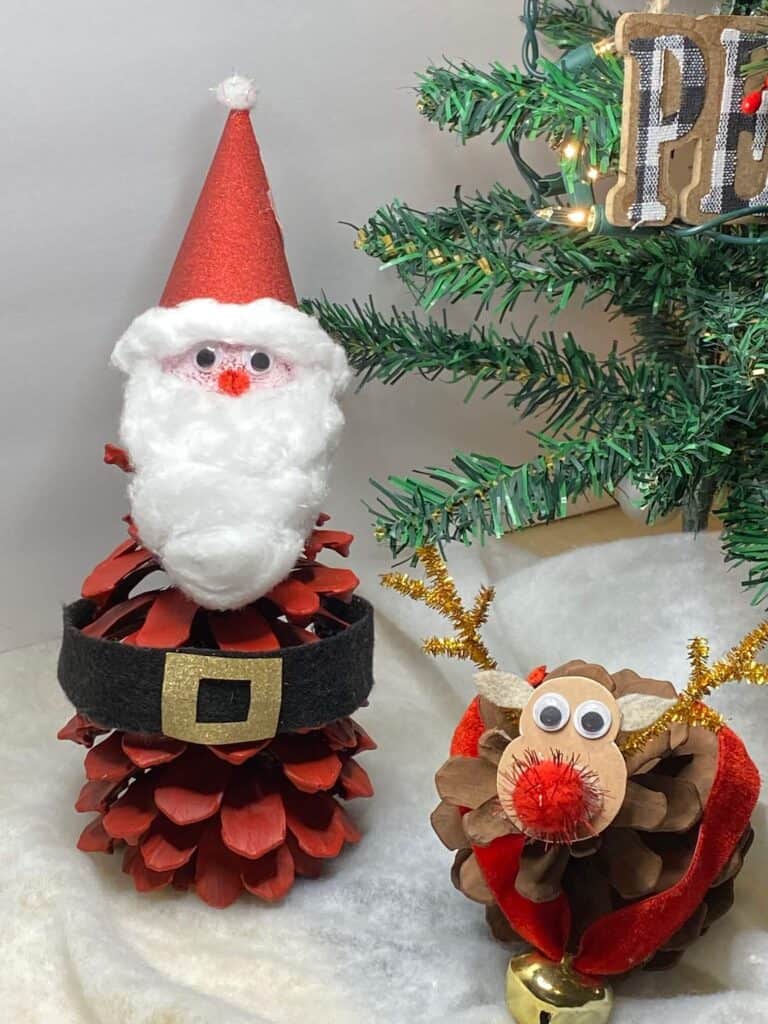
This Pine Cone Santa was the perfect way to end our Pine Cone Countdown to Christmas! I hope you and your kiddos have as much fun turning natures crafts supplies into an adorable Santa’s Village as we did. How cute does he look with Rudolph the Red-Nosed Pine Cone?
If you’re not part of our Craftspiration Facebook group, join in on ta and post a pic of your completed Pine Cone Santa Claus project. I just love to see all your crafts!
Until Next Time…
Stay Crafty San Diego!

Love this Pine Cone Santa Claus Kids Craft? Make sure to PIN it to your Christmas Craft Board!
