Watch me turn a vintage gumball machine from my local antique thrift store from traditional ‘ole red, to a more classy white that can be easily decorated for all seasons and holidays. This is one Thrift Store makeover that you’re not gonna want to miss!
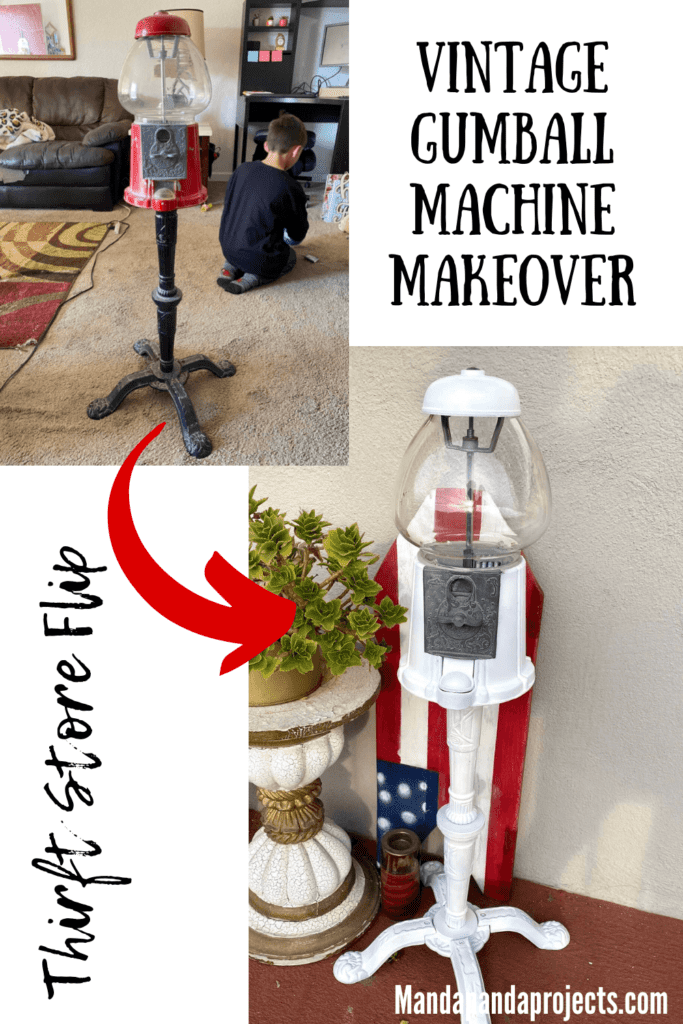
I had been on the lookout for quite some time for one of these amazing Vintage Gumball Machines, so of COURSE I scooped it up when I found it at my local Thrift Store, Quality Thrift! I knew right away I was going to give this baby the makeover of a lifetime.
I had been wanting one for so long that you would have thought I’d go home and immediately get to work repainting it, but nope. It sat on my front porch for a good 3 months until it was finally it’s time to shine.
Now you truly do need to be on the lookout for a while if you want to score an actual Vintage gumball machine like this one. But if all else fails, and you don’t care about the authenticity of it, head on over to good ‘ole Amazon and you can grab a brand spankin’ new “Antique” Carousel Gumball Machine.
My very favorite part of this piece of fun and unique decor, is decorating it for all of the different seasons and holidays. I think my fave is my Christmas Gumball Machine I decorated last year!
This post may contain affiliate links for your convenience (which means if you make a purchase after clicking a link I will earn a small commission but it won’t cost you a cent more!)
Supplies Needed to Makeover a Vintage Gumball Machine
- Vintage gumball machine
- Soap and water
- Rust-oleum Chalked Spray paint, Linen White Ultra Matte
- Cardboard to lie the pieces on
How to Spray Paint a Thrift Store Vintage Gumball Machine
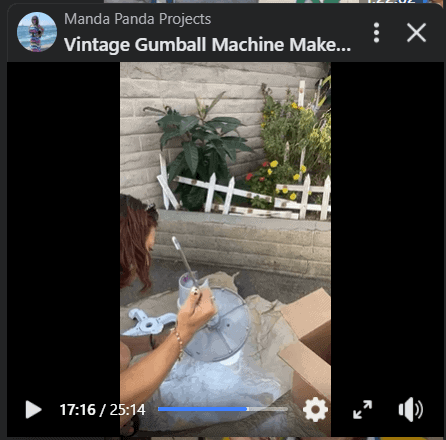
I made over this Vintage Gumball Machine on video, so you can WATCH the step by step tutorial on HERE.
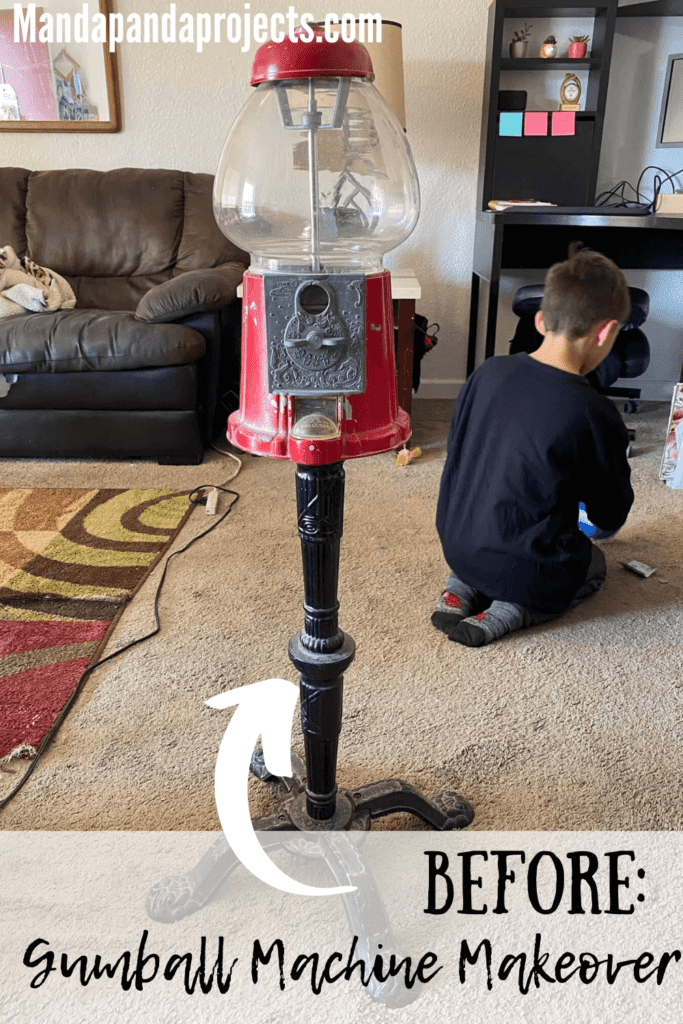
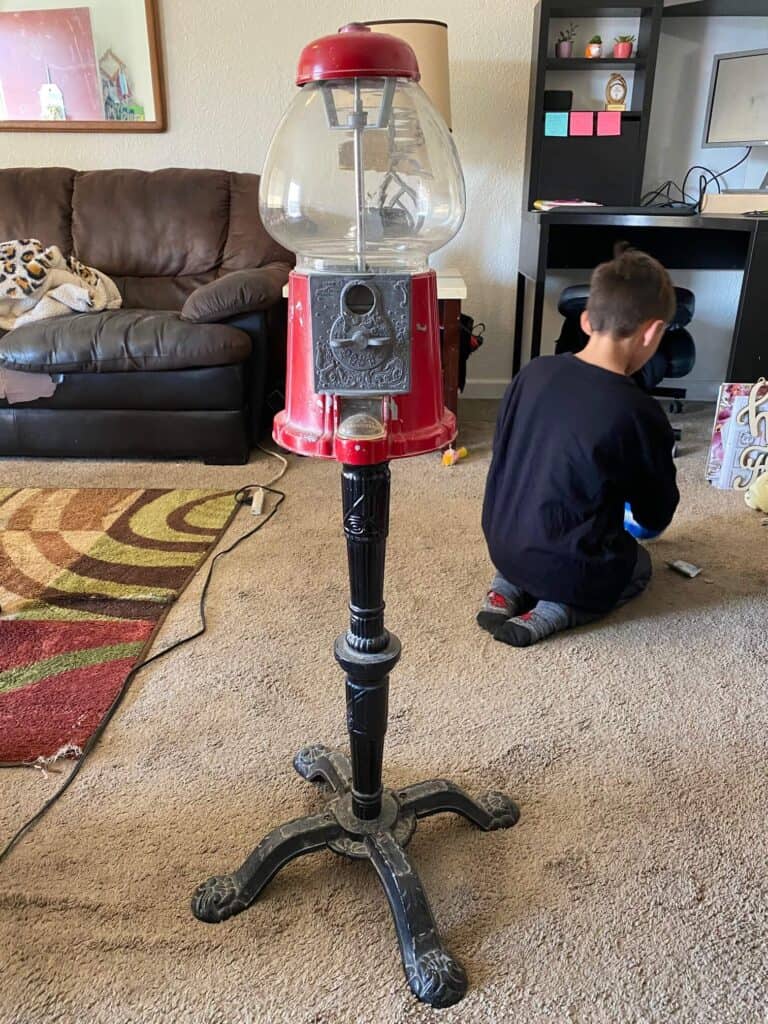
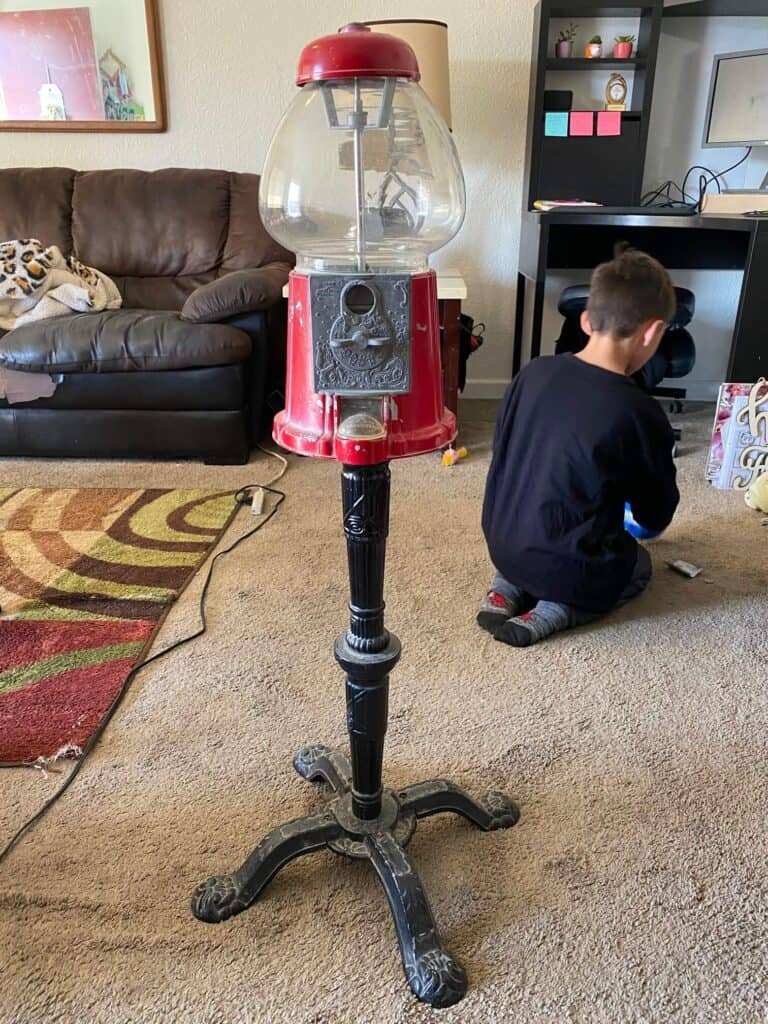
Here’s our Vintage Gumball Machine before we started the makeover, in all its red (ugly) glory!
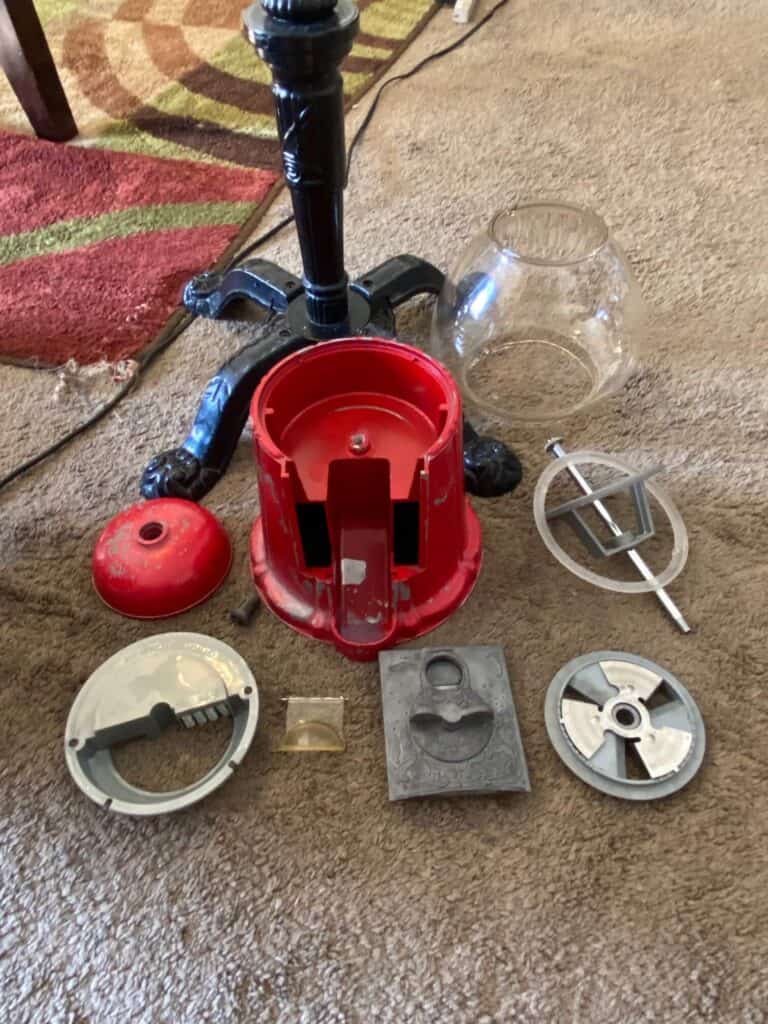
First things first, we’ve got to take the entire gumball machine apart before we can spray paint it. You could technically tape it off, and spray paint it while its intact but I thought this would be MUCH easier to do. Taking it apart was actually pretty self explanatory, just remember what you’re doing so that when it comes time to put it back together you remember how!
Here’s how mine came apart, and I’m pretty sure they are all made the same, or very close to it. First unscrew the little top screw and pull the red top off.
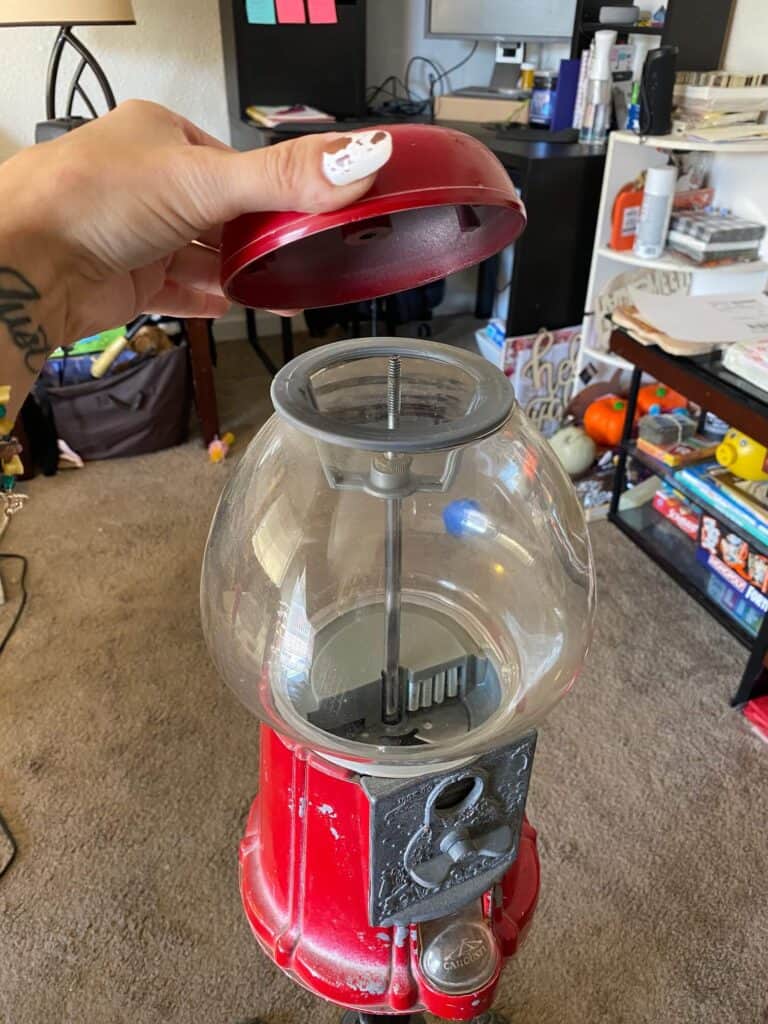
Pull the glass and bottom red part of the vintage gumball machine off of the red base…
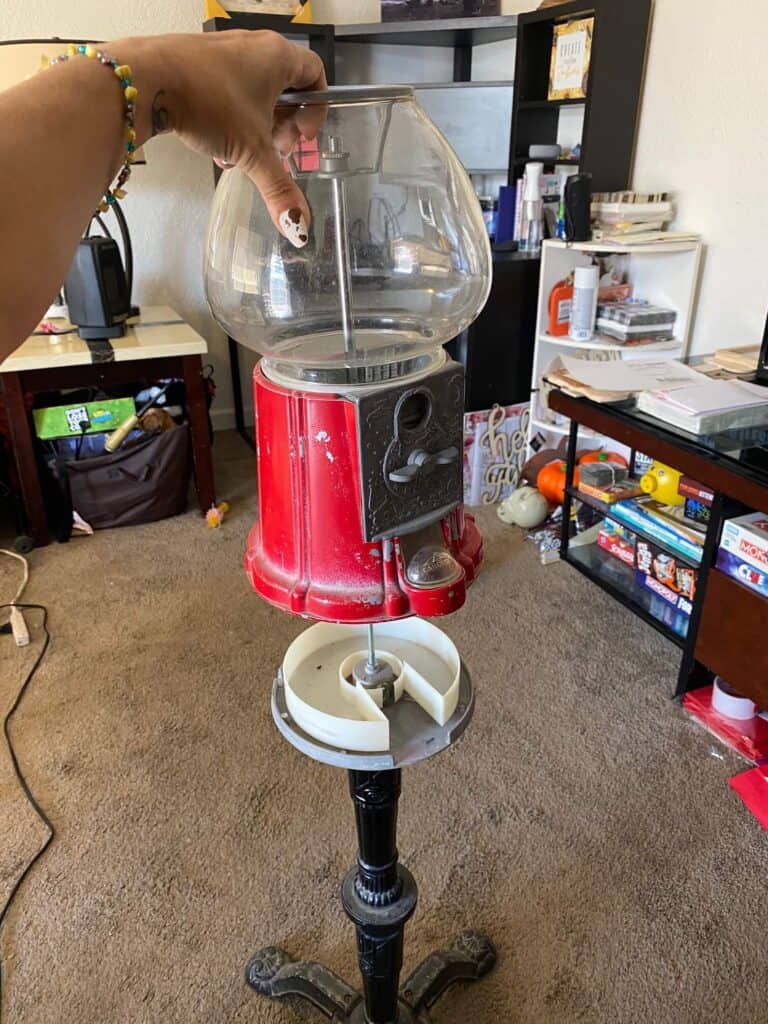
Now you can separate the glass from the base of the gumball machine, and the center pole just screws right out…
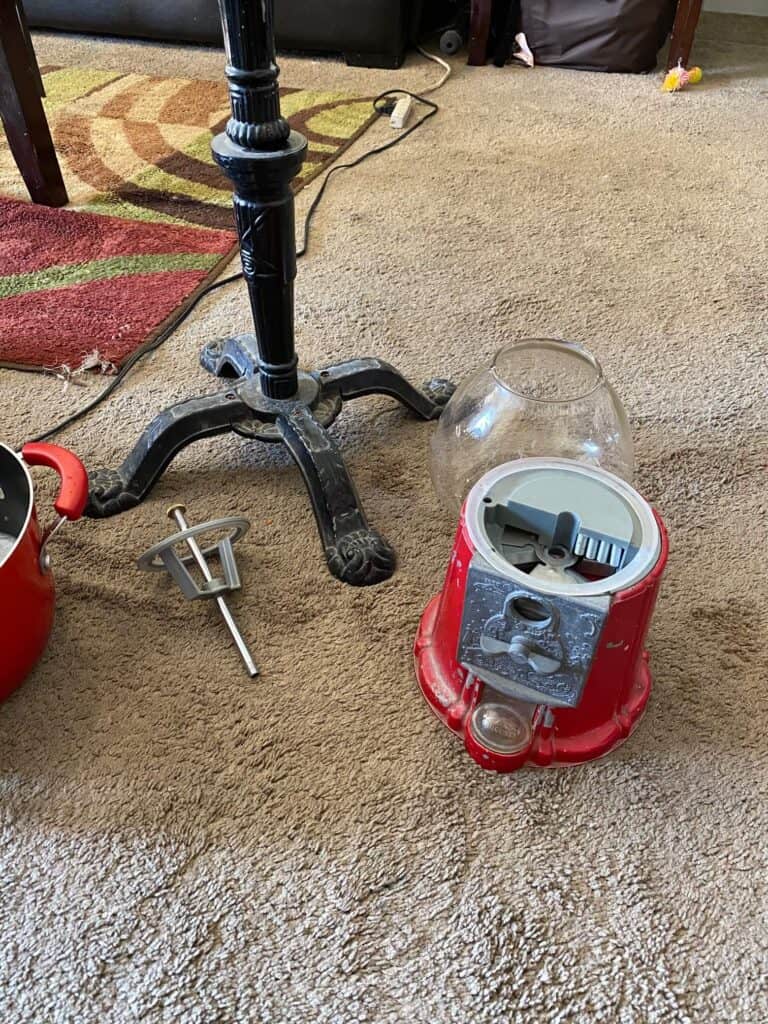
The metal coin thing and spinny wheel thing (No clue what they are called) just lift right on out in 2 pieces. Make sure to remove the little plastic thing you lift up to get the gumball out…
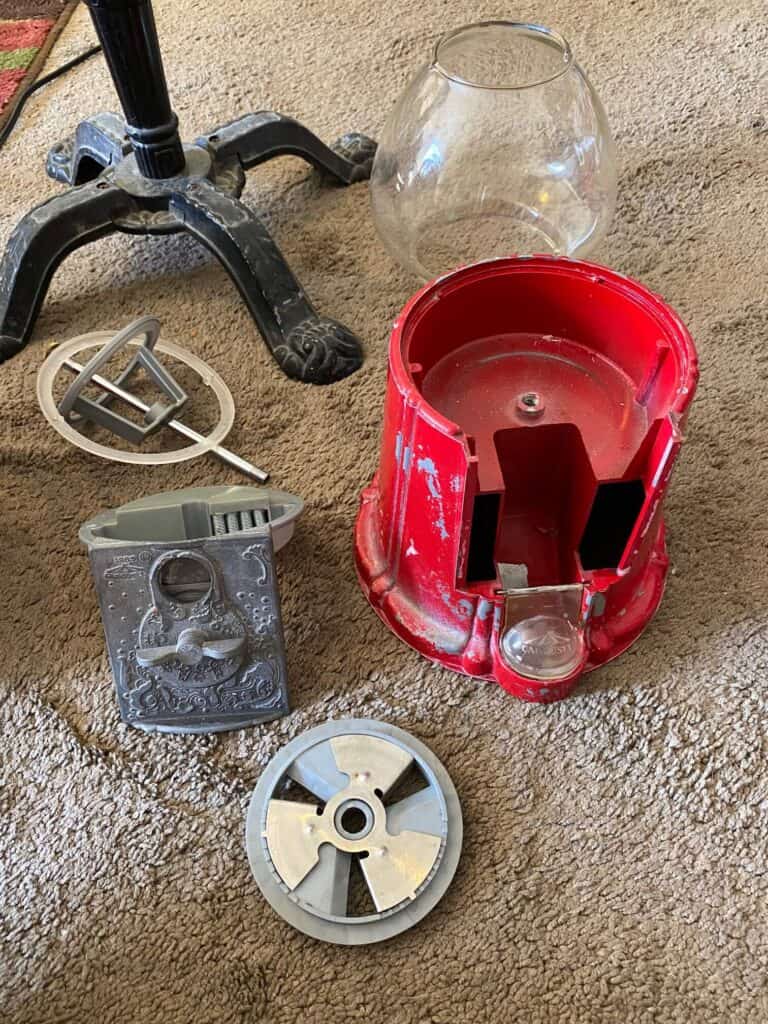
Here’s the gumball machine with allll the separate pieces….Don’t worry, it goes back together just as easy as it came apart!
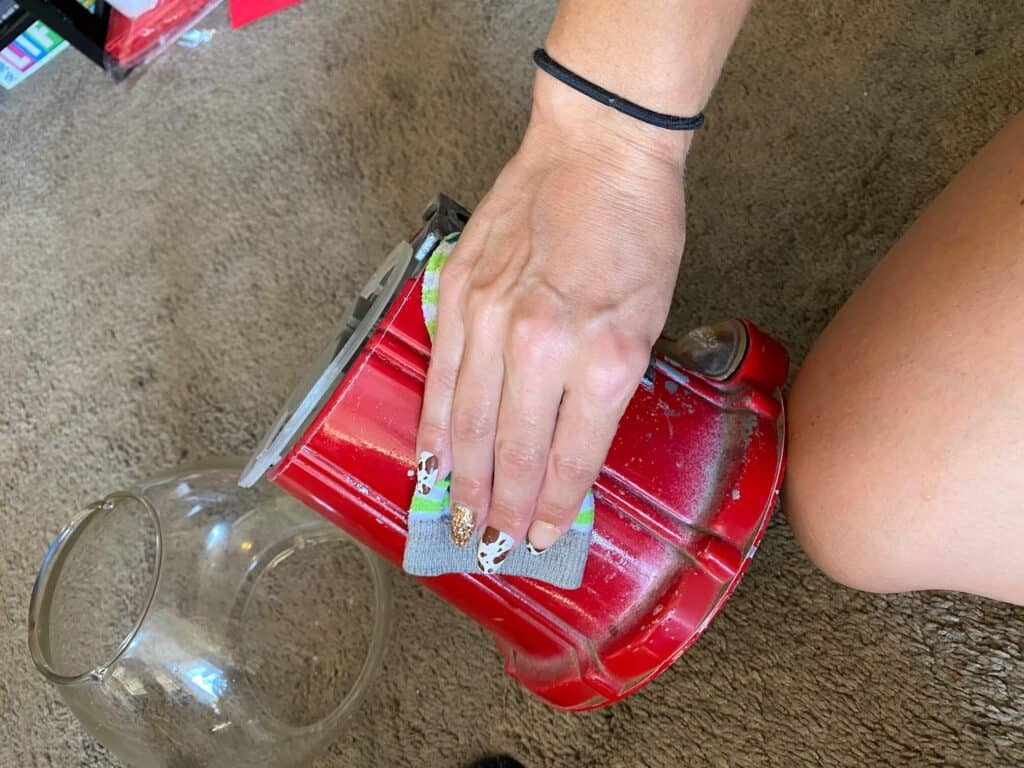
Next, you’ve got to give your vintage gumball machine a thorough cleaning. Especially if its been collecting dust at an antique or thrift store, or even in your own garage while it waited for its big day! Good ‘ole dish soap and water will do the trick. I just took a rag (an old sock to be exact LOL) and wiped the entire thing down and then let it air dry.
Now for the fun part…SPRAY PAINT! I used Rust-oleum Chalked ultra matte paint and I am super happy with how it turned out! Make sure to take all of your parts outside, and protect the surface by laying the parts on a piece of large cardboard or kraft paper.
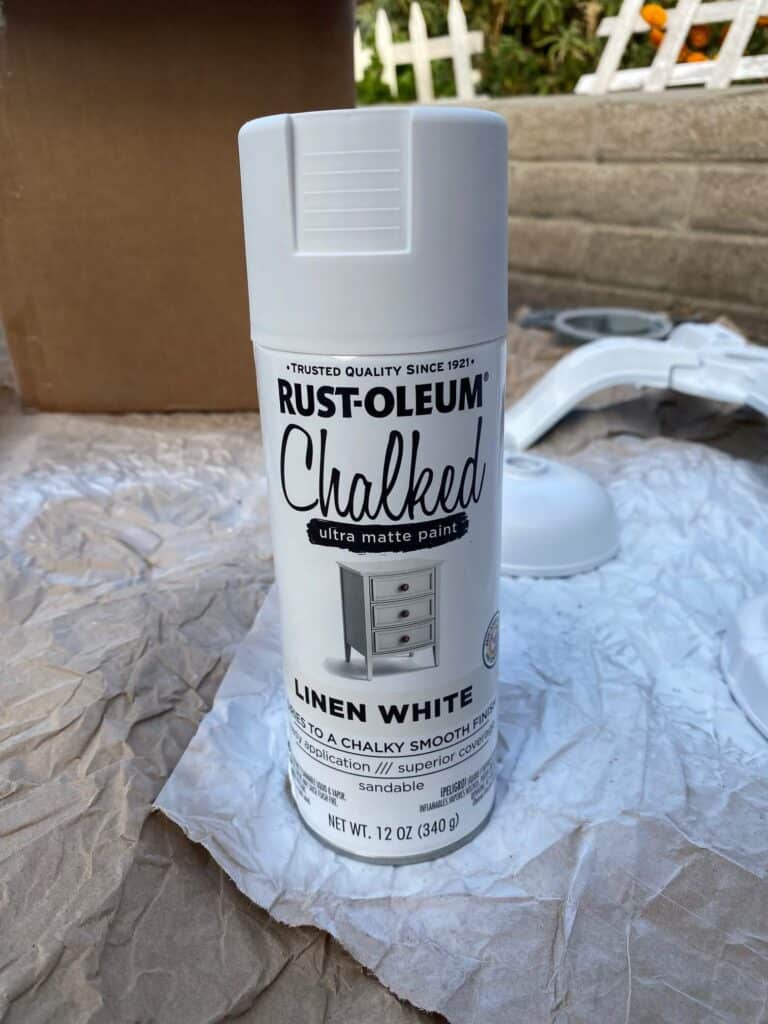
Follow the directions on the back of the can and shake it SUPER good for 1-2 minutes before beginning to spray paint the gumball machine. Then just start to spray away! Hold the can about 6″-12″ away and spray in short and fast strokes to prevent it from dripping.
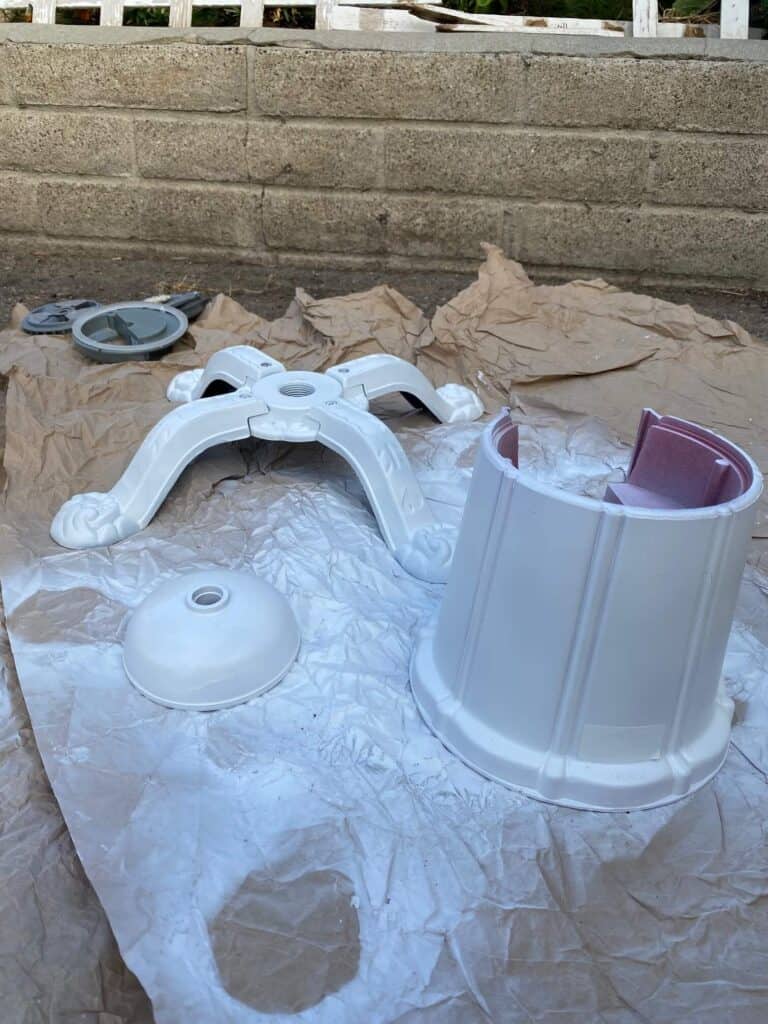
I decided to paint the black base of the Vintage Gumball Machine white as well, but you could leave yours black if you prefer.
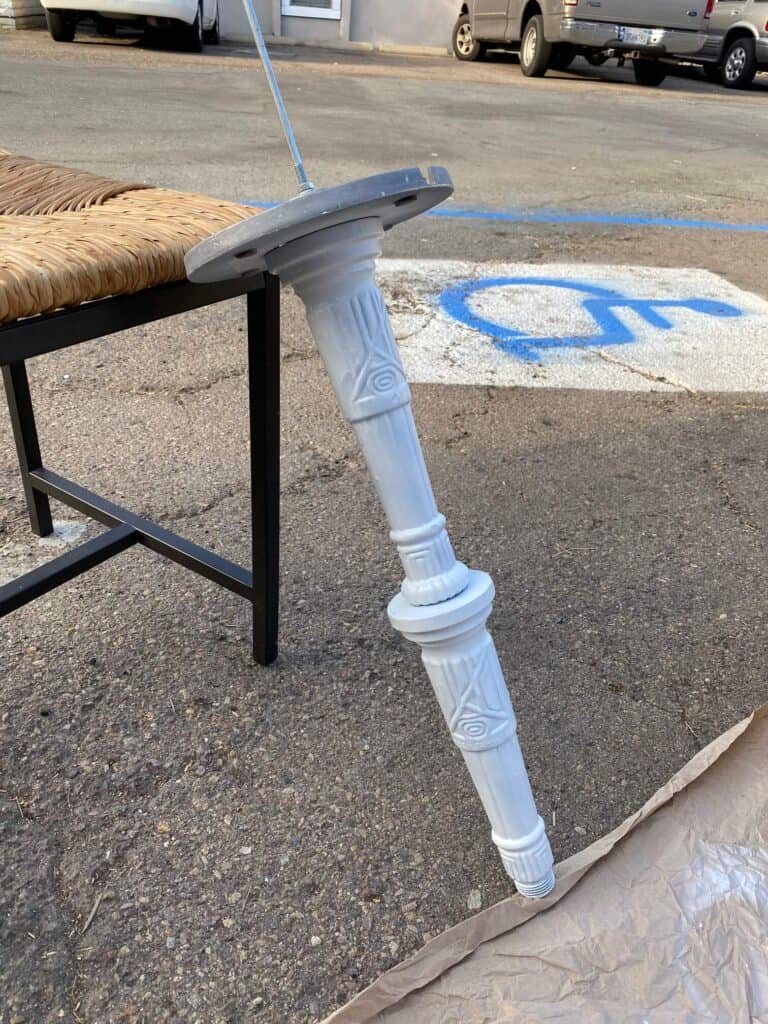
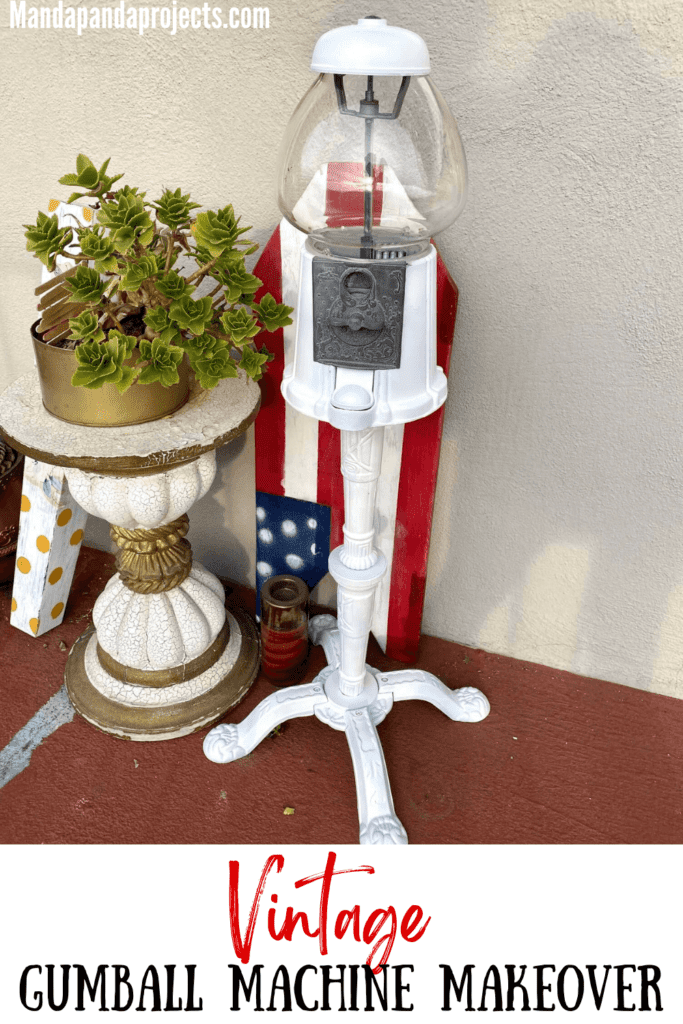
Mine was fully covered with one solid coat, and I didn’t even use the entire can pf spray paint. Here is it all finished and put back together! Make sure its fully dry before attempting to reassemble it.
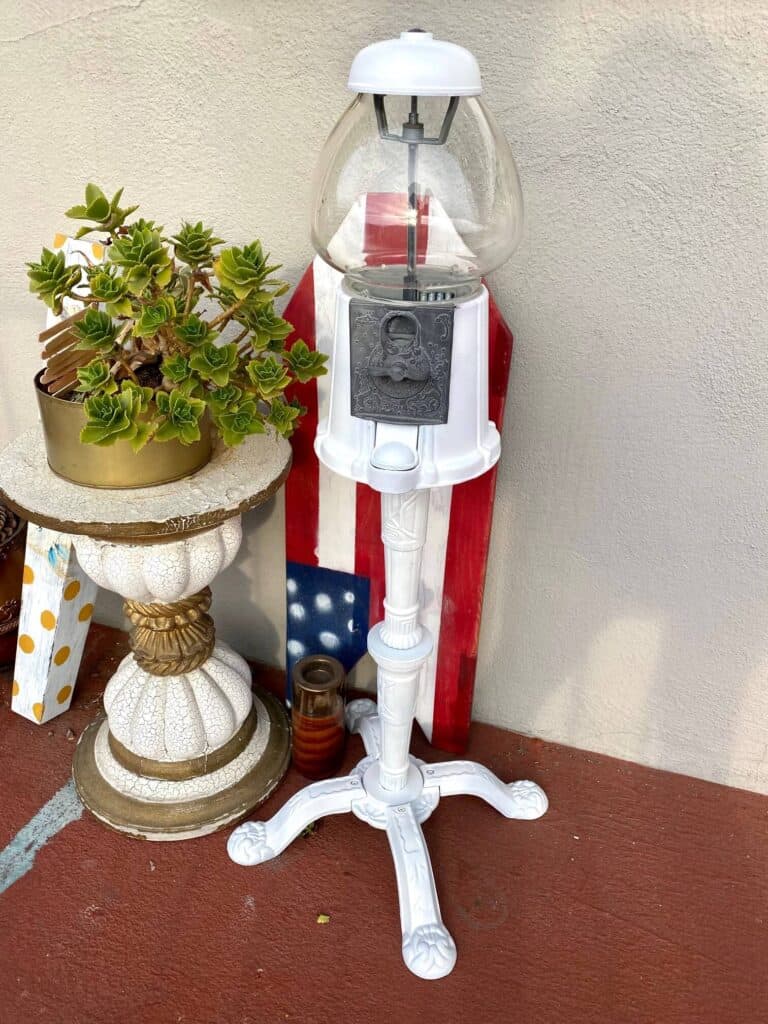
Are you going to go on a thrift store hunt for a vintage gumball machine? If you’ve done a Vintage Gumball Machine Makeover, I’d love to see it! Pop on over to our free Craftspiration Facebook group, and join in on the fun by posting a pic of your completed DIY’s and crafts. I just love to see all your creative and crafty creations!
If you’ve got a million projects on your crafting ‘to-do’ list like I do, than you need my FREE Craft Project Planner so you can plan to make *all the things*! When you sign up for the craft planner, I’ll also send you lot’s of fun, easy, and budget friendly ideas for you to fill it up with!

Free printable Craft Project Planner
Get organized, get inspired, and get crafting, with our free Craft Project Planner!
Until Next Time…
Stay Crafty San Diego!

Love this Thrift Store Vintage Gumball Machine flip? Make sure to PIN it for later!
